
When determining your AC coil cleaning cost, you’ll need to factor in the type, cleaning method, and more. Our cost guide will show you what to expect.
Is your refrigerator running? Clean condenser coils can make it work even better

Cleaning fridge coils removes dust and debris that forces your refrigerator to work harder, increasing energy bills and shortening your appliance's lifespan.
You can clean refrigerator coils yourself using basic supplies like a vacuum, coil brush, and baby wipes for under $10 in total costs.
Your refrigerator coils need cleaning about every six months to maintain optimal performance, which takes less than an hour and keeps contents cold during cleaning.
Hiring a local house cleaning professional provides reliable help with refrigerator coil cleaning and other deep cleaning tasks, with services ranging from $50 to $100.
Whether you’re reaching for a chilled bottle of water or letting the meat for dinner slowly defrost, you depend on your refrigerator to keep things cold. Despite it being an integral part of your kitchen, you may not give much thought to all the parts that keep your fridge humming along. Your refrigerator coils, for instance, have to work pretty hard and frequently end up full of dust and grime.
Once those coils are dirty, your fridge goes into overdrive, and that can eventually lead to this trustworthy appliance breaking down, causing you to need fridge repairs sooner than you’d like. But don’t despair—there’s an easy solution that will take less than an hour of your time. Here’s how to clean your refrigerator coils.

Start by getting all your supplies and tools ready to go. Next, you’ll need to slide the refrigerator out (you may need assistance here). You’ll probably need to be able to access the back of the fridge, so make sure it’s a good distance away from any walls. You can find your condenser coils in a few spots. If you have an old refrigerator (10 years or older), the coils are probably going to be along the back of the fridge. Newer models often have their coils at the bottom of the refrigerator. If you have trouble locating them, check your owner's manual for help.
Once the tools are ready and you can easily reach the coils, it’s time to unplug the refrigerator. Because cleaning the coils doesn’t take too long, all the contents inside the fridge will stay cold as long as you leave the door closed.
Start by using the wand attachment to gently vacuum all the obvious dirt and dust off the coils and any debris hiding underneath the refrigerator. Next, place the large piece of cardboard on the floor where you are working. Now use the coil cleaning brush to get in between the coils and loosen additional dirt and particles, which will fall onto the cardboard.
If you need to pop off the grill to reach the coils, give that a once-over with the vacuum wand attachment before putting it back on the refrigerator.
If the vacuum didn't get all of the gunk, a baby wipe is a great way to pick up the remnants. They work well because they're damp, helping them pick up stubborn bits of dust. Tip: If you don't have any baby wipes handy, a damp cloth works, too.
If you're a perfectionist, then there's one more step. Use a paintbrush to reach those nooks and crannies you couldn't get to with the baby wipe or cloth. Optional addition: If a paintbrush isn't doing the trick alone, pair it with some canned air. Spray the air in any stubborn places and then brush away the loosened dust.

Once you’ve brushed away as much gunk as possible, clean up the supplies and surrounding area. It’s a good idea to keep all the tools together since you’ll need them when you tackle the refrigerator coils again in a few months. Finally, slide your refrigerator back into its spot and plug it in.
If you don’t have the necessary tools on hand or don’t have the time to tackle this project, consider calling a local house cleaning pro to take care of this and other cleaning tasks. Many house cleaners will offer this service as an add-on, ranging from $50 to $100, depending on where the coils are located and how dirty they are. Not only will this take the task off of your plate, but you’ll be assured the job is done correctly.
Dirty coils force your refrigerator to work much harder than it needs to, causing higher energy bills.
Taking the time to clean them about every six months helps keep your refrigerator running at optimal capacity, making your fridge more energy efficient and less likely to need repairs.
Positive experience. As previously stated, the replacement/repair could not be completed (no fault of the plumbing tech) b/c misinformation was rec?d by property management maintenance. Thanks to the plumbing tech for your efforts. Appreciate you!
 The Waterworks
Carpet repair done well. Scheduling was easy. Showed up on time.
As usual with ECO, tech Jordan was outstanding, very professional, very knowledgeable, and very thorough with repairs made to tankless water heaters. Very highly recommend ECO!!!
 Eco Plumbers, Electricians, and HVAC Technicians
I would recommend this company to anyone! He showed up on time, was friendly, completed a very difficult repair on our dryer vent cover, was responsive, and pricing was extremely fair and competitive. I would have him back to do any of our repairs or cleanings without hesitation!
Everything from initial contact to completion was absolutely top notch. We contacted the business during off hours to leave a message, and the owner still reached out to feel out the issue within minutes. We were scheduled and repaired within 48 hours. I cannot say enough about the...
 Supreme brick & chimney
Ace Fireplace Services came to the rescue for my chimney repair. They were quick to pinpoint the issue and worked their magic to fix it. My chimney is now in excellent shape, and I'm a satisfied customer.
 Ace Fireplace Services
On Sunday 2/26 I requested quotes via Angi from 4 refrigerator repair businesses. Northwest Appliance responded to me Monday morning (2/27) and my refrigerator was repaired by noon the same day. Great communication, they did everything they said they would. The technician had the parts on...
Excellent! We were very satisfied with the service provided and the entire experience from start to finish. Very friendly and professional staff. I was able to instantly get in contact with them for a quote and the response time and overall communication remained quick and easy throughout the...
 Prime Cleaning Service
Description says they handle window repair including rotten hardwood - they called me back right away but didnâ t leave a voicemail. I followed up 3 days later and they said they donâ t do that kind of work.
I needed reliable, affordable help the day of with moving a couple of appliances and misc items. It was a relief to hear back from Tanzillo almost instantly that morning so I could stop looking and move on to plan and prepare. Every part of the move was friendly and professional. Next time I...
From average costs to expert advice, get all the answers you need to get your job done.
When determining your AC coil cleaning cost, you’ll need to factor in the type, cleaning method, and more. Our cost guide will show you what to expect.

Dirty, dusty refrigerator coils can make your fridge work harder to keep food cool, wasting energy. Here’s how 15 minutes of cleaning can improve efficiency.

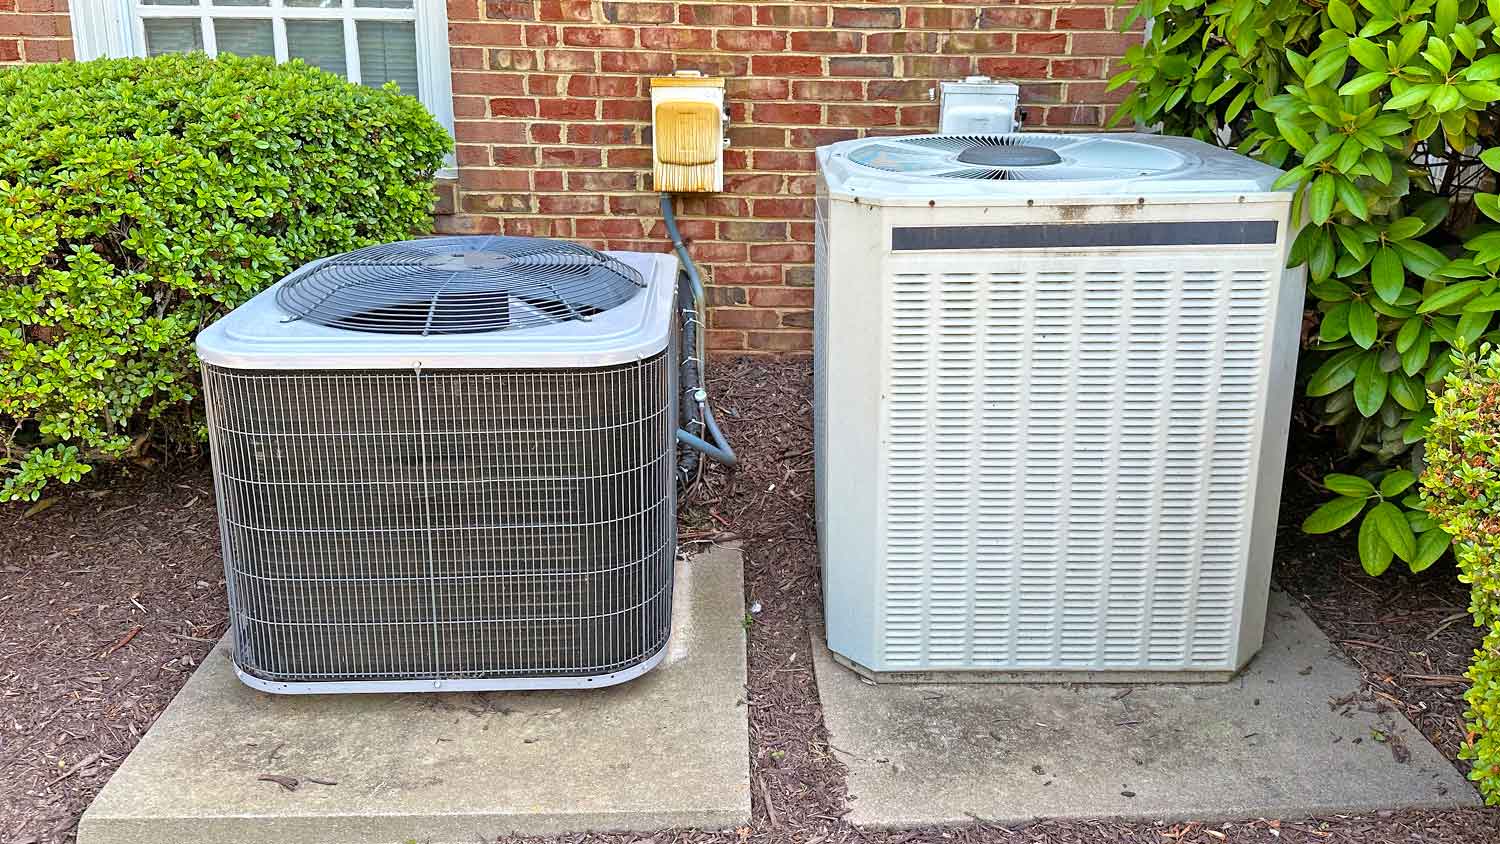
Having dirty evaporator and condenser coils works your HVAC system harder than it needs to. Here’s how to clean your air conditioner coils like a pro.

Follow these simple maintenance tips to avoid refrigerator repairs, and steer clear of costly service calls and the expense of replacing your refrigerator.

Don’t live with sticky spills and the odor of spoiled food. Learn how to clean a refrigerator to keep it sanitary, organized, and smelling great.

When your refrigerator runs continuously, it has to work harder, which can reduce its life span and efficiency. Use this guide to troubleshoot a running refrigerator.