
Looking to keep warm this winter without the high utility bills? Use this pellet stove installation cost guide to see what a natural heating solution will cost.
Here’s your step-by-step guide to this multi-part home appliance

The parts of the stove include the hopper for pellet storage, the auger that feeds pellets, and the burn pot where combustion happens.
Pellet stove installation costs average $2,300, and calling a pro early helps you avoid larger repairs when components like the blower or exhaust pipe fail.
Empty your ash pot regularly and store pellets in a cool, dry area to keep your stove running efficiently and burning cleanly.
Hiring a local wood stove repair professional provides reliable help with blower repairs, exhaust pipe issues, and proper ventilation setup for safe operation.
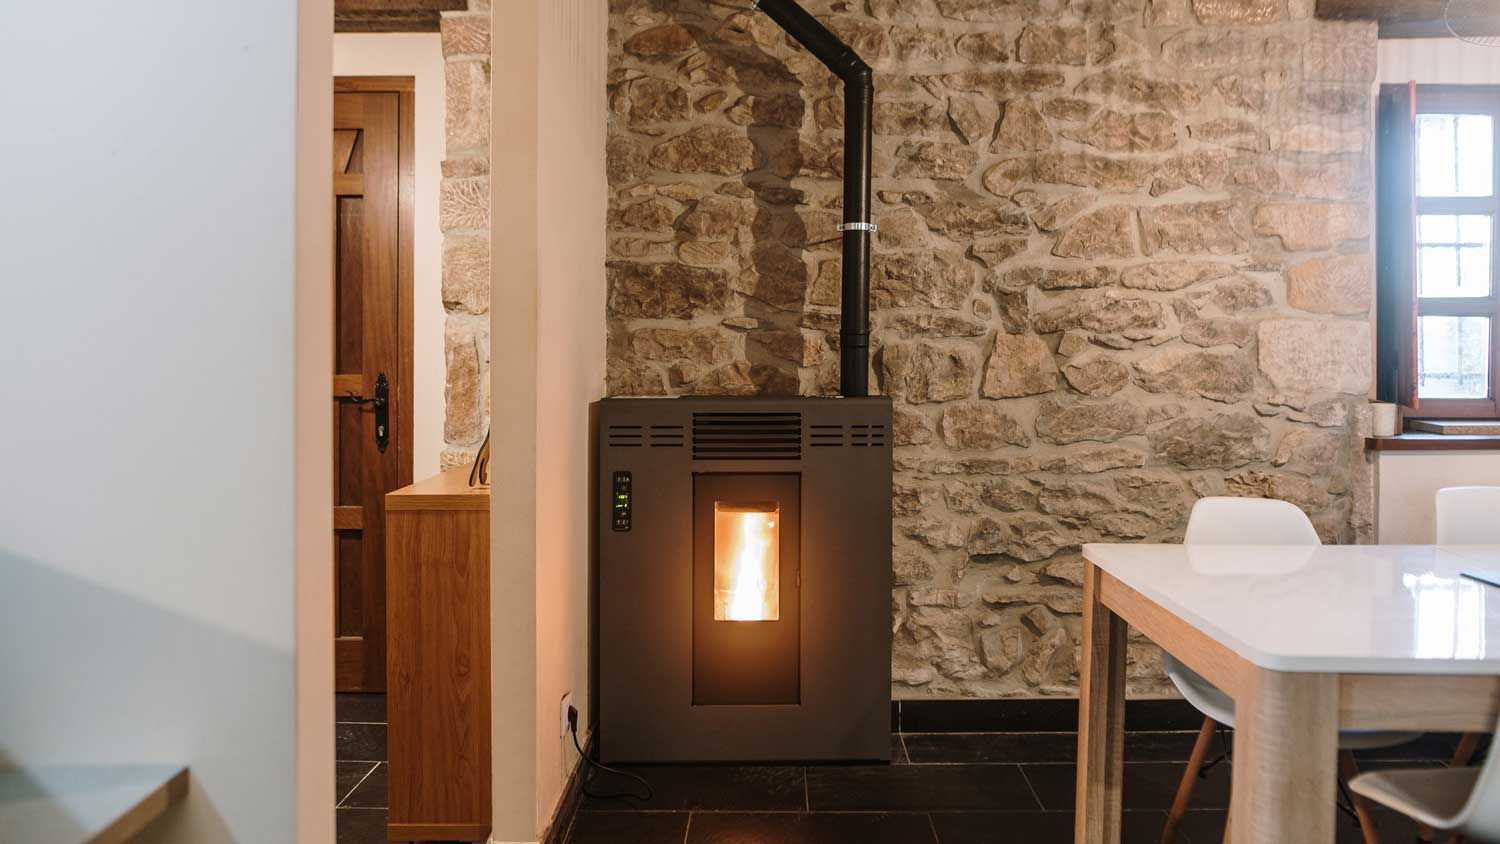
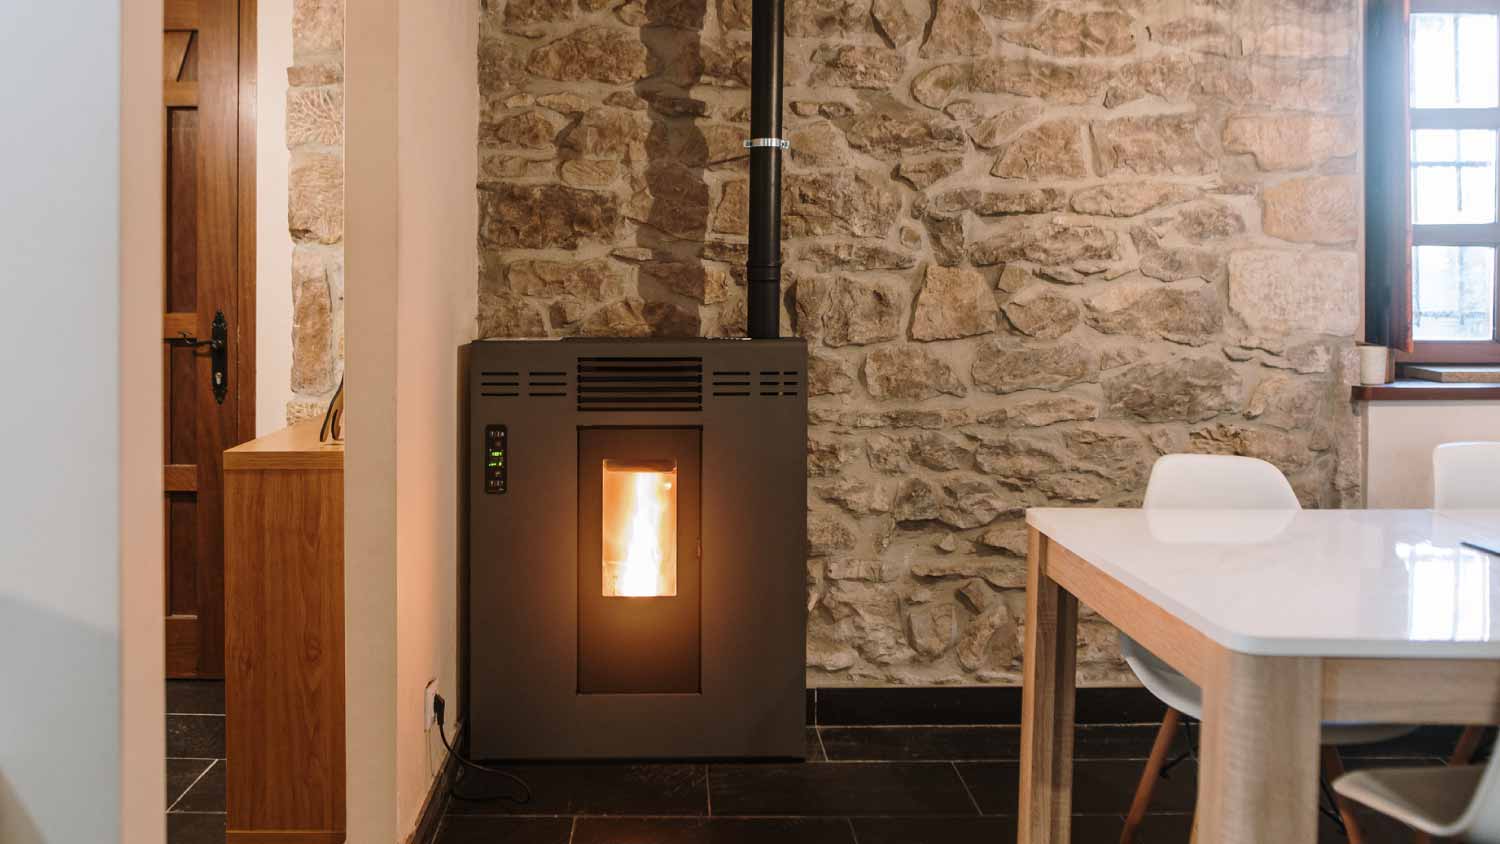
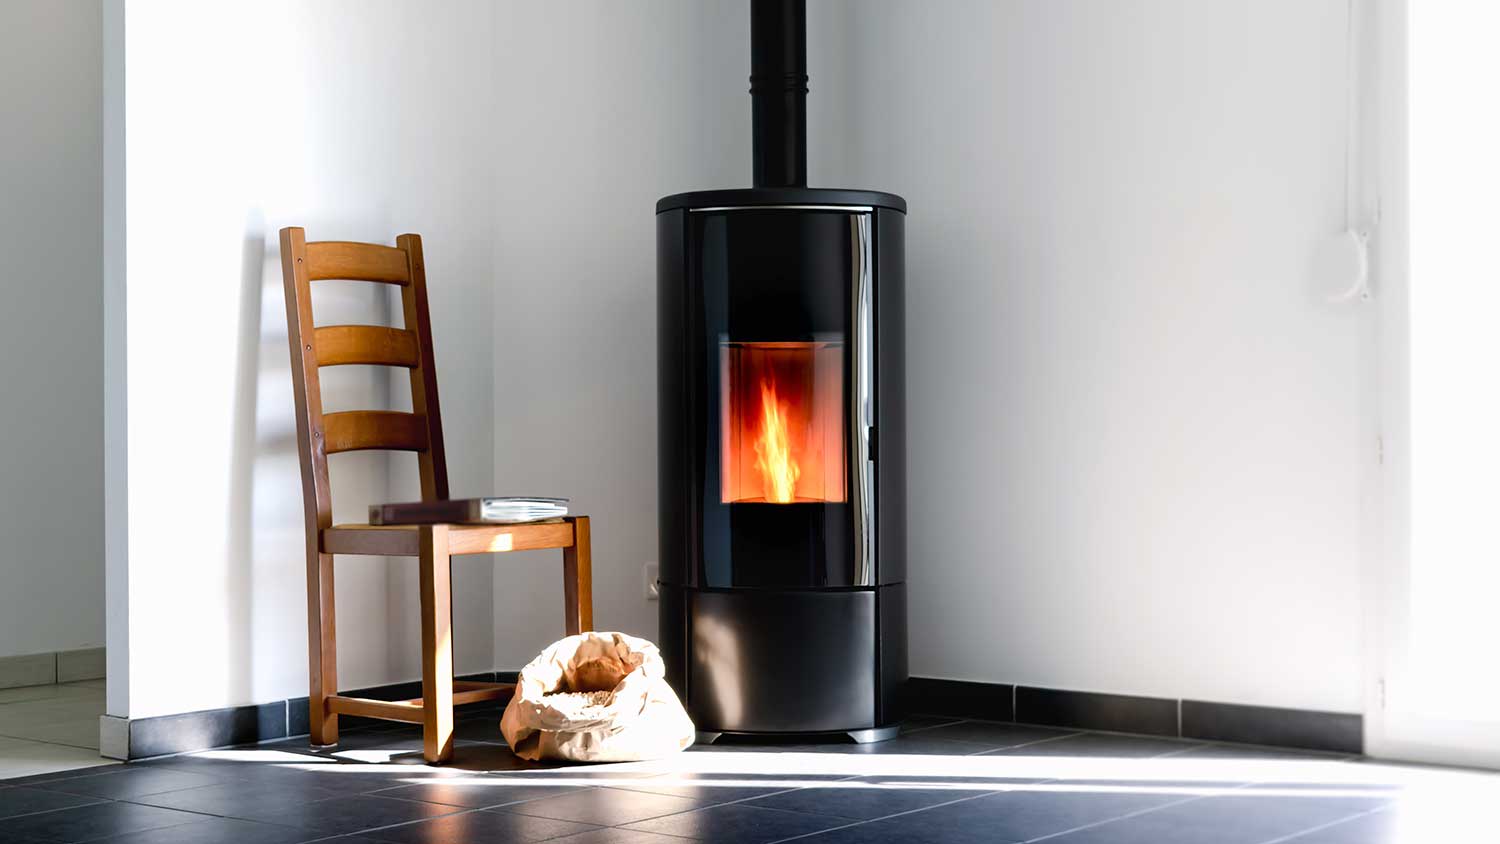
A pellet stove creates a cozy space, both in terms of aesthetic and literal warmth for your home. This appliance is made from various parts that all work together to turn wood pellets into heat and safely ventilate harmful byproducts created during heat production. Here’s what you need to know about the major pellet stove parts.

Learning about the parts of a pellet stove can help you operate and maintain your stove more efficiently. Here are some of the most important pellet stove parts to know about.

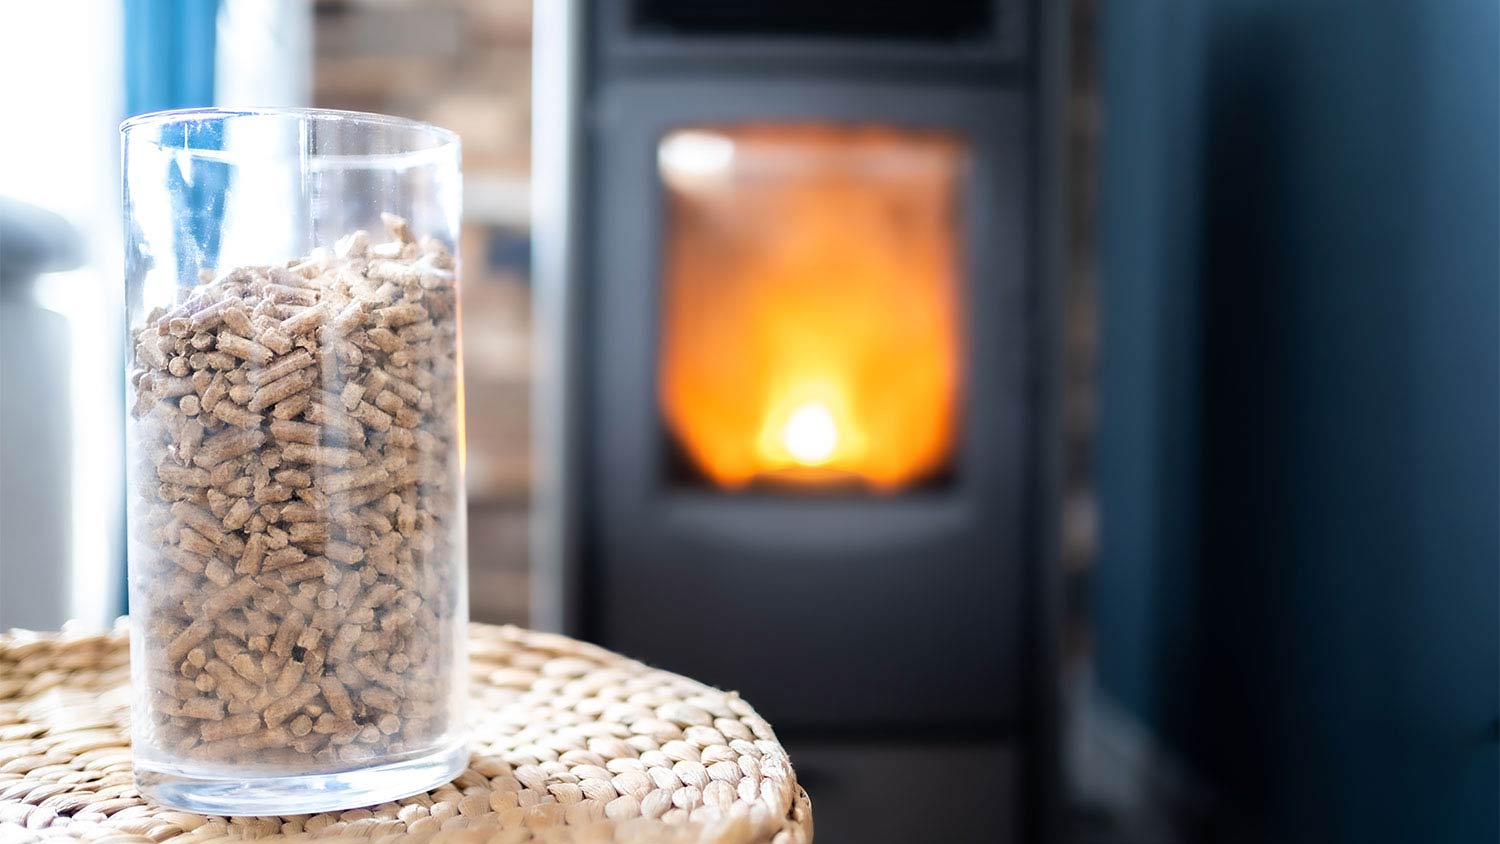
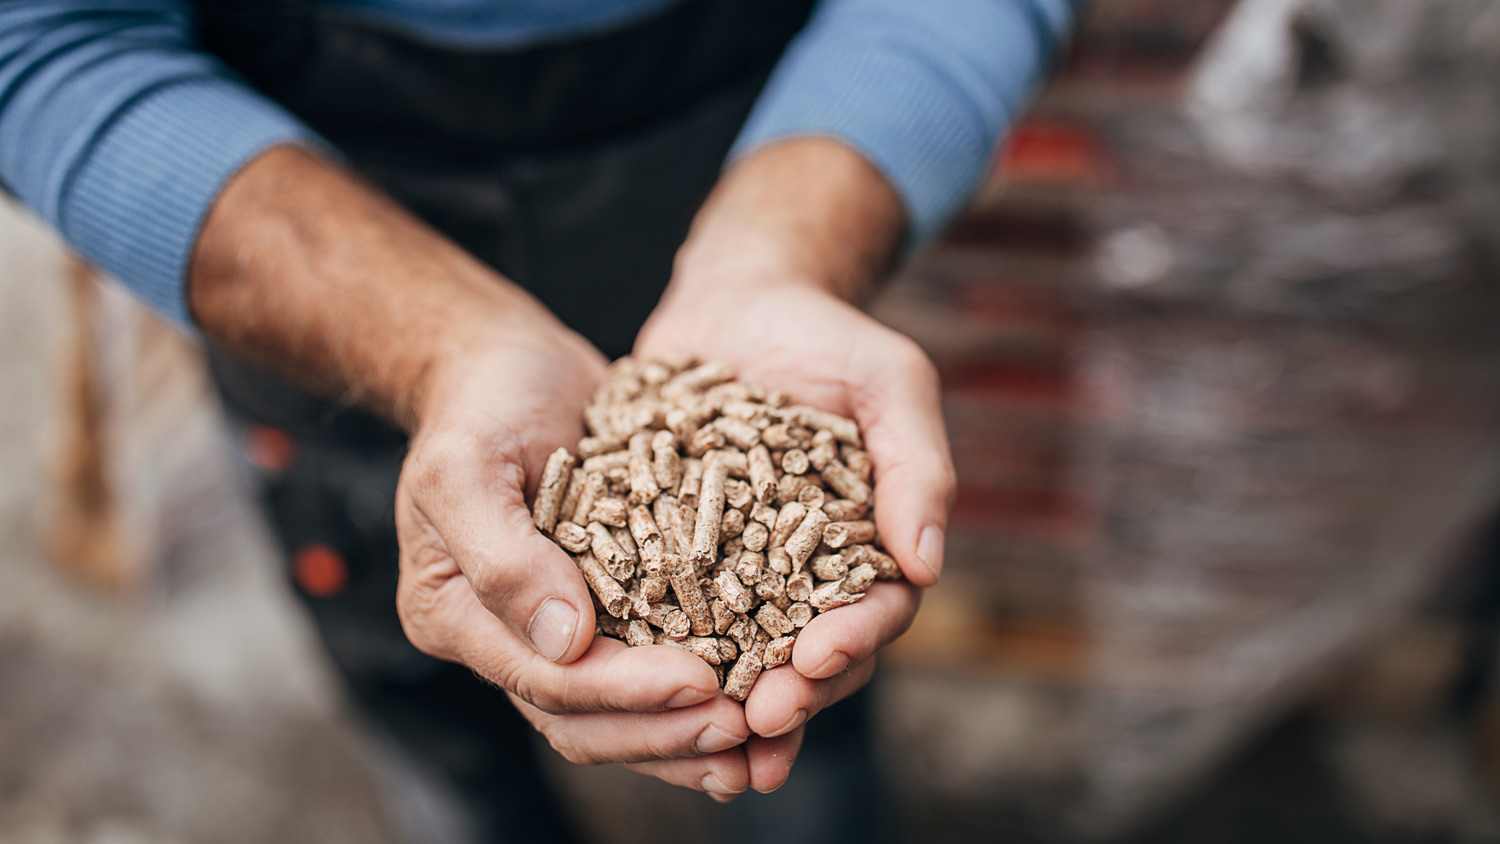
The hopper is the bin that holds the wood pellets before they get sent to the combustion chamber, also known as the burn pot. Depending on the design of your pellet stove, the hopper might be located at the top or the bottom of the appliance. Smaller stoves might hold around 30 pounds of pellets, while larger stoves can hold upwards of 100 pounds.
While your space will determine the size of your pellet stove, know that a stove with a larger hopper will require fewer pellet refills.
As its name suggests, the auger is a screw-like device that takes wood pellets at set intervals from the hopper and pushes them through to the burn pot.

The burn pot is the combustion chamber of the pellet stove. Once the auger deposits some of the pellets here, they will ignite and begin to produce heat.

As wood pellets burn, they create ash that has to be stored somewhere. That somewhere is in the aptly named ash pot. Although the ash produced by burning wood pellets is minimal, this component needs to be emptied and cleaned out regularly to ensure both safety and optimal performance.
As the action gets lively in the burn pot, the heat produced from the burning pellets travels across the heat exchanger into the blower.
The blower takes the heat from the exchanger and releases it into the room as warm air. Since fire needs oxygen to stay alive, the blower also takes in the cool air from the room and circulates it over the flames in the burn pot, allowing them to burn stronger and more evenly for a longer period of time.
As with any heat-producing appliance, proper ventilation is vital for pellet stoves. One of the advantages of a pellet stove is that you don’t need an elaborate chimney system as you would with a regular wood-burning stove or fireplace. However, you still need to ventilate your pellet stove through an exhaust pipe. This is a tube that connects to the blower and attaches to either the existing chimney on the rooftop or through the wall.
If you don’t already have a way to attach the exhaust pipe, it’s best to hire a local pellet stove pro to do the work for you.
Wood pellets are released at a rate determined by the thermostat. This thermostat might have a high-low setting or a digital format that allows you to set the stove to a specific temperature.
Some newer models of pellet stoves have sensors that detect the room’s temperature and prompt the appliance to act accordingly. This means that if the room is cold, more pellets will be pushed into the burn pot, and if the room is warm, the stove will attempt to maintain or regulate that temperature by stopping the pellets from going into the burn pot.
Your major responsibility in pellet stove maintenance will be to keep the ash pot empty and keep the exterior clean and clear of any furniture or other household items that can get in the way of its proper operation.
Store your pellets in a cool, dry area with no humidity. If they get damp, they won't burn as efficiently, so you'll have to spend more money to heat your home.

The pellets themselves may offer clues about your stove’s maintenance needs. If they’re burning easily with little ash, then things are working as they should. But if you find that you’re blowing through bags of pellets with little to show for it in terms of a warm, cozy home, then something might be amiss with one or more of the components.
It’s always best to call in a pro when repairing a major appliance, especially if you plan to use your pellet stove as your primary source of heat. Call an expert sooner rather than later so that the problem doesn’t get too bad (and costly).
The cost to repair a pellet stove depends on what component needs to be fixed or replaced. For example, if you stored your wood pellets in a humid space, you might only need to contend with the cost of new wood pellets to restore the proper function of your pellet stove. But if the blower isn’t working properly or you suspect something is wrong with the exhaust pipe, do not hesitate to call in a pro.
The average cost to install a pellet stove is $2,300. If you’re replacing a stove and feel confident that it will fit into the existing ventilation system for safe operation, then an experienced DIYer might attempt pellet stove installation. However, given that a pro will guarantee proper installation, the labor costs will be worth the peace of mind.
Positive experience. As previously stated, the replacement/repair could not be completed (no fault of the plumbing tech) b/c misinformation was rec?d by property management maintenance. Thanks to the plumbing tech for your efforts. Appreciate you!
 The Waterworks
Carpet repair done well. Scheduling was easy. Showed up on time.
As usual with ECO, tech Jordan was outstanding, very professional, very knowledgeable, and very thorough with repairs made to tankless water heaters. Very highly recommend ECO!!!
 Eco Plumbers, Electricians, and HVAC Technicians
I would recommend this company to anyone! He showed up on time, was friendly, completed a very difficult repair on our dryer vent cover, was responsive, and pricing was extremely fair and competitive. I would have him back to do any of our repairs or cleanings without hesitation!
Everything from initial contact to completion was absolutely top notch. We contacted the business during off hours to leave a message, and the owner still reached out to feel out the issue within minutes. We were scheduled and repaired within 48 hours. I cannot say enough about the...
 Supreme brick & chimney
Ace Fireplace Services came to the rescue for my chimney repair. They were quick to pinpoint the issue and worked their magic to fix it. My chimney is now in excellent shape, and I'm a satisfied customer.
 Ace Fireplace Services
On Sunday 2/26 I requested quotes via Angi from 4 refrigerator repair businesses. Northwest Appliance responded to me Monday morning (2/27) and my refrigerator was repaired by noon the same day. Great communication, they did everything they said they would. The technician had the parts on...
Excellent! We were very satisfied with the service provided and the entire experience from start to finish. Very friendly and professional staff. I was able to instantly get in contact with them for a quote and the response time and overall communication remained quick and easy throughout the...
 Prime Cleaning Service
Description says they handle window repair including rotten hardwood - they called me back right away but didnâ t leave a voicemail. I followed up 3 days later and they said they donâ t do that kind of work.
I needed reliable, affordable help the day of with moving a couple of appliances and misc items. It was a relief to hear back from Tanzillo almost instantly that morning so I could stop looking and move on to plan and prepare. Every part of the move was friendly and professional. Next time I...
From average costs to expert advice, get all the answers you need to get your job done.
Looking to keep warm this winter without the high utility bills? Use this pellet stove installation cost guide to see what a natural heating solution will cost.
Discover wood pellet cost estimates, including price per ton, bag, and key factors that impact your total heating expenses.

A pellet stove is an energy-efficient heat source. It can be a DIY project, but installation is technical and there are safety concerns, so it is best left to a professional.
What is a pellet stove? We explore this alternate heating source and how it offers efficient, eco-friendly heating for homes.
Are pellet stoves safe? Yes, as long as you ensure they’re properly installed, maintained, and inspected. Here’s how to stay safe with a pellet stove.
The average life span of stove pellets is about 1.5 pounds burned per hour, but that could increase or decrease depending on a variety of factors.