
Forget the spa. Steam showers bring the luxury right into your home. This guide will help you budget steam shower costs—no matter the specs.
If your shower whistles along while you sing and scrub, here’s why and how to solve it

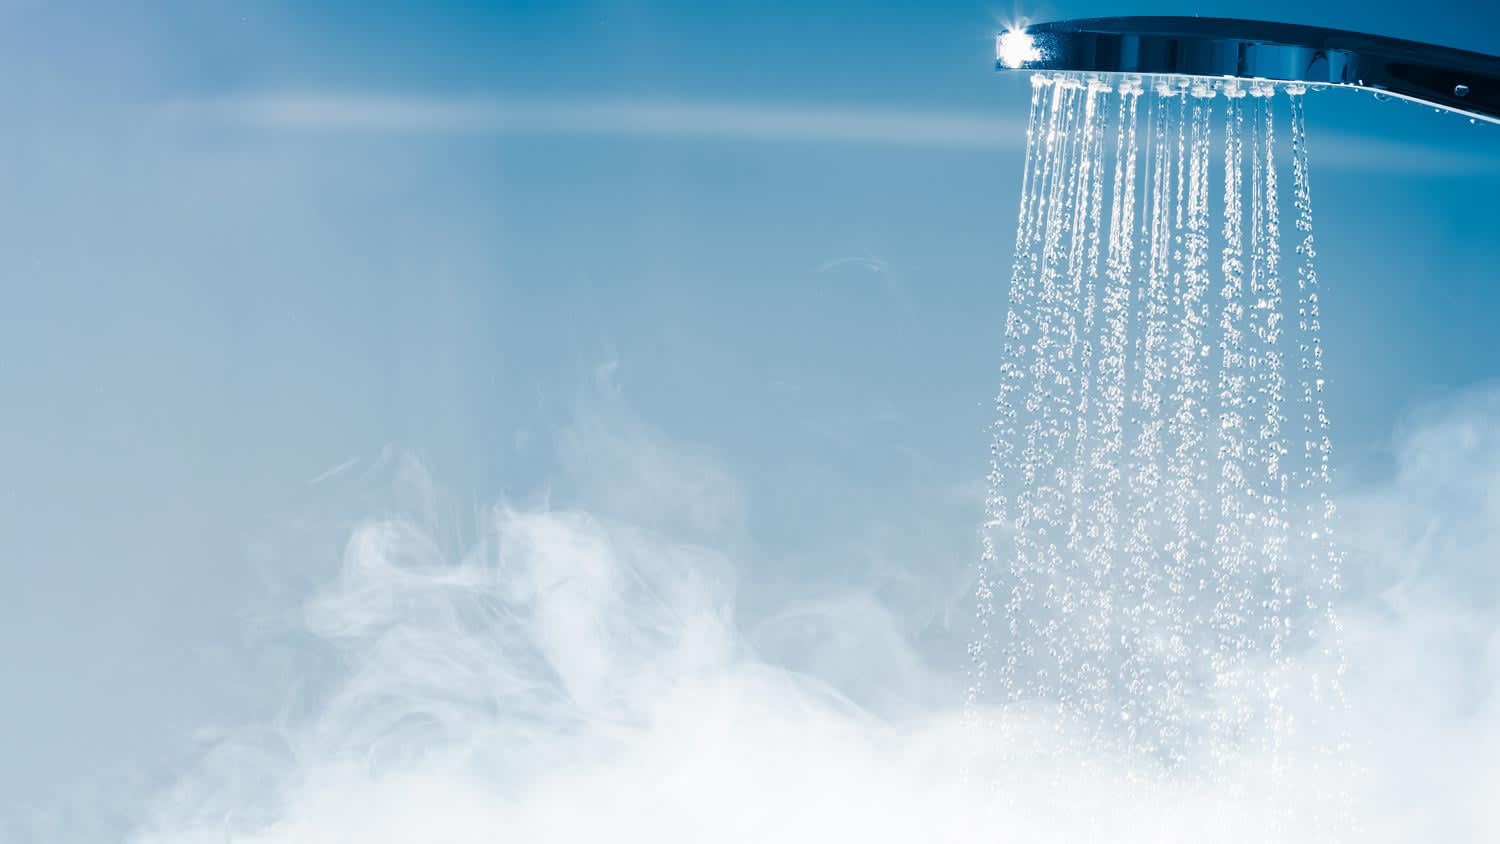
A high pitched noise from your shower indicates water forcing through a restricted opening, most often caused by mineral buildup clogging the showerhead nozzles.
Typical costs reach $350 for professional shower valve replacement when worn out components create whistling sounds during operation.
Your shower whistles when high water pressure pushes water through too quickly, even when there's adequate space for flow through the pipes.
Hiring a local plumbing professional provides reliable support with valve and cartridge replacements, helping you enjoy a quiet shower again.
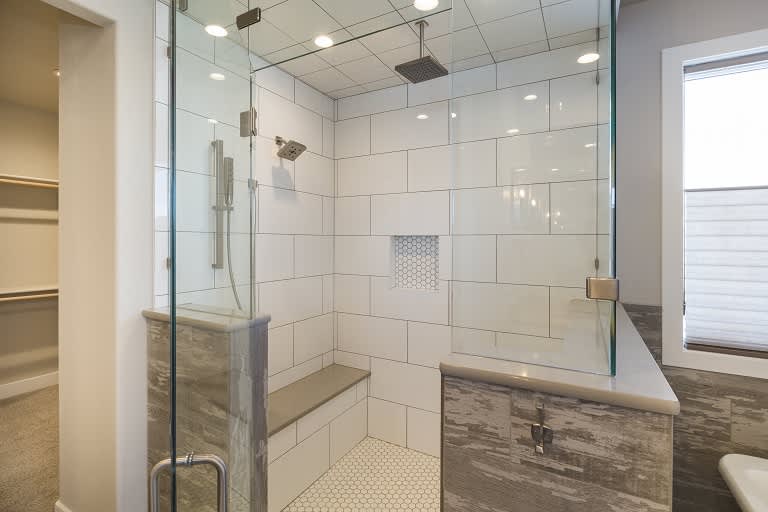
Forced water moving through a constricted opening causes a squealing or whistling sound. If your shower is whistling away, it could be an issue with the showerhead or supply pipe. Finding out whether restriction or pressure is causing the problem is the first step to enjoying a quiet shower again. Explore the following potential reasons behind your whistling shower and decide if you’re prepared to tackle the issue or if it’s time to call a plumber.
Start your search for a diagnosis by examining your showerhead. Take a close look at the nozzles or holes where the water comes out. Over time, mineral deposits like limescale can build up in these tiny holes and make it harder for water to pass through. If they are visibly clogged, you may have already found the cause of your noisy shower.
If you don’t know if you have a clogged showerhead, there’s a simple way to check. Simply disconnect your showerhead from the showerhead pipe and turn on the water. If you no longer hear a whistling sound, you know the showerhead is the source of the squealing.
You can replace the showerhead or remove the buildup with a simple DIY showerhead cleaning method, like soaking it in baking soda and vinegar.
But if you still hear the sound after removing the showerhead, it’s time to move down the line of potential culprits.
Just like water forcing its way through clogged nozzles on your showerhead creates a whistling sound, so does water rushing through a clogged showerhead pipe. This is the visible piece of pipe that’s directly attached to your showerhead and is also known as the shower arm.
Remove your showerhead and visually inspect the pipe for buildup. Carefully turn the arm up and pour in a bit of diluted white distilled vinegar. Allow the solution to sit for at least an hour before turning the arm back to its original position and allowing the solution to pour out. Turn the water back on to rinse the pipe and to check for whistling.

Restricted water flow isn’t the only cause of a squealing shower. When there’s adequate space for water to flow but it’s being pushed through too quickly, a squealing noise can occur.
If the water flow is suddenly too forceful during your shower or you run out of hot water within a few minutes, high water pressure could be to blame.
If it seems like the pressure throughout your entire home has increased, you may need to install or replace a water pressure regulator near the water meter entrance. This is a project often best left to professionals.
But if only the showerhead seems to have high water pressure, you can try removing the back of your showerhead and inspecting it for any slipped or worn-out parts.
Your shower has a valve behind the handles that helps you control the water. Over time, this valve can wear out and make your shower squeal. This may be what’s happening if your shower whistles when running hot water, but there are also other signs that your valve is failing. This includes leaking, low water pressure, no hot water, inconsistent temperature, and hard-to-turn handles. Most shower valves last 10 to 15 years.
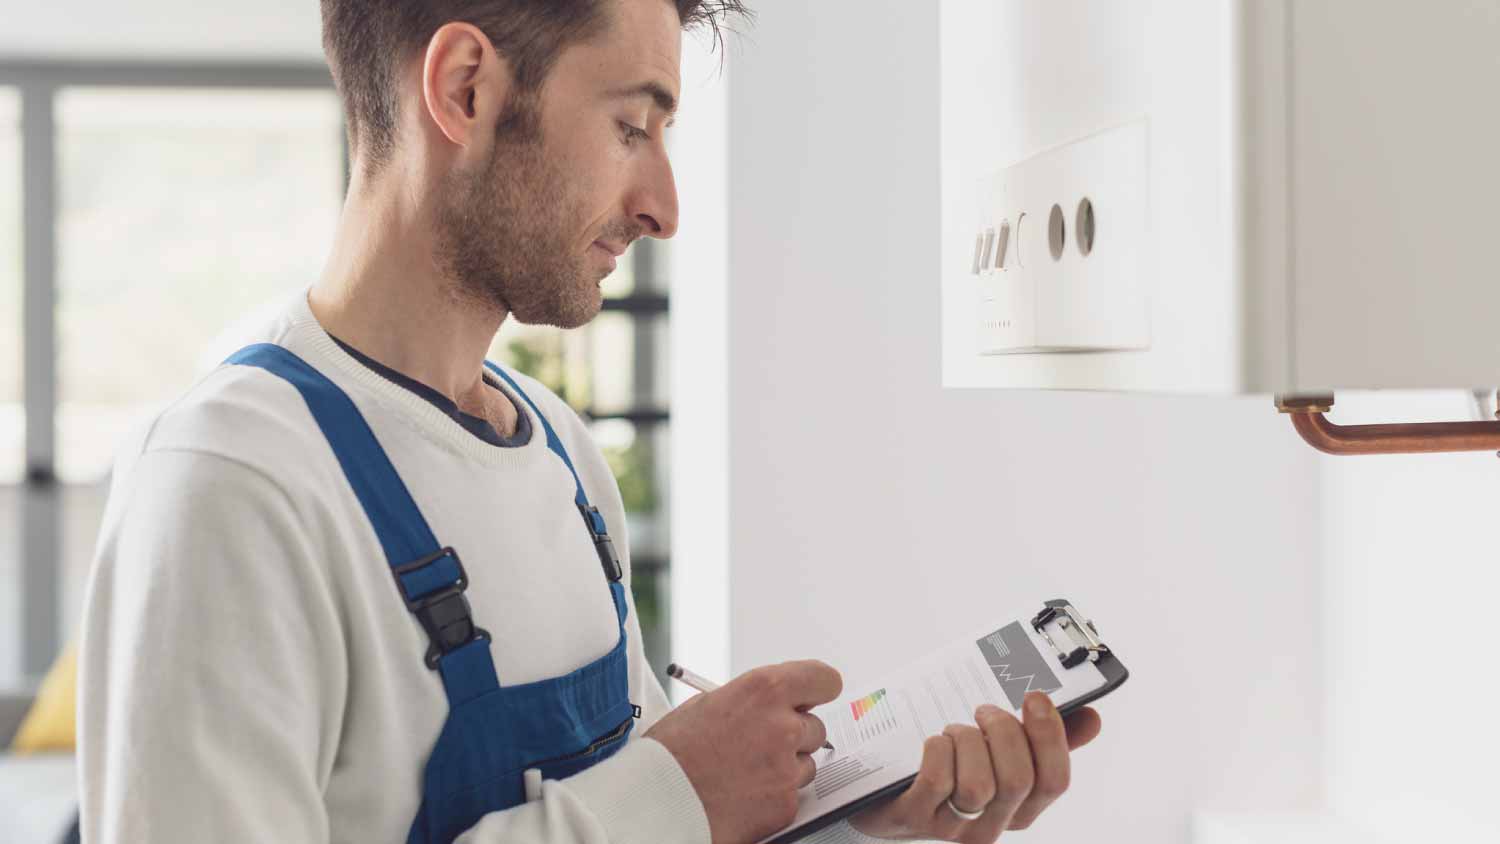
To fix the high-pitched noise from your shower, you’ll need to replace your shower valve. This is a complicated DIY for homeowners without plumbing experience, but it’s a relatively quick fix for a professional plumber.
Shower cartridges control the water temperature in showers with one handle. Like handle valves, shower cartridges can wear out over time and require replacement. If your shower cartridge is clogged, you may also notice sudden temperature changes, difficulty adjusting the temperature, leaking around the handle, water dripping from the showerhead or tub spout when not in use, and problems with water pressure.
The shower cartridge is part of the shower valve behind the shower wall. It controls the water flow and temperature and connects the shower valve to the handles.
If you have hard water and notice mineral buildup on your showerhead, this same mineral buildup can clog your shower cartridge. Check your other fixtures, and if the issue is limited to your shower, bring in a pro to replace the cartridge.
Because of its tricky location in behind the shower handle or in the wall, hiring a plumber to take on the job is the best option. The average shower valve replacement costs $350.
If your shower is also a bathtub, you have another type of shower valve known as a diverter valve. This is the pull handle you lift when you want the water to flow from the showerhead rather than from the faucet. If the whistling noise changes when you pull up or push down on the diverter valve, you can bet a failing washer in the valve is the culprit.
To stop the whistling, you’ll need to fix your shower diverter. If the washer is worn, you’ll need to take apart the diverter and replace it. Cleaning out the diverter can help if there’s a lot of mineral buildup, but the solution depends on the shower design. The best course of action is to call a pro.
In most cases, a squealing shower isn’t dangerous—it’s more of an annoyance, unless there’s a hidden leak or your pipes are corroded. This corrosion will only get worse over time and can potentially cause a major leak later down the line. In other words, it’s always a good idea to pay attention when your shower is squealing. If you clean the mineral buildup from your showerhead and still notice the problem, call a plumber near you.
Keep in mind that unless you have experience and know exactly what you’re doing, you should always leave plumbing to a pro. One mistake during a DIY repair can lead to problems that cost more to fix than hiring a plumber in the first place.
The best way to fix a high-pitched noise from your shower is to prevent it, but you can’t always predict when a part will wear down. Regular maintenance is key. Here are three things you can do to prevent a noisy shower:
Get rid of mineral buildup: Hard water is an enemy of your pipes. To prevent whistling from hard water buildup, clean your showerhead every month. You can detach it and soak it in a solution of 3 parts vinegar and 1 part water. Clean inside the shower arm as well. If mineral buildup continues to be a problem, consider installing a water softener.
Regulate water pressure: Since high water pressure issues cause whistling, you may be able to prevent the noise by installing a water pressure regulator. Cleaning out the aerator in your showerhead can also prevent whistling by improving the flow of water.
Replace parts when you notice wear: Parts of your shower can wear down, particularly the valves. This includes the thermostatic mixing valve (that mixes hot and cold water) behind the shower controls and diverter valves that lead to a tub spout or handheld sprayer. If you notice signs of a failing valve component, bring in a pro for a repair.
Positive experience. As previously stated, the replacement/repair could not be completed (no fault of the plumbing tech) b/c misinformation was rec?d by property management maintenance. Thanks to the plumbing tech for your efforts. Appreciate you!
 The Waterworks
If you want to pay the most exorbitant prices possible for your job, this is the company for you. “By the job” pricing is a rip-off, at least how these people use it. Every job is plugged into a category and prices are set by category. You might have a job that takes half an hour or one that...
 Benjamin Franklin Plumbing
Cole has been handling plumbing and general contracting for our four properties over the past three years, and he’s always done a great job. Most recently, he installed a sink and countertop in our retail store where none existed before, and it turned out exactly how we needed. He’s...
 ANB Renovations LLC
Matt is a consummate professional. The work turned out to be far more difficult than expected and rather than turn the job down, Matt rose to the occasion and completed a near impossible task. I can not recommend Greene's Plumbing Service more highly. On a scale of 1-5 I would give Matt a...
Involved an extensive bathroom remodel, including removing tub & installing walk in shower, new drywall, custome tile work to ceiling, plumbing, etc. Overall, job was done on time and on budget. Nick & his team were very professional and had high attention to detail. Quality was great. Highly...
 Stamos Flooring and Remodeling LLC
Awesome company. Had a jacuzzi tub taken out and replaced with huge walk in shower with partial glass enclosure. Onyx to the ceiling with a decorative border, moved plumbing and installed hand held shower, new ceiling, flooring, and paint. Replaced window with glass block. Everything was done...
 Columbus Bath Design
The initial quoted price from a walk-through seemed high, but we discussed that the quote represented worst case scenario (re-wiring to two floors) and we were excited about the opportunity to have the work done in a timely manner with closing for fire safety reasons, etc. When the job was...
Initially, I called the Service People to have a leaking garbage disposal replaced. I had purchased a special deal through Angie's List: $79 for $200-worth of plumbing services. <br /> When I went to schedule the work, the earliest date I could get through Angie's List was after the upcoming...
This company did a very good job on the brick wall and it looks just amazing. The staff was always professional and was practically OCD on how the bricks were stacked and how they were laid. Although it took longer than expected, I am willing to sacrifice time over perfection anyday. The...
 My Handy Mate LLC Improvement & Remodeling
<p>I am so glad we called Rotor-Rooter. I was hesitant to call them because we usually prefer to give business to local providers. But when we had sewage back up in our basement on a Saturday evening, I had a hard time getting a hold of someone, not to mention the high weekend/evening rate...
From average costs to expert advice, get all the answers you need to get your job done.
Forget the spa. Steam showers bring the luxury right into your home. This guide will help you budget steam shower costs—no matter the specs.

Dealing with gurgling from your toilet when you shower? You probably have an issue with your venting system. Learn how to diagnose and fix the problem.
Sediment buildup and loose valves are common reasons for a hot water heater that’s making noise. Here are the most common causes and their fixes.
Shower steam can take a toll on your bathroom paint. Learn how to pick the best paint types to resist moisture and prolong your paint's lifespan.
Are you wondering why your shower is only getting hot water? It’s an uncommon issue but often an easy one to fix. Learn what causes it and how to fix it.
Why is my bathroom fan so loud? If your bath fan is making noise, the fix is usually simple. Learn why it’s being noisy and what you can do about it.