
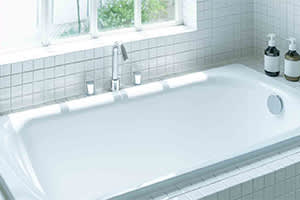
The cost of installing a bathtub or a shower liner depends on the type of tub or shower, size, and features. This guide will show what you can expect to pay for your project.
Let the shower pan liner save the day

The shower pan liner is a waterproof barrier between the shower pan (the part you stand on when showering) and the mortar (or pre-slope product) that prevents leaks and water damage. If you’re thinking of DIYing this, it’s not a beginner's project and even experienced DIYers might regret taking it on. However, if you feel confident in your skills and have the time and patience to tackle this one, here’s how to install a shower pan liner—and if you change your mind, you can always hire a pro.

Place the drain base in the 4 ½-inch hole over the drainpipe. Use an electric drill to screw the flange of the drain base in place. Preassembled drains require removing the clamping ring by loosening the bolts holding it in place. Whether or not the shower drain base is preassembled, do not remove the drain plug.
The slope ensures that water moves toward the drain at an appropriate rate. The rule of thumb is ¼-inch of slope per foot. You can use mortar to build the slope or premanufactured pre-slope products, which are kits with tile pieces you can cut to fit the shower space. Both methods require a clean, dry subfloor.
Mix the mortar according to the manufacturer’s instructions. Pour the mortar onto the subfloor, starting at the wall and pouring toward the drain base. You want to create a ¼-inch drop per foot toward the drain base. Allow the mortar bed to cure, which can take 24 to 48 hours, depending on the manufacturer’s instructions.
Pre-slope products are kits that come with tiles already sloped toward a drain. The product should match the drain location. Some are designed for center drains, while others are made for showers with a drain at either end.
Measure from the center of the drain to the edge of the shower in all four directions. Cut the product to dimensions that match your shower and install it. The manufacturer’s instructions may suggest using silicone caulk to fill gaps or an adhesive to secure the tiles.
Installation varies with the manufacturer, so read through all the instructions to ensure a good fit.
Before proceeding, ensure the mortar, caulking, or adhesives used to make the slope are completely dry. Do not proceed until they are. Drying times can vary with weather and humidity levels. For example, curing can go faster if temperatures are hot and dry.
You need one or two pieces of pan liner to wrap over the top of the curb. For showers with two curbs, you’ll need two pieces. If you have two curbs, measure them independently in case they have different dimensions.
Measure the outside and inside height of each curb and the top width. Add these three numbers together to get the total curb width. Next, measure the curb length. Cut a piece of pan liner to fit the total curb width by the curb length.
Staple or nail the cut piece of pan liner over the curb's interior and exterior sides and the top. This piece will act as an extra water barrier.

Next, you’ll measure the pan bed or the space in which the shower pan will be installed. Measure 5 inches from the top of the curb, and mark the wall framing using a pencil. Measure from that mark to the mortar bed to find the application height. Now, measure the interior width and length of the mortar bed.
Use the measurements as follows to determine how much pan liner to cut:
2 x Application Height + Mortar Bed Length = Total Length
Application Height + Total Curb Width + Mortar Bed Width = Total Width
Lay the liner on a flat surface. Mark the total length and total width measurements from the previous step to mark and create a cutting guide. Use a utility knife to cut the pan liner.
Remove the drain plug. For each wall-facing edge, create a fold directed inward to match the application height. For example, if the application height is 10 inches, fold the wall-facing edge inward 10 inches. Lay the pan liner over the mortar bed with the fold point placed in the seam where the wall and mortar meet. Make sure the drain base is covered, and center the pan liner.
Locate the drain. Use a utility knife to cut an “X” over the drain hole and a small “X” over each of the bolts for the clamping ring.
To secure the pan liner, follow these steps:
To access the drain base, fold over one-half of the pan liner while keeping the other half in place.
Apply silicone caulk around the drain’s inner flange.
Put the folded-over portion of the pan liner back in place.
Press the bolts through each “X” from the last step.
Reattach the clamping ring over the bolts and tighten.
Carefully cut any pan liner material that’s covering the drain.
Replace the drain plug.
To attach the pan liner lengthwise, staple the liner to the wall framing up to the corners. Staple near the top of the liner to avoid puncturing it near the base.
At the corners, apply PVC adhesive for PVC liners or bonding adhesive for CPE (chlorinated polyethylene) liners to the extra pan liner material at the corners. Adhere the excess material to itself by folding it together, creating a triangle shape. Then, staple this excess material to the wall. Repeat this process for all corners along the wall framing.
The curb is the raised area around the exterior of the shower that is not along the wall. However, there are two points where the curb meets and extends from the wall. To provide an extra water barrier, you will need a piece of liner at each of these points.
Cut two extra pieces of scrap pan liner to adhere at the top of the curb where it meets the wall framing. Each piece should be about 6 inches long and as wide as the curb, but measure your shower to be sure. Use adhesive to attach each piece, with half of the piece on the wall frame and the other half on the top of the curb.
Make a small vertical cut on the pan liner’s inside corner. Apply adhesive and attach the pan liner over the scrap liner you attached in the previous step. Repeat this process at the other corner where the curb meets the wall framing.
Staple or nail the liner to the wall frame, staying near the top as much as possible. Before stapling, press the liner toward the seam where the mortar bed meets the wall frame.
Apply adhesive to the curb and liner according to the directions. Adhere the pan liner to both sides and the top of the curb. Then, staple the pan liner to the outside of the curb.
Use adhesive to install dam corners anywhere the curb meets the wall frame. Dam corners are made of PVC and provide reinforcement. Corner junctions can be a weak spot, and the dam corner adds strength and extra waterproofing at a point where water gathers.
Let the adhesive cure overnight or according to the manufacturer’s instructions.
Pour water into the shower bed, check the water level, and leave it for two to four hours. Watch the water level. If the liner is waterproof, the water level should stay the same, and there shouldn’t be any wet spots outside the shower area. Remove the drain plug to drain the water.
Installing a shower isn’t easy, and this is just one challenging part of an already advanced home improvement project. Mistakes can lead to water seeping through the liner and damaging the underlying structure, which means having to remove the shower to repair the wall, subfloor, and surrounding structure. If the leak isn’t caught in time, mold and mildew can grow and create potential health risks.
Here are some common mistakes to watch out for:
Inadequate pre-slope: Without adequate pre-slope, you won’t have proper drainage and the water won’t flow toward the drain.
Not extending the liner high enough: The liner should extend at least 6 inches up the wall.
Walking on the liner: Avoid walking on the pan liner as much as possible to prevent punctures.
Skipping the flood test: You might be confident in your work, but you don’t want to install the shower pan without testing the liner first. If there’s a leak, it’s much easier to fix before the shower pan is installed.
Not keeping the drain base plugged: If you don’t have a drain plug, put duct tape over the hole.
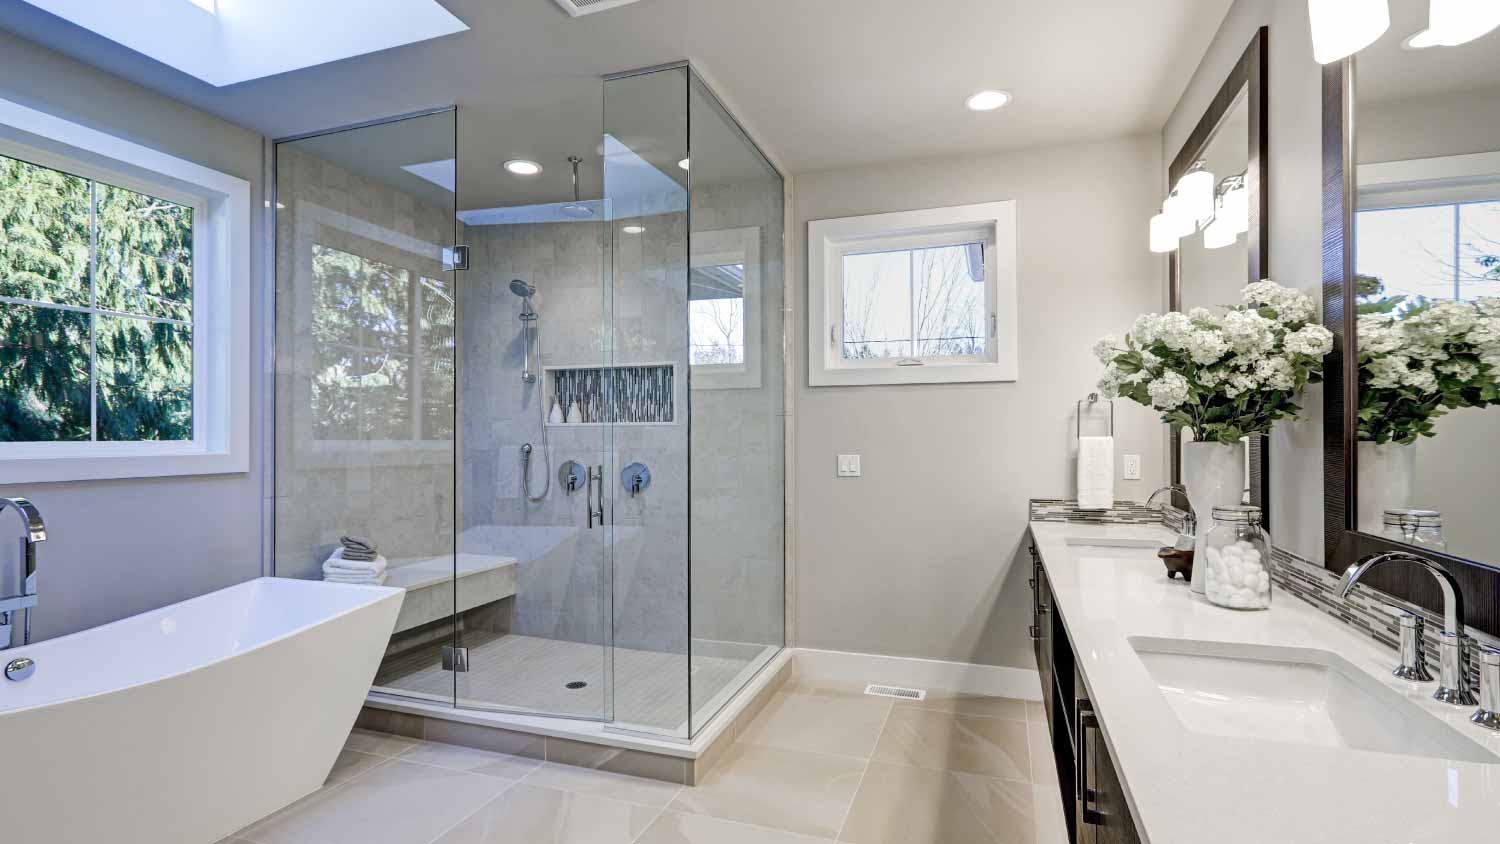
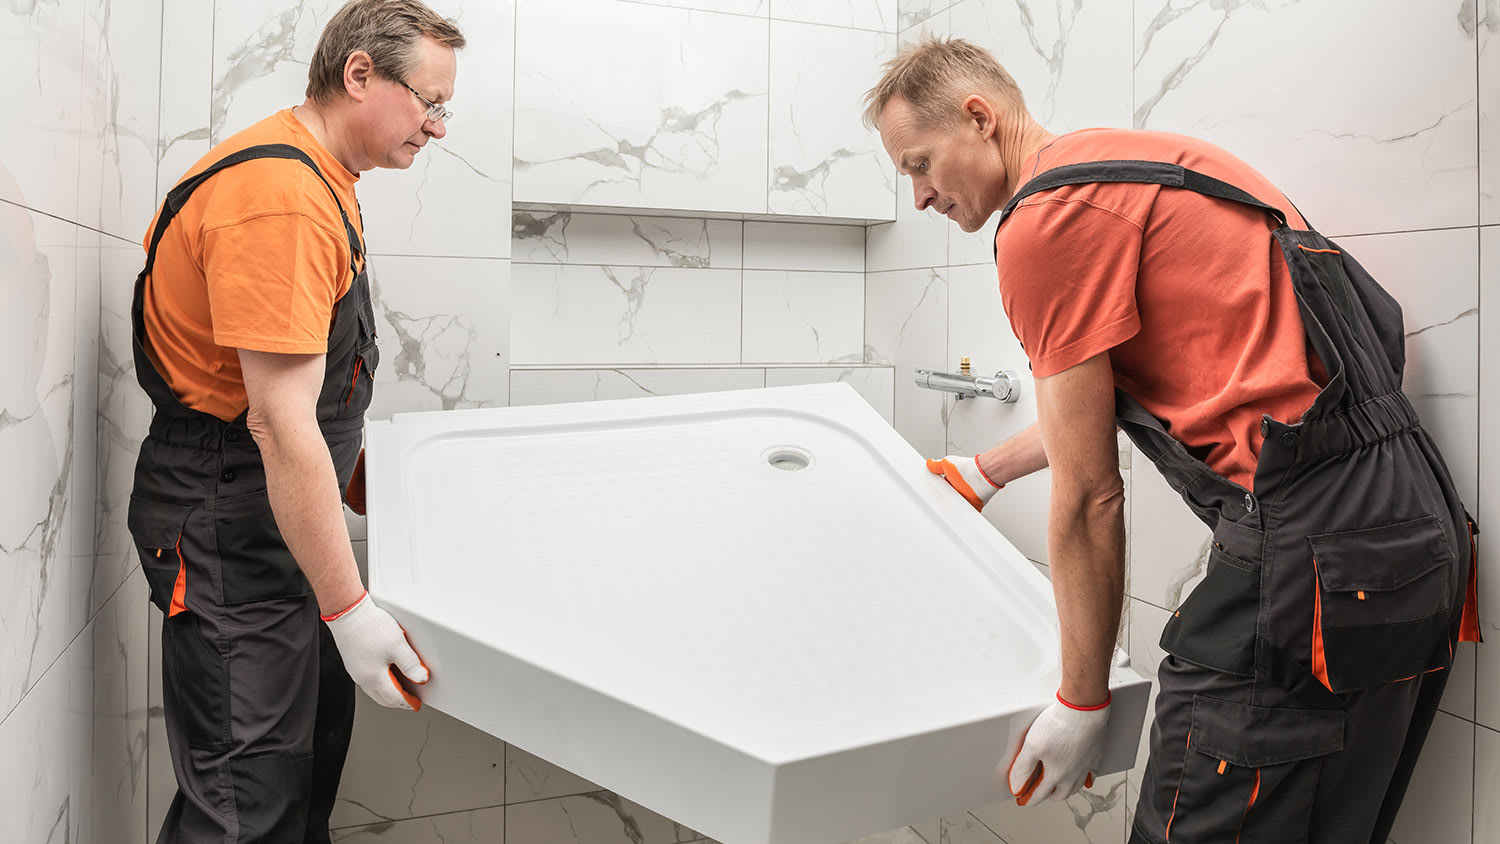
You can't just drop bathtubs and showers into place. The floor has to be perfectly level, the drain has to line up exactly, and the whole thing has to be watertight. Miss any of these steps, and things get expensive.
You can save hundreds of dollars on shower installation and shower pan replacement costs by putting in a shower pan liner yourself. However, the complexity and difficulty of the project, as well as the potential cost of repairs if a mistake is made during installation, make this a project you should leave to a local shower installer.
You’ll pay more overall when you hire a pro, but you’ll have peace of mind that the slope is correct and the pan liner is watertight. Proper installation protects your home from water damage, mold or mildew growth, and costly repairs that could require removing the shower to repair the underlying structure. Pros may also offer guarantees on their work that can protect your investment for a period of time.
Positive experience. As previously stated, the replacement/repair could not be completed (no fault of the plumbing tech) b/c misinformation was rec?d by property management maintenance. Thanks to the plumbing tech for your efforts. Appreciate you!
 The Waterworks
If you want to pay the most exorbitant prices possible for your job, this is the company for you. “By the job” pricing is a rip-off, at least how these people use it. Every job is plugged into a category and prices are set by category. You might have a job that takes half an hour or one that...
 Benjamin Franklin Plumbing
Cole has been handling plumbing and general contracting for our four properties over the past three years, and he’s always done a great job. Most recently, he installed a sink and countertop in our retail store where none existed before, and it turned out exactly how we needed. He’s...
 ANB Renovations LLC
Matt is a consummate professional. The work turned out to be far more difficult than expected and rather than turn the job down, Matt rose to the occasion and completed a near impossible task. I can not recommend Greene's Plumbing Service more highly. On a scale of 1-5 I would give Matt a...
Involved an extensive bathroom remodel, including removing tub & installing walk in shower, new drywall, custome tile work to ceiling, plumbing, etc. Overall, job was done on time and on budget. Nick & his team were very professional and had high attention to detail. Quality was great. Highly...
 Stamos Flooring and Remodeling LLC
Awesome company. Had a jacuzzi tub taken out and replaced with huge walk in shower with partial glass enclosure. Onyx to the ceiling with a decorative border, moved plumbing and installed hand held shower, new ceiling, flooring, and paint. Replaced window with glass block. Everything was done...
 Columbus Bath Design
The initial quoted price from a walk-through seemed high, but we discussed that the quote represented worst case scenario (re-wiring to two floors) and we were excited about the opportunity to have the work done in a timely manner with closing for fire safety reasons, etc. When the job was...
Initially, I called the Service People to have a leaking garbage disposal replaced. I had purchased a special deal through Angie's List: $79 for $200-worth of plumbing services. <br /> When I went to schedule the work, the earliest date I could get through Angie's List was after the upcoming...
This company did a very good job on the brick wall and it looks just amazing. The staff was always professional and was practically OCD on how the bricks were stacked and how they were laid. Although it took longer than expected, I am willing to sacrifice time over perfection anyday. The...
 My Handy Mate LLC Improvement & Remodeling
<p>I am so glad we called Rotor-Rooter. I was hesitant to call them because we usually prefer to give business to local providers. But when we had sewage back up in our basement on a Saturday evening, I had a hard time getting a hold of someone, not to mention the high weekend/evening rate...
From average costs to expert advice, get all the answers you need to get your job done.
The cost of installing a bathtub or a shower liner depends on the type of tub or shower, size, and features. This guide will show what you can expect to pay for your project.
Shower pan replacement costs $530 to $2,700. Find out how material, shower size, labor, and more affect the final project budget.
Shower installation costs depend on size, style, and materials. No matter the budget, this guide can help you plan your project and even save a few bucks.
Who to hire for shower pan installation? See which pro to call, when a handyman fits, and how pros get it done. Start your project confidently.

Finding the right pro to install your shower pan? Learn how to hire a qualified installer, what questions to ask, and ensure a leak-free result.

Knowing how to install a shower requires some skill and experience, but a shower enclosure installation is a doable DIY project if you follow some basic steps.