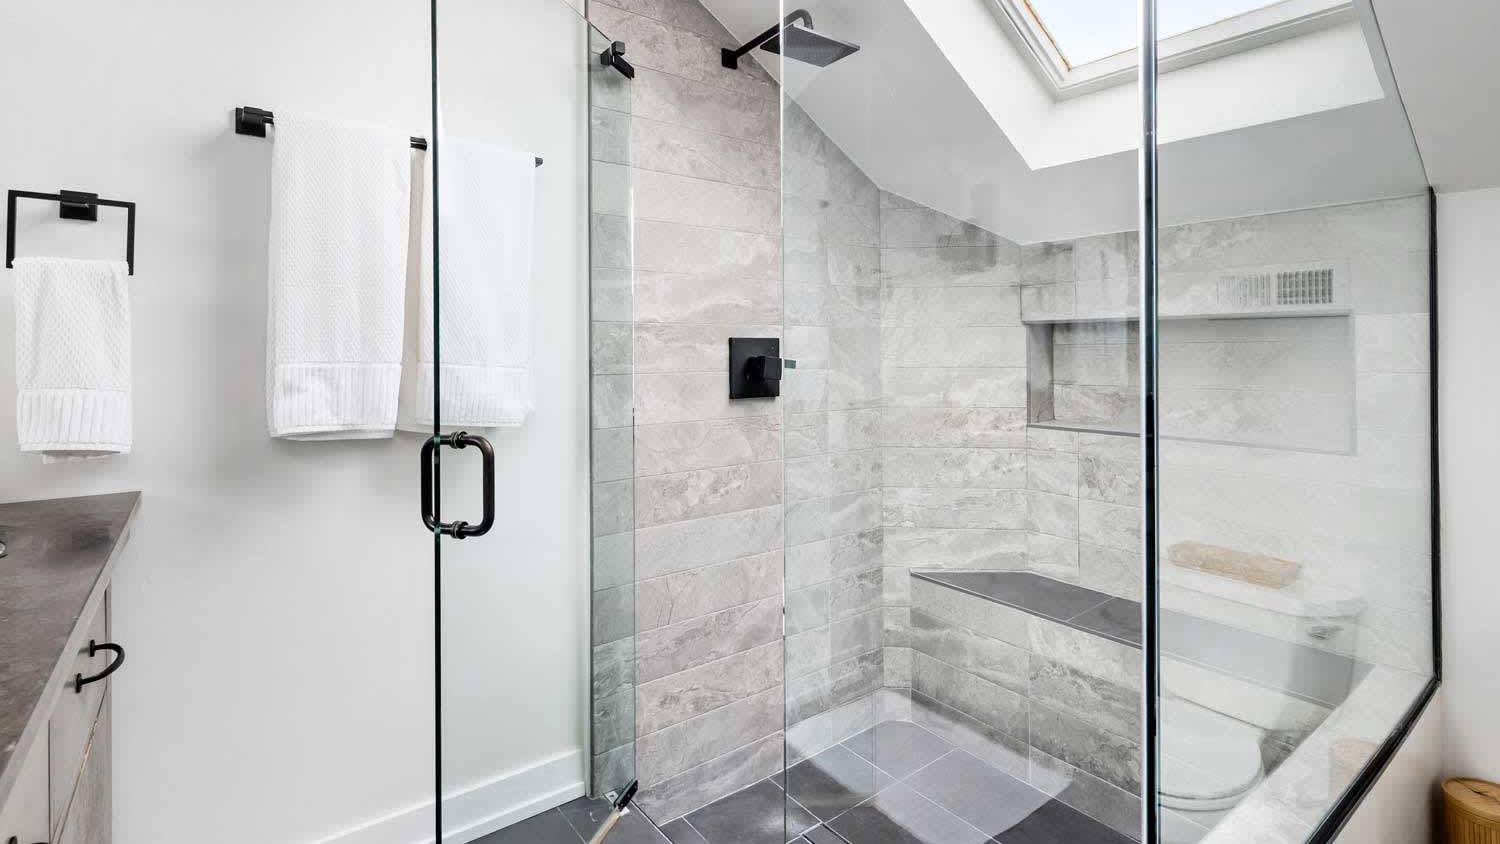
Thinking of getting rid of that old bathtub and replacing it with a walk-in shower? This walk-in shower cost guide will help you plan your budget.
Start your bathroom’s reinvention this weekend

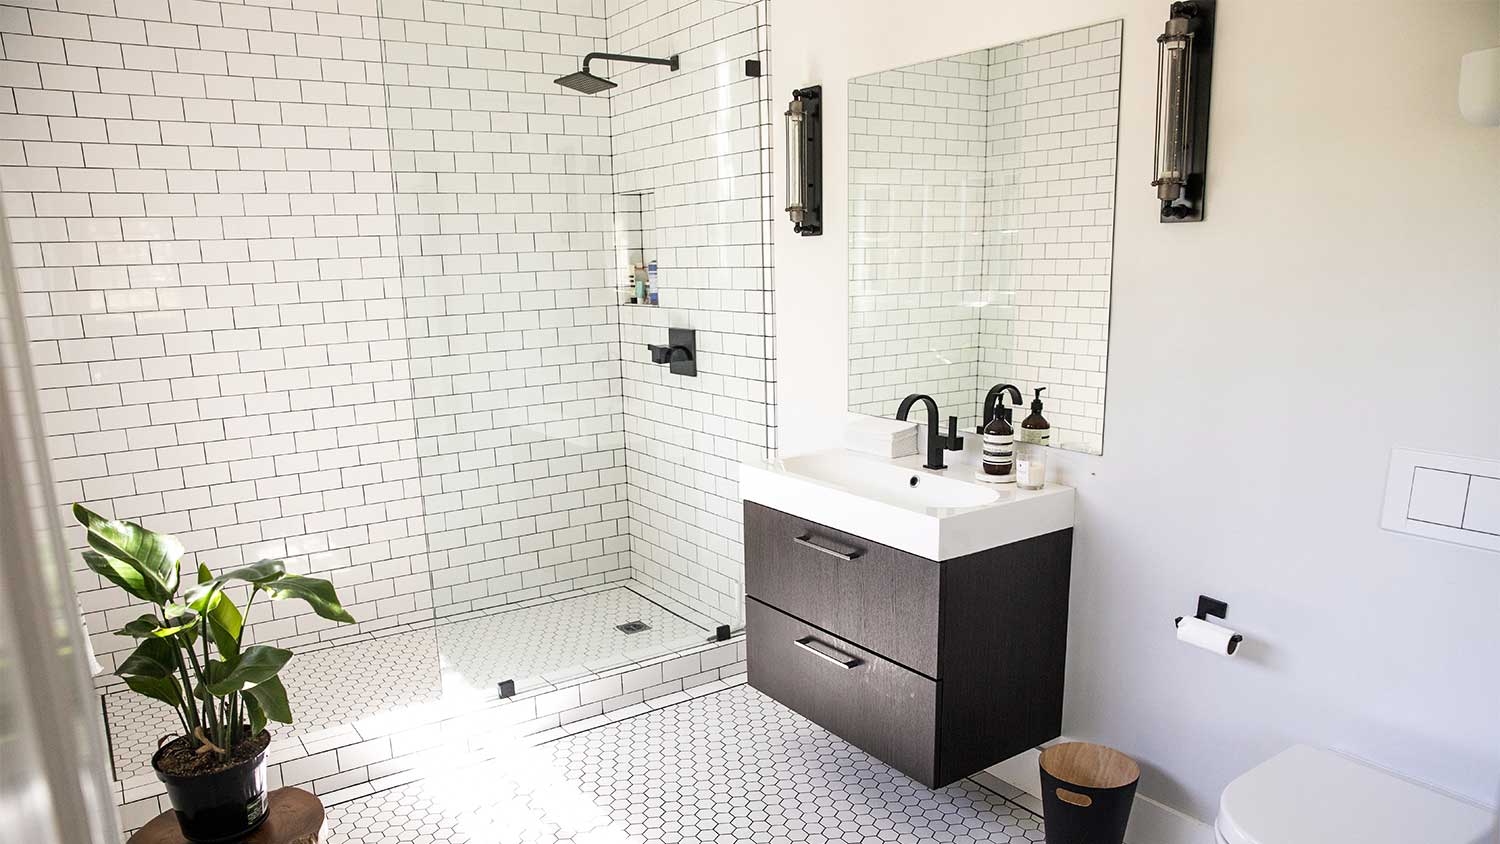
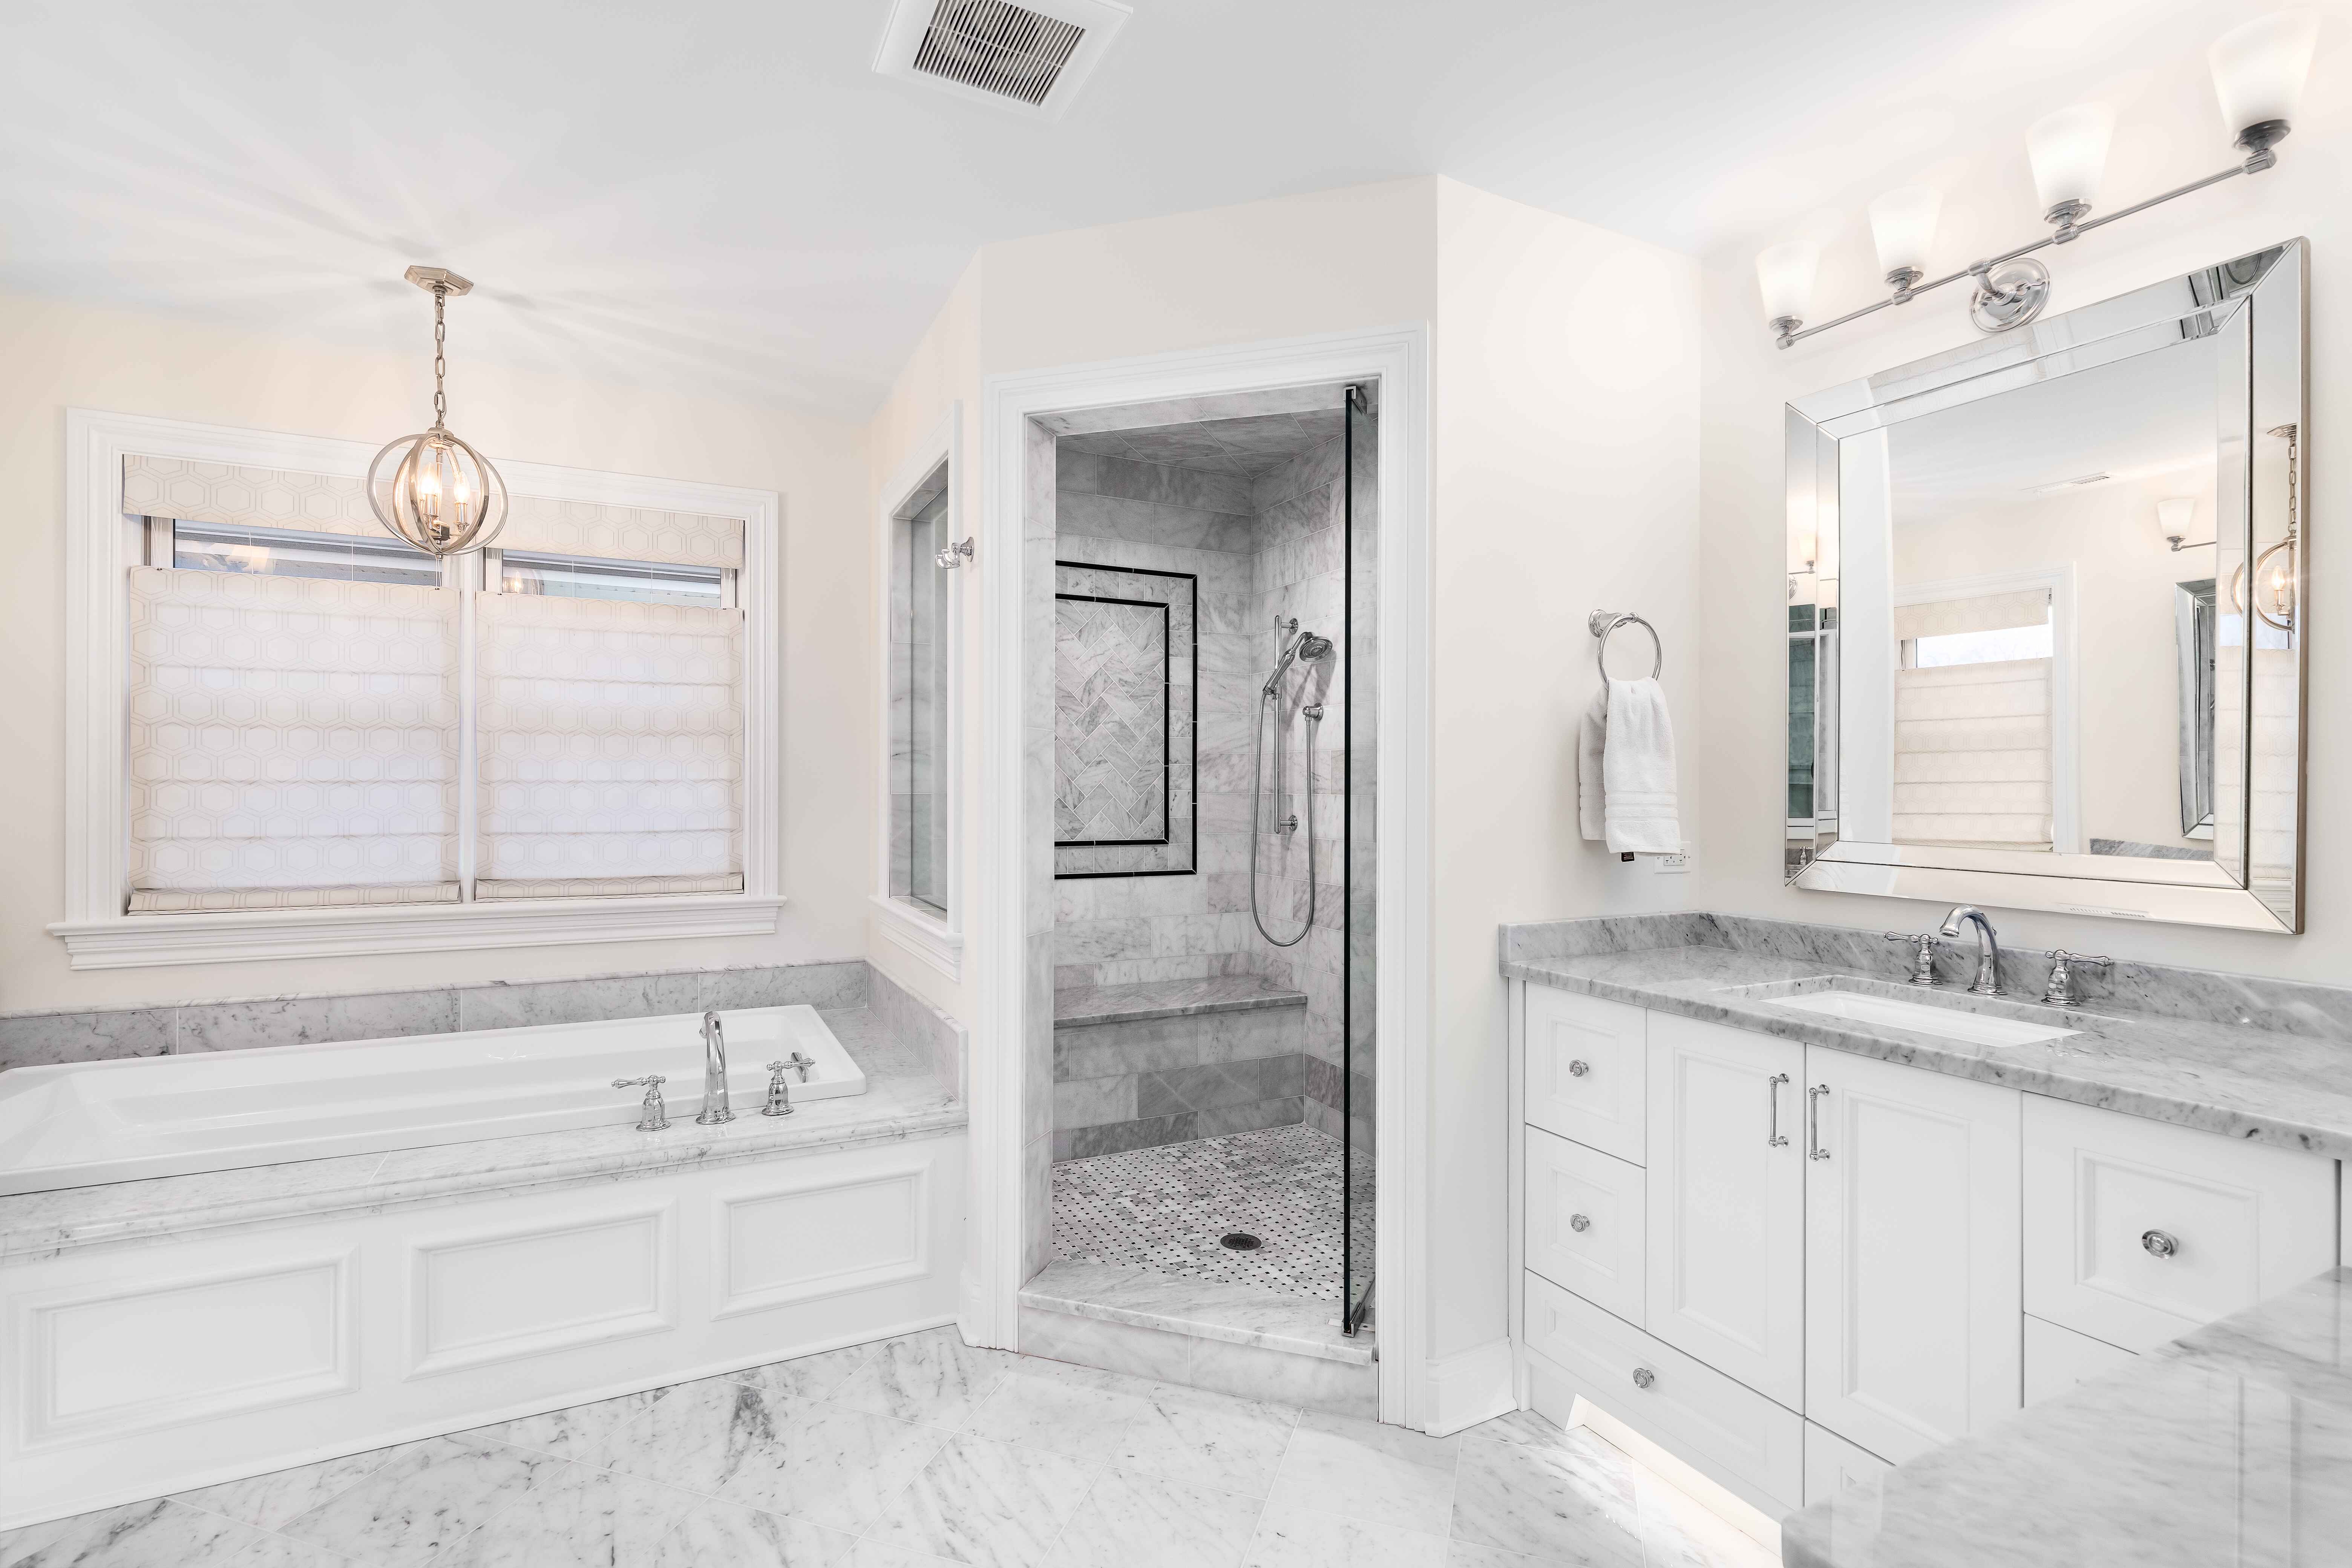
Preformed fiberglass shower pans are standard components when remodeling a shower. But if you’re considering a custom shower to fit your new bathroom remodel plan or to achieve a specific aesthetic, you’re in the right place. DIY shower construction is a big job to consider, but the reward can be worth the effort.
Breaking shower building into smaller chunks can make a DIY shower build achievable. Let’s focus on how to build a shower base for a walk-in shower. The plan is to create a surface on which you can install whatever tile you like for a shower look that’s all your own.
You’ll need to do a little bit of prep before you start building. Mortar and tile products are heavy. Check to make sure your floor joists and subfloor are up to the job before moving forward. If your new shower requires new wall construction, complete that beforehand. Check each of these tasks off before starting shower base construction:
Check that you have space for the minimum walk-in shower dimensions.
Remove your tub (if converting a tub to a walk-in shower).
Make any necessary subfloor or joist repairs.
Outline your new shower on the floor in pencil.
Remove the drywall to about 6 feet above the subfloor in and near the shower.
At floor level, cut and install 2-by-6 blocking between each exposed stud space. Then, secure the blocks with exterior-grade screws.
It’s also important to remember the setup work, whether remodeling your entire bathroom or replacing just the shower. After the demolition of your old installation, you may choose to move the shower plumbing, install new lines, or add wiring for a steam shower. For the best results, have an electrician and plumbing pro near you assist with this part. You can start building your new shower base when the plumbing is ready.
The curb defines the shower’s outline and keeps water from immediately escaping the area if the drain clogs.
Using exterior-grade screws, affix 2-by-4 lumber lengths at the shower curb location that you drew out earlier.
Stack and secure two more layers of 2-by-4 boards on top of the first boards.
A shower floor consists of two layers. The subfloor is made of a bed of mortar and creates a slope towards the drain.
If you or the plumber haven’t already, glue the two-piece drain or other shower drain type into place.
Remove the top half of the drain and use a rag to block the drain opening.
Lay felt paper or plastic underlayment flat on the subfloor. Cut a hole in the material at the drain location to expose the drain.
The first mortar bed should meet the top of the lower drain piece. Calculate a 1/4-inch-per-linear-foot pitch away from the drain.
Mark the height of the outside edge of the mortar bed and measure the distance to the existing subfloor.
Using scrap pieces of lumber, cut several blocks (about one per foot) and place them at the outer edges of the shower to use as screeding blocks. You’ll leave these blocks in place after pouring the bed.
Mix the mortar following manufacturer's instructions in the 5-gallon pail.
Pour the mortar bed and trowel it smooth, using the screed blocks and the top of the installed drain bottom as a guide. Take care to avoid blocking the drain’s weep holes.
Allow the bed to cure overnight.
You can purchase a PVC shower pan membrane in almost any size you need at your local home center or hardware store.
Lay the membrane flat onto the mortar bed, continuing it up the walls about six inches and covering the entire shower curb.
With roofing nails, attach only the membrane’s top edge to the wall. Leave the membrane draping over the curb.
Fold the corners into themselves and tuck the excess between the corner stud spaces with a plastic taping knife. Use caution not to cut the material.
Alternatively, use a wood chisel to create a void to tuck the liner material into at the corners.
Carefully cut the liner around the drain to expose it and the connecting bolts.
Use silicone caulk to seal the cut edge to the drain piece.
Remove the stuffed rag and bolt the top half of the drain to the lower part.
Use painter's tape to cover the drain once again.
Installing tile in a wet location requires using a proper substrate. Check your local building code for any additional requirements to the following steps.
Staple a plastic sheet, felt paper, or another vapor barrier over the exposed wall studs to meet code. Avoid stapling below the top of the PVC liner.
Install cement board to code and snug against the top of the mortar subfloor. Avoid installing fasteners below the top of the liner.
Conceal the shower curb, fully encasing it with the cement board. You can use fasteners through the liner here.
Cover the exposed screw heads at the shower curb with silicone caulk.
Caulk the gap between the cement board edges and the mortar bed with silicone caulk.
An expanded metal lathe provides extra strength to your shower base.
Cut a piece, or several, of expanded metal lathe and lay them over the mortar subfloor.
Leave the drain and a 1-inch space around it uncovered.
The shower curb doesn’t need lathe coverage.
You don’t need to secure the lathe with fasteners. The next mortar bed will hold it in place.
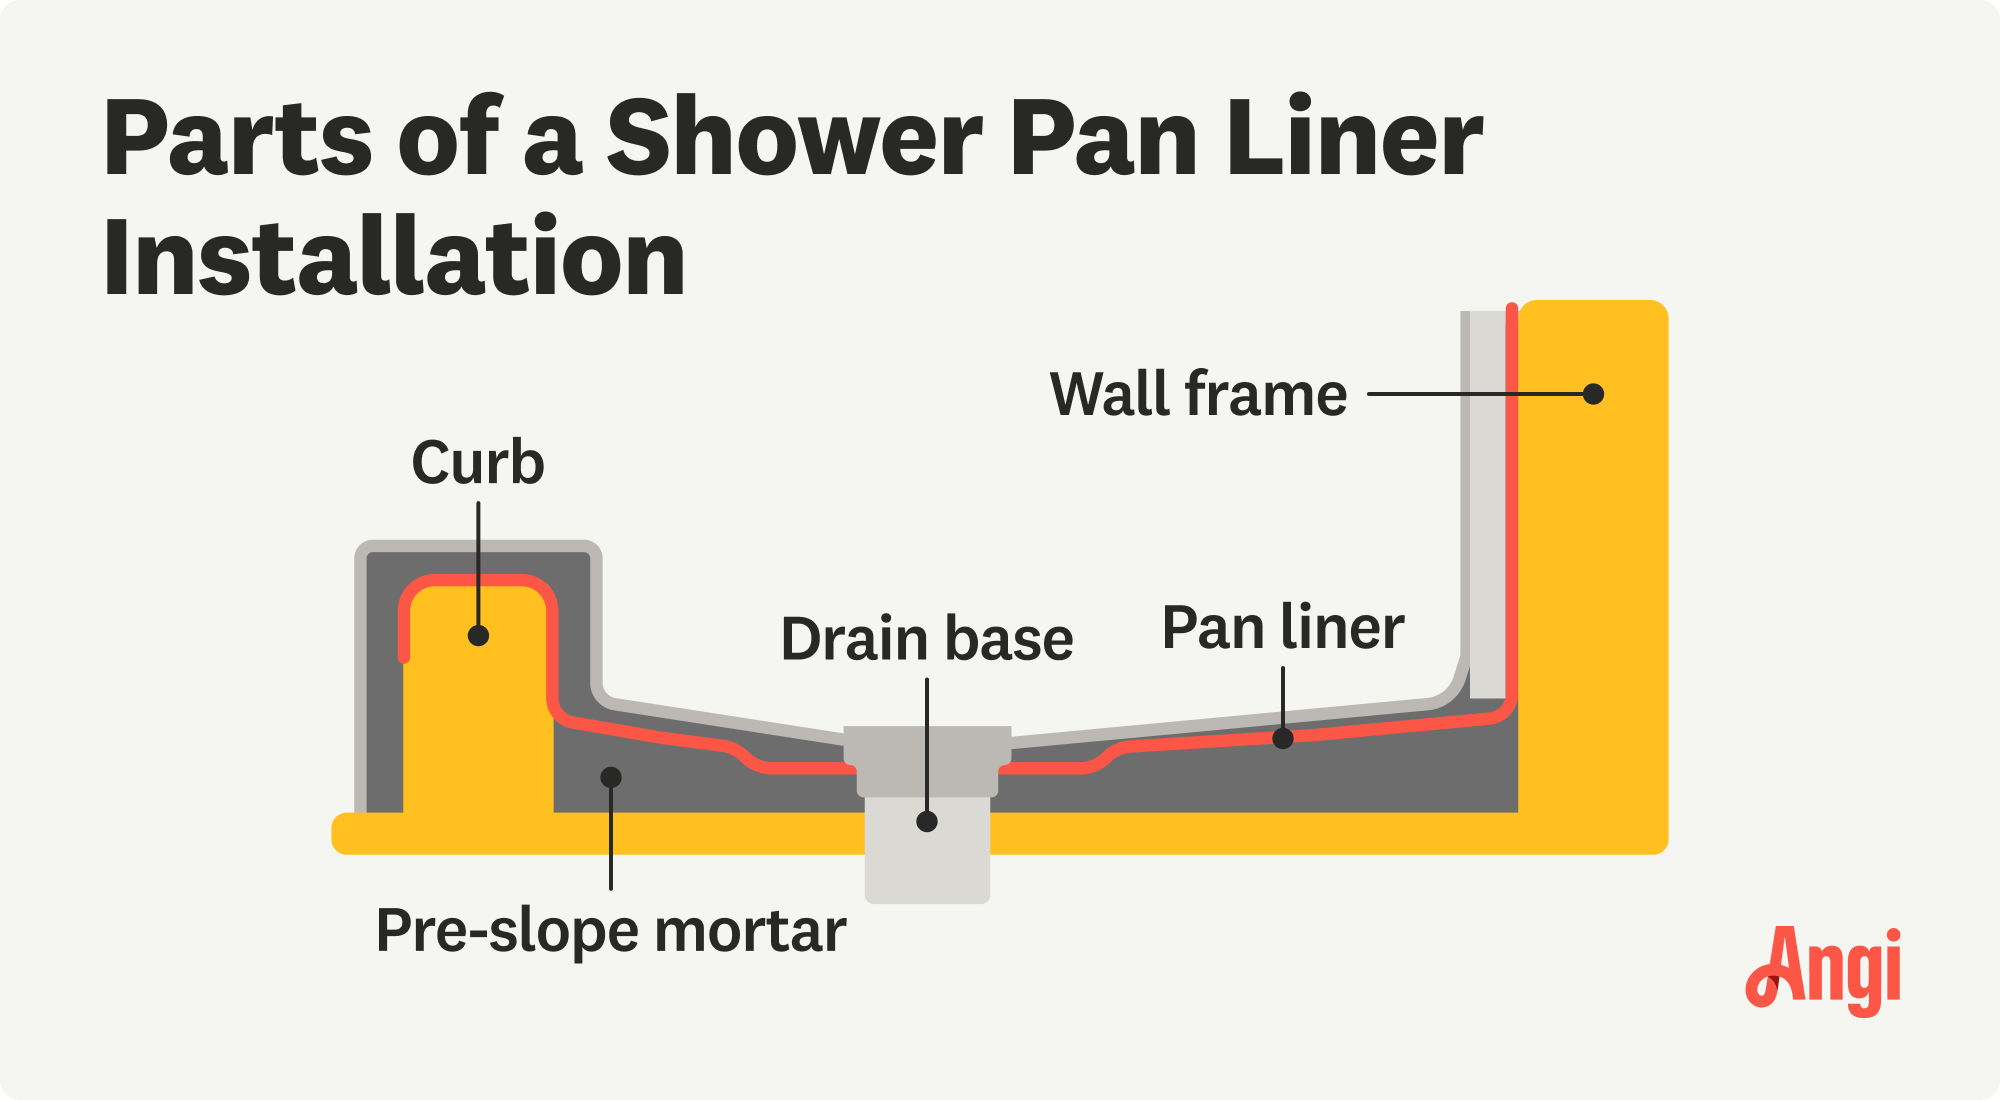
The second mortar bed provides a finished surface for tiling.
With a pencil and straightedge or chalk line, create a line 1 1/2 inches above the subfloor’s height around the shower’s perimeter.
Adjust the drain height to create a 1-inch space between the drain’s top and the bolted-on upper part.
Mix another batch of bed mortar.
Pour, screed, and trowel smooth a second mortar bed using the chalk line and the drain’s height as your guide.
Allow the bed to cure overnight.

Your shower base is now ready for your best shower tile ideas:
Twist the drain left or right until it matches the tile height. You may have to insert needlenose pliers or another tool into the drain to get a grip.
Or, you can simply hire a bathroom tile installer near you to do the rest.
Mistakes happen, but you can save yourself thousands of dollars with a heads-up on avoidable problems. Do not start this project without checking the level of the subfloor underneath the first layer of mortar. DIYers often assume that the mortar will even out the floor, but that’s not the case.
An uneven subfloor can lead to flexing, compromising the shower’s stability over time. If the subfloor is uneven, apply a leveling compound before starting on the shower base.
Along those same lines, check the evenness of the mortar as you’re creating the slope toward the drain. Use a level to look for lumps and valleys that can be smoothed out before the mortar sets.
Finally, manufacturers’ instructions for making mortar vary, so read through them and follow them carefully. Unfortunately, simple mistakes like adding too much water can affect the mortar’s chemical composition, compromising its strength.
Shower remodeling costs range from a few hundred dollars to thousands. DIY-building a shower base costs between $150 and $200. Professionally poured shower bases cost an average of $800. Installing a preformed fiberglass shower pan has similar prices.
Building a shower base yourself isn’t an easy task, but it has a high feel-good factor when it’s complete. It can even save a few remodeling budget dollars. However, DIY shower base construction isn’t everyone’s favorite way to spend a weekend, and a costly mistake won’t save you anything on bathroom remodeling costs. If you’re not experienced or simply would rather relax on your weekend, a shower installer near you can help.
Jason has helped me with multiple household projects, with the most recent being new door installation. He has always showed up on time and organized and has done an incredible job! Jason is very professional and he's now my go-to for anything around my house that needs to be fixed or...
Cole has been handling plumbing and general contracting for our four properties over the past three years, and he’s always done a great job. Most recently, he installed a sink and countertop in our retail store where none existed before, and it turned out exactly how we needed. He’s...
 ANB Renovations LLC
1st Choice Renew is simply the best! We hired them for a complete home renovation, and they transformed our space into something truly amazing. The team attention to detail and commitment to quality were evident throughout the project. They were easy to work with, very responsive, and always...
This company went above and beyond with their work, chimney sweeps are usually pretty messy, but the clean up was spot on.!! Josh explained every thing that he was doing, and the things that he was checking to make sure the chimney was safe for me and my family. He was very professional,...
 Supreme brick & chimney
Custom Paint Jobs LLC turned our outdated bathroom into a modern masterpiece.
Excellent customer service and knowledge. I was recommend to him from my neighbour. My front door and window came in great and were installed beautifully perfectly, I m very satisfied with their excellent work, so decided to order one more big bow window for my living room. I cant wait for...
If I could give 10 stars for Kitchen Tune Up, I would. I cannot say enough good things about my experience with Kitchen Tune Up and the entire team involved in the process of my kitchen project. They went above and beyond as far as service and quality with my cabinets, paint, countertops, and...
It was wonderful working with Yordy and his team. They were very professional and are experts in what they do. They have completed the work on time, with better quality and with in fairly reasonable price. We just started with backsplash work , but liking his work, we went on to provide...
We were having 2”x 2” tile installed . There was a small installation error and the new additional replacement tile was from a different lot and the colors didn’t match. Joe assured us that he would rectify everything , which he did without hesitation. We decided to go with the 18” x 36” tile...
 CarifaTile
They work that 360 did on my kitchen cabinets is nothing short of amazing. I still cannot believe the difference from before and after. Jon and Jeff were both so incredibly professional throughout the whole process and their communications with me were constant and consistent. These guys...
 360 Painting Columbus
From average costs to expert advice, get all the answers you need to get your job done.
Thinking of getting rid of that old bathtub and replacing it with a walk-in shower? This walk-in shower cost guide will help you plan your budget.
Curious how much a shower remodel costs? From new fixtures to full installations, we have the prices you need to know to establish a shower remodel budget.
Various factors affect the total tub-to-shower conversion cost, including the size of the area, type of shower, materials, and labor fees.

These walk-in shower ideas are exactly what your contractor ordered. We’ve got the inspiration for your next home improvement project.
Walk-in showers offer plenty of benefits when compared to standard bathtubs, but are they right for you? Discover the pros and cons of walk-in showers.
Upgrading to a walk-in shower for a modern look? Learn the minimum dimensions for walk-in showers and how to find the right fit for your bathroom