

Sink installation costs depend on the type of sink, the material, and the labor. This guide can help you budget for your project—from pedestal to farmhouse.
A malfunctioning sink stopper doesn’t need to stop your life

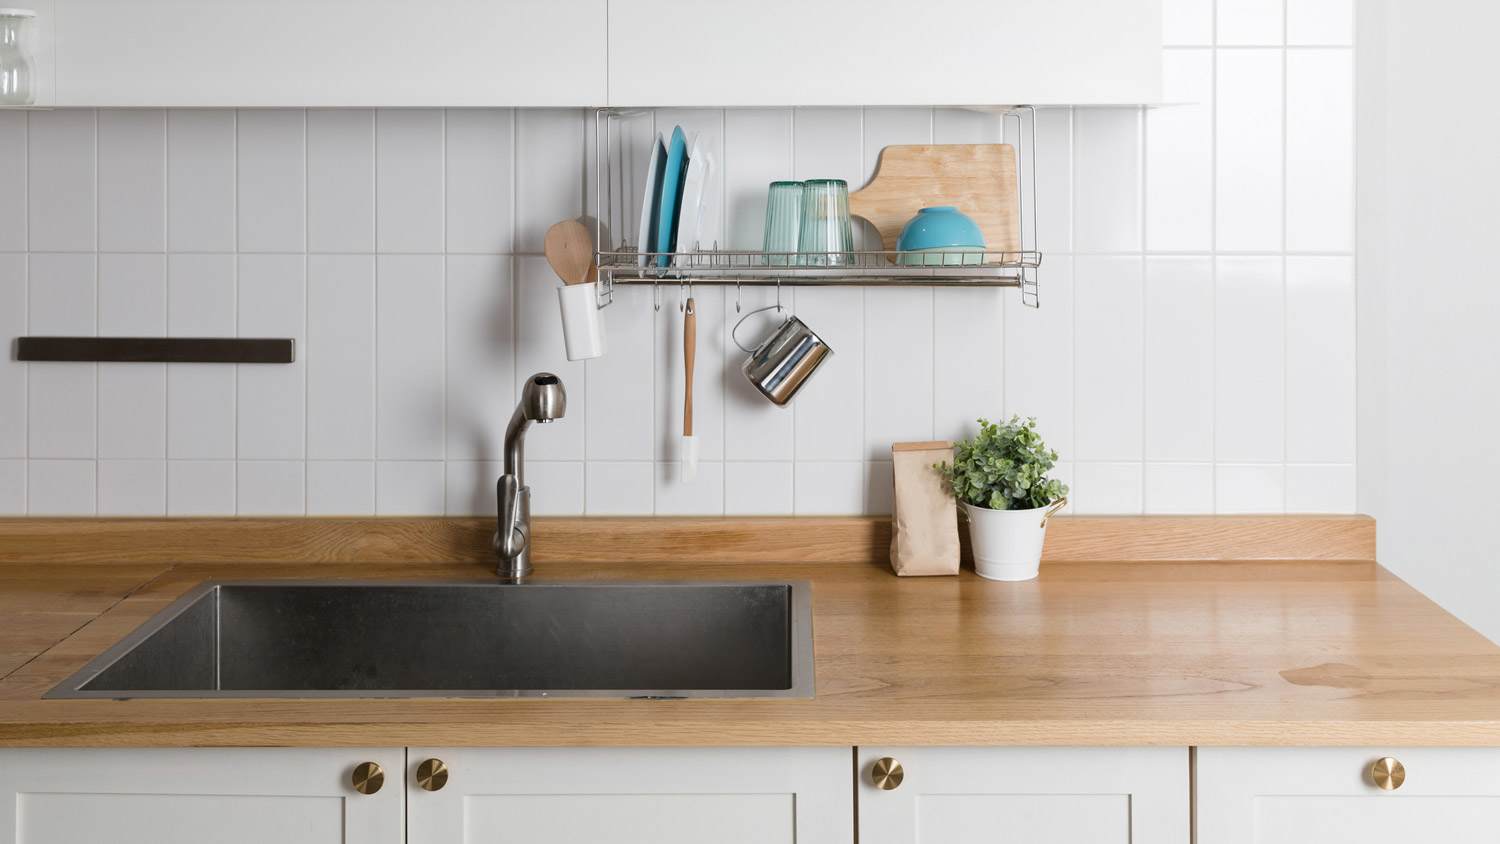
The humble drain plug is one of those household items you interact with so frequently that you may not know how to remove a sink stopper. Your everyday sink stopper allows you to plug the drain and fill the sink basin or open the drain to let water out. The stopper itself can sometimes be the problem, collecting grime and standing in the way of a full drain cleaning. If you’re dealing with a clogged or slow drain, here are some simple steps to remove and clean the sink stopper and get water flowing away again.

Twist-and-pull sink stoppers are designed for easy manual removal, especially since sometimes you have to retrieve items that fall down the drain. Try gripping the top of the stopper, lifting gently and twisting. If it comes out, you can move on to step seven. If it doesn’t easily lift from the drain, avoid pulling too hard since you could damage the mechanism and make it harder to remove.
And if you were overzealous in trying to remove your sink stopper, a local sink repair professional can help you repair several sink issues at once, like replacing old or broken sink stoppers and fixing leaky faucets.
If you can’t remove your drain plug by hand, you’ll need clear access to the pipes beneath the sink. Before proceeding, empty the cabinet or clear the space underneath the sink of all household items stored there so you have room to work safely.
Using a flashlight if the light is low, examine the piping under the sink. The horizontal plunger rod should be pretty easy to identify. Look for a thin metal rod attached to both the drainpipe and a vertical strap.
The plunger rod will be attached to the vertical strap by a metal clip. Before detaching it, make a note or take a photo of which strap hole the rod is fitted through, so you won’t have to fumble around when it’s time for reassembly. Once that’s done, simply remove the clip and set it somewhere secure and accessible.

Once detached from the vertical strap, the plunger rod will remain affixed to the sink drain by a pivot nut. Locate the nut, but before trying to unscrew it, grab your empty bucket and position it underneath to catch any excess water that drips out.
Once the bucket is in place, turn the nut counterclockwise by hand to loosen and remove it. If it’s too tight to loosen manually, try using a standard wrench, plumbing wrench, or pliers. After removing the nut, remove the pivot rod and place both parts in the same safe spot as the metal clip.
With the rod out, you should now be able to lift the stopper out of the drain.
If you’ve been dealing with a clog, the stopper is most likely covered in gunk, hair, and other debris that should have gone safely down the drain. This is unlike the fat, oil, and grease, which are the usual culprits in what causes a kitchen sink to clog. Getting your bathroom sink stopper fully clean will likely require a few steps.
To clean a sink stopper, put on gloves and remove as much of the buildup as you can by hand. Once you’ve removed the bigger pieces of gunk, run the stopper under warm water. Use soap and scrub it to loosen and wash away more stubborn grime.
If dirt and debris remain on the stopper—or you want to make sure you give it the most rigorous cleaning possible—wipe it down again with white vinegar or a mixture of laundry detergent and water. Then, soak the whole stopper in a mixture of hot water and soap for a few hours before removing it and wiping it down with a clean rag.

A clogged or dirty sink stopper is a solid indication that the drain needs cleaning as well. Before reattaching the stopper, take the opportunity to clean the sink drain so you don’t find yourself removing the sink stopper again soon. Depending on the nature of the buildup, there are different methods for clearing a clogged drain and a few different products and tools you might consider using.
Assuming you’re dealing with slow drainage instead of a major clog, start by running some hot water down the drain to dissolve and break down any lingering fats or oils. This is one trusty way to clear a clog without going to the store. Bring half a gallon of water to a boil, let it cool until it’s no longer boiling, and slowly pour it down the drain. Then, flush the drain with hot tap water for about five minutes.
If there’s any hair buildup in the drain, use a drain snake or auger. You might also try flushing the buildup with a corrosive drain cleaning liquid. Ensure to follow the manufacturer’s instructions, and consider all the pros and cons of liquid drain cleaners before proceeding. For example, regardless of whether you have copper pipes or PVC pipes, the chemicals in liquid drain cleaners can cause your pipes to corrode over time.

With the drain cleared and the stopper scrubbed and sparkling clean, it’s time to reassemble everything. Set the stopper in the drain, get back under the sink, and reattach the pivot nut. Don’t forget to tighten the plunger rod in place.
Slide the other end of the rod into the same hole on the vertical strap, securing it with the metal clip. Run a little water to make sure everything is draining smoothly, and you’re ready to enjoy your sink again.
Under most circumstances, removing a sink stopper is a simple DIY project within reach of any homeowner. However, if some portion of the drain stopper is stuck in place, the sink requires more extensive repairs, or you’d rather not deal with it, you can always hire a plumber near you. If you’re dealing with major clogging or drainage remains slow even after you’ve removed and cleaned the stopper and the drain, it’s time to bring in a drain cleaning pro in your area.
Positive experience. As previously stated, the replacement/repair could not be completed (no fault of the plumbing tech) b/c misinformation was rec?d by property management maintenance. Thanks to the plumbing tech for your efforts. Appreciate you!
 The Waterworks
If you want to pay the most exorbitant prices possible for your job, this is the company for you. “By the job” pricing is a rip-off, at least how these people use it. Every job is plugged into a category and prices are set by category. You might have a job that takes half an hour or one that...
 Benjamin Franklin Plumbing
Cole has been handling plumbing and general contracting for our four properties over the past three years, and he’s always done a great job. Most recently, he installed a sink and countertop in our retail store where none existed before, and it turned out exactly how we needed. He’s...
 ANB Renovations LLC
Matt is a consummate professional. The work turned out to be far more difficult than expected and rather than turn the job down, Matt rose to the occasion and completed a near impossible task. I can not recommend Greene's Plumbing Service more highly. On a scale of 1-5 I would give Matt a...
Involved an extensive bathroom remodel, including removing tub & installing walk in shower, new drywall, custome tile work to ceiling, plumbing, etc. Overall, job was done on time and on budget. Nick & his team were very professional and had high attention to detail. Quality was great. Highly...
 Stamos Flooring and Remodeling LLC
Awesome company. Had a jacuzzi tub taken out and replaced with huge walk in shower with partial glass enclosure. Onyx to the ceiling with a decorative border, moved plumbing and installed hand held shower, new ceiling, flooring, and paint. Replaced window with glass block. Everything was done...
 Columbus Bath Design
The initial quoted price from a walk-through seemed high, but we discussed that the quote represented worst case scenario (re-wiring to two floors) and we were excited about the opportunity to have the work done in a timely manner with closing for fire safety reasons, etc. When the job was...
Initially, I called the Service People to have a leaking garbage disposal replaced. I had purchased a special deal through Angie's List: $79 for $200-worth of plumbing services. <br /> When I went to schedule the work, the earliest date I could get through Angie's List was after the upcoming...
This company did a very good job on the brick wall and it looks just amazing. The staff was always professional and was practically OCD on how the bricks were stacked and how they were laid. Although it took longer than expected, I am willing to sacrifice time over perfection anyday. The...
 My Handy Mate LLC Improvement & Remodeling
<p>I am so glad we called Rotor-Rooter. I was hesitant to call them because we usually prefer to give business to local providers. But when we had sewage back up in our basement on a Saturday evening, I had a hard time getting a hold of someone, not to mention the high weekend/evening rate...
From average costs to expert advice, get all the answers you need to get your job done.
Sink installation costs depend on the type of sink, the material, and the labor. This guide can help you budget for your project—from pedestal to farmhouse.

If your tub stopper is ruining bathtime or it’s time for a new one, you can easily DIY the job. Keep reading to discover how to remove a bathtub drain stopper.

A sink has many hidden working parts. Understanding how the parts of a sink work is essential for maintaining your sink for years to come. This guide will help.

Is your sink stopper not staying up or getting stuck? Learn to fix a sink stopper that’s not working on your own following this step-by-step guide.

Learn how to remove a bathtub drain for cleaning or replacing, whether you’ve got a simple toe-touch stopper or a more complicated trip-level model.
Installing a new kitchen sink involves removing the old sink and putting in the new one. Follow these steps to learn how to install a kitchen sink like a pro.