
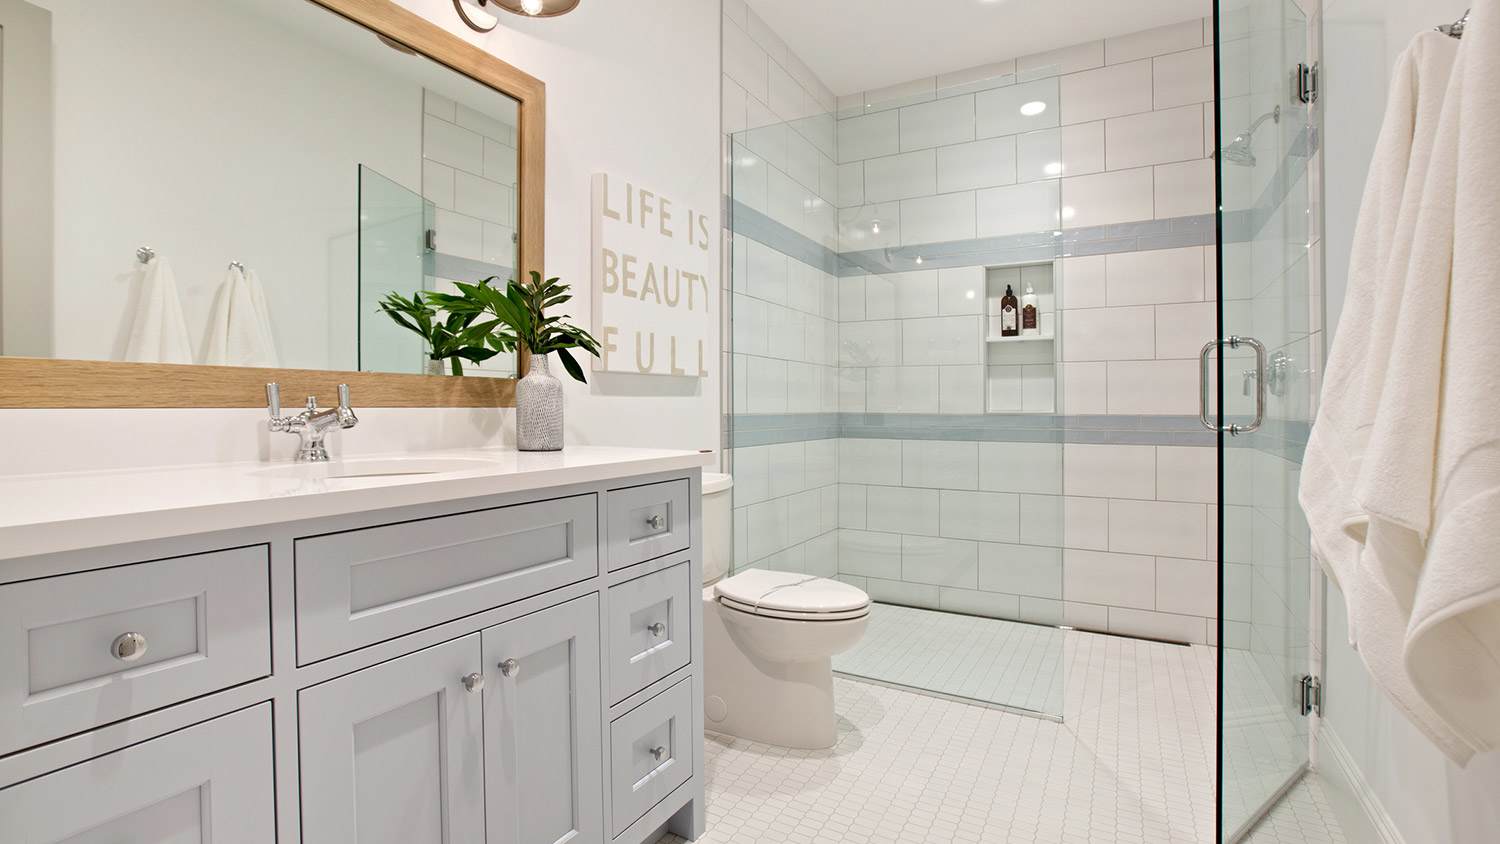
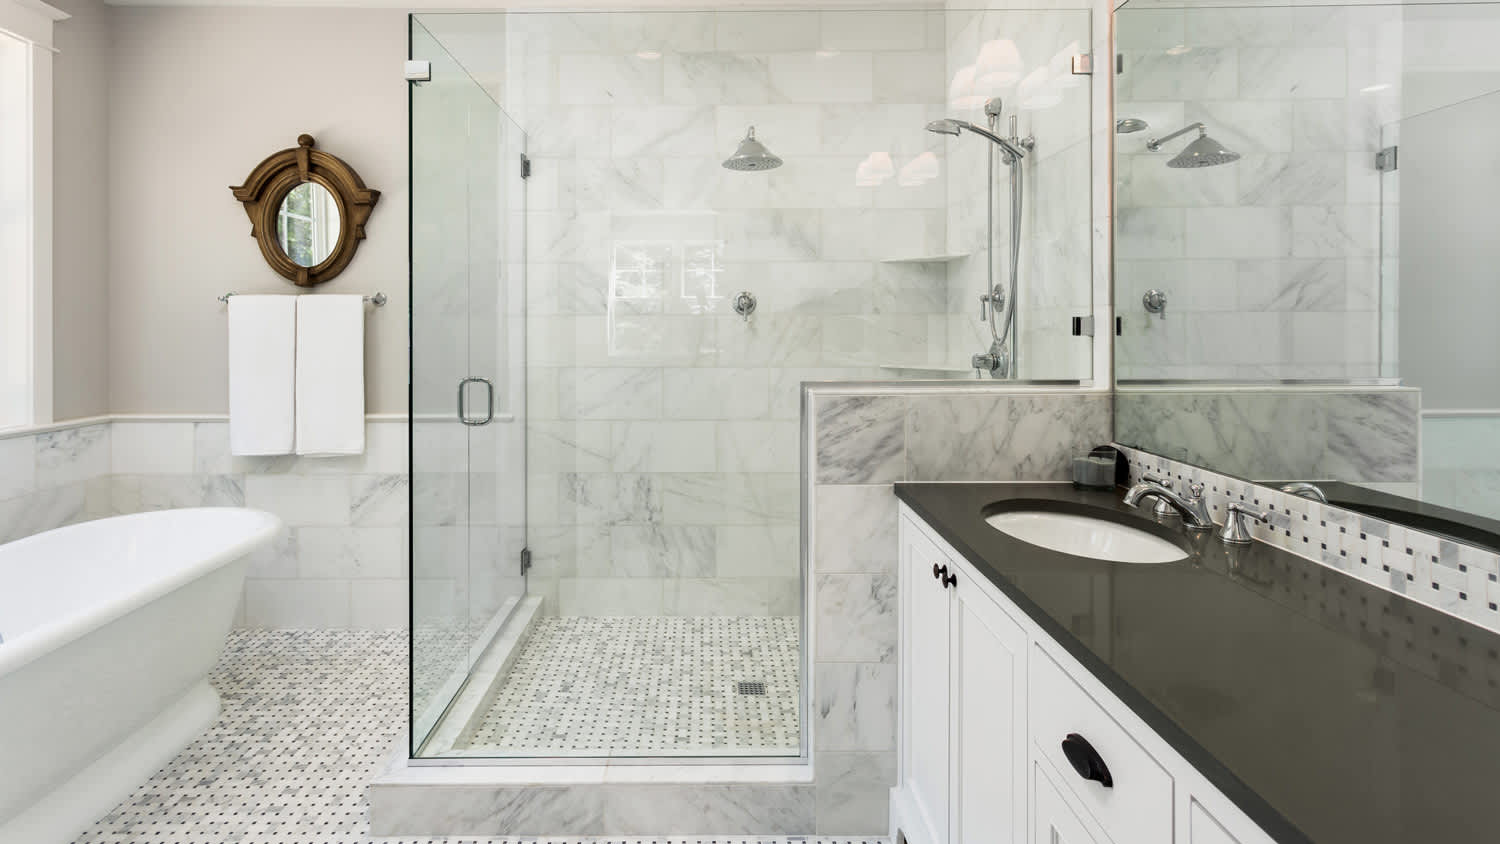
Shower installation costs depend on size, style, and materials. No matter the budget, this guide can help you plan your project and even save a few bucks.
Ditch the wobbly, drippy shower arm with a simple upgrade

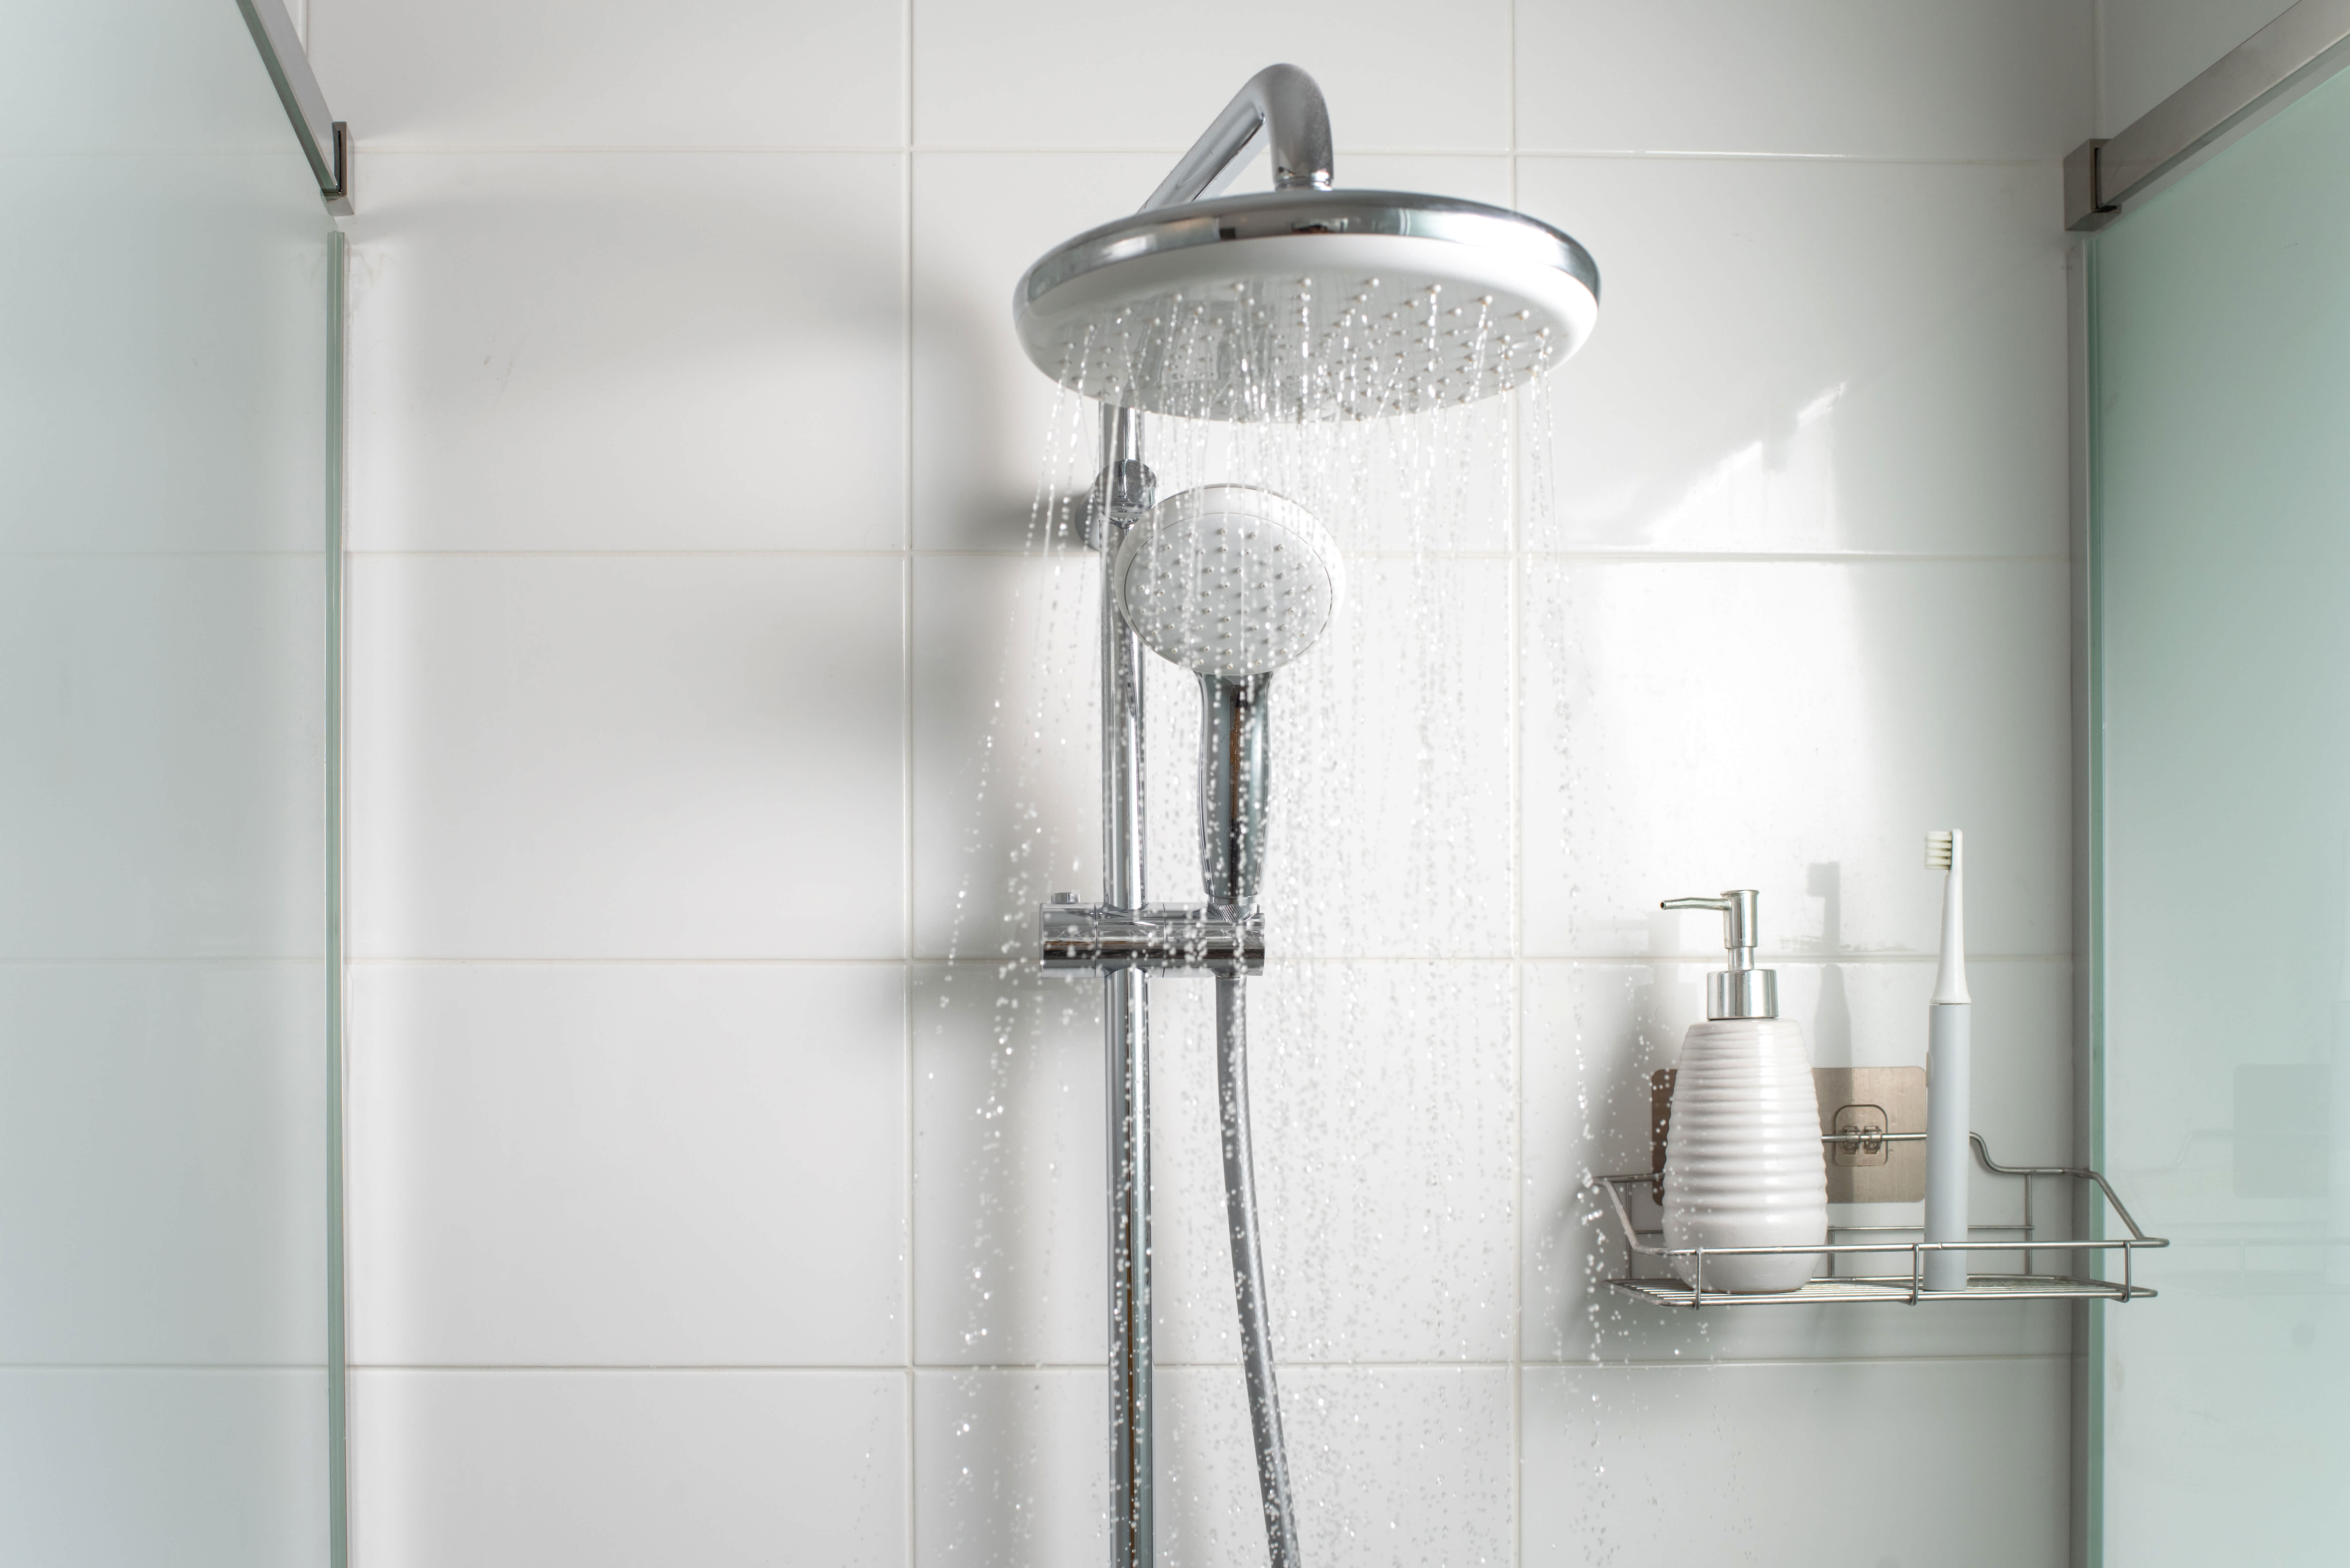
If you’re looking to learn how to install a shower arm, we’ve created an easy-to-follow tutorial to help turn a wobbly, leaky shower into the home retreat it should be. As long as you have an adjustable wrench and an hour or two, there’s a good chance you can handle this project on your own. However, there are times when you might want to call in a pro, like if you’re doing other upgrades or dealing with old, encrusted pipes. If you’re ready to take this on, here are nine steps to installing a shower arm.
Turn off the water main to your house. If you don’t want to cut the water everywhere, you can also turn off the water valve in the bathroom, which is located underneath the sink.

You can replace the shower arm with the showerhead still attached to the old arm, but the replacement process is much easier without the showerhead. Once the shower arm is replaced, you can change the showerhead or reinstall the old one.
To remove the showerhead, hold the shower arm in place with one hand while using an adjustable wrench to loosen the showerhead nut. If you're concerned about scratching the finish, place a cleaning cloth between the nut and wrench.
If the showerhead doesn’t budge, try removing the built-up scale by holding a bucket or bowl with enough vinegar to cover the showerhead and up to the shower arm. As the scale begins to loosen, try removing the showerhead again.
Remove the old shower arm by grasping it with an adjustable wrench and turning it counter-clockwise. Be gentle, and if the arm doesn’t turn easily, don’t force it. Shower arms can crack or break, which makes removal more difficult.
Try wiping away residue or scale, and put metal lubricant on the joint where the shower arm and water supply pipe meet. Check the lubricant instructions, as the lubricant may need an hour or longer to work. Afterward, gently try removing the shower arm again.
Once the old shower arm is removed, clean the threads of the water supply pipe. You may need to wipe it clean to remove mold and mildew. Apply some vinegar or scale remover to the pipe and then scrub with a brush or wipe away residue.
Wrap plumbing tape around the water supply pipe threads. The tape helps create a watertight seal. Alternatively, you can use plumber’s putty, which creates a tighter seal but is messier to apply.

Align the new shower arm with the threads of the water supply pipe and carefully screw the arm onto the pipe. Don’t force the two to fit together. You don’t want to cross-thread the shower arm and potentially damage the threads.
You may have to unscrew the shower arm and try again before it’s threaded correctly. Once it's threaded correctly, use a wrench to tighten it. If you’re concerned about the wrench scratching the shower arm, you can place a cleaning cloth over it.
Wrap the threads of the open end of the shower arm with the plumber’s tape to help create a stronger seal. Alternatively, you can use plumber’s tape to achieve the seal.
Attach the showerhead to the new shower arm by aligning the threads and manually tightening. Before fully tightening it with an adjustable wrench, check the threads for correct alignment one more time. If the threads are off at all, unscrew the showerhead and try again.
Once it’s aligned and tightened by hand, tighten it a little more with an adjustable wrench. Whether you’re installing a new type of showerhead or reinstalling the old one, it’s a good idea to place a soft cloth between the showerhead and the adjustable wrench to prevent scratches.
Turn the water supply back on and check the shower arm and showerhead for leaks.
You may be tempted to skip steps like adding plumber’s tape or putty to the water supply pipe. Don’t skip this step though because the putty tightens the seal, making leaks less likely. Read through the putty instructions, as some application instructions vary by manufacturer.
The other big mistake to avoid is forcing the showerhead or old shower arm on or off. If the shower arm doesn’t loosen quickly, it can easily break, complicating the project. Take the time to clean off buildup, scale, or mildew, and apply metal lubricant before putting too much pressure on the pipe or showerhead.
Even if you don’t have much DIY experience, this is a project that most beginners can handle. However, there are circumstances in which you might need to contact a local shower installer to take care of this job. If changing the shower arm is part of a larger shower remodel, a pro can ensure all the shower components work together. You may also want to leave this job to the professionals if you’re changing the location of the water supply pipe or dealing with old pipes that may not be standard size or could be in poor condition.
Jason has helped me with multiple household projects, with the most recent being new door installation. He has always showed up on time and organized and has done an incredible job! Jason is very professional and he's now my go-to for anything around my house that needs to be fixed or...
Cole has been handling plumbing and general contracting for our four properties over the past three years, and he’s always done a great job. Most recently, he installed a sink and countertop in our retail store where none existed before, and it turned out exactly how we needed. He’s...
 ANB Renovations LLC
1st Choice Renew is simply the best! We hired them for a complete home renovation, and they transformed our space into something truly amazing. The team attention to detail and commitment to quality were evident throughout the project. They were easy to work with, very responsive, and always...
This company went above and beyond with their work, chimney sweeps are usually pretty messy, but the clean up was spot on.!! Josh explained every thing that he was doing, and the things that he was checking to make sure the chimney was safe for me and my family. He was very professional,...
 Supreme brick & chimney
Custom Paint Jobs LLC turned our outdated bathroom into a modern masterpiece.
Excellent customer service and knowledge. I was recommend to him from my neighbour. My front door and window came in great and were installed beautifully perfectly, I m very satisfied with their excellent work, so decided to order one more big bow window for my living room. I cant wait for...
If I could give 10 stars for Kitchen Tune Up, I would. I cannot say enough good things about my experience with Kitchen Tune Up and the entire team involved in the process of my kitchen project. They went above and beyond as far as service and quality with my cabinets, paint, countertops, and...
It was wonderful working with Yordy and his team. They were very professional and are experts in what they do. They have completed the work on time, with better quality and with in fairly reasonable price. We just started with backsplash work , but liking his work, we went on to provide...
We were having 2”x 2” tile installed . There was a small installation error and the new additional replacement tile was from a different lot and the colors didn’t match. Joe assured us that he would rectify everything , which he did without hesitation. We decided to go with the 18” x 36” tile...
 CarifaTile
They work that 360 did on my kitchen cabinets is nothing short of amazing. I still cannot believe the difference from before and after. Jon and Jeff were both so incredibly professional throughout the whole process and their communications with me were constant and consistent. These guys...
 360 Painting Columbus
From average costs to expert advice, get all the answers you need to get your job done.
Shower installation costs depend on size, style, and materials. No matter the budget, this guide can help you plan your project and even save a few bucks.
Discover the average shower door installation cost, including labor and materials, plus tips to save on your bathroom upgrade.
Various factors affect the total tub-to-shower conversion cost, including the size of the area, type of shower, materials, and labor fees.

Knowing how to install a shower requires some skill and experience, but a shower enclosure installation is a doable DIY project if you follow some basic steps.
Looking to upgrade your bathroom? This shower plumbing diagram will help you understand the different parts of a shower and how they work.
Shower installations come with a lot of moving parts. Use this guide to understand what shower installation services entail and what to look for in a shower installation pro.