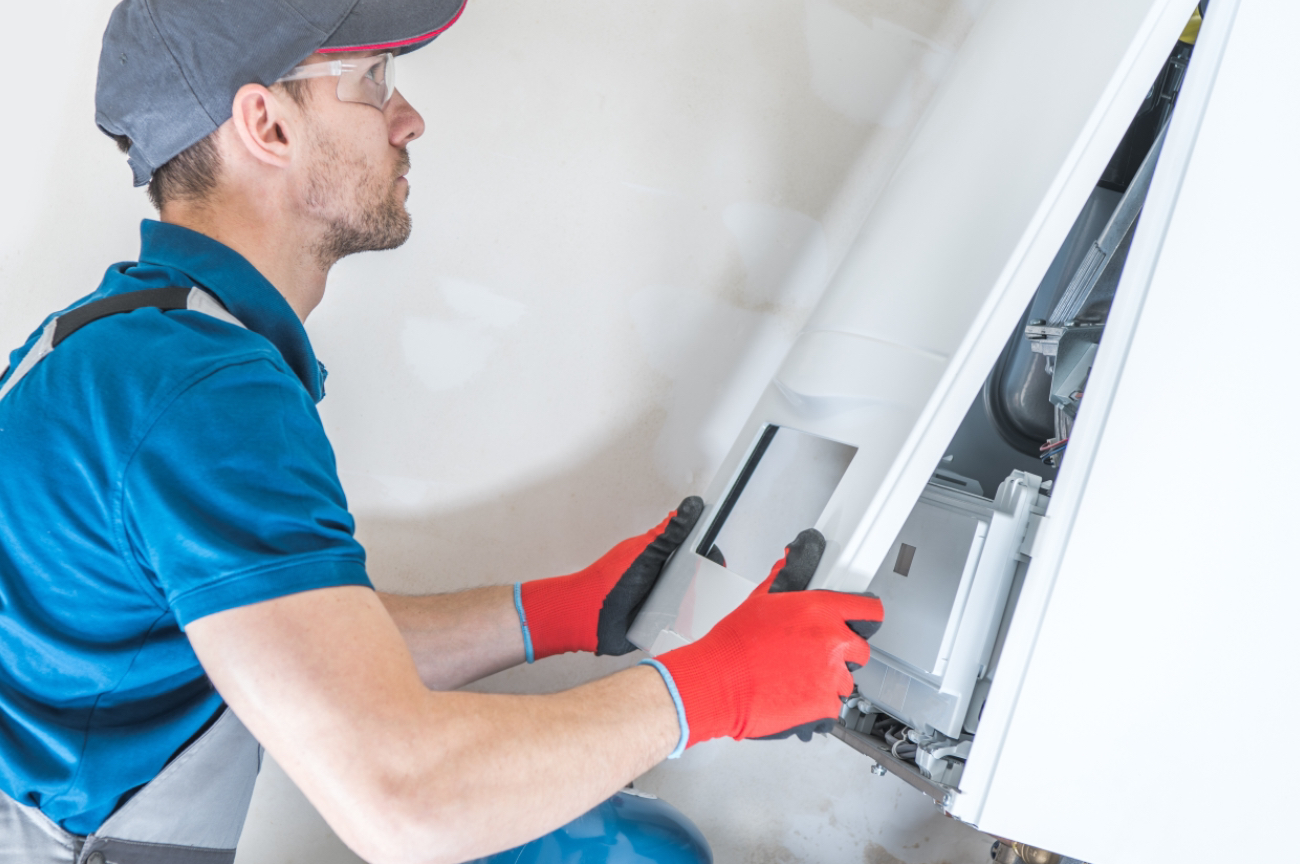
Staying on top of furnace maintenance can make all the difference during brutal winters. Learn about furnace repair costs in Boston, MA.
Don’t worry—it’s not as painful or difficult as it sounds


You’ve settled into the couch after a long day at work, and you’re looking forward to catching up on your TV shows. But the room feels chilly, and you notice the radiator is making some distracting banging sounds. Rather than shiver and try to ignore the noise, you can spend less than the time it takes to watch one episode of a show and bleed the radiators to fix the problem. Learn how to bleed a radiator, which gets rid of air pockets that prevent hot water from circulating through your heating system, to get things working properly (and quietly) again.
Learning how to bleed a radiator system is easy with our eight straightforward steps and tips.
Before you start bleeding the radiator, there are a few things you’ll want to locate. Start by identifying the radiator on the first floor that is farthest from the boiler—even if you have one noisy or cold radiator, it’s best to bleed them all at the same time, and you’ll start with the one farthest away from the boiler. Then, locate the heat switch, as you’ll need to turn off your central heating, and locate the radiator bleed valve. This valve is usually at the top of the radiator on one of the sides.

Radiators can get pretty hot, and you don’t want to be touching hot metal while you’re trying to work. Not only that, but bleeding a radiator while the heat is still on could cause it to take in more air, and you’ll need to bleed the radiator again. Turn off the central heating, then wait about 15 to 20 minutes for the radiators to cool down. Note that you don’t need to know how to turn off a radiator for this step; shutting off the central heat will do.
While you don’t want to let out a lot of water, you can expect a little bit to dribble out of the bleed valve once it is open. To avoid an extra mess to clean up, simply lay a towel down around the floor beneath the bleed valve. You could also set up a small bucket here to catch any drippings.
Use the radiator bleed key to open the bleed valve. If you don’t already have a radiator bleed key, you can pick one up at your local home improvement store or order one online for about $5. Otherwise, you can use a flat-head screwdriver or needle-nose pliers to open the valve, turning counterclockwise just slightly, about half of a turn.
Now that the valve is open, you’ll start to hear a hissing sound as the trapped air escapes. At this point, a few drops of water may also leak out. This will take less than 20 to 30 seconds. You’ll know the bleed is complete when a stream of water starts to leak out.

When closing the valve, you want to work carefully. Tightening it too much could cause the valve to break off, particularly on older radiators. Use the radiator bleed key, or whichever tool you used to open the valve, and turn it clockwise for about half of a turn. This will tighten and close the valve.
It’s best to bleed all of the radiators at once, so after finishing up with the first one, move to the next radiator. You’ll want to work from the radiator farthest from the boiler, then move from radiator to radiator, getting closer to the boiler. If you live in a multistory home, start on the first floor following this pattern, then repeat the pattern on the next floor.
Once you’ve bled all of your radiators, turn the central heat back on. Now, your home should feel warm and cozy all throughout the rooms.
Radiator repairs cost about $100 to $500, and having a pro bleed the radiator costs about $100 to $200. If you opt to DIY, you may spend a few bucks to buy a radiator bleed key if you don’t already have in your toolbox. Otherwise, this project costs nothing in supplies. Bleeding a radiator is an easy task for most homeowners, even if you’re a beginner.
However, if you turn the central heating back on after bleeding and notice the radiators are still not heating up properly or are making weird noises, it’s time to hire a local boiler repair person. The problem might not be your radiators at all. It could be a problem with the boiler, which is a complex heating system and difficult to service without proper training. Or you may need to budget for the cost to replace a radiator, which is another challenging job best left to the pros.
From average costs to expert advice, get all the answers you need to get your job done.

Staying on top of furnace maintenance can make all the difference during brutal winters. Learn about furnace repair costs in Boston, MA.

The average boiler installation cost depends on size, system type, and other factors. Keep reading to learn the cost of a new boiler.

Discover the factors influencing air duct replacement costs in Boston, MA. Learn how to save money and make an informed decision for your home's comfort.

Not sure which type of furnace humidifier is best for your home? We’ve broken down four different options, explaining how they work and their benefits.

With so many types of furnaces out there, how do you know which one is best for you? Explore our guide to the five main types and get your home warmed up.

Discover heat exchanger replacement costs to learn about price factors, labor, and ways to save before hiring a pro or starting your project.