
•
Find out the average AC freon leak repair cost, key price factors, and how to save. Get transparent estimates and expert tips for homeowners.
Let’s keep the AC running smoothly

Detecting refrigerant leaks early protects your HVAC system from inefficient operation, harmful chemical exposure, and potential environmental damage from escaping refrigerant.
Professional AC technicians charge $100 to $250 per hour to locate and repair refrigerant leaks, helping you avoid costlier system breakdowns later.
You can check for larger leaks using soapy water and watching for bubbles, though smaller leaks need electronic detectors or UV dye methods.
Hiring a local air conditioning repair professional provides reliable leak detection and repair, especially for evaporator coil issues and pressure testing that keeps your home safe.
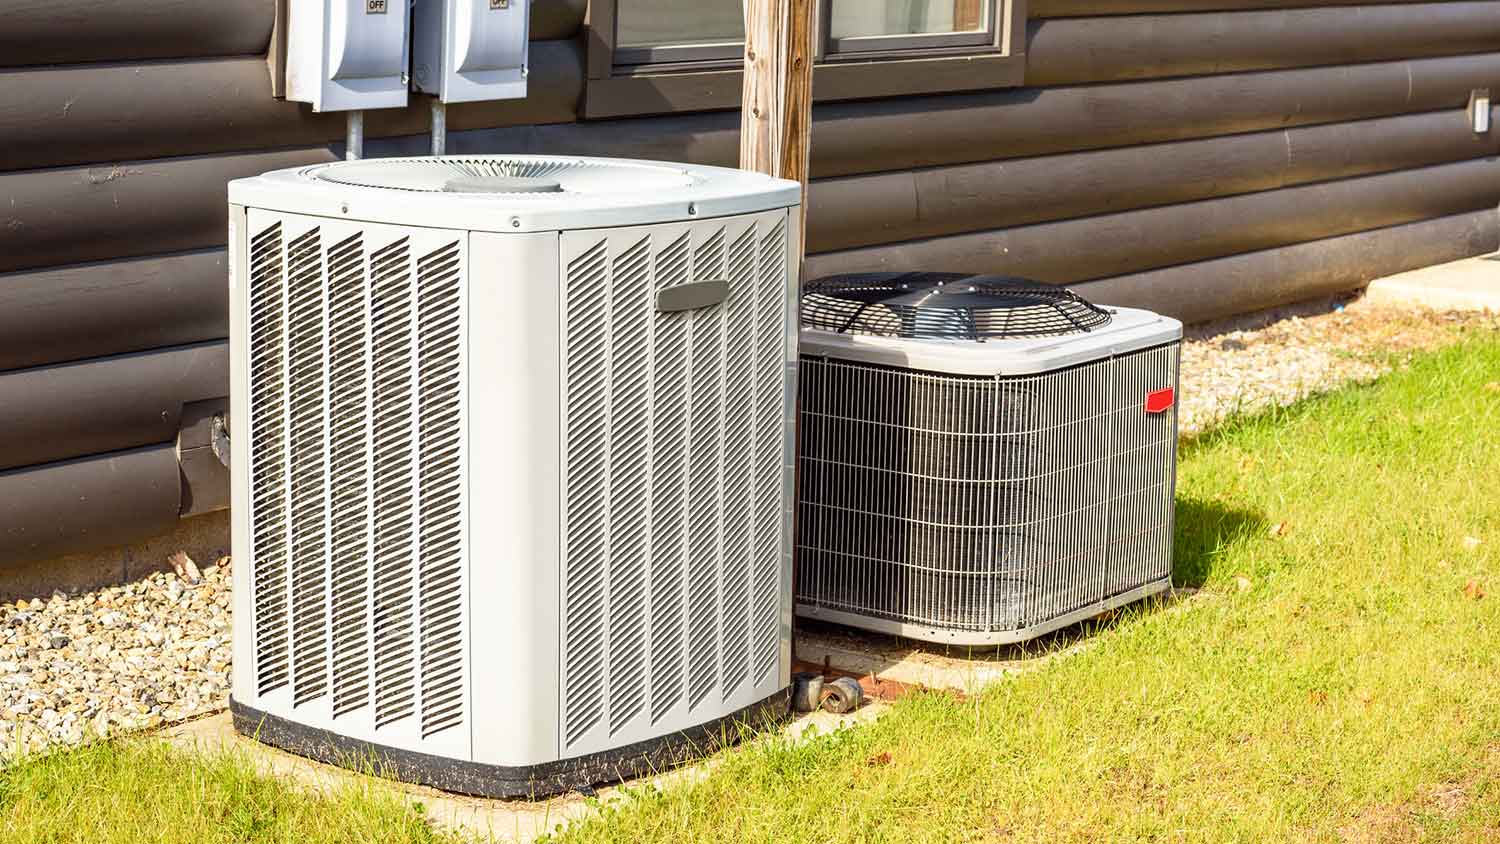
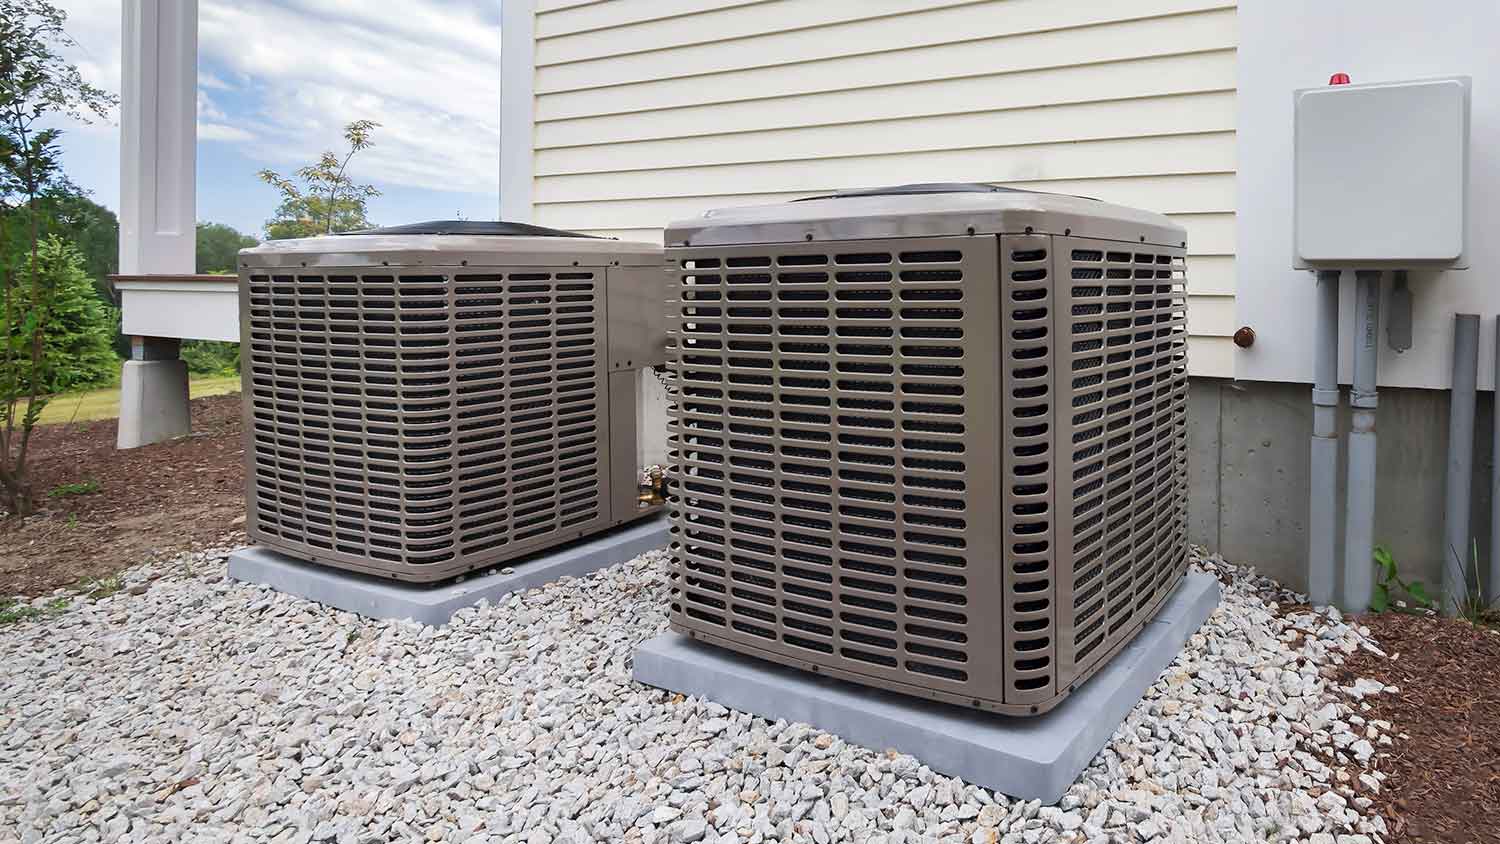
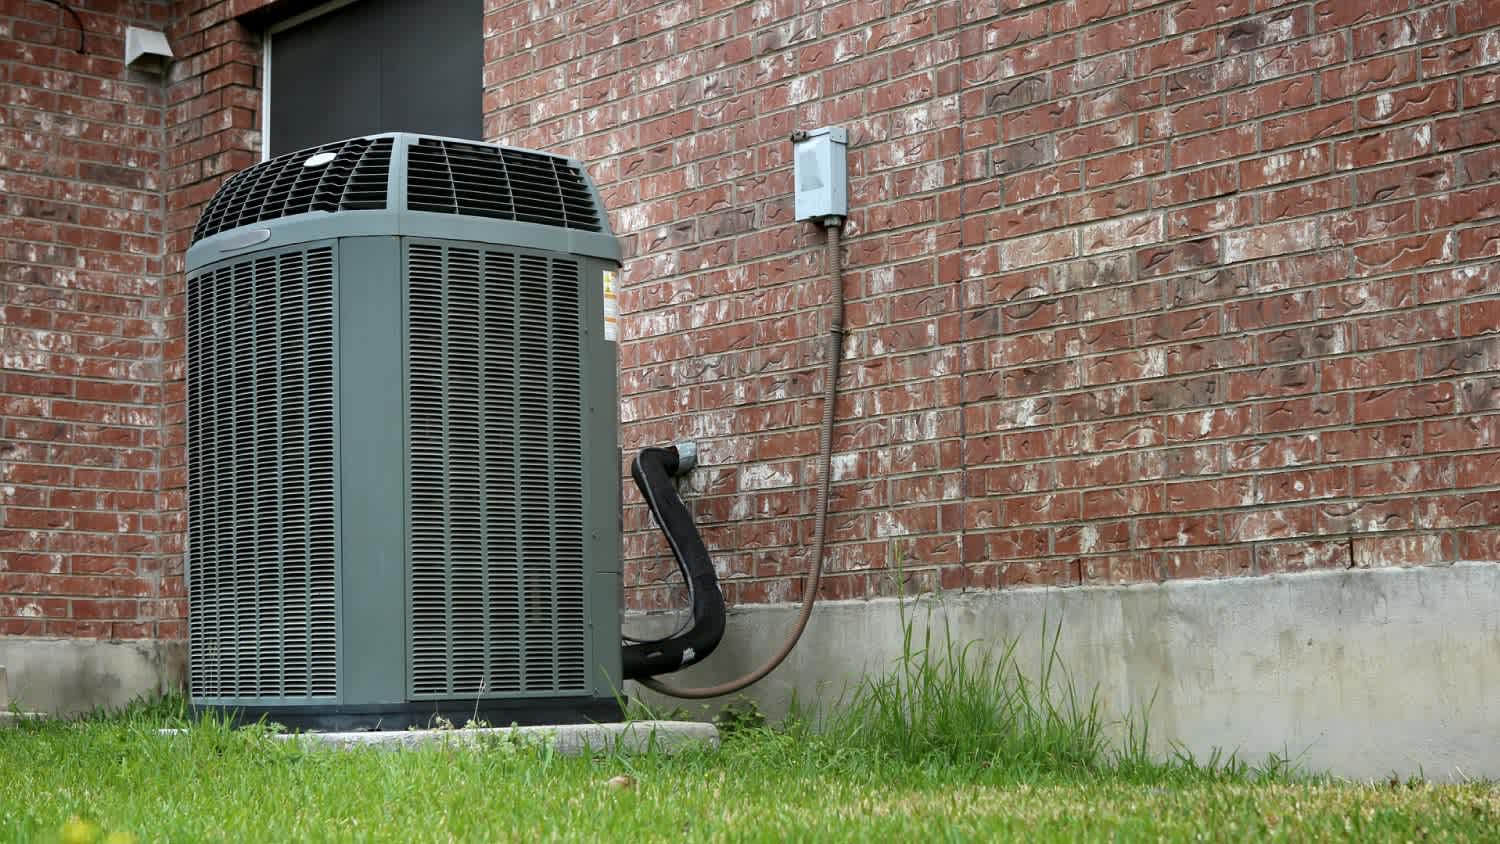
Your HVAC unit helps keep your house cool, but a refrigerant leak can quickly put you in hot water. Detecting refrigerant leaks is the first step to resolving this issue before it damages your entire HVAC system.
However, you should use these tips with caution because detecting refrigerant leaks can be hazardous and may cause problems with your system if not performed correctly. It’s best to seek out an AC repair expert to find and resolve the leak for you.
The bubble test isn’t the most effective way of detecting a refrigerant leak, but it comes in handy when you’re in a pinch. It’s especially useful if you don’t have more advanced tools at your disposal. All you need is a spray bottle, water, and liquid soap.
Add a small amount of liquid soap—less than a teaspoon—and warm water to a spray bottle. Shake the bottle until you see suds, and spray your soapy mixture along the refrigerant line. If you have a leak, it’ll cause bubbles to form at the site. However, no bubbles does not mean there isn’t a leak. This method is more effective for larger leaks, while smaller leaks can go undetected.
You may assume that small leaks are harmless, but that’s not the case. Are refrigerant leaks dangerous? Yes, they can be. The chemicals can be harmful to you and the environment. Although the bubble test can help with detecting refrigerant leaks, other methods are more effective at finding them, especially small leaks. Consult an AC repair pro to officially determine the leak status of your AC unit.
Some refrigerant leaks are harder to detect than others. If you can't seem to find the leak with the bubble test, consider trying the UV dye method. For this project, you’ll need UV dye and a black light.
Start by injecting the dye into your refrigerant. As it goes through your system, the dye—mixed into the refrigerant—will escape the line through the leak. When you shine the UV light on your refrigerant line, the dye will illuminate and guide you to the source of the leak.

An electronic leak detector is a tool that detects a leak by noting different sound frequencies. The handheld device features a long, bendable nozzle that you drag along the refrigerant line to look for leaks. When there’s a refrigerant leak in your HVAC unit, it’ll create a sound—one that you’re unlikely to hear, but the detector will pick up.
Start with the nozzle at the end of the line, making sure you go over each part. If a leak is detected, you’ll hear a long sound from your electronic leak detector. The most likely source of your leak is in the evaporator coil, but you should always double-check that the entire line is free from leaks.
Electronic leak detectors provide some of the most accurate results for detecting refrigerant leaks. Depending on the quality, they can cost as much as $500. The cost may not justify how little you plan to use it, and in that case, hiring a local AC repair company is often the more cost-effective choice.
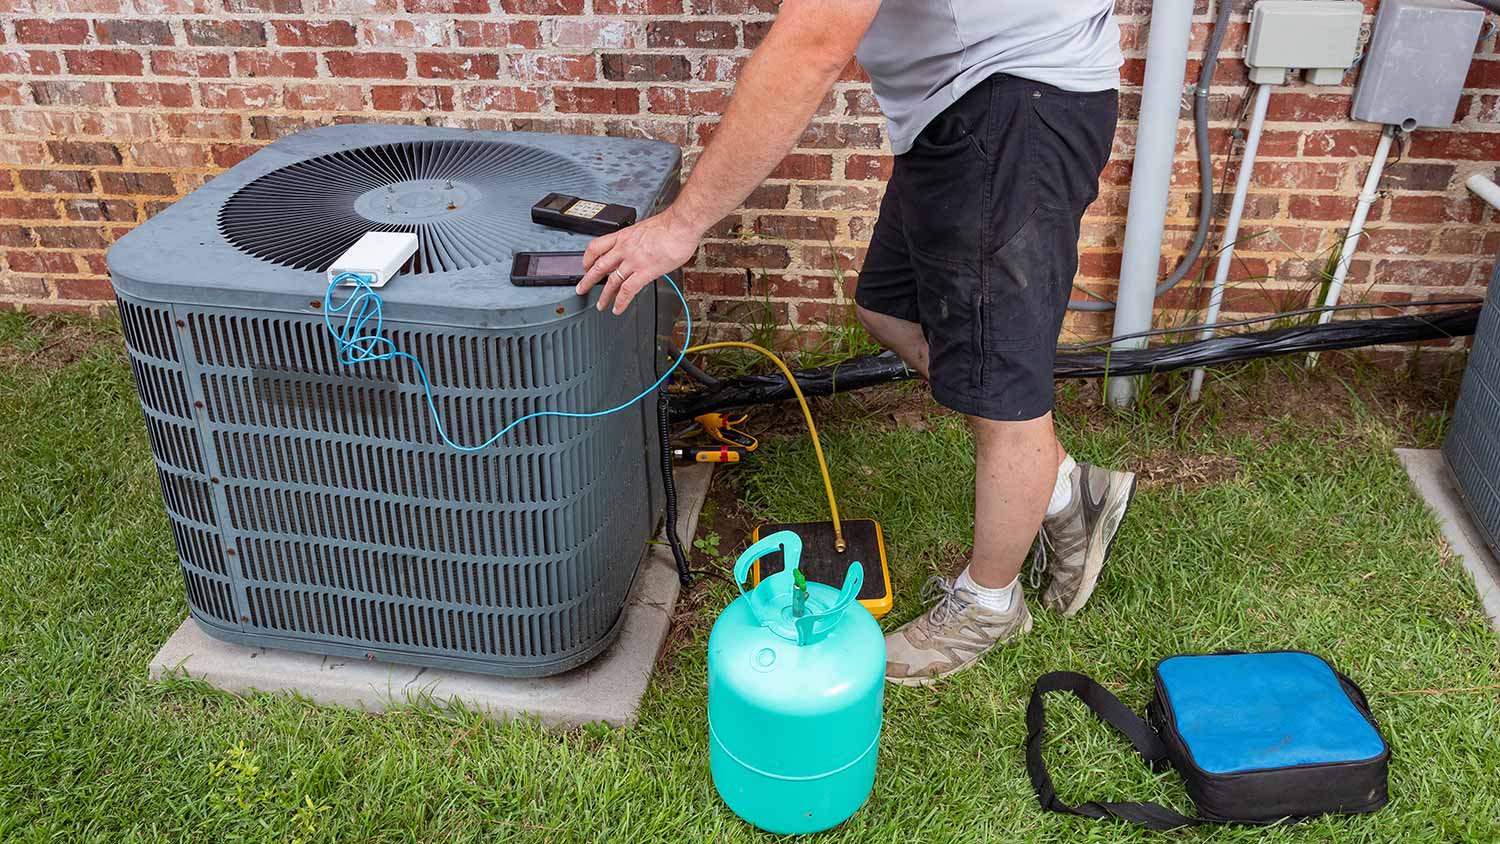
A pressure resistance test is a more advanced test that can pinpoint hard-to-find leaks. However, this test should be done by an AC repair professional because it involves pumping compressed nitrogen into your HVAC system to find the leak.
If the pressure gauges fluctuate, that’s typically a sign of a leak. As the nitrogen escapes through your refrigerant line, it’ll make a hissing sound. The noise will lead to the leak. Consult an AC repair pro about whether this test can help determine the location of a potential refrigerant leak.
One of the simplest ways to detect refrigerant or coolant leaks is to perform a visual inspection. Look closely at the connections, fittings, and valves for any signs of refrigerant stains or oil leaks. Any signs of oil or stains are a red flag, and you should contact an HVAC technician right away to determine the cause of the leak.
Detecting refrigerant leaks can be nerve-racking. But you can also determine if there is a leak by keeping an ear out for odd noises. If you notice a hissing sound coming from the system, that’s a clear warning sign, and it can mean you have a leak on your hands. It is the most common cause of a hissing noise stemming from the unit, so don’t ignore it if you hear it.
Detecting refrigerant leaks is best left to a professional. It is the easiest way to find a leak safely. Trying to identify the leaks or letting them go can be hazardous, so it’s best to hire an AC technician near you to figure out the cause of the leak and fix it.
The cost will depend on parts and labor and whether the technician charges a flat fee or by the hour. However, hiring an AC technician costs $100 to $250 per hour.
Detecting refrigerant leaks is vital because if your system is leaking, it is not running efficiently, and it’s not safe. If a leak isn’t fixed, it can lead to further complications in the system and even breakdown, which is more costly in the long run. Refrigerant leaks can even damage the environment because of the harmful gasses emitted into the atmosphere.
Like with most things, it’s best to fix the problem as soon as possible before it becomes a more severe issue. To help catch leaks early, schedule an annual HVAC inspection by a professional. This task will ensure it is operating efficiently, and you can prevent leaks from further damaging your system.
I normally do not leave reviews, but my experience with Worthington Air was extremely frustrating and disappointing. About 30 days ago, I had a consultation done for an HVAC replacement and was quoted approximately $15,079. Based on that quote, I applied for financing through their company...
Great company! Price was competitive, technician showed up on time and completed the job (exterior electric Radon fan replacement) quickly. Would hire them again.
Raven and crew does absolutely fantastic job. They are very professional if any concerns were to occur with any of her work she always took responsibility and finished out with a great job. I have worked with her business for a year and have always been satisfied. Very trusted business and...
I would recommend this company to anyone! He showed up on time, was friendly, completed a very difficult repair on our dryer vent cover, was responsive, and pricing was extremely fair and competitive. I would have him back to do any of our repairs or cleanings without hesitation!
Ace Fireplace Services' chimney sweep service is truly exceptional. They used advanced technology to ensure a thorough cleaning process, and my chimney has never looked better. I highly recommend their services.
 Ace Fireplace Services
The technician was very professional and friendly. He answered all my questions and was very thorough. He left the fireplace area very clean . He inspected from the roof and advised me as to other work that might need to be done. There was no pressure there. I was very satisfied with the...
 Supreme brick & chimney
Excellent experience with hiring Tether House to Mount our 77’ Samsung TV in our bedroom. Fast, friendly, and knowledgeable. Highly recommend.
On time, clean and finished fast. Windows seem sturdy and the finish is good. Caulking was done with no smudges. Would recommend.
Great job...edging and pre clean up went well with a great job with seal coat. Friendly, efficient and professional.
 All Star Paving and Sealing
Good workers and they do a good job.
From average costs to expert advice, get all the answers you need to get your job done.
Find out the average AC freon leak repair cost, key price factors, and how to save. Get transparent estimates and expert tips for homeowners.
Find out the average refrigerant replacement cost, including key price factors, labor, and ways to save. Get transparent, expert-backed guidance for your HVAC project.
If your AC unit isn’t functioning properly, you might have a refrigerant leak. Our guide will show you why refrigerant leaks are dangerous.

Discover the key signs of Freon leak in refrigerator units, what causes them, and when it’s time to call a pro. Don’t ignore these cooling red flags!
When your AC refrigerant leaks, you’ll need to find a quick fix, as long-term consequences could be costly. Learn why your refrigerant is leaking and your next steps.

What is Freon? The EPA is phasing out this refrigerant, but you still might find it in an old fridge or AC. Here’s what you need to know.