
•
Discover the cost to regrout shower, including average prices, key cost factors, and tips to help you budget for a fresh, watertight shower.
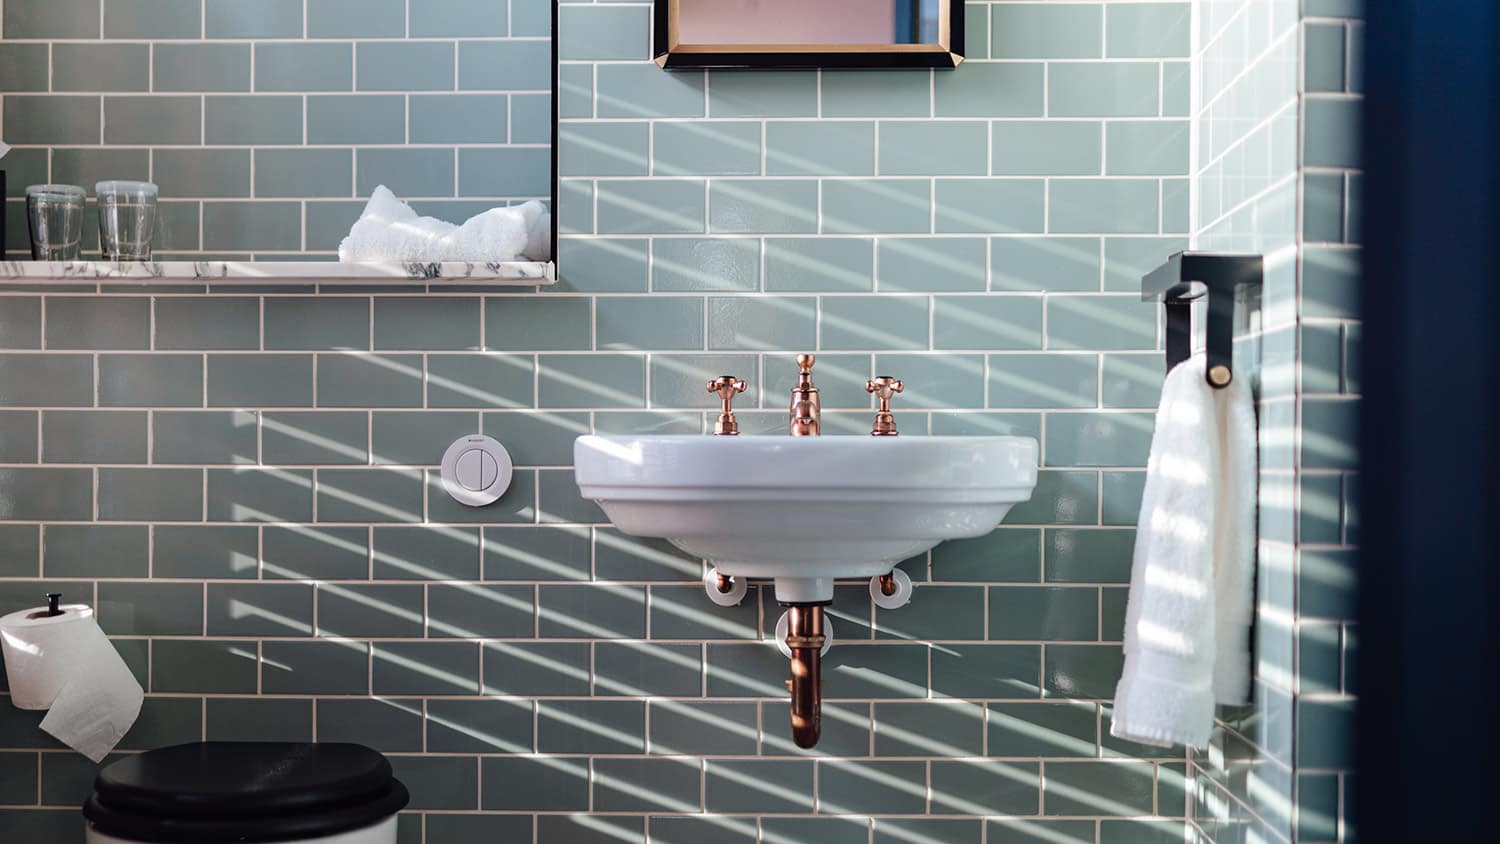
Tell your cracked grout to get out

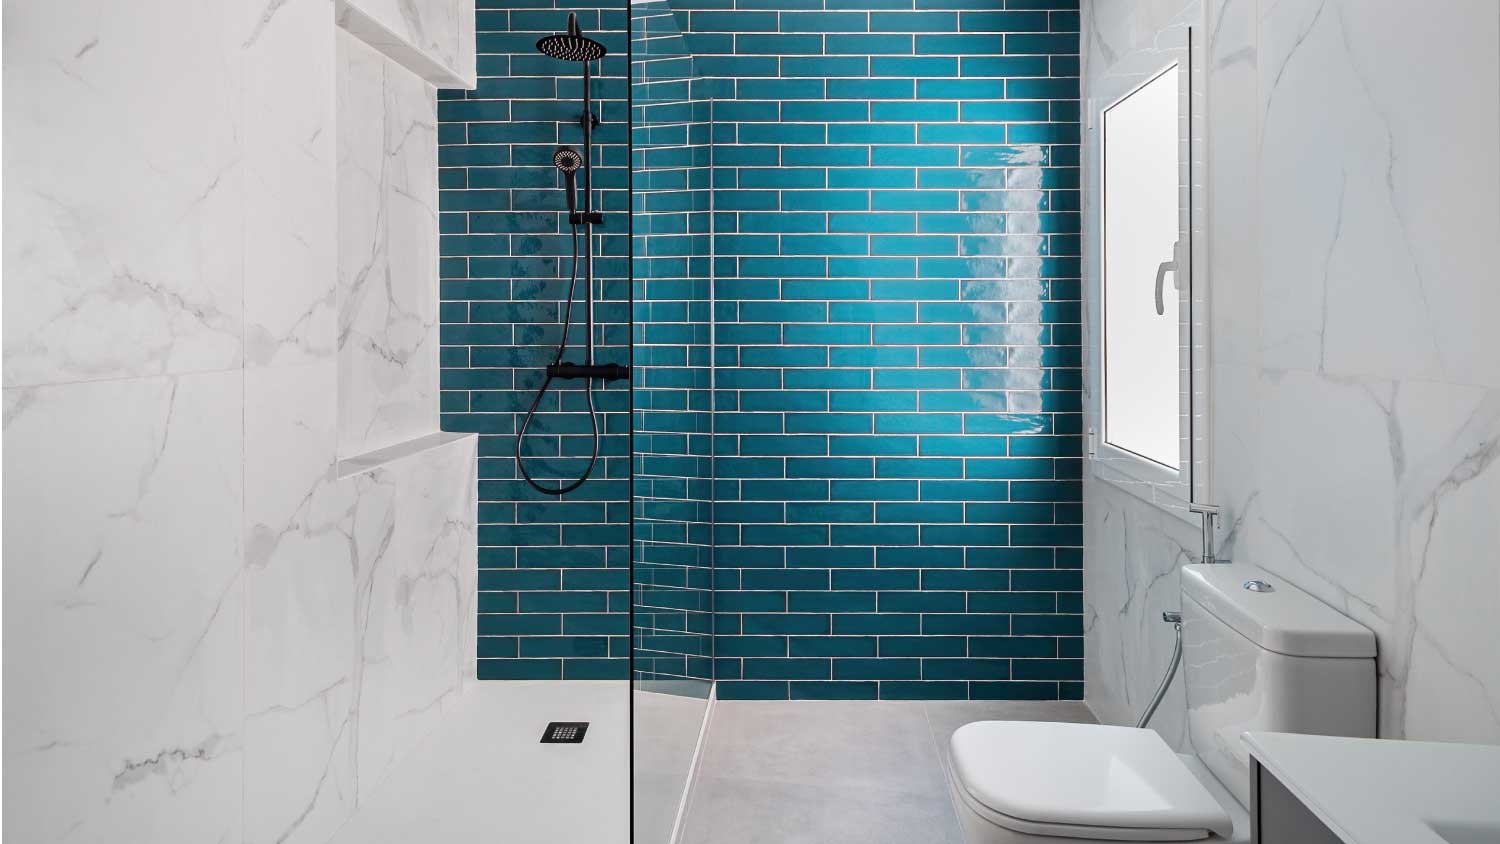
Whether it’s on a tile floor, in a shower, or along a backsplash, cracked grout just isn’t a good look. Aesthetics aside, damaged grout can loosen tiles, promote mold growth, and cause structural problems with your walls or floors, so it’s important to address it before it’s too late. However, you don’t always have to hire a professional for this job. Instead, you can learn how to fix cracked grout on your own.

First, put on your safety glasses, dust mask, gloves, and hearing protection. If the damaged grout is on the floor, start by sweeping and vacuuming the area. Then, you can clean the grout with warm water and a grout brush.
Alternatively, if your grout is sealed, you can mix warm water and white vinegar in a spray bottle (using a 1-to-1 ratio) and apply it to the grout. After five minutes, scrub it with a grout brush.
To remove damaged grout, start by using your hands to pull out any cracked, chipped, or crumbling grout that’s loose and easy to remove.
Next, use a grout saw to break up the rest of the damaged grout that you couldn't remove by hand. Work slowly and carefully so you don’t chip the tiles. When the grout is loose enough, pull it out with your hands.
If you’re only replacing some of your grout, it’s important to find a grout color that matches the shade of your current grout. Otherwise, the new grout won’t blend in with the old stuff.
To do this, take a piece of your old grout to a home improvement store and ask an employee to help you find a similar shade.
Use a shop vac to get rid of any dust and debris from the places where you removed grout. Wipe the area down with a clean damp cloth and let it dry.
When you’re done, check to see if there’s any remaining damaged grout. If so, remove it using the process outlined in steps one and two.

If you purchased premixed grout, you can skip this step. But if you bought a mixable version, measure out the right amount of water according to the manufacturer’s instructions. Add it into a bucket, mix in the grout powder, and stir it with a trowel.
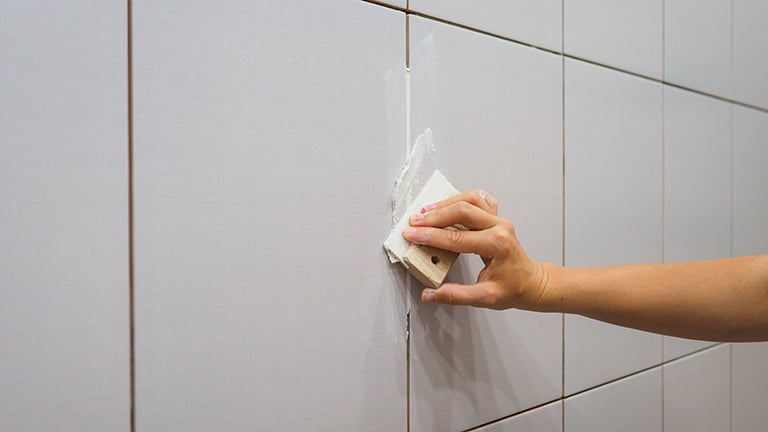
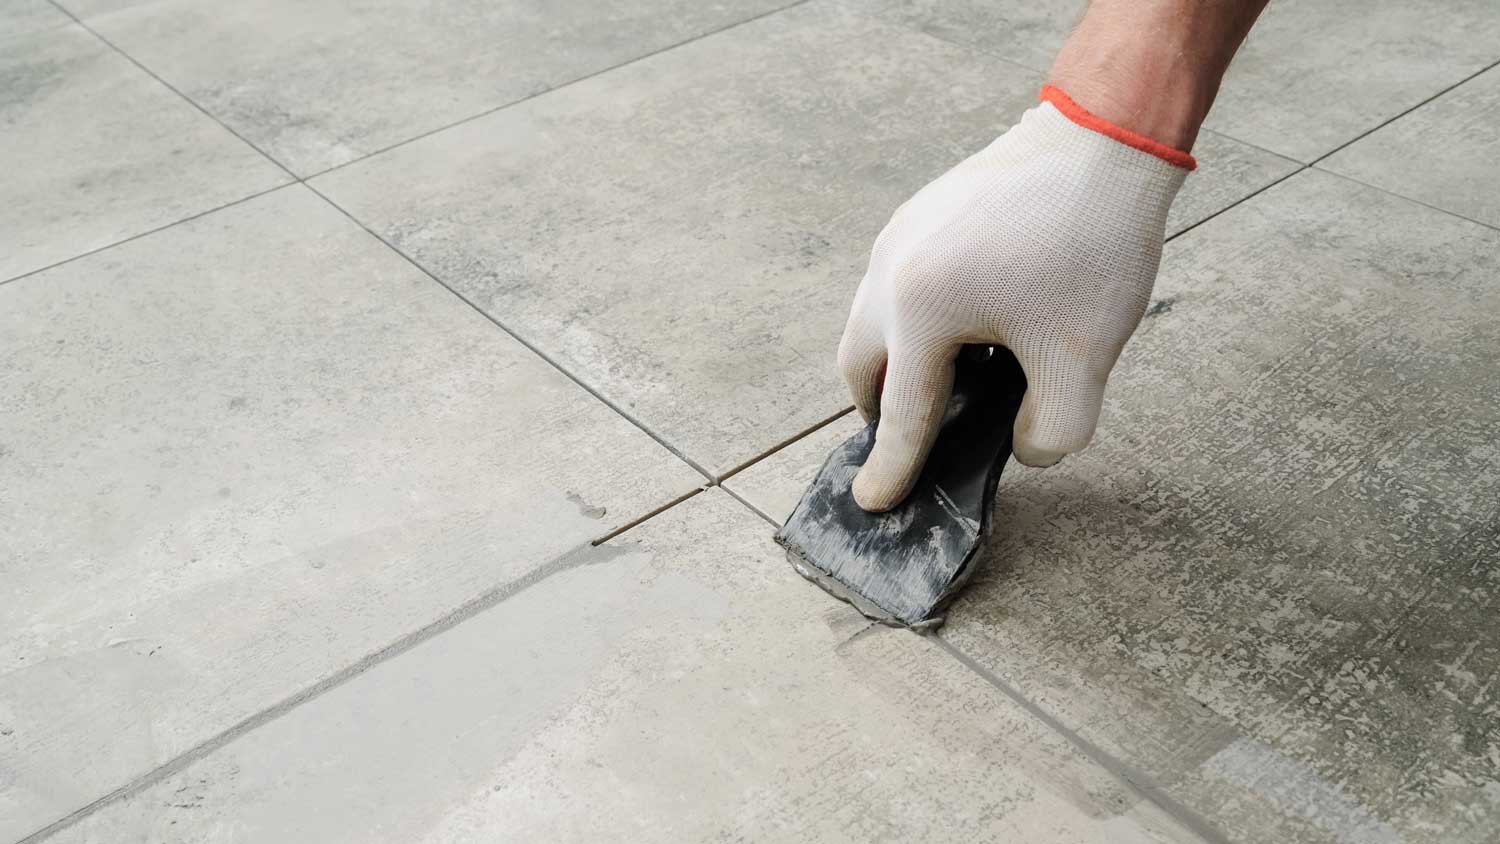
Scoop grout onto your rubber grout float. Hold the float at a 45-degree angle and move it over the joints, using sweeping motions to apply the grout evenly. Work in small sections and avoid applying too much grout at once.
Move the float diagonally over the tiles to remove excess grout. This helps create a smooth layer, which is especially important if you’re regrouting floor tile. Otherwise, the uneven grout could create a tripping hazard.

Let the grout sit for 15 to 30 minutes, then wipe the surface of the tiles with a damp grout sponge to remove excess grout. Try not to pull any grout out of the joints, and rinse the sponge often to keep it clean.
Let the grout dry completely. Depending on the type you’re using, it can take between 24 and 72 hours for grout to dry.
When the grout is dry, you might notice a slight haze on the tiles. To remove grout haze, wipe the tiles with a damp cloth and then polish them with a dry cloth.

Sealing grout can help prevent future cracks and protect your grout against water damage, mold, and grime. To seal your grout, start by combining 1/4 cup of vinegar and 8 ounces of water in a spray bottle. Then, apply it to the grout, wipe it down with a cloth, and let it dry completely.
Use a paintbrush or sponge to apply a thin coat of sealer to the new grout. Let it dry for about an hour before applying a second coat.
Repairing cracked grout isn’t necessarily difficult, but it does require a number of tools and supplies that you might not have on hand—like a grout saw, trowel, and grout float. It’s also a messy project that can be quite time-consuming for an inexperienced DIYer.
Coarse scrubbers such as steel wool and rough scouring pads should never be used on grout. They often scrape away a layer of grout in the process. Instead, use a stone-safe sponge or nylon bristle brush to clean your grout effectively and safely.
If you hire a professional for this project, your exact costs will depend on the amount of grout you need fixed and labor prices in your area. On average, though, local grout repair pros charge $250 to $1,000 to regrout 100 square feet of tile.
Jason has helped me with multiple household projects, with the most recent being new door installation. He has always showed up on time and organized and has done an incredible job! Jason is very professional and he's now my go-to for anything around my house that needs to be fixed or...
Cole has been handling plumbing and general contracting for our four properties over the past three years, and he’s always done a great job. Most recently, he installed a sink and countertop in our retail store where none existed before, and it turned out exactly how we needed. He’s...
 ANB Renovations LLC
1st Choice Renew is simply the best! We hired them for a complete home renovation, and they transformed our space into something truly amazing. The team attention to detail and commitment to quality were evident throughout the project. They were easy to work with, very responsive, and always...
This company went above and beyond with their work, chimney sweeps are usually pretty messy, but the clean up was spot on.!! Josh explained every thing that he was doing, and the things that he was checking to make sure the chimney was safe for me and my family. He was very professional,...
 Supreme brick & chimney
Custom Paint Jobs LLC turned our outdated bathroom into a modern masterpiece.
Excellent customer service and knowledge. I was recommend to him from my neighbour. My front door and window came in great and were installed beautifully perfectly, I m very satisfied with their excellent work, so decided to order one more big bow window for my living room. I cant wait for...
If I could give 10 stars for Kitchen Tune Up, I would. I cannot say enough good things about my experience with Kitchen Tune Up and the entire team involved in the process of my kitchen project. They went above and beyond as far as service and quality with my cabinets, paint, countertops, and...
It was wonderful working with Yordy and his team. They were very professional and are experts in what they do. They have completed the work on time, with better quality and with in fairly reasonable price. We just started with backsplash work , but liking his work, we went on to provide...
We were having 2”x 2” tile installed . There was a small installation error and the new additional replacement tile was from a different lot and the colors didn’t match. Joe assured us that he would rectify everything , which he did without hesitation. We decided to go with the 18” x 36” tile...
 CarifaTile
They work that 360 did on my kitchen cabinets is nothing short of amazing. I still cannot believe the difference from before and after. Jon and Jeff were both so incredibly professional throughout the whole process and their communications with me were constant and consistent. These guys...
 360 Painting Columbus
From average costs to expert advice, get all the answers you need to get your job done.
Discover the cost to regrout shower, including average prices, key cost factors, and tips to help you budget for a fresh, watertight shower.
Tile and grout cleaning brings your tiled rooms back to life. In this guide, find out the details of how much it costs to hire tile and grout cleaners.
Discover the average cost of grout repair, key price factors, and tips to save. Get expert advice to plan your grout repair project with confidence.
Confused about how to choose between grout vs. caulk for your home improvement project? This simple guide explains when to use which and why.
Dealing with moldy, dirty, or stained shower tile grout but not sure how to clean it? Learn seven quick and effective tips that’ll help you restore your grout to its former glory.
Life happens and tiles crack. This two-method guide will show you how to fix cracked tile in as little as an afternoon—with no experience necessary.