
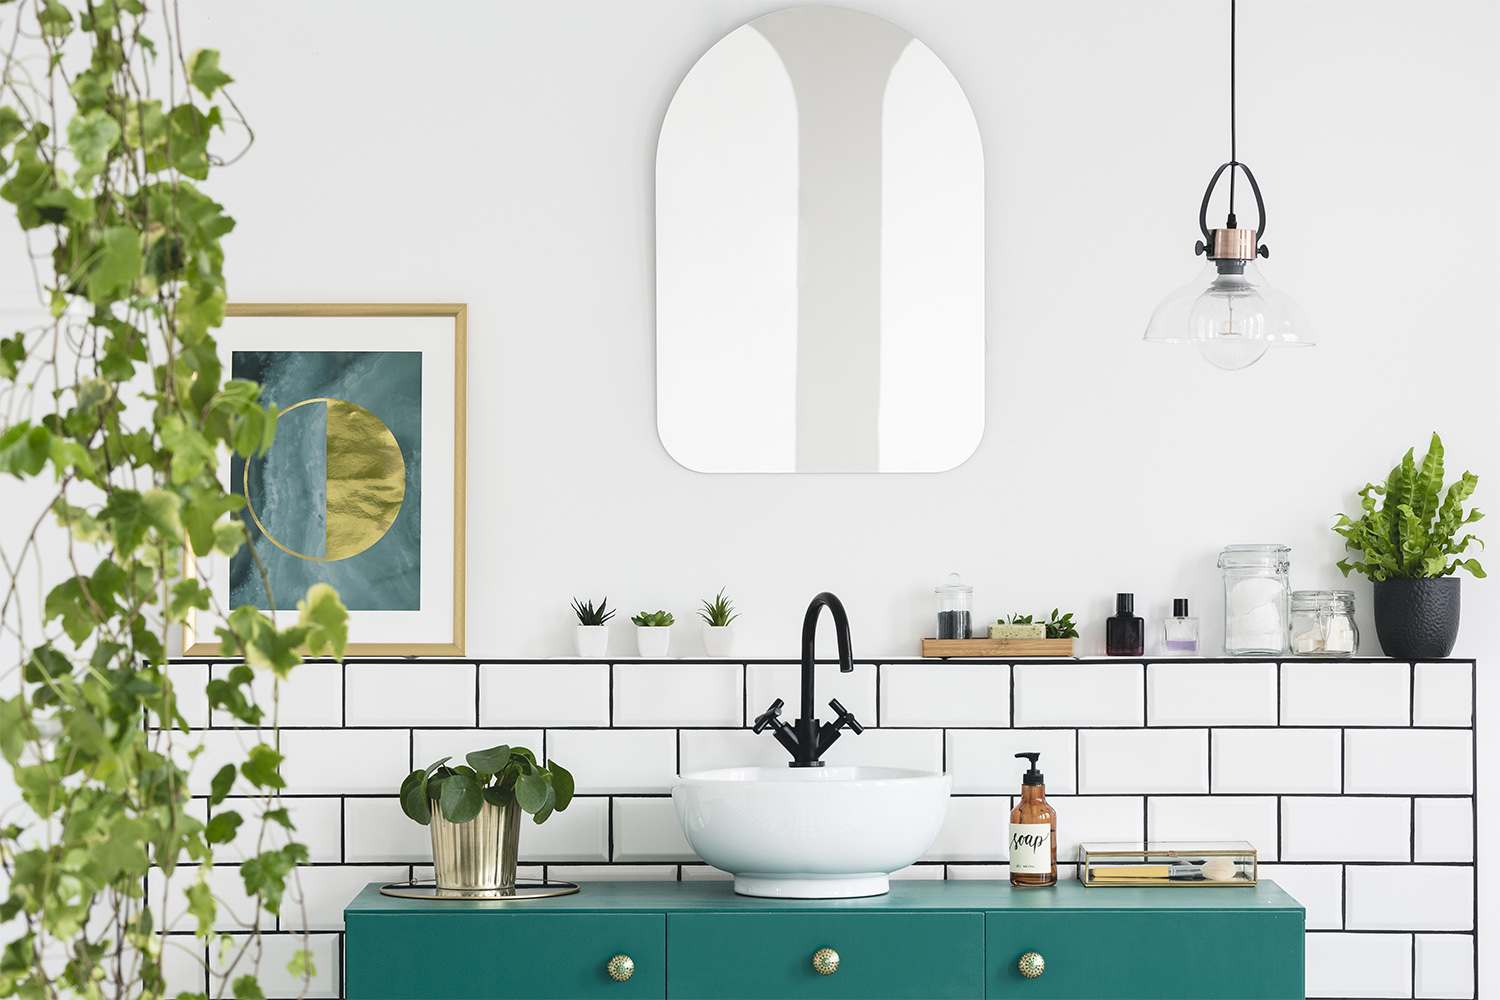
Tile and grout cleaning brings your tiled rooms back to life. In this guide, find out the details of how much it costs to hire tile and grout cleaners.
Consider the grout gone

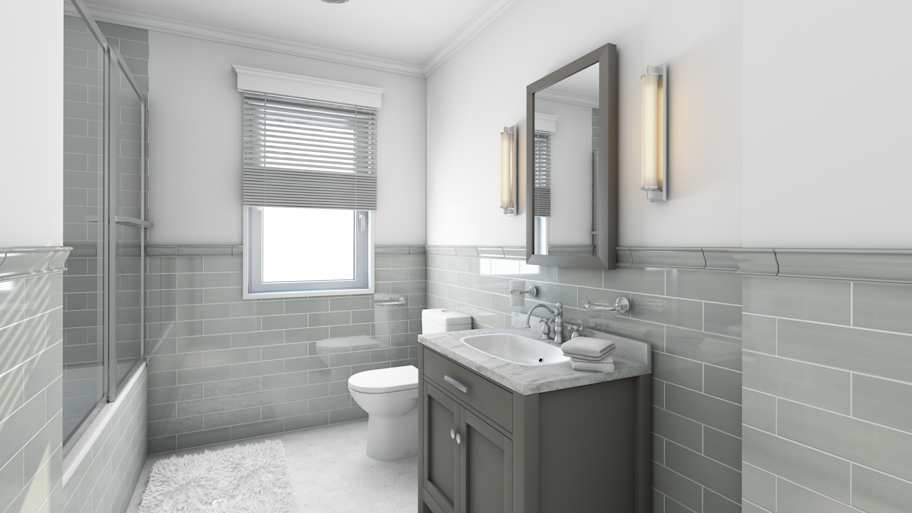
If you’re prepping for a kitchen or bathroom renovation, you can save money on tile installation costs by removing the grout yourself. While the thought of removing cement grout sounds daunting, it’s a doable task for confident DIYers. In fact, once you learn how to remove grout from tile, you could spend just an afternoon getting the whole job done. This guide will walk you through grout removal step by step.
Place a drop cloth or plastic sheet over everything you don’t want to ruin. The cloth or tarp will catch the dust and debris that falls as you work. Also, mark off any areas that you want to avoid using painter’s tape. You can protect specific parts of the tile by taping cardboard over it.

Grout removal kicks up a lot of dust that can be irritating to the eyes and lungs, even if you don’t normally suffer from allergies. Put on safety goggles and a respirator mask before you start.
Your oscillating tool might come with a blade for wood, but you’ll want to swap it out for a masonry blade that’s better suited for removing grout.
Place the blade in the center of the grout line and hold it vertically for vertical lines and horizontally for horizontal lines. Turn the tool on and start grinding. Use the lightest pressure possible as you trace along the grout line, letting the tool do most of the work. If you push too hard, you risk damaging the tile or the surface itself. You want to grind down 1/8 of an inch.

Take some time to clean the area. Wipe down the sections of grout you worked on with a dry rag. Then, go back again with the blade to remove any grout you missed.
You can also switch to a manual tool for any hard-to-reach spots. If you use a utility knife, make sure the blade is dull. Sharp blades can scratch the tile or even snap, potentially causing injury.
Use a shop vac to clean up all the dust and debris. Slowly and carefully fold up the drop cloths or plastic sheets and dispose of them so that you don’t spread more dust around your home.
Removing grout from tile can be tricky. Here’s what you should avoid during the process for a seamless DIY:
Scratching the tile: Test using your oscillating tool in a less obvious spot first to make sure you know how much pressure is too much (or not enough). Then, you can confidently remove grout from the rest of the tile.
Not removing enough grout: For the new grout to adhere properly, you’ll need to dig enough existing grout to create at least a depth of 1/8 of an inch.
Forgetting to prep: In case you were thinking of cutting some corners, know that grout dust is fine and gets everywhere. You might even see a haze in the air in the area where you were working. Be sure to lay down drop cloths or tarp over the entire room before you start.

Here are some key instances when you’ll want to remove grout from tile:
Replacing tile: Even if you’re just swapping out one or two tiles, you should remove the old grout before applying more. A new layer of grout won’t adhere well to old grout, so you risk the grout crumbling and cracking sooner.
Fixing damaged grout: If the grout is cracked, loose, or severely discolored by dirt or mold, it’s more time- and cost-efficient to replace it rather than fix it.
Changing grout color: If you want to change up the look of a tiled surface without a full-on new set of tiles, you might consider switching to a new color of grout. While there are ways of coloring the current grout, it’s easier to remove and replace it.
Never use acidic products on grout, tile, or stone without knowing whether they are acid-sensitive. Acids can etch certain stones, such as marble, travertine, and limestone, potentially requiring costly polishing.
If you’re handy with power tools, then you can DIY your grout removal project. You will, however, need to supply some elbow grease and patience to get the job done well. If you’re not comfortable with power tools or have physical limitations, let a local grout repair pro handle this job (they’ll finish it a lot faster, anyway).
Grout removal is often wrapped into the cost of tile floor installation or a similar project. That said, if your tile is in good condition, you can still hire a pro to replace damaged and discolored grout. You’ll pay $10 to $25 per square foot, but it depends on the size of the area and the type of tile. Larger tiles with thinner joints require less grout than smaller tiles with wider joints.
You will, of course, save money if you DIY grout removal, but be sure you’re confident in your skills first. Otherwise, you may have to pay even more money to get it fixed.
Terrible experience. Walls/trim/floors/cabinets/doors all have drip marks, overspray, etc. Tiling at the fireplace had to be redone by another vendor due to incorrect and shoddy install by Profect. Contractor had his children in our house while he was on site without prior authorization or...
 Profect painting & exteriors
It was wonderful working with Yordy and his team. They were very professional and are experts in what they do. They have completed the work on time, with better quality and with in fairly reasonable price. We just started with backsplash work , but liking his work, we went on to provide...
We were having 2”x 2” tile installed . There was a small installation error and the new additional replacement tile was from a different lot and the colors didn’t match. Joe assured us that he would rectify everything , which he did without hesitation. We decided to go with the 18” x 36” tile...
 CarifaTile
For several months I was looking for somebody to tile a wall in my master bath and move lighting fixtures, and could not find anybody who was responsive. I contacted Rowe through Home Advisor and within days they came by to assess the job and provide an estimate. The cost was very...
It went very well! The end product was amazing and we keep getting a lot of compliments from friends! M&E were very professional and they made sure we were happy with the product before leaving. They met with us in our home and at the tile shop to make sure we were okay with our tile and...
 M&E Remodeling
Involved an extensive bathroom remodel, including removing tub & installing walk in shower, new drywall, custome tile work to ceiling, plumbing, etc. Overall, job was done on time and on budget. Nick & his team were very professional and had high attention to detail. Quality was great. Highly...
 Stamos Flooring and Remodeling LLC
Very pleased with the service and level of professionalism. Courteous and very unobtrusive in performing service. Unlike several other companies, Bradford Xteriors was willing to perform work on a three story home with a clay tile roof. <br />
 Bradford Xteriors
This company did a very good job on the brick wall and it looks just amazing. The staff was always professional and was practically OCD on how the bricks were stacked and how they were laid. Although it took longer than expected, I am willing to sacrifice time over perfection anyday. The...
 My Handy Mate LLC Improvement & Remodeling
He did the tile work and he was good at it. He used other subcontractors for the rest of the work (like putting in the cabinetry) and they were okay but not great. He was a great guy! He was easy to work with and had a good eye for the detail of his work. There were a couple of things that I...
 Brian Miller Custom Remodeling
I was very impressed with Miller Cantrell! I live in an old home in which the sewage line that runs from my home to the sewage system is a line of clay tile. These eventually collapse and need to be replaced - an expensive problem and sure to happen at the worst time. I told them that my...
From average costs to expert advice, get all the answers you need to get your job done.
Tile and grout cleaning brings your tiled rooms back to life. In this guide, find out the details of how much it costs to hire tile and grout cleaners.

Sealing your grout goes a long way toward extending its life span. This guide breaks down the cost factors for sealing grout, including size, materials, and labor.
Working on a home reno? You’ll need to remove old grout and clean grout haze on newly installed tiles. Learn how to soften grout for removal in five easy ways.
Tile grout can become dirty or discolored over time, but regrouting your tile can give your floor new life. Here’s everything you need to know about grouting tile floors, along with whether you should hire a professional for the job.
Dealing with moldy, dirty, or stained shower tile grout but not sure how to clean it? Learn seven quick and effective tips that’ll help you restore your grout to its former glory.
Make your tile project shine with these tips for grouting tile. Learn how to avoid common mistakes and finish strong with clean, sealed lines.