

The cost to cap a gas line is relatively low, as plumbers can handle the job in roughly an hour. We break down cost factors and DIY considerations.
Thaw your frosty faucets so the cold doesn’t bother you (or your pipes)


All it takes is one night of below-freezing temperatures for your outdoor faucets to freeze, crack, and break, which can cause nasty leaks (and lots of headaches). Save yourself the trouble by learning how to protect outdoor faucets from freezing, including what gear will do the job and when you should plan to install it.
Inside your home, your pipes and faucets are usually cozy and warm thanks to your heating system. Even in your basement or attic, there may be enough residual heat from the rest of your house to keep your pipes from freezing. But outdoor plumbing fixtures like hose bibs, backflow preventers, and spigots are at risk of damage when the temperature drops.
As we all learned in science class, water expands when it freezes. If you don’t winterize your outdoor faucets, any water remaining in your pipes and spigots will expand when exposed to freezing temperatures. This can force your faucet to crack and cause burst pipes, water leaks, and damage inside and outside your home.
Fortunately, winterizing your outdoor spigots provides ample protection against these dangers, keeping your faucets frost-free until warmer weather rolls around again.
Protecting your outdoor faucets from freezing temperatures can be very inexpensive, with some solutions costing just $10 or less.
However, some homeowners, especially in northern or mountainous climates that get extremely cold, may want to spend a little more on a DIY custom plumbing solution to ensure the most protection from frost. Installing frost-proof faucets could cost $35 to $200 or more, especially if you hire a local plumber to do the work.
If you wait too long into the cold season to winterize your outdoor faucets, you risk damage from a surprise cold snap. But if you winterize too soon, you won’t be able to give your lawn and garden a last long drink of water before you blow out the sprinkler system and button up your yard for the winter.
The best way to determine when to winterize your outdoor faucet is to know your region’s first frost date and keep an eye on the fall weather forecast in the weeks beforehand. As soon as you see overnight lows dipping to about 35 degrees Fahrenheit, it’s time to remove your garden hose and winterize the outdoor spigot. This way, you’re prepared in case the temperature drops further than predicted.
Keeping your outdoor faucets protected means you’ll be ready to leap into action when spring rolls around and it’s time to turn on your sprinkler system again.
You should winterize your pipes before temperatures regularly drop to 32 degrees Fahrenheit. Depending on where you live, this could start as early as September.

There are a few different ways to protect your outdoor faucet from freezing, DIY-style. The following methods range from simplest (no plumbing expertise required) to more complex; the best solution for your needs depends on your climate, comfort level with plumbing, and budget.
Before you begin, remove the garden hose. Otherwise, small amounts of water can get trapped in the spigot and freeze, damaging the faucet. You can coil the hose and store it in a protected space, like a garden shed or garage, until the weather warms up again.
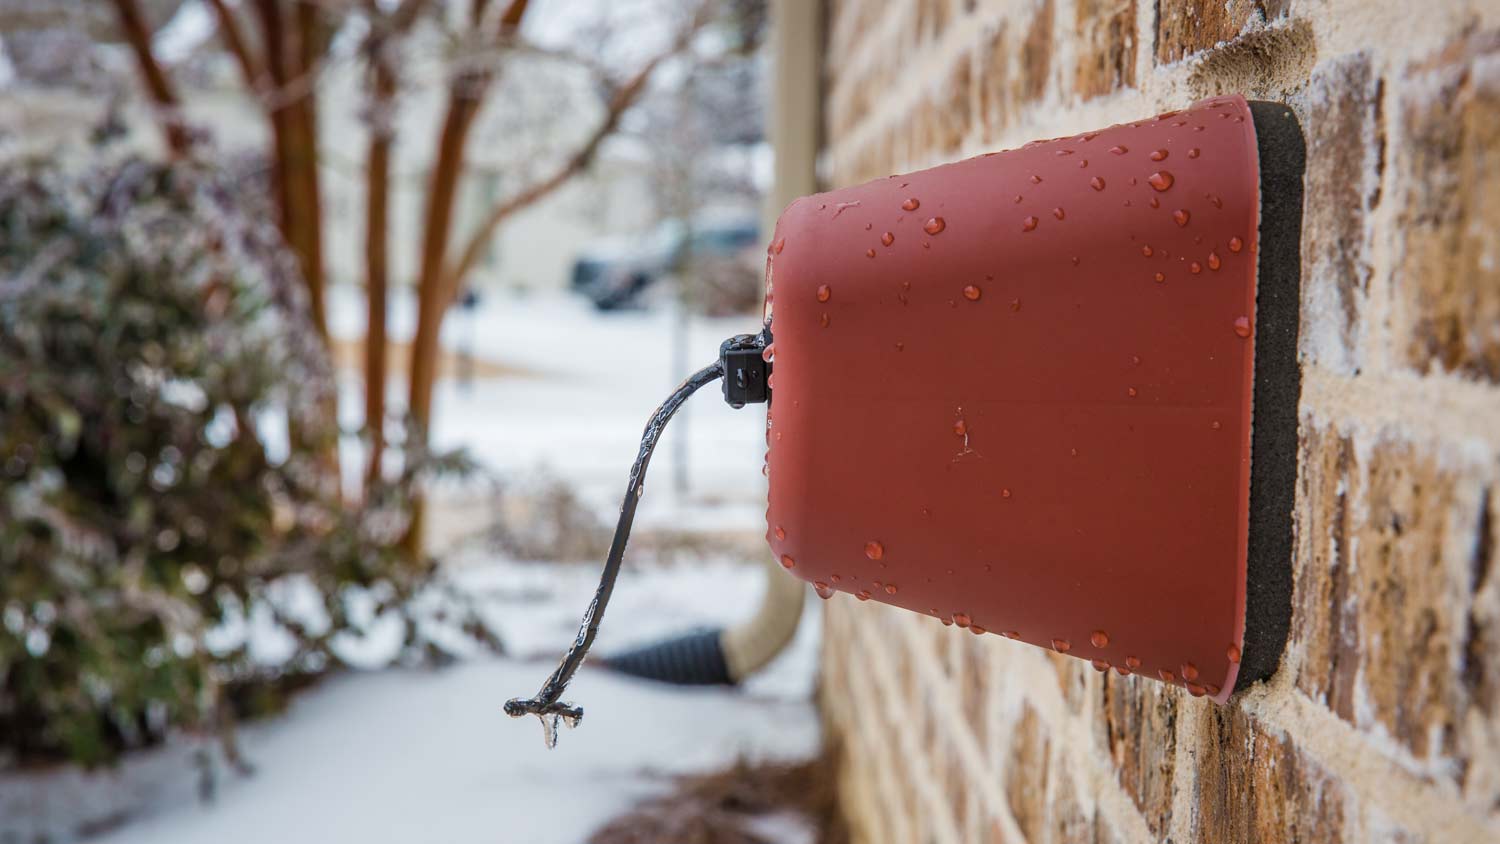
An outdoor faucet protector is an insulated cover you can install over your faucet. These faucet covers are usually made of hard, durable plastic or waterproof fabric, with an inner layer of foam insulation and a gasket that seals the cover to prevent outside air from entering. Faucet covers, or faucet socks, cost just $5 or $10 and take minutes to install.
To install an outdoor faucet protector, slide the included interior loop over the spigot body, then slip the cover over the faucet, pressing it up close against the side of the house. Draw the cord tightly to hold the faucet cover in place.
Another key method for insulating an outdoor faucet is to protect the pipes leading up to it. You can use foam pipe sleeves for this task, especially if your pipes are long and straight. For smaller lengths of pipe, you can use pipe-wrap insulation. You can find pipe insulation materials at local hardware stores or order online. For either method, wrap the pipe with your chosen insulation and tape it in place as directed.
This method is good for pipes that run along outside walls, in basements, or above crawl spaces—anywhere that is unheated or exposed to low temperatures.
Installing a freeze-proof faucet replaces your existing outdoor faucet with a frost-resistant one. Freeze-proof faucets have a special downward-sloped design and include a shut-off valve to prevent ice from becoming trapped in the pipe, where it can cause bursts and leaks.
To replace your outdoor faucet with a freeze-proof one, you’ll turn off the water at your home’s shut-off valve and use a pipe wrench to disconnect the old faucet and indoor pipe couplings. Then you’ll install the new pipe and faucet, connect it to your water supply and seal any gaps around the pipe’s entrance to the wall with caulk.

To avoid problems with your outdoor faucets when temperatures drop, there are a few simple precautions you can take.
Turn off the water supply at the shut-off valve first. You’ll probably find it in your basement or near the crawlspace. Check perimeter walls, especially near the location of your outdoor water meter. Turning off the water at the shut-off valve stops any additional water from reaching your outdoor faucet. It’s a good idea to leave the water turned off all winter.
Next, make sure you decouple your garden hose from the outdoor faucet. Leaving the hose in place will trap water and can cause damage. Coil the hose and store it in a safe spot like your garage or shed.
With the hose safely drained and stowed, you can then drain the water from the outdoor faucet. Turn the bleeder cap, if there is one, until the water is completely drained and replace the bleeder cap. Capture the runoff in a bucket so it doesn’t form an ice patch beneath your faucet.
Finally, add your outdoor faucet cover if you’re using one. Make sure you seal the faucet cover tightly to the side of your home to prevent frigid outdoor air from reaching the faucet.
From average costs to expert advice, get all the answers you need to get your job done.
The cost to cap a gas line is relatively low, as plumbers can handle the job in roughly an hour. We break down cost factors and DIY considerations.

A main water shut-off valve controls water flow for your entire home. Here we break down the cost to replace a main water shut-off valve.

We’ll cover the cost of replacing a shower or bathtub drain, whether you can tackle this repair yourself, and what other projects to consider along the way.

Is the water pressure in your shower lacking? Here are common solutions to increase it so you can enjoy your showers again.

Follow this guide to learn how to install a kitchen sink drain, from shutting off the water supply to lowering the drain outlet and connecting the P-trap.

Clogs can keep drains backed up and build up odors in kitchens and bathrooms. Learn how to use a plumbing snake, a simple solution to clearing clogs.