
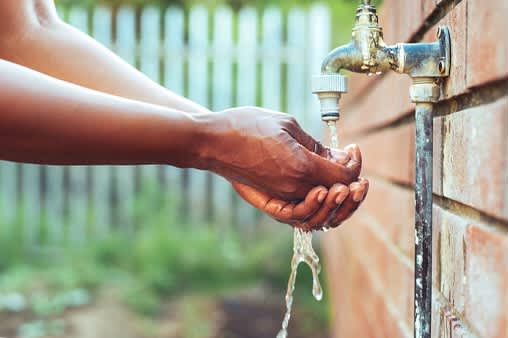
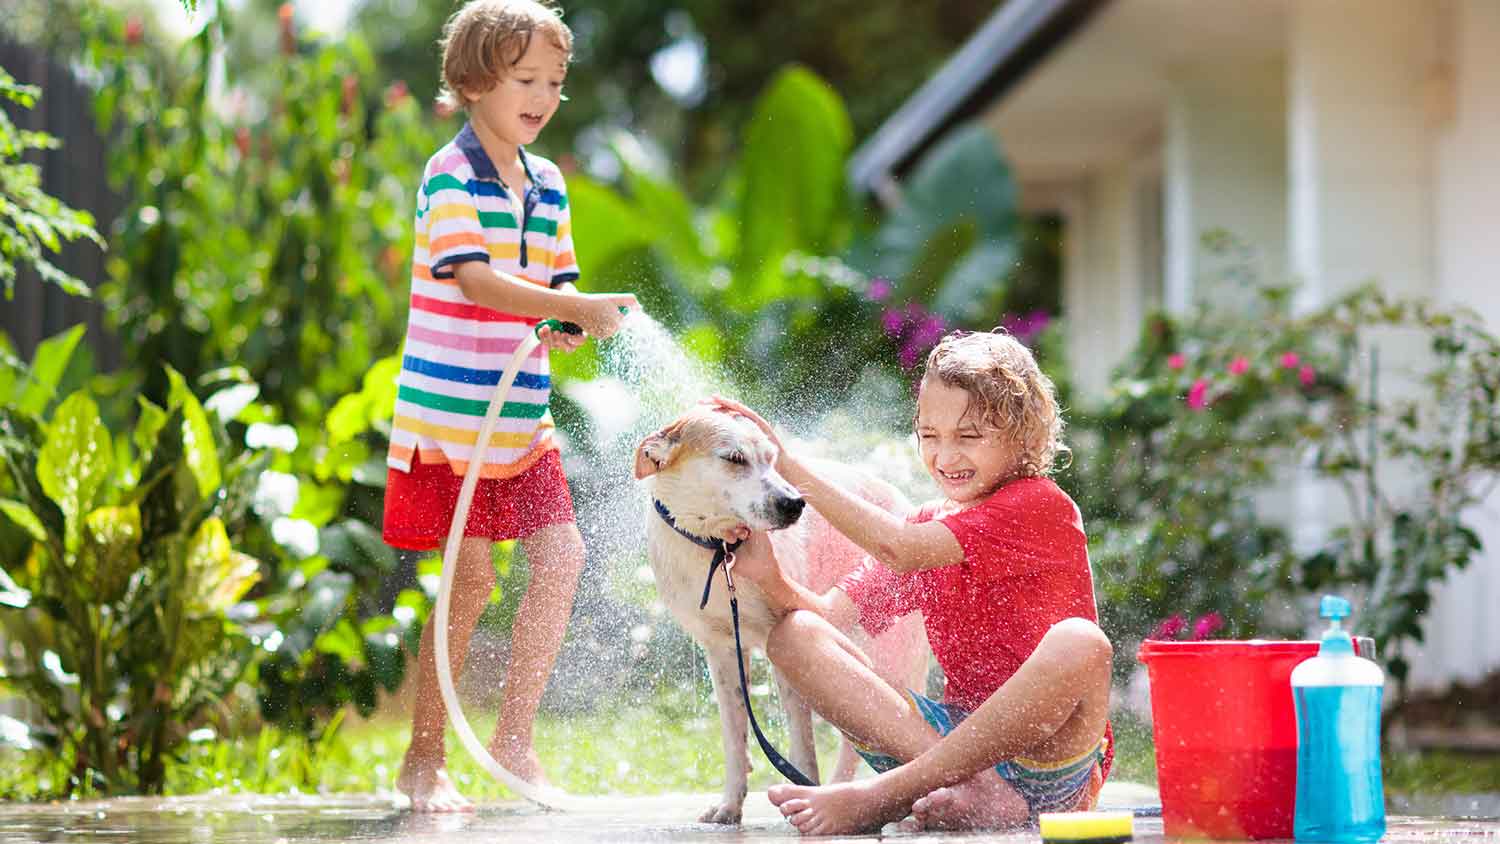
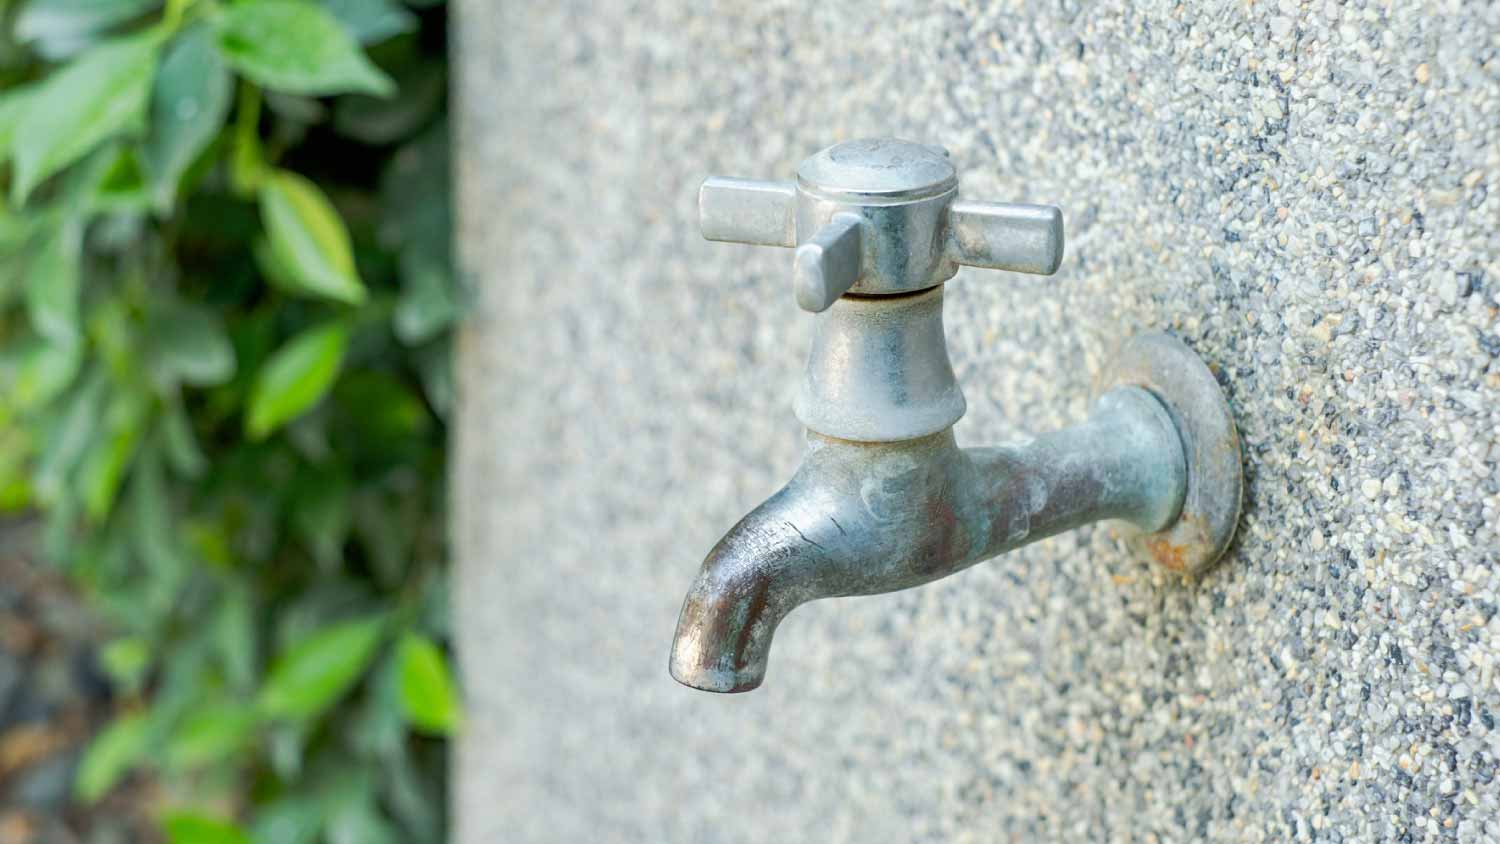
A leaky outdoor faucet can mean gallons of wasted water and a higher water bill. Thankfully, the cost of replacing an outdoor faucet is relatively low. Learn the true cost to replace an outdoor faucet so you can know what to expect.
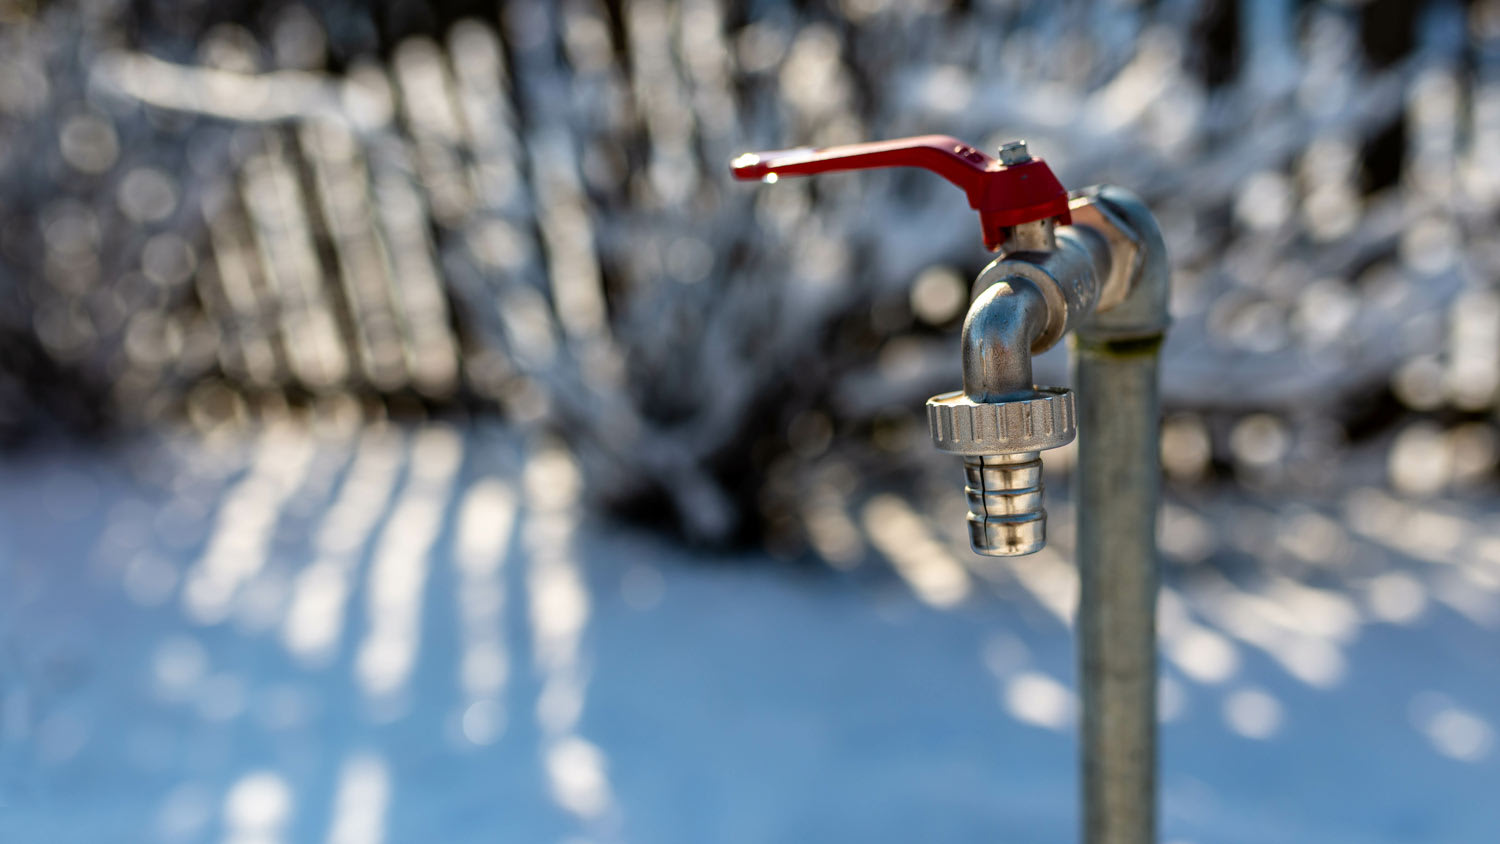
Don’t leave your spigots out in the cold this winter

When it comes to winterizing your home, you probably already take the time to insulate pipes around the garage, turn on the bathtub faucet to drip before a forecasted overnight freeze, and open up cabinets for better warm air circulation. But what about your outdoor faucets? Even freeze-proof faucets are vulnerable to frosty weather, so don’t skip out on learning how to insulate outdoor faucets.
You should winterize your pipes before temperatures regularly drop to 32 degrees Fahrenheit. Depending on where you live, this could start as early as September.

First, to protect outdoor faucets from freezing, you’ll want to check how many outdoor faucets you have so that you can buy the correct number of insulation covers. Then, either head to a local home improvement store or browse online to find the insulation products. One of the easiest and most effective options is a foam insulation cover, but you may also find flexible faucet covers made from waterproof fabric like nylon. Both options may cost about $5 to $10 apiece, so even if you have a few faucets around the house, this DIY project usually costs under $50.

You’ll need to turn off the water supply to your outdoor faucets before you can drain and cover them for winter. The shut-off valve is typically kept somewhere warm where it won’t freeze. Look inside your home in utility closets, a basement, or a crawlspace to find the water shut-off valve for your outdoor faucets.
The shut-off valve that supplies water to the outdoor faucets typically has a round, wheel-shaped handle, although it could also have a lever handle. Turn the round shut-off valve clockwise until it stops to turn off the water, or turn the lever handle until it is perpendicular to the water supply line.
If you can’t find the water shut-off valve to your outdoor faucets, call a plumber to help you.
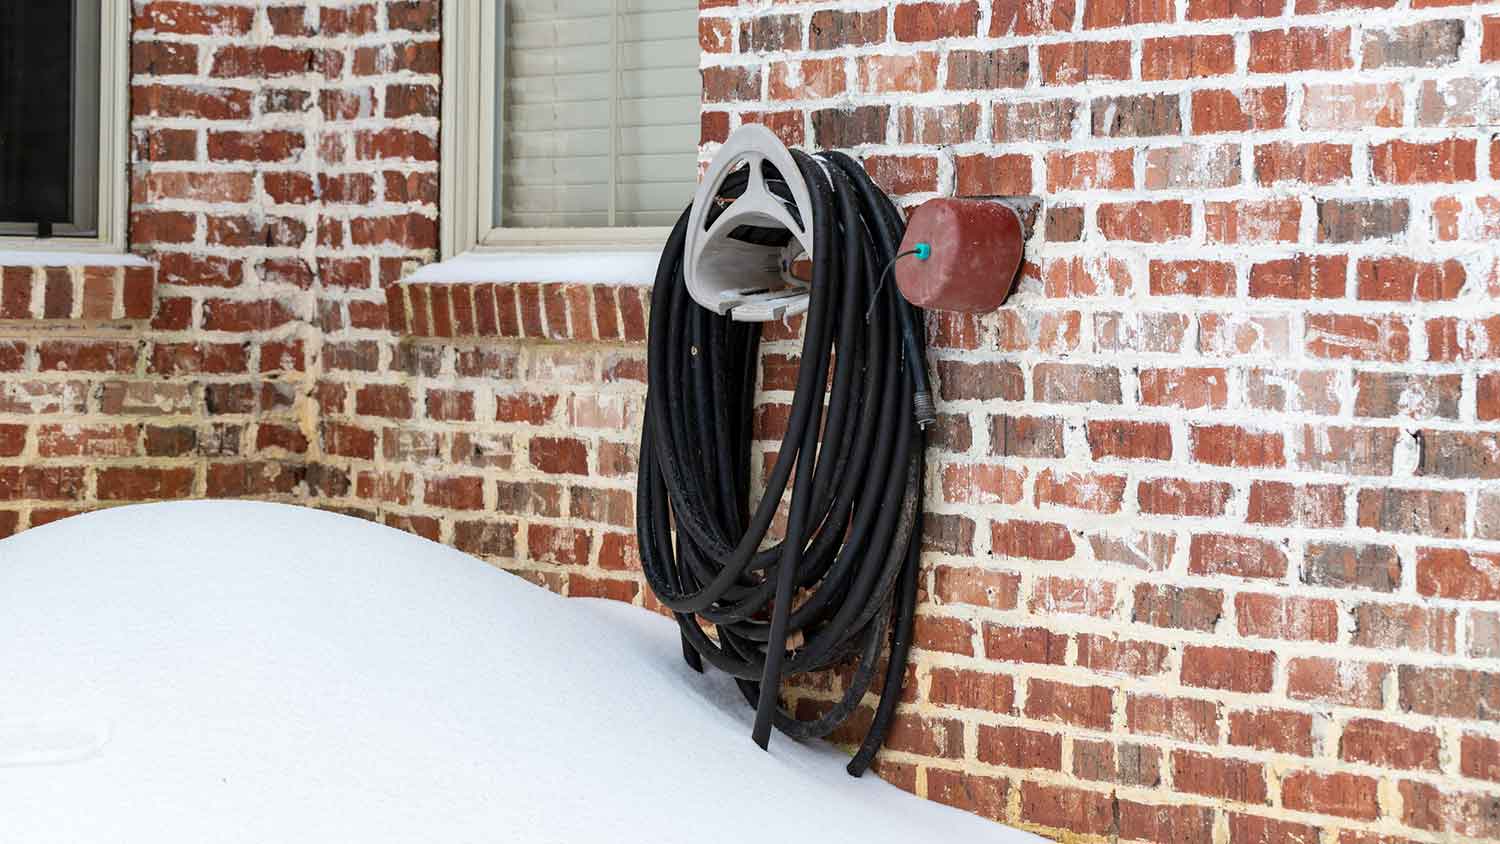
Your outdoor faucets may be attached to a garden hose or other attachments, like a hose extender or a hose stand. Remove the hose or other accessories, and let them drip to release any extra water. These accessories shouldn’t be threaded on too tightly, but if you have trouble, you can use a wrench to twist them off. Store these parts away somewhere dry for winter, like a garden shed or garage.

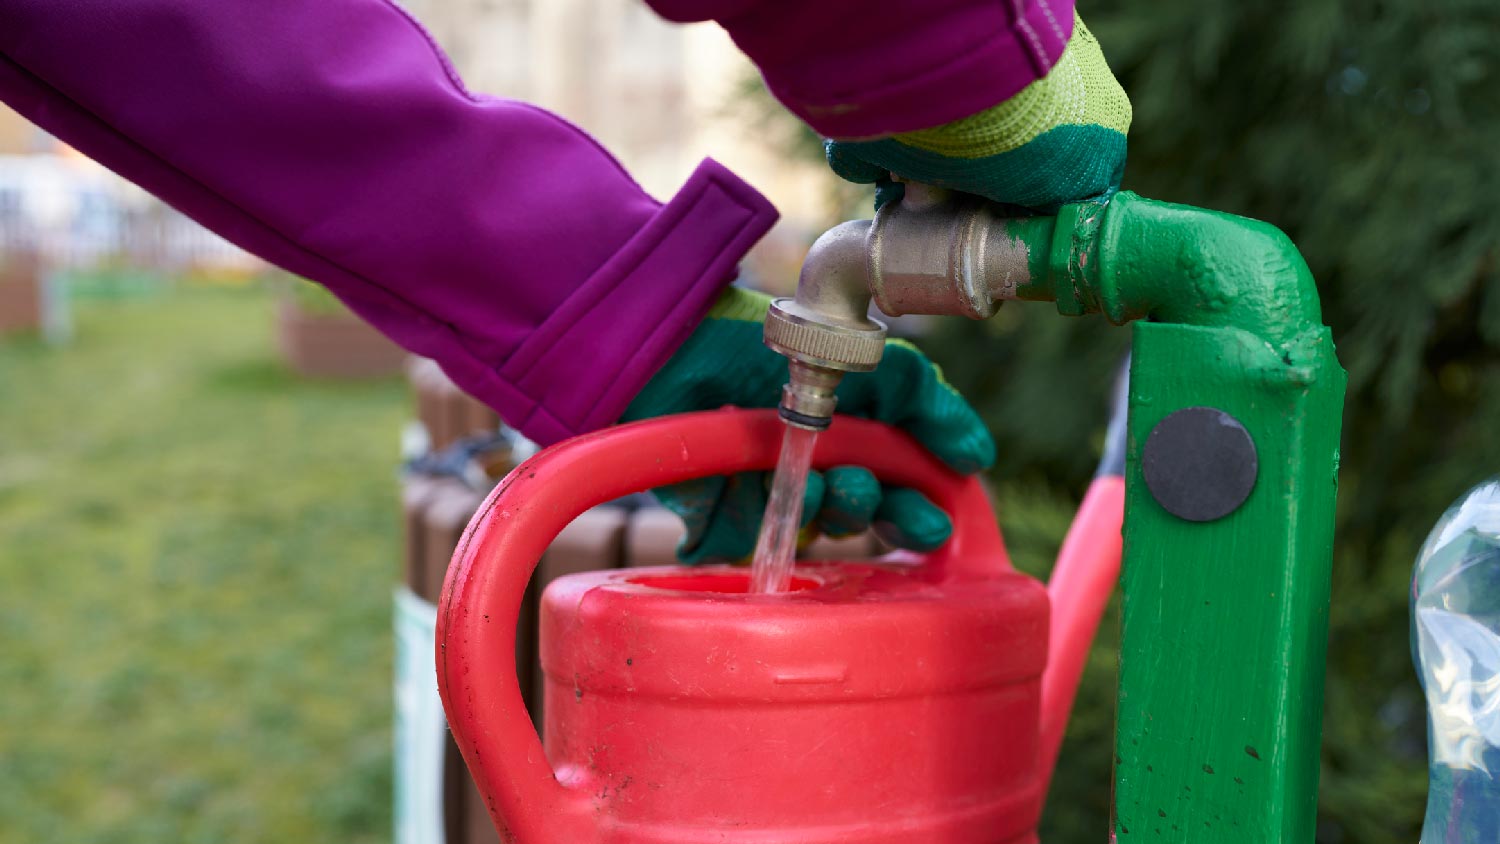
Now, it’s time to drain the excess water from your outdoor faucets. With the water shut off, turn the handle of each outdoor faucet to the left to open it. Keep a bucket underneath to catch any water. Leave the faucets open for about three hours, which gives them time to release any water left over in the pipes before moving on. You can leave the faucets open all winter.
Although you do still want to cover freeze-proof faucets with an insulation product, this faucet type shouldn’t require draining. Consider keeping it open to help avoid pressure buildups over winter, but you don’t need to wait three hours to let the faucet drain. If you have a freeze-proof outdoor faucet, feel free to move on to the next step.
Before you cover the faucet for winter, now is also a great time to check for damage and make repairs so that the faucet is ready to go when it’s time to start spring gardening. If you notice leaks, cracks, corrosion, or other damage, hire a plumber near you to make repairs before you cover the faucet for winter.

If you have a foam cover, stretch the rubber loop, which you’ll find inside the cover around the back of the faucet where it meets the wall. Then, place the cover over the faucet. The rubber loop has a string that comes out of the top of the cover. Pull the rubber string to tighten the cover against the wall.
If you have a flexible cover, it will look like a small drawstring pouch. Place the opening of the cover around the faucet, then pull tight on the drawstring to close it. Repeat for each outdoor faucet around your home. Just remember to turn off each faucet before turning the water supply on and before attaching a hose or turning on the sprinkler system in the spring.
Learning how to insulate an outdoor faucet is a great DIY project, even for beginners. Covers usually cost about $5 to $10 each, and you only need a couple of tools that many people already have at home.
The most difficult part of insulating an outdoor faucet is often finding the right water shut-off valve and inspecting and repairing any damaged faucets. If you need help with either of these tasks, it’s best to leave it to a plumber to avoid costly water damage. Hiring a plumber costs about $50 to $200 per hour.
Positive experience. As previously stated, the replacement/repair could not be completed (no fault of the plumbing tech) b/c misinformation was rec?d by property management maintenance. Thanks to the plumbing tech for your efforts. Appreciate you!
 The Waterworks
If you want to pay the most exorbitant prices possible for your job, this is the company for you. “By the job” pricing is a rip-off, at least how these people use it. Every job is plugged into a category and prices are set by category. You might have a job that takes half an hour or one that...
 Benjamin Franklin Plumbing
Cole has been handling plumbing and general contracting for our four properties over the past three years, and he’s always done a great job. Most recently, he installed a sink and countertop in our retail store where none existed before, and it turned out exactly how we needed. He’s...
 ANB Renovations LLC
Matt is a consummate professional. The work turned out to be far more difficult than expected and rather than turn the job down, Matt rose to the occasion and completed a near impossible task. I can not recommend Greene's Plumbing Service more highly. On a scale of 1-5 I would give Matt a...
Involved an extensive bathroom remodel, including removing tub & installing walk in shower, new drywall, custome tile work to ceiling, plumbing, etc. Overall, job was done on time and on budget. Nick & his team were very professional and had high attention to detail. Quality was great. Highly...
 Stamos Flooring and Remodeling LLC
Awesome company. Had a jacuzzi tub taken out and replaced with huge walk in shower with partial glass enclosure. Onyx to the ceiling with a decorative border, moved plumbing and installed hand held shower, new ceiling, flooring, and paint. Replaced window with glass block. Everything was done...
 Columbus Bath Design
The initial quoted price from a walk-through seemed high, but we discussed that the quote represented worst case scenario (re-wiring to two floors) and we were excited about the opportunity to have the work done in a timely manner with closing for fire safety reasons, etc. When the job was...
Initially, I called the Service People to have a leaking garbage disposal replaced. I had purchased a special deal through Angie's List: $79 for $200-worth of plumbing services. <br /> When I went to schedule the work, the earliest date I could get through Angie's List was after the upcoming...
This company did a very good job on the brick wall and it looks just amazing. The staff was always professional and was practically OCD on how the bricks were stacked and how they were laid. Although it took longer than expected, I am willing to sacrifice time over perfection anyday. The...
 My Handy Mate LLC Improvement & Remodeling
<p>I am so glad we called Rotor-Rooter. I was hesitant to call them because we usually prefer to give business to local providers. But when we had sewage back up in our basement on a Saturday evening, I had a hard time getting a hold of someone, not to mention the high weekend/evening rate...
From average costs to expert advice, get all the answers you need to get your job done.
A leaky outdoor faucet can mean gallons of wasted water and a higher water bill. Thankfully, the cost of replacing an outdoor faucet is relatively low. Learn the true cost to replace an outdoor faucet so you can know what to expect.
Knowing how to protect your outdoor faucet from freezing will help you avoid burst pipes and devastating water leaks both inside and outside of your home.
Do outdoor faucet covers work? They can make your water cleaner and block pests from your pipes. Discover more protective benefits of outdoor faucet covers.
When temperatures dip, you’ll have to protect your pipes from freezing—but should you drip or cover your outdoor faucets? Let’s look at the facts.
Explore the seven most popular outdoor faucets for your home and discover the ideal faucet for gardening, car washing, or outdoor entertaining.
Is your outdoor faucet too low to the ground? Check out these signs of a low outdoor faucet, plus learn how to fix it with DIY and pro solutions.