
Backsplash installation costs vary by tile type, design, kitchen layout, and contractor. Find out how much your dream backsplash will cost you.
This easy weekend project will transform the look of your kitchen

Sometimes, it’s just time to spice up your interior design, and installing a peel-and-stick backsplash is the perfect way to transform your kitchen. This is a doable project for almost any homeowner, and you won’t break the bank. If you’re looking for a fun DIY afternoon, you might be ready to peel and stick.
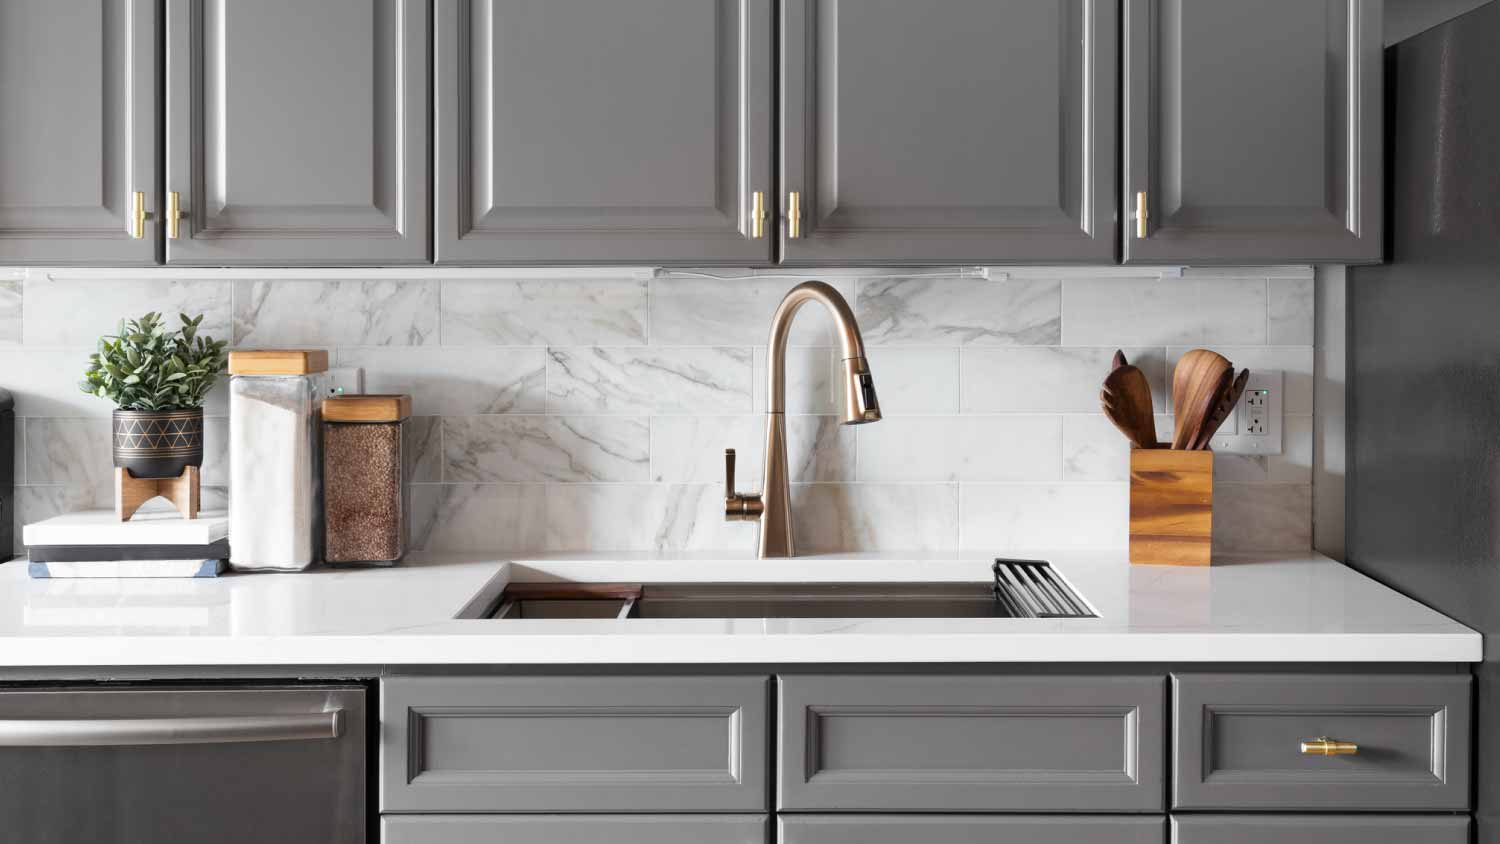
Peel-and-stick tiles look just like the tiles that you typically find in a kitchen or bathroom. The difference is that peel-and-stick tiles come with an adhesive backing for easier application—and usually, no grout is necessary. You can find peel-and-stick tiles made from a wide variety of materials, including glass, metal, gel, stone, and vinyl. They typically come in 10-inch or 12-inch square sections and are available in various patterns, shapes, colors, and prices. So, if you’re searching for wallet-friendly backsplash ideas, peel-and-stick tiles are a great option.
Yes, as long as you purchase high-quality tiles built to last. Because peel-and-stick tiles are self-adhering, they should stick and stay on your surface permanently. However, with lower-quality products, you can expect curling and lifting at the corners over time. Still, that’s not a bad roll of the dice when you consider that installing a backsplash can cost $600 to $1,300 on average.
You shouldn’t place peel-and-stick tiles directly next to heat sources or in areas with extreme moisture in the kitchen. So, for example, you should avoid placing them directly above your stove.
Otherwise, you can freely place peel-and-stick tiles around your cabinets, windows, and outlets. And, depending on the type of tile you have in your kitchen already, you may even be able to lay peel-and-stick tiles directly over them—as long as they’re clean, flat, and not textured.
You can save time, money, and hassle by opting for peel-and-stick backsplash tiles. The average cost to install a kitchen backsplash is about $15 to $40 per square foot, while peel-and-stick backsplash tiles start at about $4 per square foot and go as high as $30 per square foot, depending on the tile material. When you go with peel-and-stick tiles, you’ll save the $40 to $60 per hour in labor costs for a traditional backsplash.
The best way to ensure your peel-and-stick tile looks flawless and as close to the real thing as possible is to put a good amount of effort into preparation. From the type of tile you select to measuring and cleaning beforehand, these prep tasks can help set you up for DIY success.
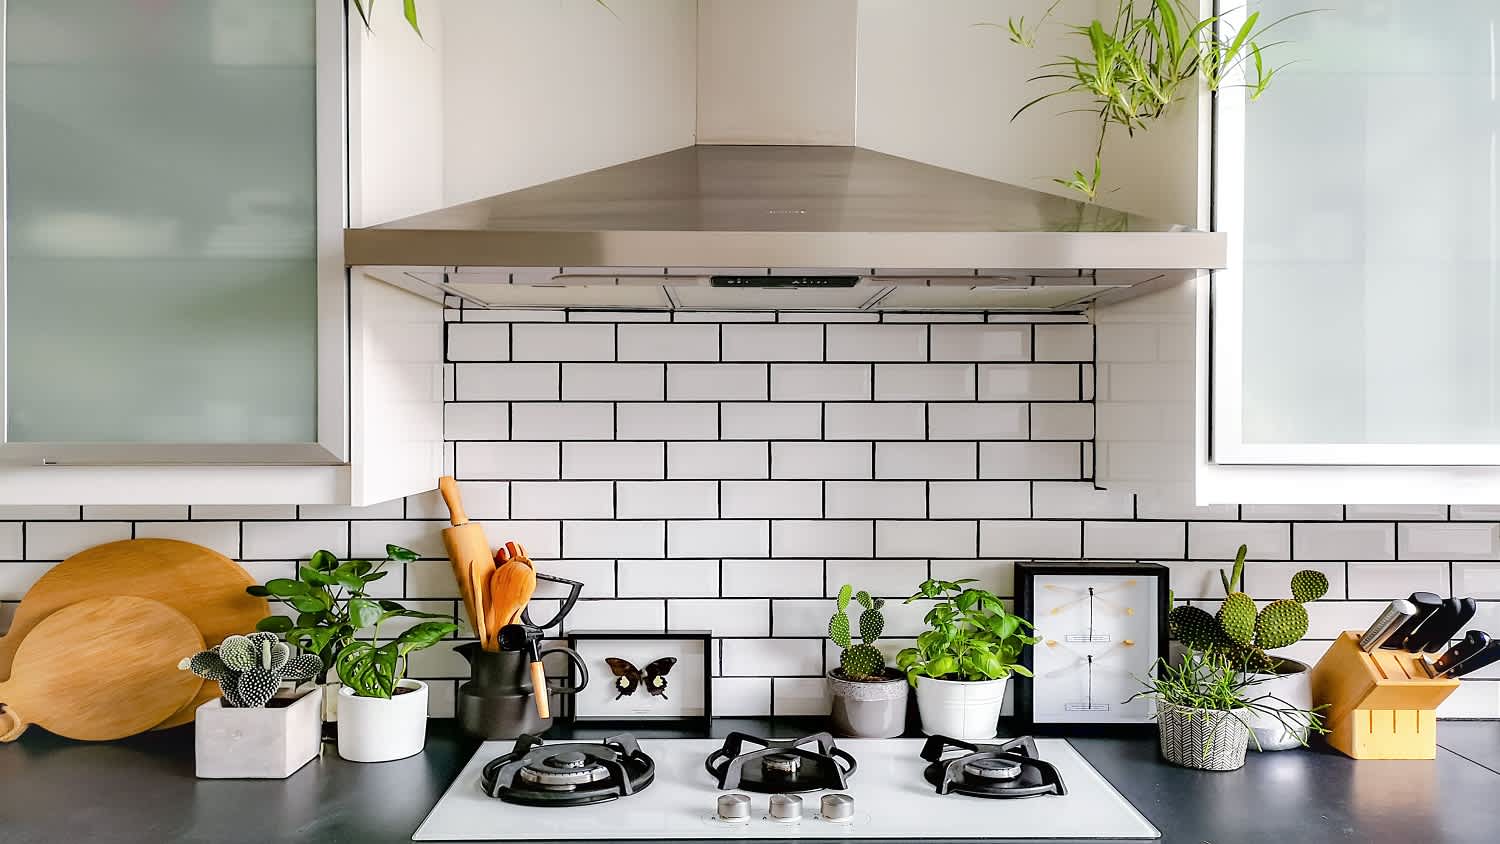
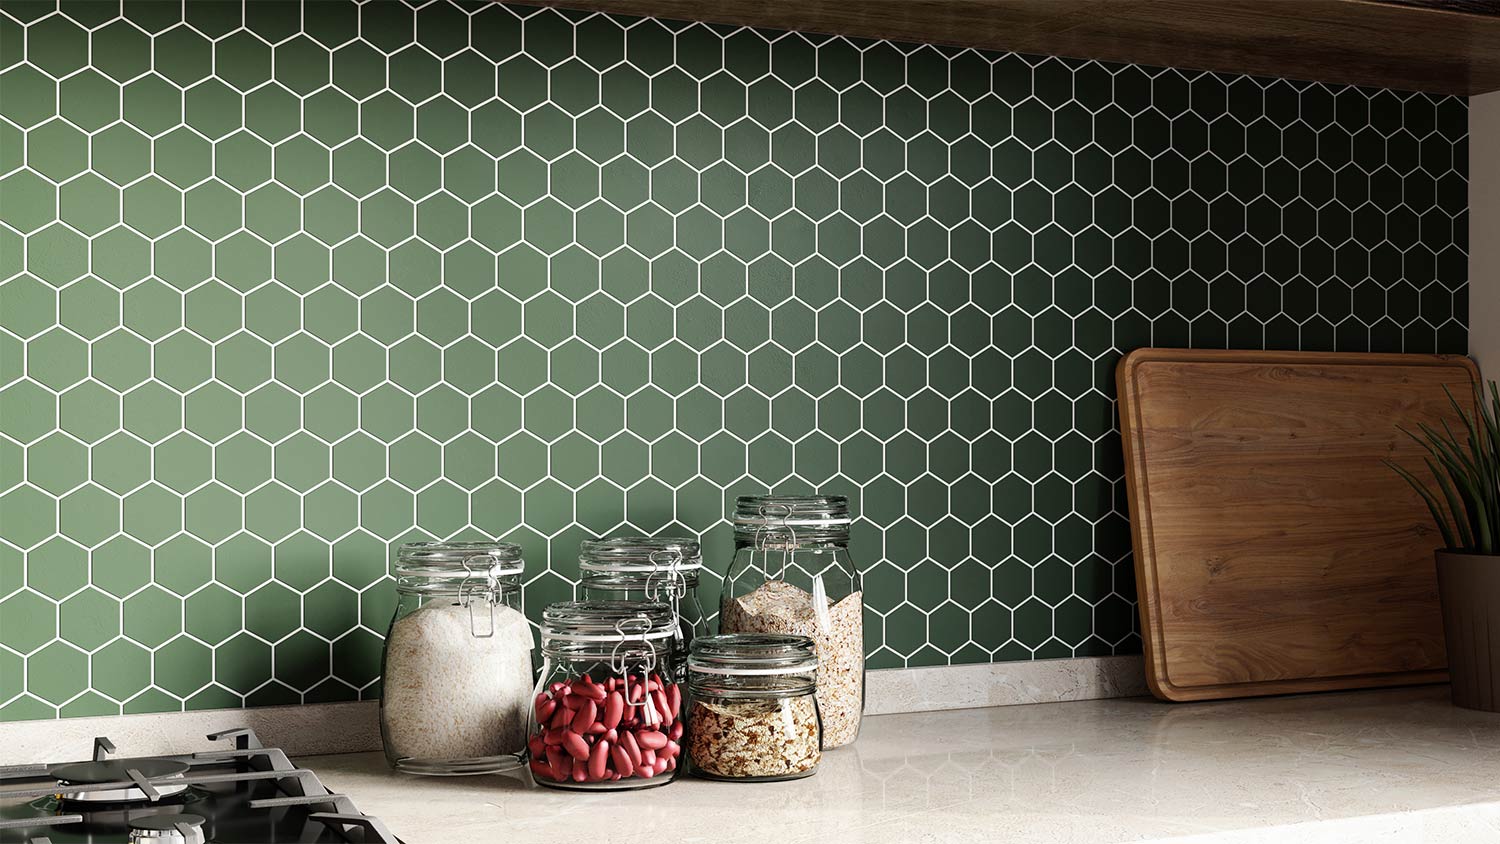
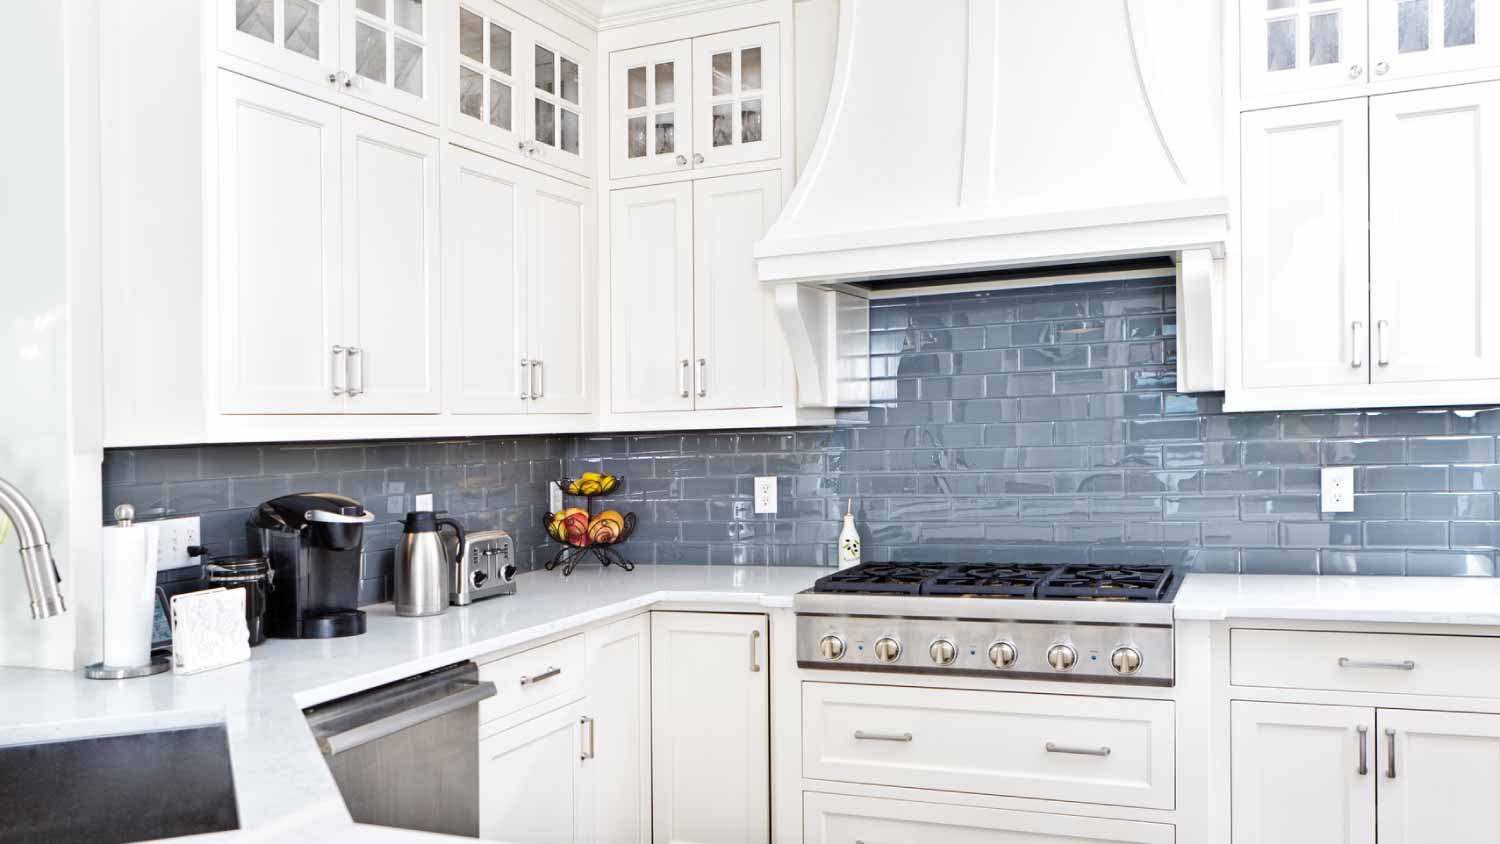
Even if you have a vision in mind, you should weigh your options because there are many imaginative ways to design your backsplash. For instance, you can opt for a simple brick design or try something fun like scallops or hexagons.
You’ll also want to consider the type of backsplash material—there are a variety of materials you can use, such as vinyl, ceramic, glass, and metal. Just be sure to purchase a sufficient amount for the square footage of your project and a little extra to account for any mistakes. Keep in mind that peel-and-stick tiles are not as durable as traditional tiles.
This step is essential to ensure your tile looks professional and stays on for the long haul. Before you start peeling and sticking, turn off the power if you’re working close to electrical outlets, and remove any outlet covers using a screwdriver.
Prep the surface by sanding down any rough areas, protrusions, or old adhesive. Next, wipe down the walls with a wet cloth and dish soap and let the walls dry completely. If you have textured walls, now is the time to apply a skim coat using the drywall materials to ensure the backsplash adheres properly.
Like contact paper for countertops, peel-and-stick tiles come in sheets. Some are interlocking, so you don’t have to cut every piece, while you’ll have to cut others into individual tiles or pieces. If you have any doubt, refer to the instructions that came with your tiles.
The tool you’ll need to cut the tiles will vary based on the material. For instance, you might be able to cut peel-and-stick tile with a pair of scissors or a box cutter and ruler (for a straightedge). But for other materials, like the ones below, you may need more specialized tools:
Vinyl tile: Scissors and a vinyl tile cutter
Glass or ceramic tile: An angle grinder with a diamond cutting wheel and a wet saw
Metal clad tile: An angle grinder with an abrasive wheel
You’ll need to cut tile pieces to fit neatly around any outlets, windows, or cupboards. To make it easier, measure the space and cut the tile according to the measurements.
It’s almost time to start tiling! First, pick a starting point on one side of the backsplash. Work from the bottom up and be consistent so your tiles line up. Make it easy by using a ruler and pencil to mark on the wall where each tile will go before you start sticking.
Peel the paper off the back of each piece and then place the tile onto the backsplash. Press on the tiles firmly—you can use a credit card to press across and remove air bubbles—and make sure they fully adhere to the wall.
Make sure to hold the tile by the edges, so your fingers don’t stick to the backing. Keep the sticky side away from any surface other than the one where you’re installing peel-and-stick tile.
If your peel-and-stick sheets look like mosaic tiles, you’ll need to interlock the sheets so they fit together seamlessly. Other designs will resemble traditional wallpaper; you just need to line up the pattern, place each tile where it matches, and stick it in place. Don’t forget to align the corners.
If you’re a beginning DIYer, tiling around a power outlet may seem intimidating. However, this part of the project is as simple as measuring the outlet cover and applying those measurements to your peel-and-stick sheet. A cutting mat can make this step even easier since you can cut the sheet on top of the mat for precise measurements.
Note that you don’t have to account for the entire outside of the outlet cover in your measurements. The face plate for the outlet will cover up any tile that’s close to the outlet when you put it back on.
Once you have turned off the power to the outlet, removed the cover, and installed the peel-and-stick tile over the area, you can screw the outlet cover back on and restore power.
If you want to show your backsplash some TLC, add a sealant to protect the tiles from water damage. Research the type of tile you use to determine which sealer is best. If you’d rather leave the application process to a pro, call a handyperson or a local tile installer to assist with your backsplash makeover.
Melissa Graham contributed to this piece.
Jason has helped me with multiple household projects, with the most recent being new door installation. He has always showed up on time and organized and has done an incredible job! Jason is very professional and he's now my go-to for anything around my house that needs to be fixed or...
Cole has been handling plumbing and general contracting for our four properties over the past three years, and he’s always done a great job. Most recently, he installed a sink and countertop in our retail store where none existed before, and it turned out exactly how we needed. He’s...
 ANB Renovations LLC
1st Choice Renew is simply the best! We hired them for a complete home renovation, and they transformed our space into something truly amazing. The team attention to detail and commitment to quality were evident throughout the project. They were easy to work with, very responsive, and always...
This company went above and beyond with their work, chimney sweeps are usually pretty messy, but the clean up was spot on.!! Josh explained every thing that he was doing, and the things that he was checking to make sure the chimney was safe for me and my family. He was very professional,...
 Supreme brick & chimney
Custom Paint Jobs LLC turned our outdated bathroom into a modern masterpiece.
Excellent customer service and knowledge. I was recommend to him from my neighbour. My front door and window came in great and were installed beautifully perfectly, I m very satisfied with their excellent work, so decided to order one more big bow window for my living room. I cant wait for...
If I could give 10 stars for Kitchen Tune Up, I would. I cannot say enough good things about my experience with Kitchen Tune Up and the entire team involved in the process of my kitchen project. They went above and beyond as far as service and quality with my cabinets, paint, countertops, and...
It was wonderful working with Yordy and his team. They were very professional and are experts in what they do. They have completed the work on time, with better quality and with in fairly reasonable price. We just started with backsplash work , but liking his work, we went on to provide...
We were having 2”x 2” tile installed . There was a small installation error and the new additional replacement tile was from a different lot and the colors didn’t match. Joe assured us that he would rectify everything , which he did without hesitation. We decided to go with the 18” x 36” tile...
 CarifaTile
They work that 360 did on my kitchen cabinets is nothing short of amazing. I still cannot believe the difference from before and after. Jon and Jeff were both so incredibly professional throughout the whole process and their communications with me were constant and consistent. These guys...
 360 Painting Columbus
From average costs to expert advice, get all the answers you need to get your job done.
Backsplash installation costs vary by tile type, design, kitchen layout, and contractor. Find out how much your dream backsplash will cost you.
Looking to design a beautiful backsplash for your kitchen on a budget? This article gives a dozen examples of affordable, attractive materials to consider. Find inspiration and get educated about ways to spruce up your kitchen without breaking the bank.
Do you need a backsplash? Technically, no. However, installing one in your kitchen can add beauty and help avoid costly repairs. Here's how and why.
You don’t have to stick with traditional tile for your backsplash. Learn about unique and affordable backsplash alternatives to beautify and protect your kitchen.
From protecting your walls from cooking spatter to solidifying your aesthetic, these backsplash ideas will elevate the form and function of your kitchen.

When installing a kitchen backsplash, you’ll need the right tools, materials, and knowledge. Our guide will show you how to install a kitchen backsplash.