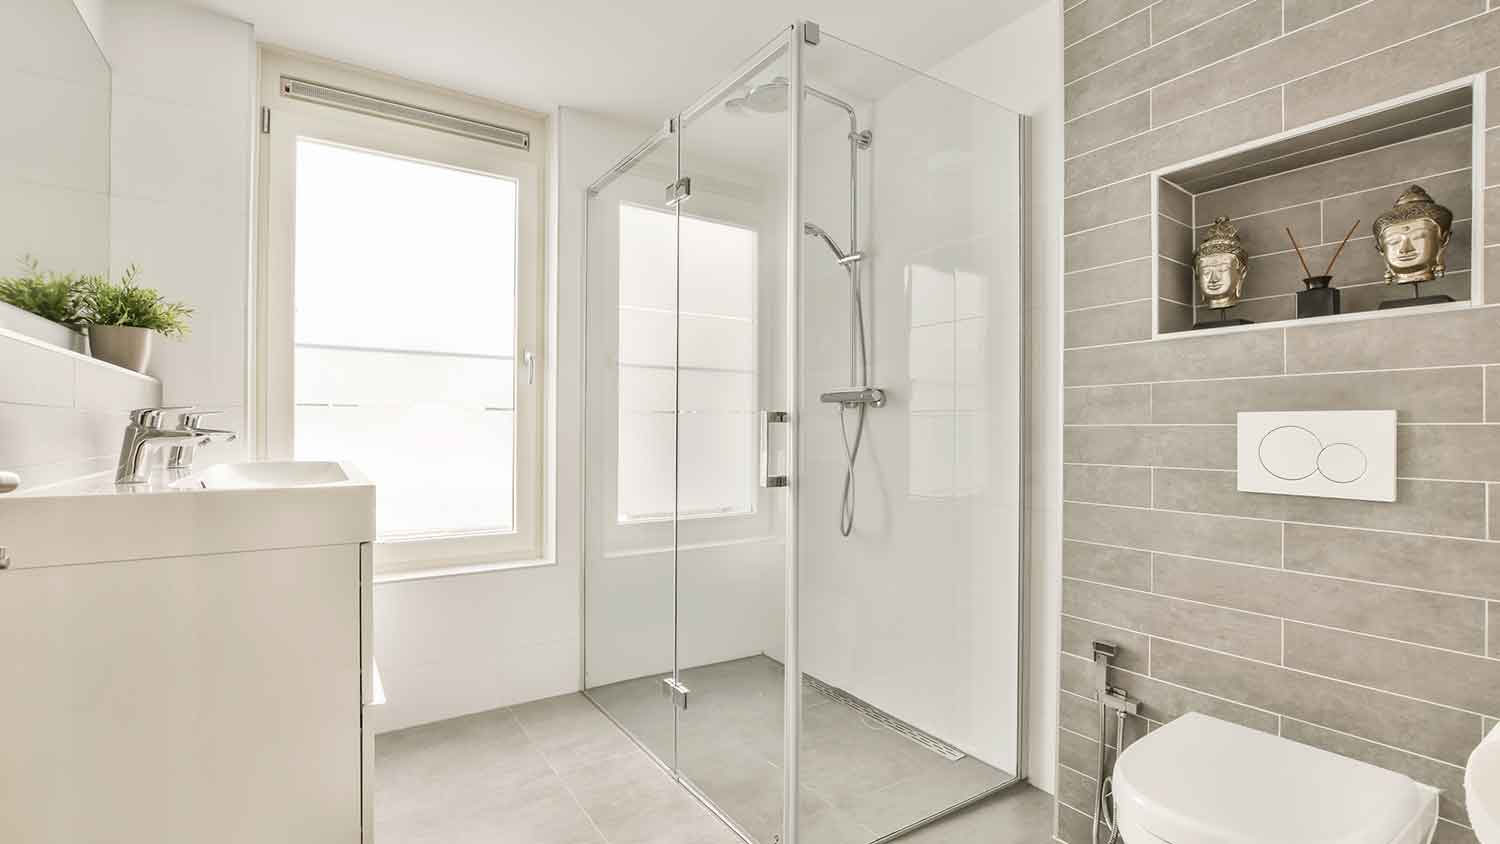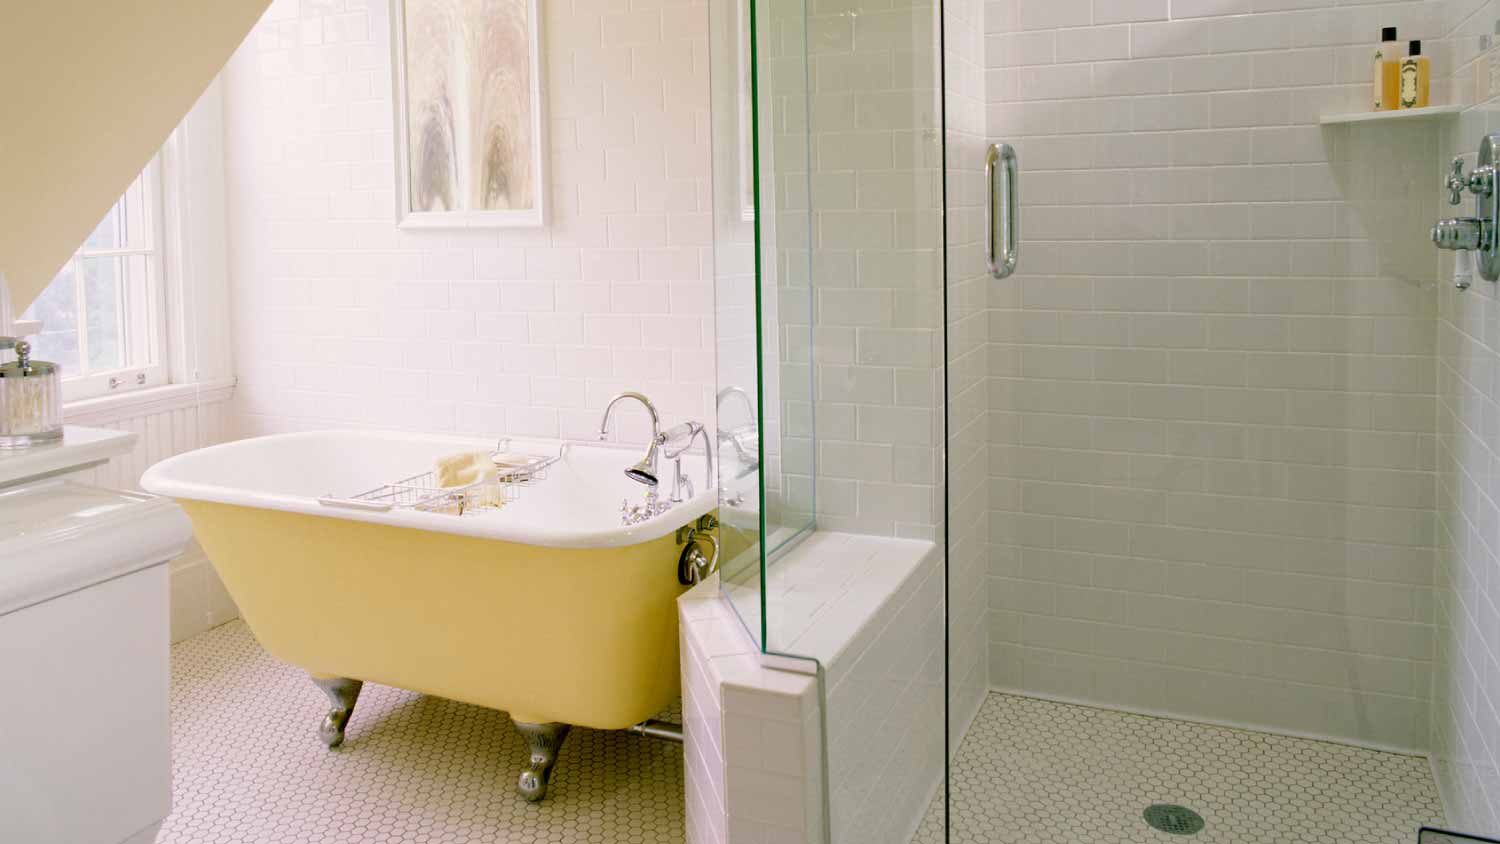
The cost of installing a bathtub or a shower liner depends on the type of tub or shower, size, and features. This guide will show what you can expect to pay for your project.
From the drain to the showerhead, this guide has got you covered


This project requires a lot of experience, so we don’t recommend DIYing it. Hire a pro with the special skills and tools necessary to complete the job safely.
A new shower is an instant bathroom upgrade, but even the most luxurious shower is built around a relatively standard plumbing design. It’s the skeleton that makes your shower functional, and it needs to be solid. If you want to learn how to plumb a shower, these nine steps cover it all—from the drain to the showerhead—but consider hiring a pro who can get your shower running and leak-free.

Bathrooms have specific layout requirements outlined in your local building code, including a minimum clearance between fixtures. Before you can plumb your bathroom, you’ll need to measure the space, choose your fixtures, and plot out the location of each.
Showers have three main pieces: the shower valve, the showerhead, and the drain. Familiarize yourself with a typical layout of shower plumbing, then map out the walls where you plan to install these elements and the spacing.

Before you do any work on your home’s plumbing, you should turn off the water at the main shut-off valve. This is located on the street side of your home, on the wall where the main water supply enters the house. It’s in your basement or crawl space, but you may find it under the kitchen sink, in the garage, near the hot water heater, inside the laundry room, near an outdoor faucet, or in a utility box outside your home.
Once you turn off the water, open a few faucets to relieve any leftover water pressure in the pipes.

If you’re replacing the plumbing in an old shower, you’ll need to remove the old plumbing. Depending on the renovation, you may want to demolish your existing shower and other nearby fixtures so you can install a new shower in a different location. This is a costly and time-consuming project that requires a professional plumber, but it can be done if you want a complete overhaul of your bathroom layout.
If you plan to build a custom walk-in shower base rather than installing a shower pan, make sure the floor has the correct slope so the drainage will work properly.

Start plumbing your shower by installing the drain. Familiarize yourself with basic shower drain plumbing, then carefully follow the manufacturer’s instructions. Steps vary based on the model, but these are general drain installation steps:
Position the drain assembly: The drain assembly should be placed in the center of the shower floor, 10 to 14 inches from the wall. If you’re using a shower pan, a hole will already be cut for the drain, so make sure to measure and place it correctly.
Secure the drain: Use the screws and fasteners that came with the drain to secure it. Add plumber's putty under the rim to seal the drain flange to the shower pan or shower base.
Connect the drainpipe: Connect the drain to the drainpipe and use a level to make sure the drain is flush with the floor and the drain pipe is not crooked.
From here, you can finish installing the shower pan or shower base, which should slope 1/4 inch for every horizontal foot towards the drain so water can flow without pooling.

After installing your drain, you’ll need to install the shower valve. The valve is placed 48 inches above the shower floor, along the centerline. However, the placement will vary with the shower design and preference. Once you have a spot, follow these steps:
Cut the opening: Use your hole saw to cut the opening for the valve in the wall. Measure the valve’s dimensions to get the correct size.
Mount the valve: Slide the valve into the hole and mount it to the wall using the screws or mounting brackets that came with the valve.
Attach the water supply lines: On either side of the valve, there’s an inlet for hot and cold water. Use the appropriate fittings to attach the lines to the corresponding inlet.

After you install the shower valve, you’ll need to connect the vertical column—that is, the water supply line that goes from the valve to the showerhead. Copper or PEX pipes are popular options. Measure the piping and cut it to size.
From there, make sure your pipes are clean and have smooth edges. Attach the fittings and secure them using a wrench. Connect the piping to the corresponding inlet in the shower valve.

To install your showerhead, wrap plumber’s tape around the threads of the shower arm. Screw the shower arm onto end of the vertical column. Tighten the connection using a wrench, then attach the showerhead.
Attach the mounting brackets that came with your showerhead to make sure it's securely in place.

Turn your water back on and test your work to make sure there are no leaks. Inspect the connections for visible leaks and use a flashlight if you need to see in hard-to-access areas. Work your way from the bottom of the plumbing to the top.

Put the finishing touch on your shower, including installing the final pieces over the finished walls and flooring:
The shower valve trim, including the shower handle and a protective plate
The showerhead flange, which protects the shower wall around the showerhead
A drain cover, if not already installed
Seal the gaps and joints with silicone caulk. You’ll need to caulk around the shower valve trim plate and the showerhead arm flange. You may also want to caulk other joints, like where your shower walls meet bathroom drywall or the shower pan meets the flooring.
For most homeowners, shower installation costs $4,500 to $12,400, but it could cost more if you use high-end materials and install a custom design. Installing shower plumbing might sound simple on the surface, but you should hire a professional for this delicate task.
While some ultra-handy homeowners can install a shower from a kit if they already have the plumbing hookups, this project requires specific professional knowledge. Something as simple as an improper slope or a loose connection can cause major water damage in your home.
For a project of this scale, especially if it’s attached to a larger remodel, always call a shower installer near you. They can help you build a shower to your specifications that will pass the test of time.
Simple plumbing DIYs like unclogging a drain are perfect for homeowners, but taking on a major plumbing project has risks. An incorrect installation could lead to leaks and extensive damage to your home. With your safety and wallet in mind, consider hiring a licensed plumber to take on complex jobs.
From average costs to expert advice, get all the answers you need to get your job done.

The cost of installing a bathtub or a shower liner depends on the type of tub or shower, size, and features. This guide will show what you can expect to pay for your project.

Do you want to add a mudroom to your home but are unsure if it’s within your budget? Use this mudroom addition cost guide to determine your installation price range.

Small kitchen remodels cost $12,750 on average, depending on the materials, size, labor, and more. Read this to calculate your kitchen remodel costs.

An updated bathtub can give a bathroom a whole new look. Find out how much it costs to replace a bathtub in Indianapolis, IN, including prices by type and labor costs.

Understanding the types of kitchen remodel work that require a permit and how to apply for one will help you avoid any complications or fines further down the line. Read this guide to understand all the important steps.

Replacing or installing an attic ladder provides a safe way to access your attic. Learn what factors affect attic ladder installation cost to help you budget.