
Learn about main water line repair costs in Columbus and what affects pricing to be prepared before you start getting estimates.
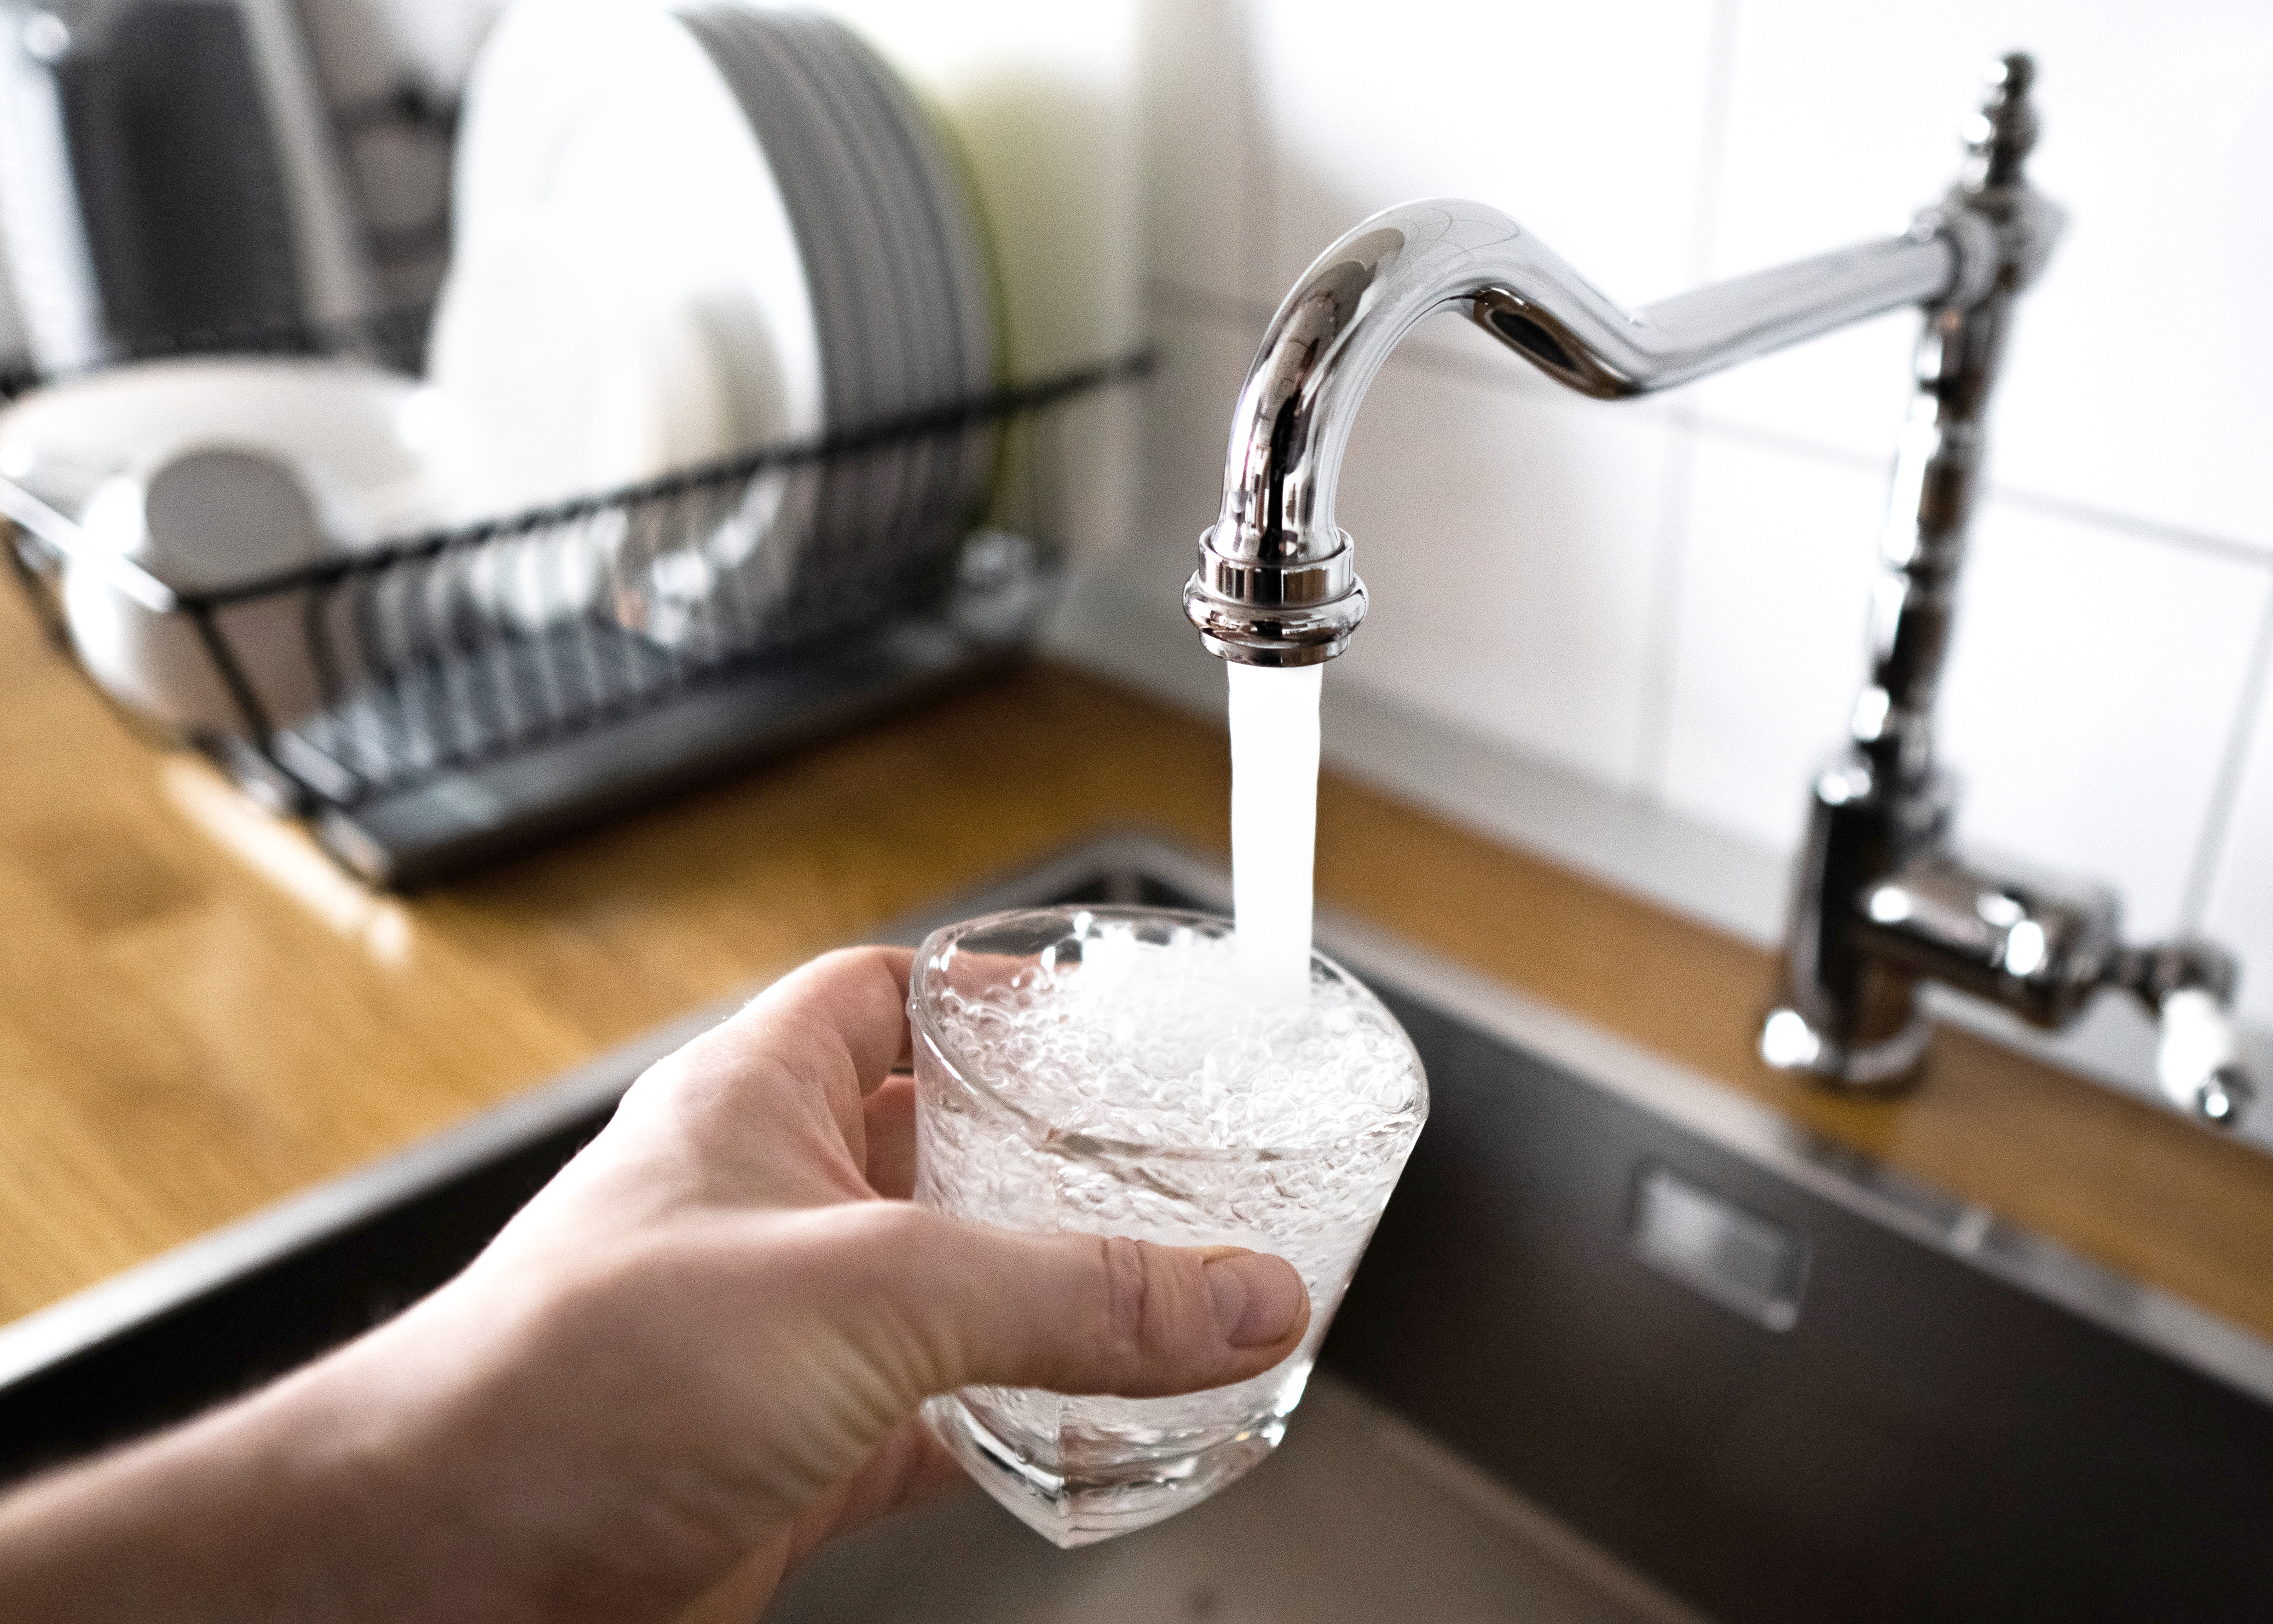
Add faucet repair to your DIY accomplishments


The first thing to know about how to fix a leaky bathtub faucet is that you won’t need all these steps. After learning what’s inside your faucet, you’ll know which ones you’ll need to fix the annoying drip. Follow these simple steps to save untold gallons of water, prevent expensive leak repair costs, and stretch your DIY skills into the mysterious world of faucet repair.
Often, fixing a leaky bathtub faucet involves investigating and replacing minor parts rather than replacing the entire tub faucet. If you’re dealing with water damage inside your bathroom wall, there may be a more severe problem than a simple drip, and calling a local plumber may be necessary.
To get ready to fix your drip, you’ll need to gather a few tools depending on your faucet type. For single-handle tub faucets, you’ll only need a small Allen wrench. For two- or three-handle faucets, grab a utility knife or pick tool, a pair of screwdrivers, a handle puller tool, and a tub socket wrench.
Before starting your project, the last thing to do is cover the tub drain with tape to prevent small parts from falling down the drain.
You may have a plumbing access panel in the room adjacent to the bathroom. If so, remove the access cover and look for the shut-off valves inside. If there are individual hot and cold shut-off valves for the bathtub behind the access panel, turn them clockwise until they stop.
Turn off the home’s main water shut-off valve if individual valves aren't present. Lastly, turn on the tub faucet to ensure the water is off.

Perform this step for the hot and cold handles or just once for single-handle faucets. If applicable, use a utility knife blade or small pick tool to pry off the index button or buttons (the plastic covers in the center of the tub handles, sometimes indicating hot and cold). Then remove the screw from the center of the handle.
If there are no index buttons, look for a small hole on the side of the handle. Insert an Allen wrench, and loosen the setscrew.
Gently but firmly wiggle and pull the handle until it’s free from the stem splines (ribs on the faucet stem and inside the handles that help lock them in place). The stem sleeve houses the stem and affixes the handle to the mixing valve to control the water flow. The mixing valve is the main internal structure of the faucet that mixes hot and cold water before sending it out of the tub spout.
If you can’t pull the handle free by hand, use a handle puller to pry it loose.
There are many hundreds of styles of tub faucets, and each requires specific parts. The easiest way to perform drip repair is to remove the old parts, take them to the hardware store, and match them to the new ones.
Use an adjustable wrench or a shower valve socket wrench to remove the retaining nut on a single-handle faucet or the stem sleeve on a multiple-handle faucet. Pull the cartridge or stem, depending on your faucet, out of the mixing valve.
At the store, purchase a new matching cartridge or the appropriate stem repair kit and replacement seats. If you have a two-handle faucet, move on to step four and skip step five. If you have a single-handle faucet, skip to step five.

Remember, this step is for two-handle bathtub faucet drip repairs.
Perform the following to replace the stem washers before replacing the seats.
Remove the screw and seat washer from the end of the stem. (The seat washer attaches to the stem and stops the water flow.)
Remove the bonnet washer (the part creating a seal between the stem sleeve and mixing valve). You may have to scrape the stuck-on residue off the stem with a pick tool or utility blade.
If applicable for your faucet stem, use opposing adjustable wrenches to remove the packing nut—which holds the packing washer in place—from the stem sleeve. Then turn the stem clockwise to remove it. (Not all stems require this step. If yours does not, skip to step 5 in this section.)
Remove the packing washer. Coat the new packing washer from your stem repair kit with plumber’s grease and install it back into the stem sleeve. Replace the stem and packing nut.
Install a new bonnet washer and add a light coat of plumber’s grease around the edge.
Place a new seat washer on the end of the stem and secure it with a new screw from the kit.
Repeat these steps for both handles.
In some cases, a dripping tub faucet results from worn seats. A seat washer seals off the flow of water when it meets the seat inside the base of the faucet. Replace the seats by performing the following steps for both handles.
Use a flashlight to peek inside the valve and determine which seat wrench to use. Then insert the seat wrench and twist the seat counterclockwise to remove it. Place a new seat on the end of the wrench, and insert it into the valve. Turn the wrench and seat clockwise to tighten it in place, but be careful not to cross the delicate threads.
Now you can put it all back together. Insert the stems back into the mixing valve, and screw them in by hand. Use an adjustable wrench or shower valve wrench to tighten.
Follow this process for replacing the faucet cartridge if you have a single-handle bathtub faucet.
Cartridges control hot and cold water flow in single-handle bathtub faucets, and the retaining nut holds the cartridge in place in the mixing valve. Use an adjustable wrench or shower valve wrench to remove the retaining nut by twisting it counterclockwise. Remove the cartridge from the mixing valve, taking note of its orientation.
Apply a thin coat of plumber’s grease to the rubber parts of the cartridge. Insert the new cartridge into the mixing valve the same way the old one came out, and reinstall the retaining nut.

For single- or two-handle faucets, replace the handles by reversing the order of the removal steps. Don’t forget to press the index buttons back into place.
The tub spout consists of two pieces: A decorative outer cover and an internal pipe that delivers water. You only have to do this step if the spout is leaking rather than just dripping when you turn the faucet off.
Use a utility knife and pick tool to remove any sealant between the spout and the wall. Check the outer part of the spout for a small hole along the bottom.
If there’s a hole, insert an Allen wrench and loosen the setscrew. If there’s no hole, use a strap wrench to twist the spout’s cover counterclockwise to remove it from the pipe underneath.
Use a small pipe wrench to unscrew the pipe from the pipe fitting in the wall, and use plumber’s tape or pipe joint compound on the pipe threads. Reinstall the pipe into the fitting with the pipe wrench.
Reinstall the tub spout cover by reversing the order of the removal process.
A plumbing project isn’t complete until it passes a leak test. If you have hot and cold valves, slowly turn them on one at a time. Turn the home’s main water valve back on slowly to avoid damaging plumbing.
At the bathtub faucet, turn the water on and off a couple of times and let it sit. After a few minutes, check to ensure there is no dripping.
Use silicone or waterproof caulk to create a seal around the tub spout where it meets the wall.
Dripping bathtub faucets can be fixed with the repair steps outlined above, but replacing a faulty faucet makes more sense in some cases. Replace your bathtub faucet if:
The valve body inside the wall is corroded or damaged
Your faucet is over 15 years old
Compatible parts are becoming challenging to find
Mineral buildup is too extensive to clean
Rust is compromising the faucet’s function or appearance
A few issues are happening simultaneously
Repairing the faucet didn’t stop the leaks
Before replacing the faucet, turn off the water supply and check if your existing valve is compatible with modern faucets to avoid additional plumbing work. Depending on the condition of the faucet and the plumbing, a professional plumber might be better suited for this project.

Fixing a dripping bathtub faucet saves vast amounts of water, and doing it yourself not only feels good but also saves you money. DIY faucet repair can cost up to $40 or $50, depending on the parts you need.
However, we understand that plumbing isn’t everyone’s favorite way to spend a Saturday afternoon. In that case, the average cost of repairing a bathroom leak ranges from $125 to $350. If you prefer to let a pro handle the job, hire a faucet repair pro in your area to get your faucet working again.
Don’t hesitate to call a pro when you have a plumbing issue or need repairs. While it’s tempting to wait, water damage from persistent leaks can cause serious problems, including mold and mildew, which pose a health risk. Additionally, the cost of water damage restoration can reach into the thousands.
From average costs to expert advice, get all the answers you need to get your job done.
Learn about main water line repair costs in Columbus and what affects pricing to be prepared before you start getting estimates.

Discover the leading factors affecting your main water line replacement cost in Columbus, including length, material selection, and installation details.

Learn how much plumbers cost in Columbus, Ohio. Discover pricing for faucet repairs, pipe work, and emergency services, plus how you can save money.
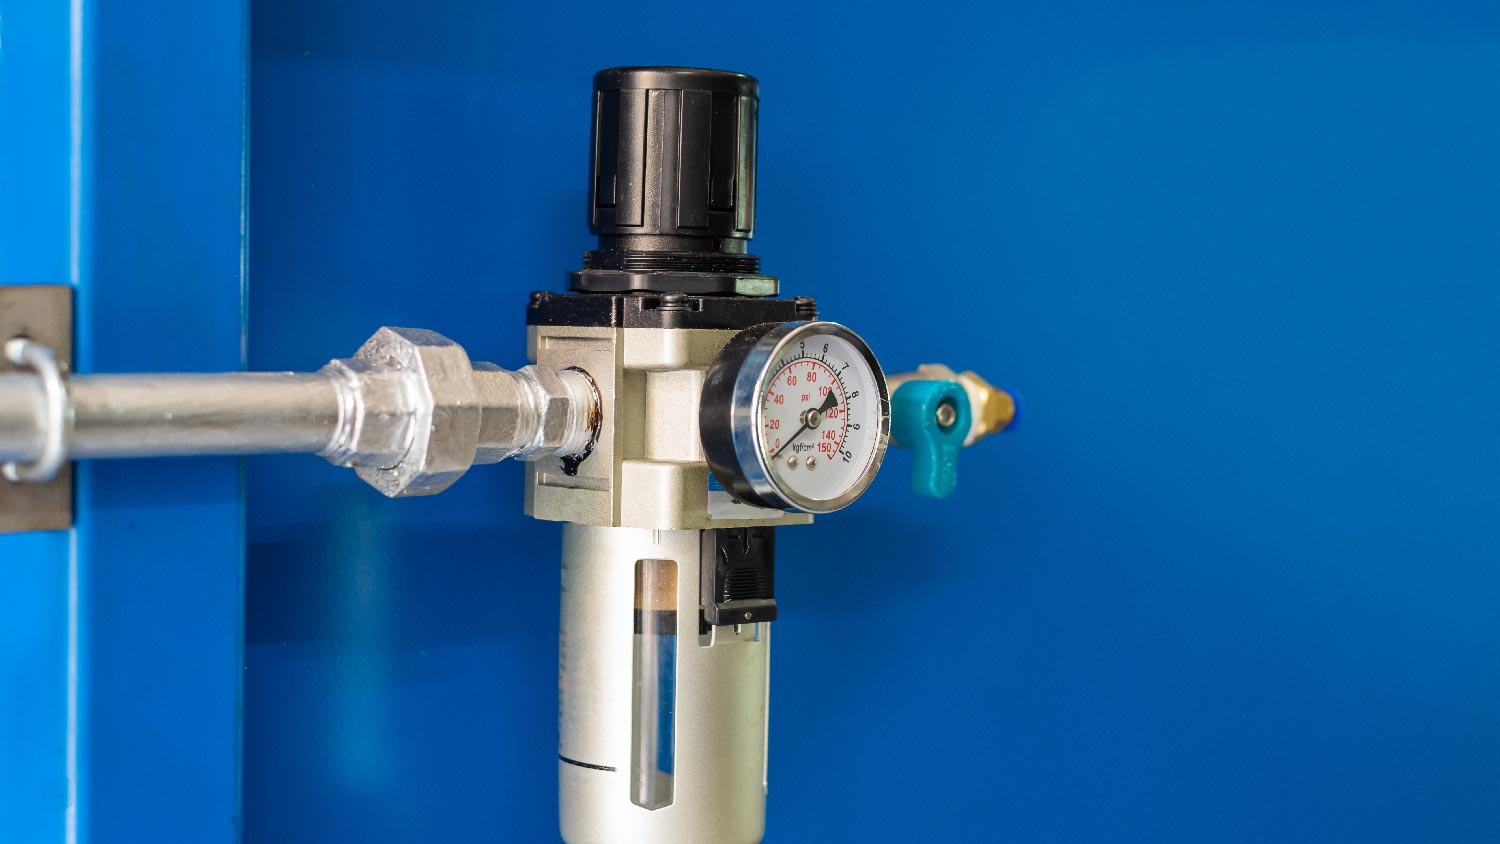
Find out the average water pressure regulator replacement cost, key price factors, and tips to save on your project. Get transparent, expert-backed cost info.

An undermount sink can create a sleek, seamless aesthetic for your kitchen sink. Use this guide to learn how you can replace and install your undermount sink.
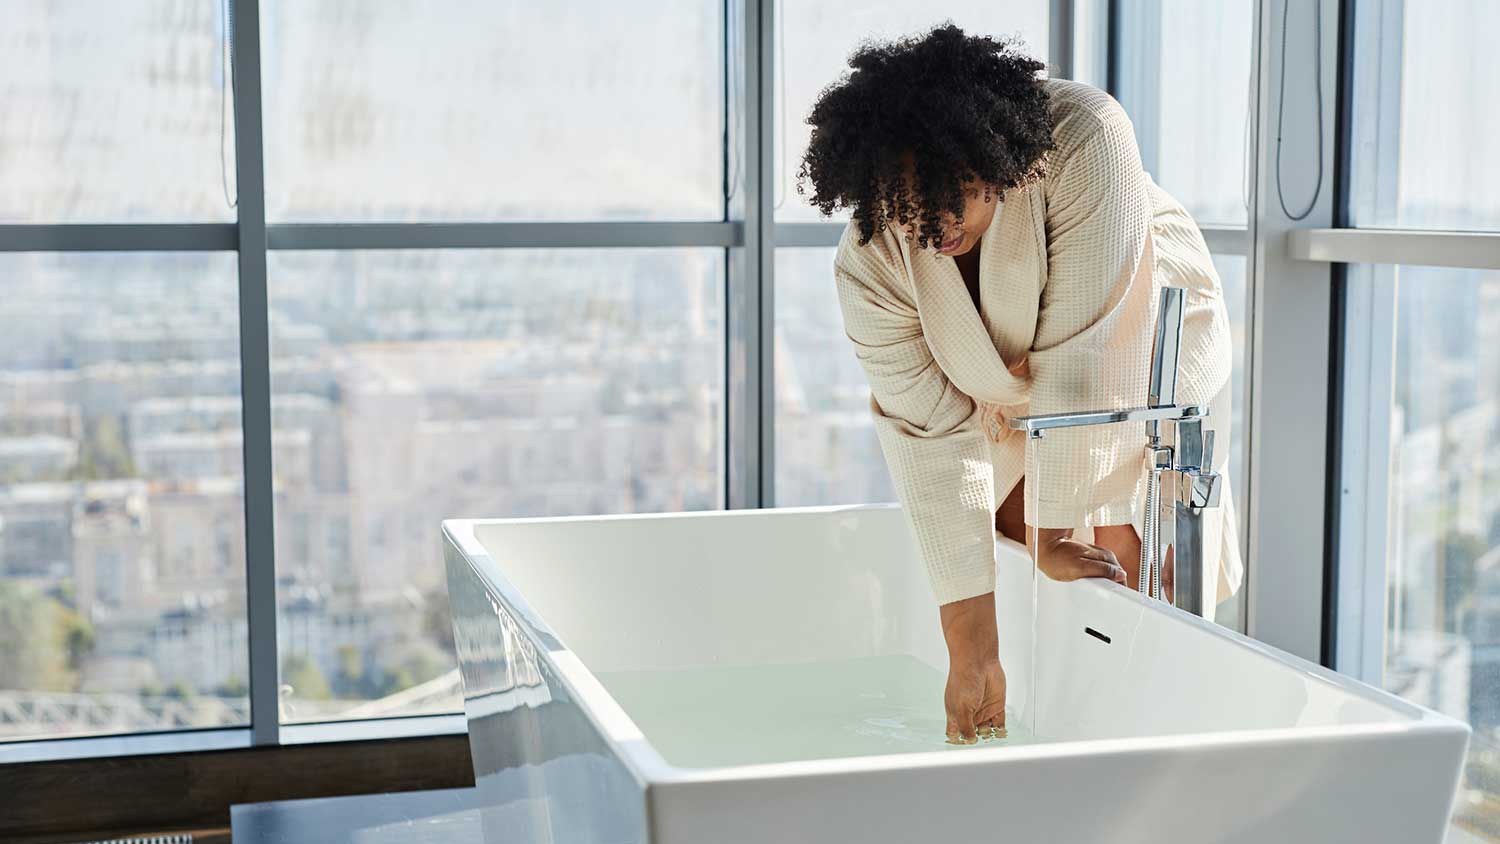
Most homeowners will eventually need to replace bathroom hardware. This guide breaks down bathtub faucet installation costs, so you can upgrade your bathroom.