
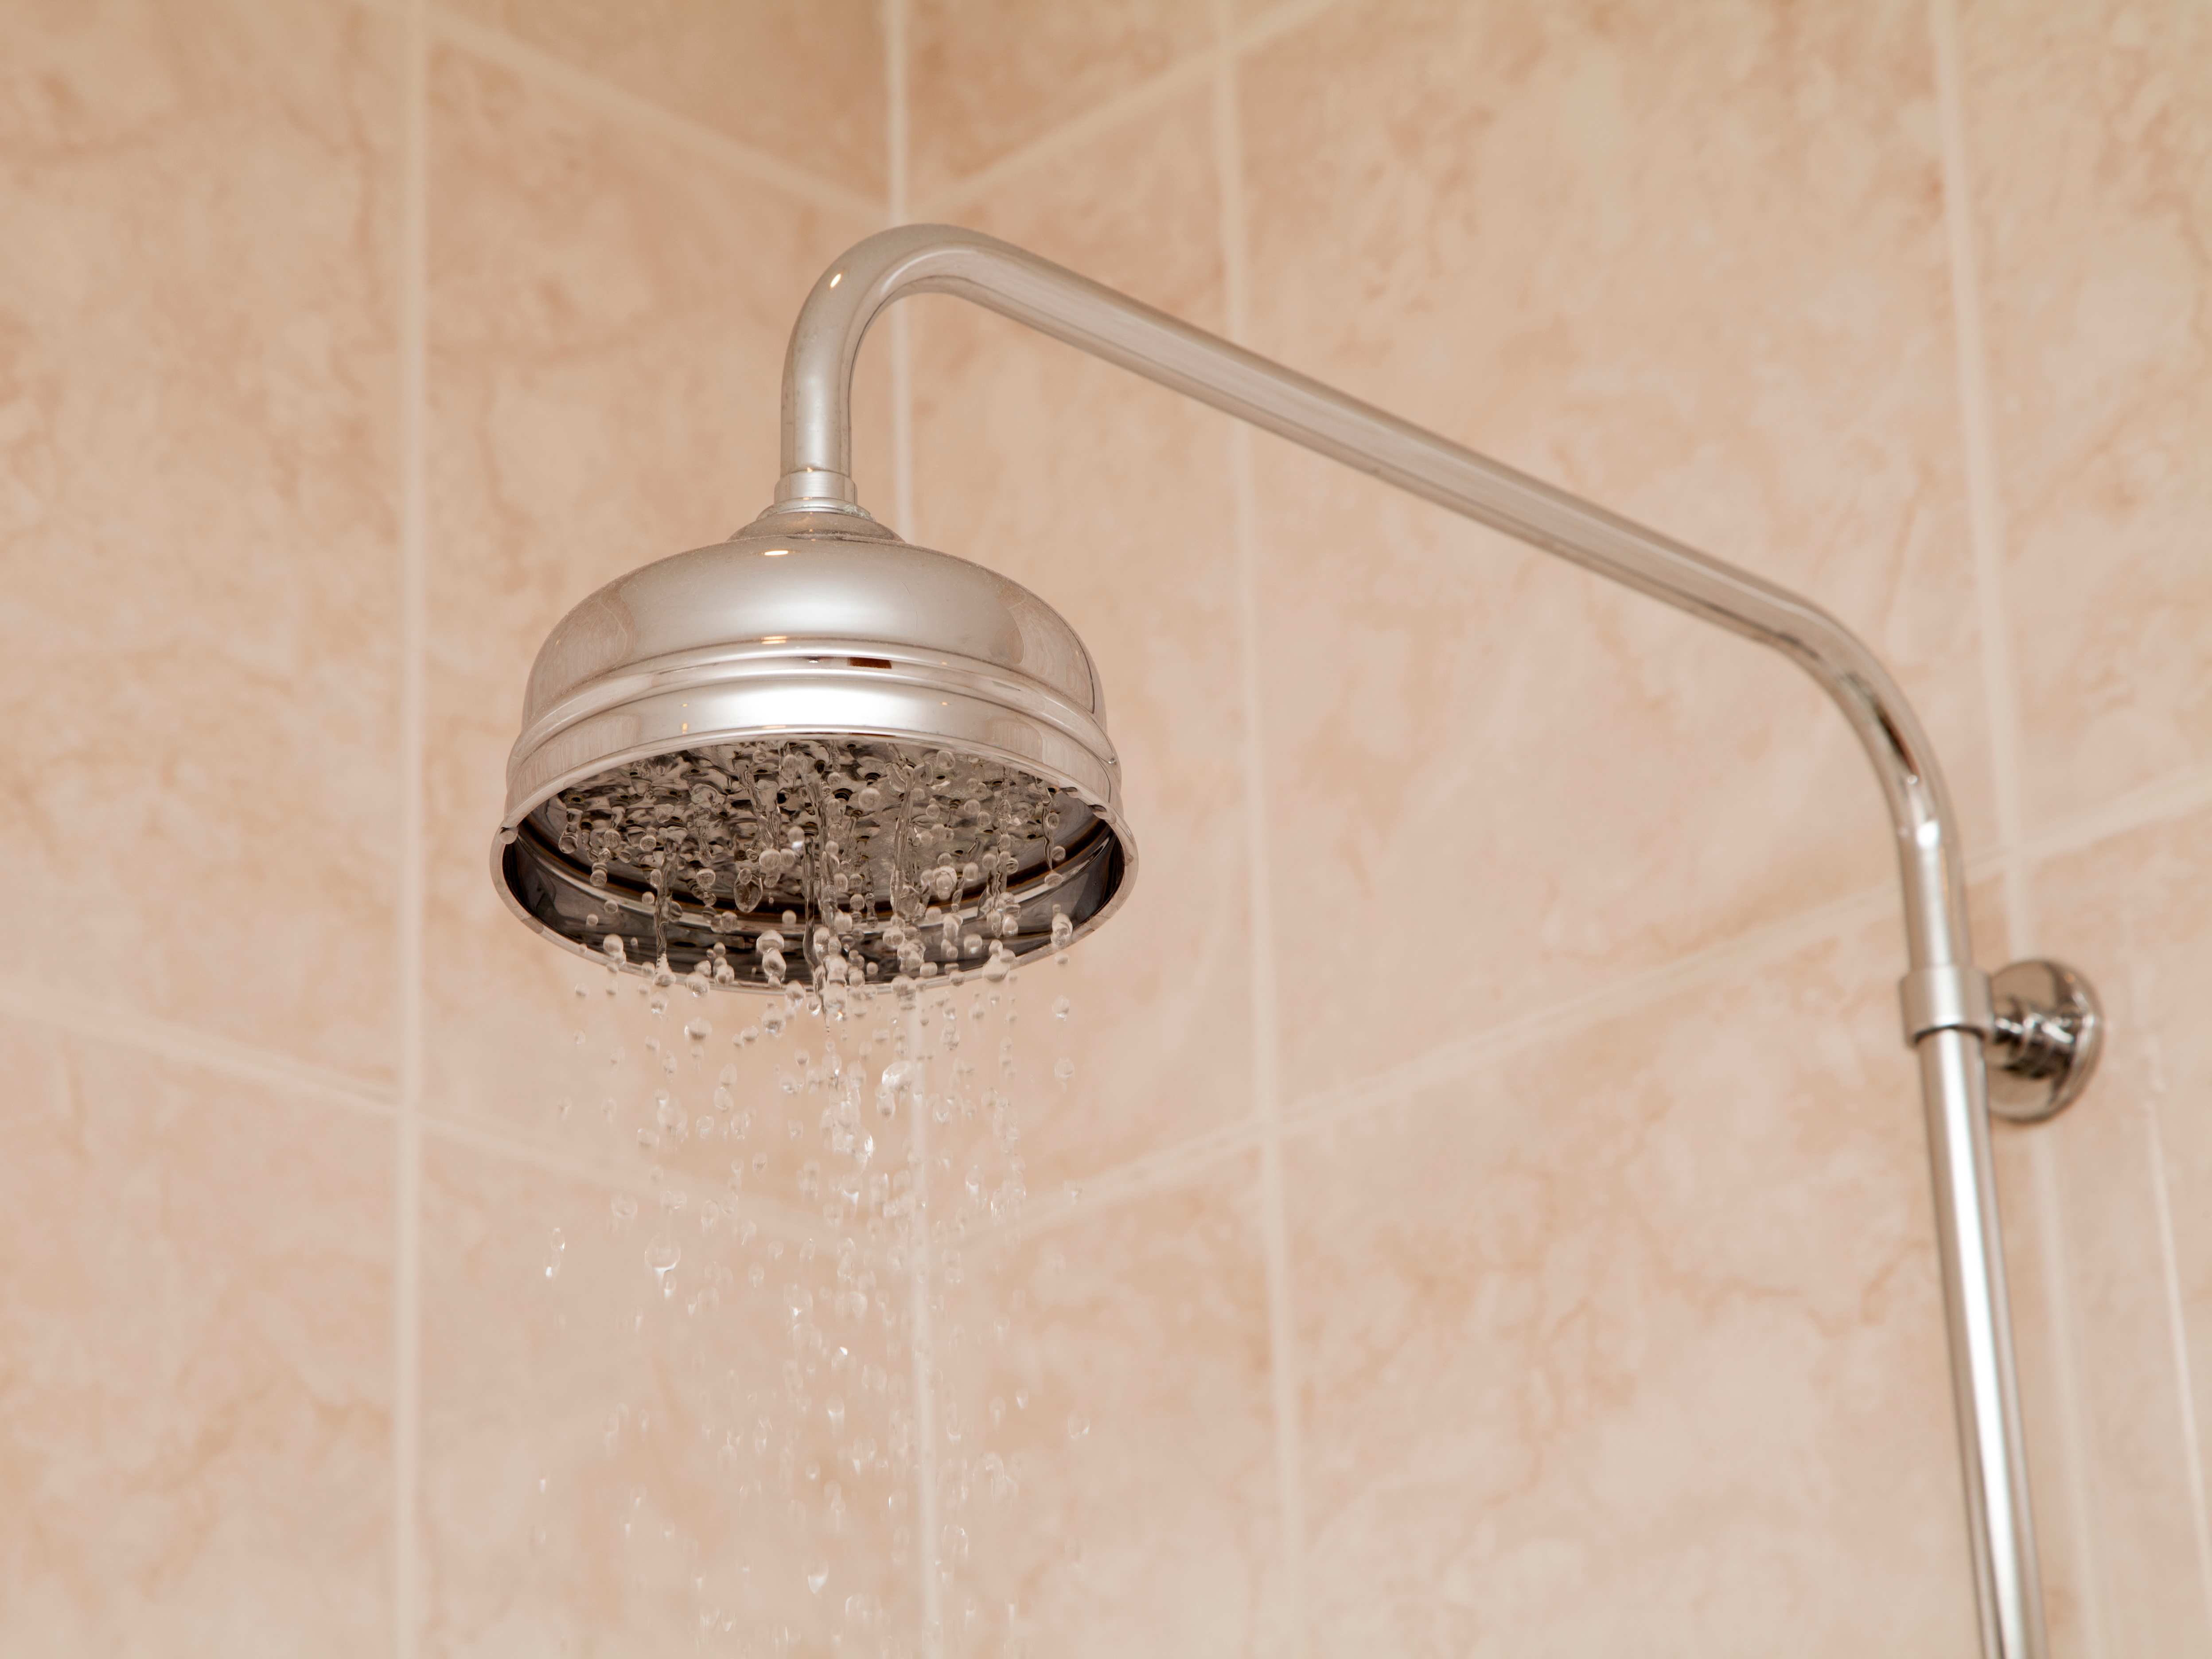
Got temperature issues in your shower? You may need a new shower cartridge. This guide will help you understand shower cartridge replacement costs.
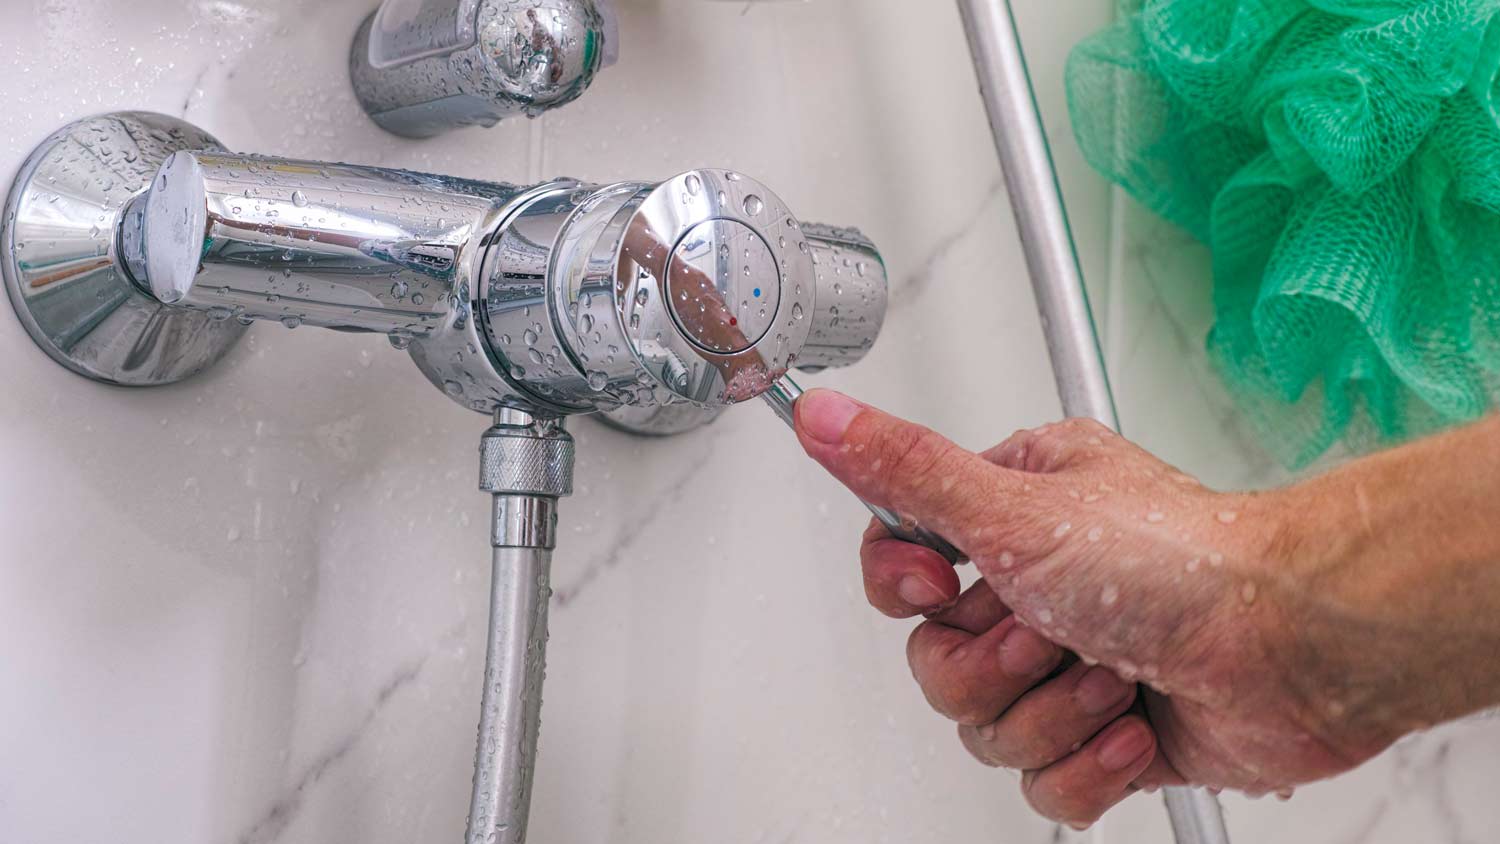
You might be surprised how many little parts are hiding behind your shower handle

Noticing a leak when you're taking a shower may not seem like a big deal at first—a shower’s designed to handle moisture, after all—but it’s something you’ll want to investigate. A broken shower cartridge can cause rust and erosion behind your shower valve. And over time, it can prevent your shower nozzle from making the water hot or cold.
A shower cartridge can last anywhere from 10 to 30 years, so replacement won’t be a frequent occurrence. And as far as common shower problems go, this one's not too difficult to resolve and won't cost an arm and a leg. Here’s how to replace a broken shower cartridge in nine steps.
Complex, high-risk projects demand more than typical DIY projects. They require time, specialized tools, and trained expertise to make sure the job is done safely and correctly. We made it easy for you to find a local pro—with our skilled network, you'll get the job done without the stress of doing it yourself or significant safety risks.

Before you begin, there are a few preparation steps. First, you need to turn off the water supply. You have two options for turning off your water before beginning the project, and your home's water setup will determine which to choose.
In most cases, you'll want to shut off your water supply at the main valve. Some showers have individual valves stationed behind the shower handle that you can shut off, so shutting it off there is fine if your shower has one.
If you shut off the main valve, run the bathroom faucet for 30 to 60 seconds to relieve pressure and let the water in the pipes drain. Ask a local plumber or shower installer near you for help if this task feels out of your wheelhouse.
Always turn off the water before starting a plumbing project. Doing so helps protect your home in case of flooding and water damage. You can shut off the water at the faucet or fixture you're working on or turn it off at your home's main shut-off valve.

Next, you need to shut and cover the bathtub drain. You can clog it with a towel or cover it with tape. This way, you won’t accidentally drop anything down there while working—an easy step with a huge potential payoff.

First, you'll need to remove the handle to see if the shower cartridge is the reason your shower is leaking. Use a flathead screwdriver to pry the plastic cap off the shower handle.
The shower cartridge is part of the shower valve behind the shower wall. It controls the water flow and temperature and connects the shower valve to the handles.
Every handle is a little different. If it's not apparent by looking (e.g., a screw is attached to the handle), do an online search for the make and model of your handle with the term "removal” to find instructions for removing it.
If your shower handle design is a single lever, you might need an Allen wrench to loosen the screw underneath and remove the handle.
Next, you'll need to remove the escutcheon, the piece of metal shaped like a ring or sphere that covers the hole in your shower's wall and is attached to the wall with screws. Set it aside with all the screws for reinstallation later.
Behind the shower handle and flat metal plate, you should find a clip holding the shower cartridge in place. Again, different models will look different. Some are covered with a metal sleeve, while others are exposed.
Use a flathead screwdriver to unhook the clip holding the cartridge in place. Set it aside in a safe place. While many new shower cartridges come with a retainer clip, some do not. If that’s the case, you can simply reuse the original clip.

Locate your shower cartridge pulling tool. If your model is older, you can simply remove it with pliers. Hook the puller tool onto the edges of the cartridge and slowly turn until it loosens.
Note the position of the cartridge before you begin unscrewing it. You'll need the new shower cartridge to be in the same orientation to ensure hot and cold water comes out the same way when you turn the handle.
In some cases, a shower cartridge's O-rings may simply have mineral deposits on them that cause them to leak. You can try removing the mineral deposits and reinstalling the O-rings before buying a new kit.
Otherwise, position the new shower cartridge into the vacant space. If your new shower cartridge comes with a model-specific tool for installation, use it. Make sure it's tight and in the same position as the old one was.

Once the new cartridge is in place, turn the water supply back on and test your work. If there's still a leak in your shower, you may need to double-check that everything is tight.
If you still notice leaks but are confident it's not the shower cartridge—for example, maybe you notice only a few beads of water running down, suggesting that a pipe is loose or your shower is old—you might choose to reinforce the edges of your escutcheon and valve with silicone caulk. Read the directions carefully and adhere to dry times before retesting.
Retrace the steps you followed earlier: re-install the escutcheon and screw the shower handle back on. To protect your new investment, consider adding a bit of plumber's grease to prevent erosion over the surface of your new shower cartridge. A tube costs $2 to $5 at home improvement stores.
A failing shower cartridge can cause various issues with the water flow or the shower handle. Over time, the cartridge can develop mineral deposit buildup, get damaged by corrosion, or break from long-term use. When the cartridge gets damaged or blocked, you’ll notice things like the water not turning off completely even when you turn the handle to the “off” position. Conversely, the water may not flow when you turn the handle to the “on” position. In other cases, your shower handle will get stuck, and it will be difficult to turn.
If you’re noticing some or all of these signs, it’s likely time to replace the shower cartridge. Keep in mind that the lifespan is 10 to 30 years, so if it’s been longer than that, it’s a good idea to replace the cartridge as part of your preventative maintenance plan.
Replacing a shower cartridge yourself can be a bit of a challenge if you don't have plumbing experience. But doing so will definitely save money, as the parts to replace yours start at around $50. On the other hand, hiring a pro to replace your shower cartridge will cost between $200 and $400 for parts and labor.
So long as you aren't fearful that you'll break the shower (and you won't if you follow the steps outlined above diligently), it's a perfectly acceptable DIY project.
Alternatively, if you're still having trouble but don't want to hire a plumber, consider asking a local handyperson for help getting your shower faucet problem fixed. This might be a good way to save a few bucks as well.
Jason has helped me with multiple household projects, with the most recent being new door installation. He has always showed up on time and organized and has done an incredible job! Jason is very professional and he's now my go-to for anything around my house that needs to be fixed or...
Cole has been handling plumbing and general contracting for our four properties over the past three years, and he’s always done a great job. Most recently, he installed a sink and countertop in our retail store where none existed before, and it turned out exactly how we needed. He’s...
 ANB Renovations LLC
1st Choice Renew is simply the best! We hired them for a complete home renovation, and they transformed our space into something truly amazing. The team attention to detail and commitment to quality were evident throughout the project. They were easy to work with, very responsive, and always...
This company went above and beyond with their work, chimney sweeps are usually pretty messy, but the clean up was spot on.!! Josh explained every thing that he was doing, and the things that he was checking to make sure the chimney was safe for me and my family. He was very professional,...
 Supreme brick & chimney
Custom Paint Jobs LLC turned our outdated bathroom into a modern masterpiece.
Excellent customer service and knowledge. I was recommend to him from my neighbour. My front door and window came in great and were installed beautifully perfectly, I m very satisfied with their excellent work, so decided to order one more big bow window for my living room. I cant wait for...
If I could give 10 stars for Kitchen Tune Up, I would. I cannot say enough good things about my experience with Kitchen Tune Up and the entire team involved in the process of my kitchen project. They went above and beyond as far as service and quality with my cabinets, paint, countertops, and...
It was wonderful working with Yordy and his team. They were very professional and are experts in what they do. They have completed the work on time, with better quality and with in fairly reasonable price. We just started with backsplash work , but liking his work, we went on to provide...
We were having 2”x 2” tile installed . There was a small installation error and the new additional replacement tile was from a different lot and the colors didn’t match. Joe assured us that he would rectify everything , which he did without hesitation. We decided to go with the 18” x 36” tile...
 CarifaTile
They work that 360 did on my kitchen cabinets is nothing short of amazing. I still cannot believe the difference from before and after. Jon and Jeff were both so incredibly professional throughout the whole process and their communications with me were constant and consistent. These guys...
 360 Painting Columbus
From average costs to expert advice, get all the answers you need to get your job done.
Got temperature issues in your shower? You may need a new shower cartridge. This guide will help you understand shower cartridge replacement costs.
Wondering how much shower valve replacement costs? The answer depends on type, labor, and materials—but foresight and research can save you some money.
Shower pan replacement costs $530 to $2,700. Find out how material, shower size, labor, and more affect the final project budget.
Constant dripping and a stiff shower handle can be the first (but not last) signs of a bad shower cartridge. Learn other signs and how to fix the issue.
What is a shower cartridge? This small component is often overlooked, but it’s a key part of your shower plumbing. This guide will show you how it works.
When your shower value has stopped working, sprung a leak, or the temperature seems to have gone rogue, a shower valve replacement may be the answer.