Pedestal sinks are small bathroom wonders, but how much does a pedestal sink installation cost? Learn the cost factors for adding one to your bathroom.
Upgrade your sink and your DIY skills

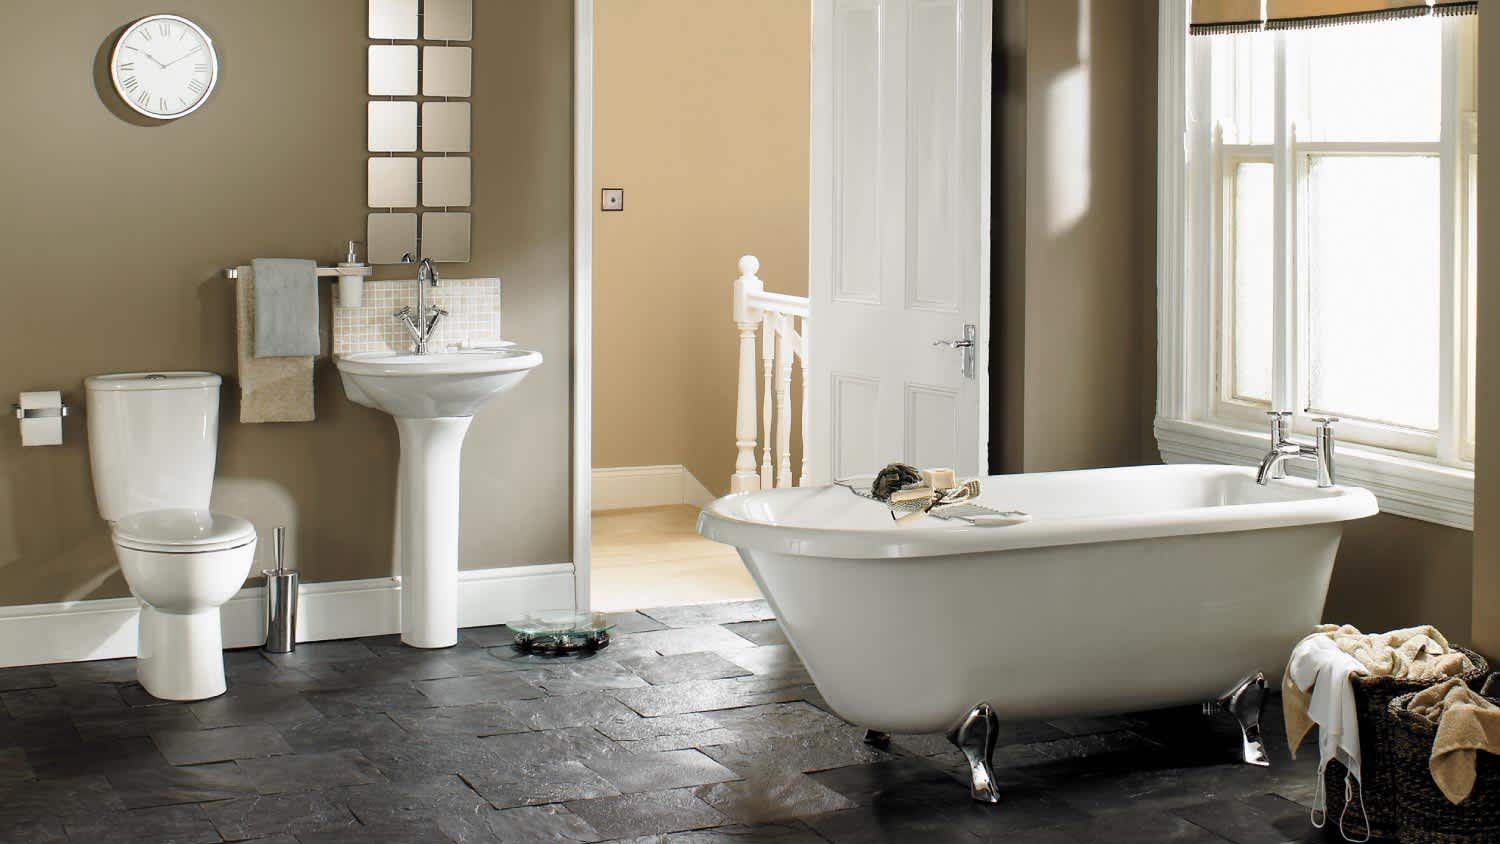
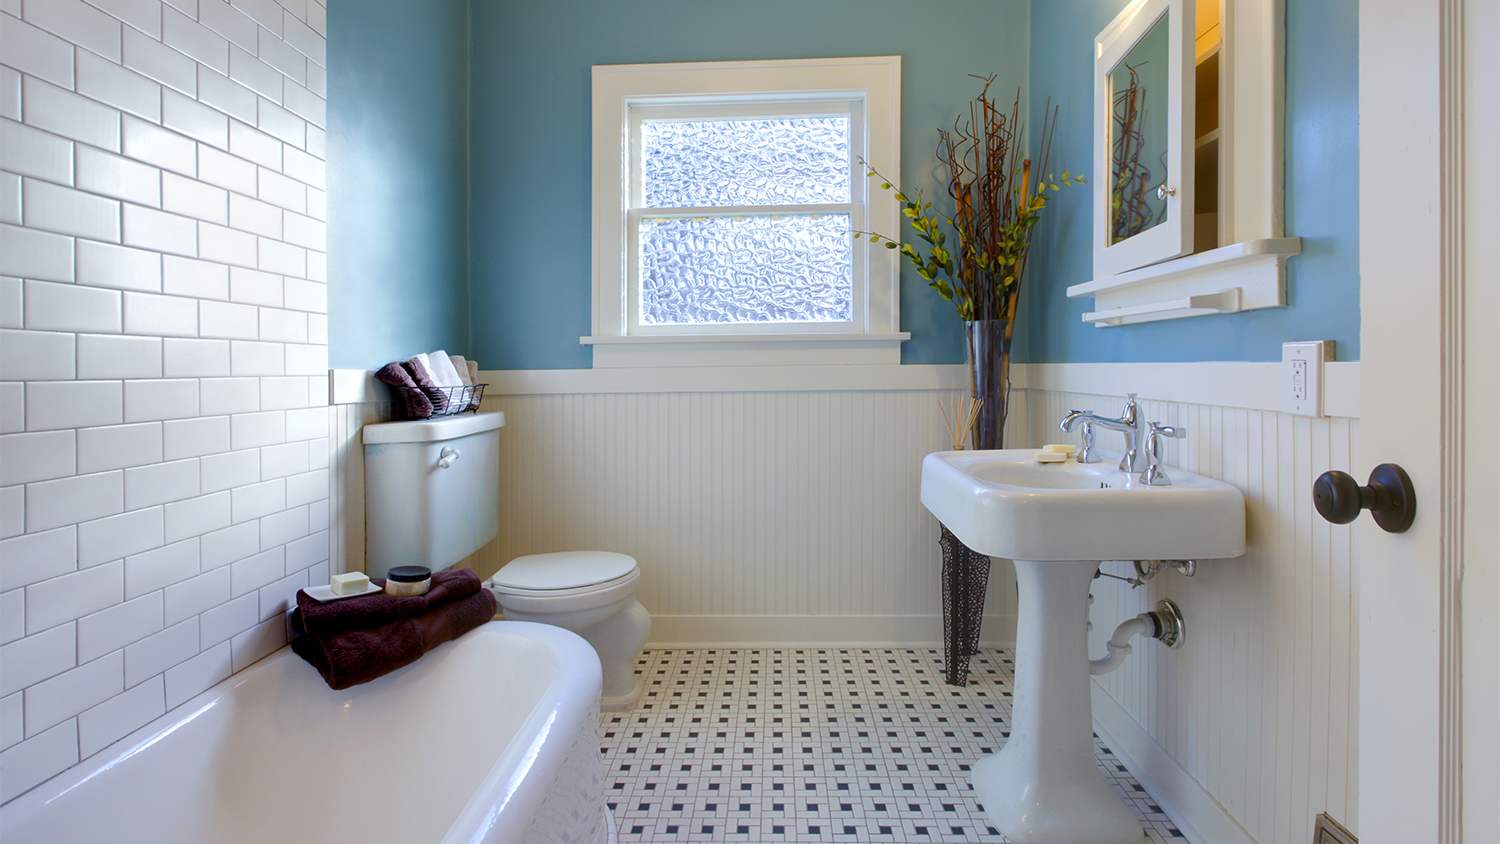
Your pedestal sink installation requires wall-mounted support blocking between studs, as the basin attaches to the wall and only rests on the pedestal.
Expect to pay $500 to $1,000 for DIY pedestal sink installation costs, covering the sink and materials you need for the project.
You'll need to prefit and cut the drain plumbing before mounting your sink, ensuring the P trap connects properly to both the tailpiece and drain elbow.
Hiring a local plumbing professional keeps your rough-in plumbing and drain connections secure, ensuring proper fit and preventing leaks throughout your bathroom.
Pedestal sinks can add beauty and elegance to a bathroom. Replacing your sink and vanity combination with a pedestal sink can create an airy feel in what may otherwise seem like a cramped space. It’s best to hire a pro to perform the rough-in plumbing, but beyond that, pedestal sink installation isn’t out of reach for a highly skilled DIYer.
Although a pedestal sink works just like any other type of bathroom sink, installing one is a unique experience. Wall-mounting the sink basin while hiding the drain plumbing takes some special skills. We recommend having a helper by your side for this project.
Getting ready to install a pedestal sink takes considerable preparation. The first step is purchasing a pedestal sink and removing your current sink or vanity. You might want to hire a local plumber to move or install the drain and supply plumbing to fit a pedestal sink, including a drain adapter fitting and supply angle stop valves.
If you’re replacing a vanity, some flooring repair may be necessary. In any case, you’ll need a solid place to mount the sink and will likely need to adjust the plumbing.
A pedestal sink consists of a basin and a pedestal. The basin needs support from the wall and only rests on the pedestal, which mainly hides the plumbing. Depending on the sink you choose, you might install it with a support bracket or lag bolts.
If your sink has instructions included, follow them to determine the height of the mounting bracket or support bolts. If your sink came without instructions, assemble the top and bottom against the wall with a helper. Measure the distance from floor to the support height.
With a keyhole saw, remove a section of drywall at least 6 inches above and below the determined support height between two adjacent wall studs. Cut a piece of 2-by-8-inch board to fit between the two studs and center on the determined support height and angle-drive at least four stainless steels screws through to the studs to secure the piece. Replace the drywall, taping, mudding, and finishing as needed.
Support the sink basin with a mounting bracket or lag bolts. To do this, use your earlier measurement for the support bracket and mark the wall at this height.
If your sink requires lag bolt supports, assemble the pedestal and basin against the wall and mark the location of the bolt holes. Check that your marks are level.
If your sink uses a support bracket, install and level it at the determined height following the manufacturer’s instructions.
To simplify the final installation steps, get the drain plumbing cut and prepped before moving forward. These steps are the same whether you’re using chrome or plastic parts.
First, install the drain assembly into the sink following the manufacturer’s instructions. Don’t install the pop-up parts at this time.
Insert the drain elbow into the drain fitting in the wall. Leave it loosely inserted for now.
Assemble the pedestal and sink in its desired location. Assemble the P trap section of plumbing and test fit it to the drain elbow and the drain tailpiece.
Remove the sink from the pedestal and cut the tailpiece, if needed, with a hacksaw. Retest the fit before moving to the next step.

It’s much easier to install the faucet before mounting the sink on the wall.
Install the faucet following the manufacturer’s instructions. Connect the supply connectors to the faucet but not the water supply valves yet.
You can do this step in a pinch if you’re by yourself, but it’s much easier to have a helper in the room with you.
For sinks supported by a bracket, slide the pedestal and basin into place and slip the back of the sink onto the support bracket.
If your sink requires bolts for support, predrill the bolt locations, slide the pedestal and basin into place, and install the bolts into the wall, but don’t tighten them yet. Check that the sink is level, adjust it if needed, and gently tighten the lag bolts.
With the sink and pedestal securely in place, connect the P trap to the drain elbow and drain tailpiece. Secure by hand and tighten with slip-joint pliers if needed.
Install the pop-up assembly parts. Connect the faucet supply connectors to the angle stop valves.
Slowly open the supply valves while keeping an eye out for any water leaks at the faucet. Turn the faucet on, and let the water run for several minutes while checking for supply and drain leaks. If no leaks are present, you’re ready to complete your installation.

Follow the installation instructions if your pedestal requires fastening to the floor. Caulk the seam between the sink top and wall along the top and sides of the basin. If desired, caulk the seam between the front and sides of the pedestal and the floor.
Even if you’ve installed other sinks yourself, installing a pedestal sink presents unique challenges. Careful planning and measuring can reduce difficulties, but it may not be everyone’s favorite installation project. The DIY cost of installing a pedestal sink is between $250 and $1200. Most of that is the sink price and the cost of hiring a plumber for the rough-in plumbing.
You may choose to simply have a sink installer near you complete the job since a pro needs to move the plumbing anyway. In that case, the total sink installation cost will increase by around $400.
Positive experience. As previously stated, the replacement/repair could not be completed (no fault of the plumbing tech) b/c misinformation was rec?d by property management maintenance. Thanks to the plumbing tech for your efforts. Appreciate you!
 The Waterworks
If you want to pay the most exorbitant prices possible for your job, this is the company for you. “By the job” pricing is a rip-off, at least how these people use it. Every job is plugged into a category and prices are set by category. You might have a job that takes half an hour or one that...
 Benjamin Franklin Plumbing
Cole has been handling plumbing and general contracting for our four properties over the past three years, and he’s always done a great job. Most recently, he installed a sink and countertop in our retail store where none existed before, and it turned out exactly how we needed. He’s...
 ANB Renovations LLC
Matt is a consummate professional. The work turned out to be far more difficult than expected and rather than turn the job down, Matt rose to the occasion and completed a near impossible task. I can not recommend Greene's Plumbing Service more highly. On a scale of 1-5 I would give Matt a...
Involved an extensive bathroom remodel, including removing tub & installing walk in shower, new drywall, custome tile work to ceiling, plumbing, etc. Overall, job was done on time and on budget. Nick & his team were very professional and had high attention to detail. Quality was great. Highly...
 Stamos Flooring and Remodeling LLC
Awesome company. Had a jacuzzi tub taken out and replaced with huge walk in shower with partial glass enclosure. Onyx to the ceiling with a decorative border, moved plumbing and installed hand held shower, new ceiling, flooring, and paint. Replaced window with glass block. Everything was done...
 Columbus Bath Design
The initial quoted price from a walk-through seemed high, but we discussed that the quote represented worst case scenario (re-wiring to two floors) and we were excited about the opportunity to have the work done in a timely manner with closing for fire safety reasons, etc. When the job was...
Initially, I called the Service People to have a leaking garbage disposal replaced. I had purchased a special deal through Angie's List: $79 for $200-worth of plumbing services. <br /> When I went to schedule the work, the earliest date I could get through Angie's List was after the upcoming...
This company did a very good job on the brick wall and it looks just amazing. The staff was always professional and was practically OCD on how the bricks were stacked and how they were laid. Although it took longer than expected, I am willing to sacrifice time over perfection anyday. The...
 My Handy Mate LLC Improvement & Remodeling
<p>I am so glad we called Rotor-Rooter. I was hesitant to call them because we usually prefer to give business to local providers. But when we had sewage back up in our basement on a Saturday evening, I had a hard time getting a hold of someone, not to mention the high weekend/evening rate...
From average costs to expert advice, get all the answers you need to get your job done.
Pedestal sinks are small bathroom wonders, but how much does a pedestal sink installation cost? Learn the cost factors for adding one to your bathroom.
Sink installation costs depend on the type of sink, the material, and the labor. This guide can help you budget for your project—from pedestal to farmhouse.
Pedestal sinks: While some people think of them as outdated, others see them as classic and traditional. Find out if a pedestal sink might be for you.
Explore the pros and cons of pedestal sinks vs. vanities. Find the perfect balance between space-saving elegance and abundant storage options.
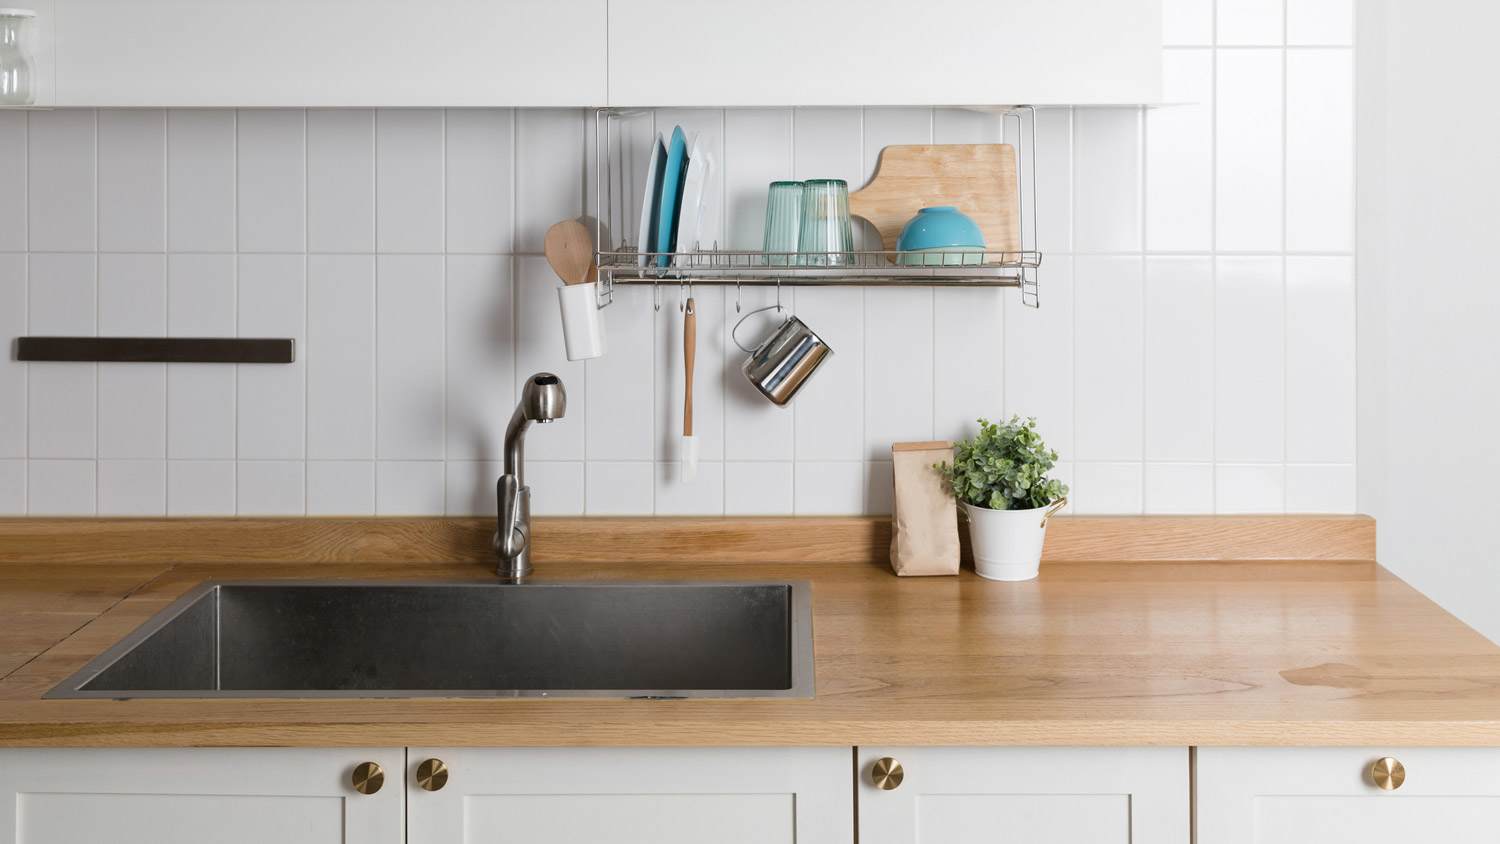
Installing a new kitchen sink involves removing the old sink and putting in the new one. Follow these steps to learn how to install a kitchen sink like a pro.
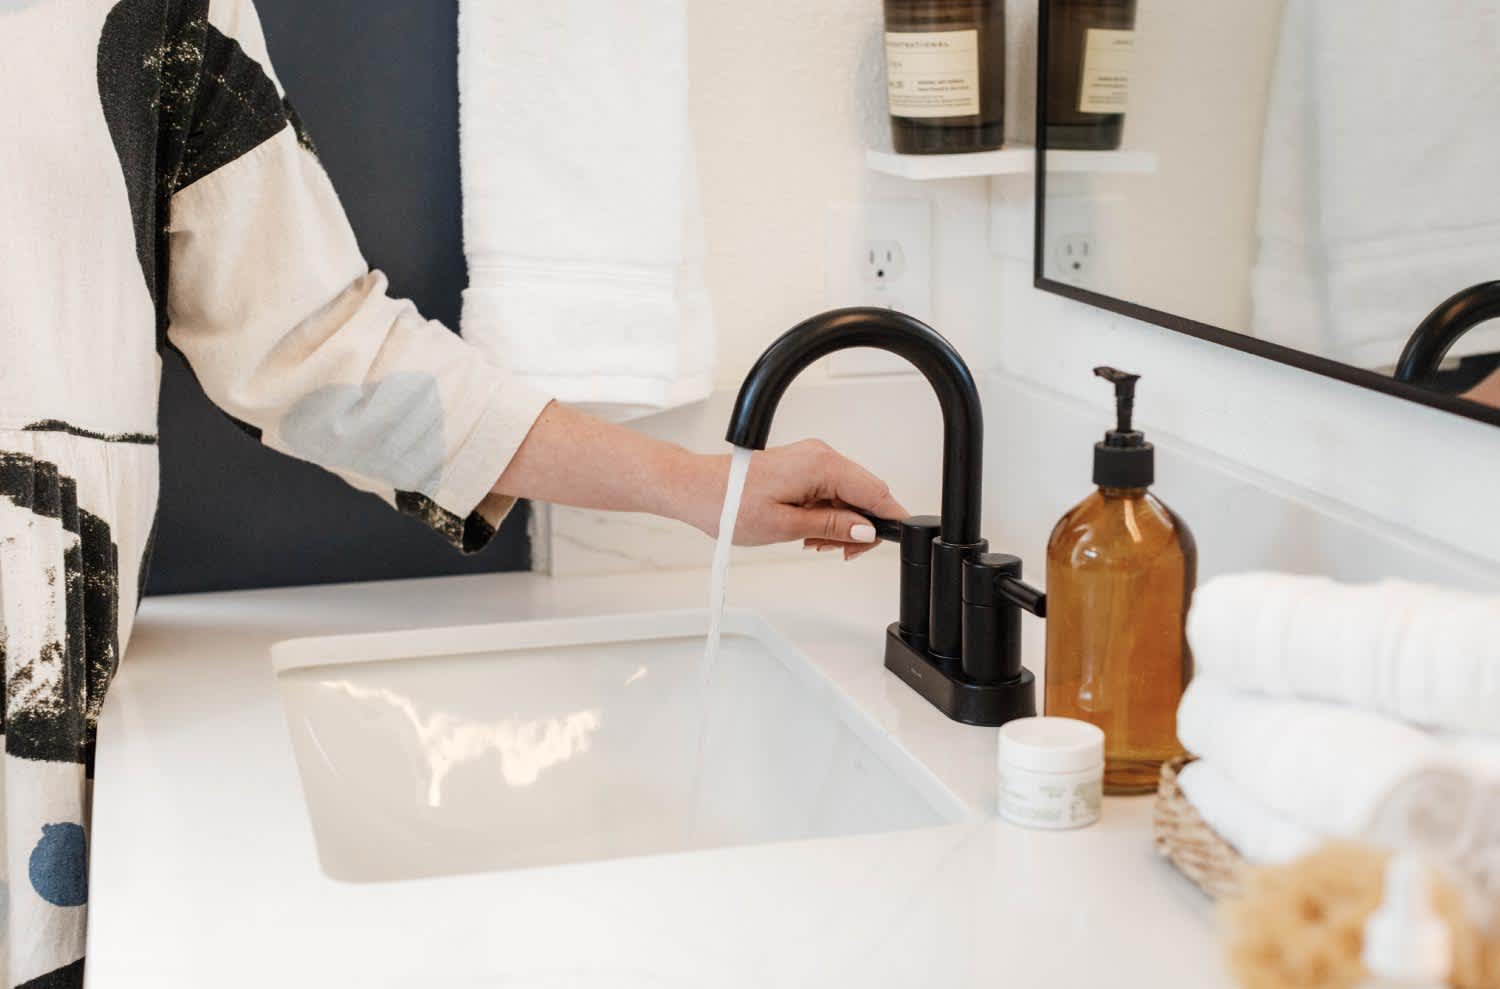
DIY sink installation is a doozy but do-able for those with experience. Use this guide to learn how to install a bathroom sink in a few steps.