

Making updates to your home? You may need to move your gas line to fuel new appliances or meet code regulations. We’ll cover the cost of moving a gas line, plus project tips.
Small cracks can lead to big problems, but a simple repair can save the shower


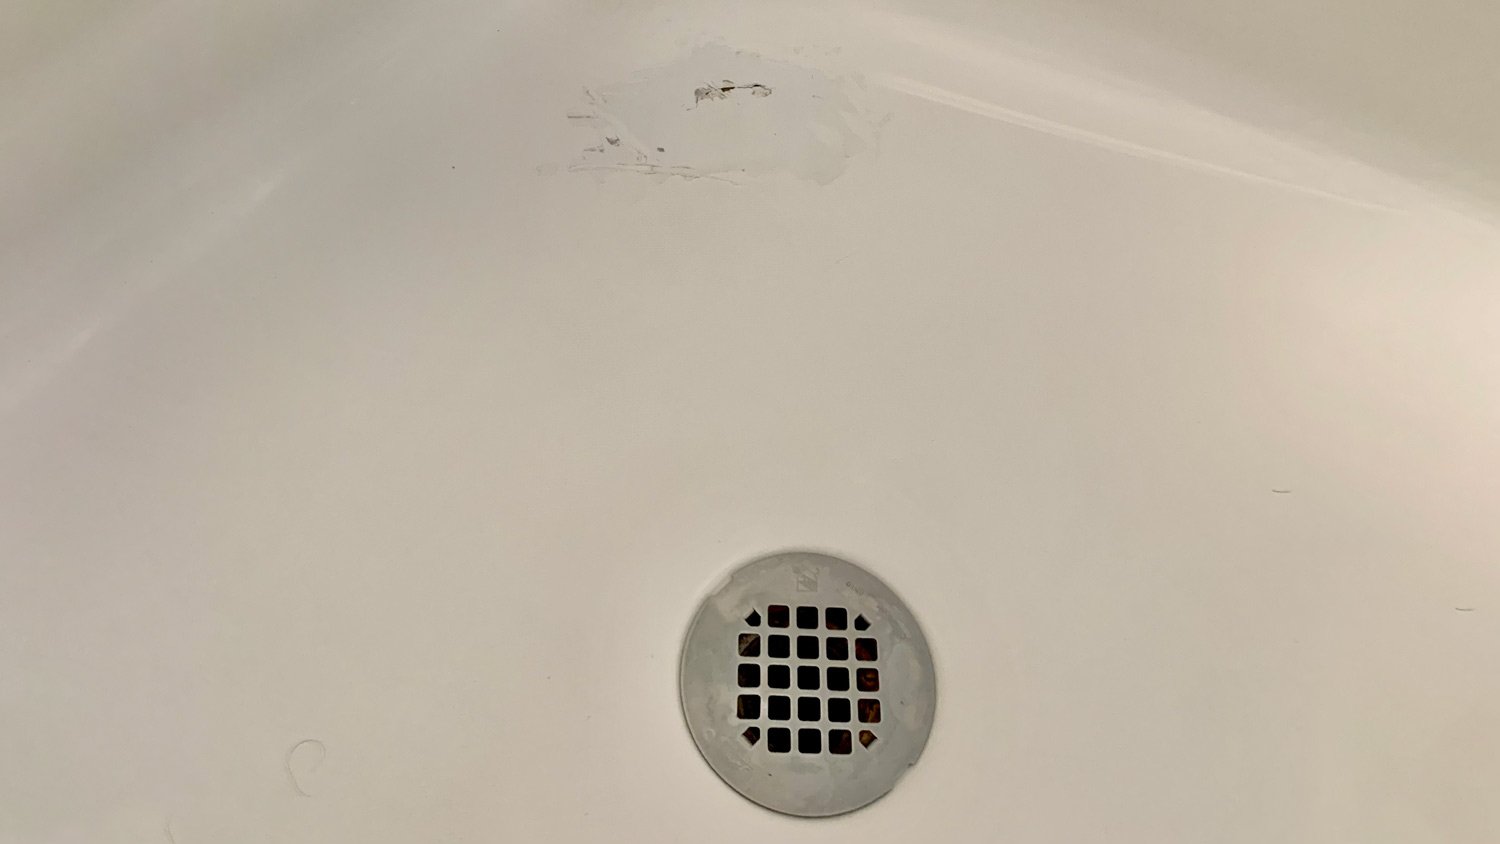
A dropped shampoo bottle can be all it takes to leave a chip or crack in a shower base. Small cracks in an acrylic or fiberglass shower base that aren’t leaking are fixable with the help of a repair kit. However, you’ll need to assess the damage before you begin. Cracks that are already leaking or are related to instability in the shower base will need professional attention.
Before you can repair the crack, you need to assess the extent of the damage. Clean the shower base using shower cleaner and a clean cloth. While the crack may only be in one small area, clean the entire base so the damage can’t hide. Dry the base or let it air dry.
This is where you need to decide whether to tackle the crack yourself or call a local plumber to check for deeper damage. Note that cracks that are already leaking should be inspected by a pro. Water damage under the base can lead to expensive repairs. Pros should also check your shower if the base flexes, moves, or feels unstable when you step in the shower, as these types of issues could indicate deeper structural damage.
If the crack or chip is superficial, you should now clean the crack and the surrounding area with isopropyl alcohol to remove any remaining dirt, debris, or residue. Let the area completely dry before proceeding.
Use the fine-grit sandpaper included in the bathtub repair kit to sand the crack and the immediate surrounding area. You’re creating a surface to which the patch and/or epoxy can adhere.
Not all repair kits have resin, but for those that do, you’ll need to mix the resin according to the manufacturer’s instructions before proceeding to the next step. Put on a mask and gloves, and open windows and doors to promote ventilation in the bathroom. Use a putty knife to mix the resin.
If the kit contains a patch, use a utility knife to cut the patch to fit the crack with a 2-inch allowance on all sides.
Apply the resin or putty (whichever is included in the kit) to the crack with a putty knife or spatula. If you applied a patch, apply the resin or putty over the patch, making sure to cover the entire patch.
Let the resin, putty, or resin-covered patch cure. The manufacturer's instructions should specify the curing time, which is typically three to four hours. However, the final result is often stronger if the products can cure overnight.
Put on gloves and a mask to prevent breathing in the fine dust that this step may create. Be gentle, and use a fine-grit sandpaper to smooth the repaired surface. You don’t want to scuff the area outside the repair. You’re just smoothing the surface to match the rest of the shower base.
Use a clean cloth to apply the finishing polish included in the kit. The polish will help the repaired area blend with the rest of the shower base.
Wipe down the area with a clean, dry cloth to remove any remaining dust and debris.
Shower repair kits aren’t difficult to use, but there are a few pitfalls to avoid. Make sure the room is properly ventilated and wear a mask and gloves before mixing the epoxy or sanding.
However, the biggest mistake to avoid as a DIYer is attempting to repair a crack that extends deeper than surface level. Large cracks should be assessed by a plumber who can advise you on the best way to repair the damage.
Repair cracks and chips as soon as you notice the problem. Cracks can lead to more expensive leaks and damage down the road. If you notice any signs of leakage or if the shower base flexes or becomes unstable, contact a plumber to inspect for more severe damage. Water leaking below the base can require removing the shower base and possibly the structure underneath it, which can cost anywhere from $500 to over $4,000 to repair.
Repairing small cracks and chips in a fiberglass or acrylic shower base is a simple project that you can handle if you’ve got a little DIY experience. Doing it yourself will cost between $50 and $75. The job itself doesn’t take long, but the repair will need time to cure fully before you can polish it, and the shower will be usable during that time. Keep in mind that some cracks are easier to repair than others. Cracks near the drain or along the seam can be harder to successfully repair yourself.
If you don’t have time, a plumber can easily take care of a chip or crack, but you’ll have to pay labor costs, which could run between $150 and $200. However, if you suspect the damage might be deeper, it’s worth calling a pro to take a look. A plumber can locate a shower leak, which might or might not be coming from the visible crack, and offer solutions. You should also call in a professional if the shower base is made of tile or solid surface. Both of these materials require more skill and experience to repair.
From average costs to expert advice, get all the answers you need to get your job done.
Making updates to your home? You may need to move your gas line to fuel new appliances or meet code regulations. We’ll cover the cost of moving a gas line, plus project tips.
The cost to add plumbing to a detached garage depends on several factors, including the type of plumbing and the garage's distance from your home.

A main water shut-off valve controls water flow for your entire home. Here we break down the cost to replace a main water shut-off valve.
Are you wondering why your shower is only getting hot water? It’s an uncommon issue but often an easy one to fix. Learn what causes it and how to fix it.
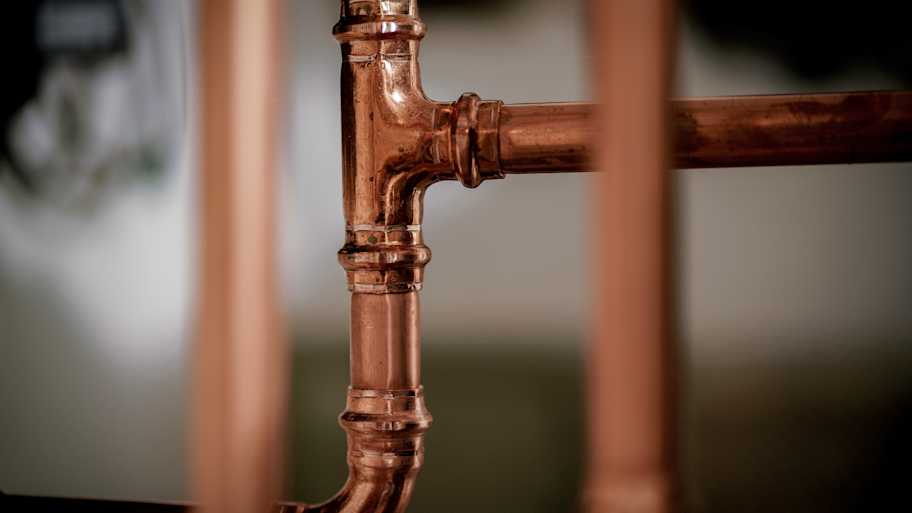
The proper copper pipe size depends on the application and your home layout. Learn how to size copper pipes and what factors to consider when deciding.

Your shower pan is an unsung hero that can prevent leaks and flooding in your bathroom. Learn how to spot a leaking shower pan and ways to fix it.