

A heater is essential if you spend any time in your garage. Find out the average garage heater installation cost based on fuel type, run time, and labor.
Vent your garage heater in a snap

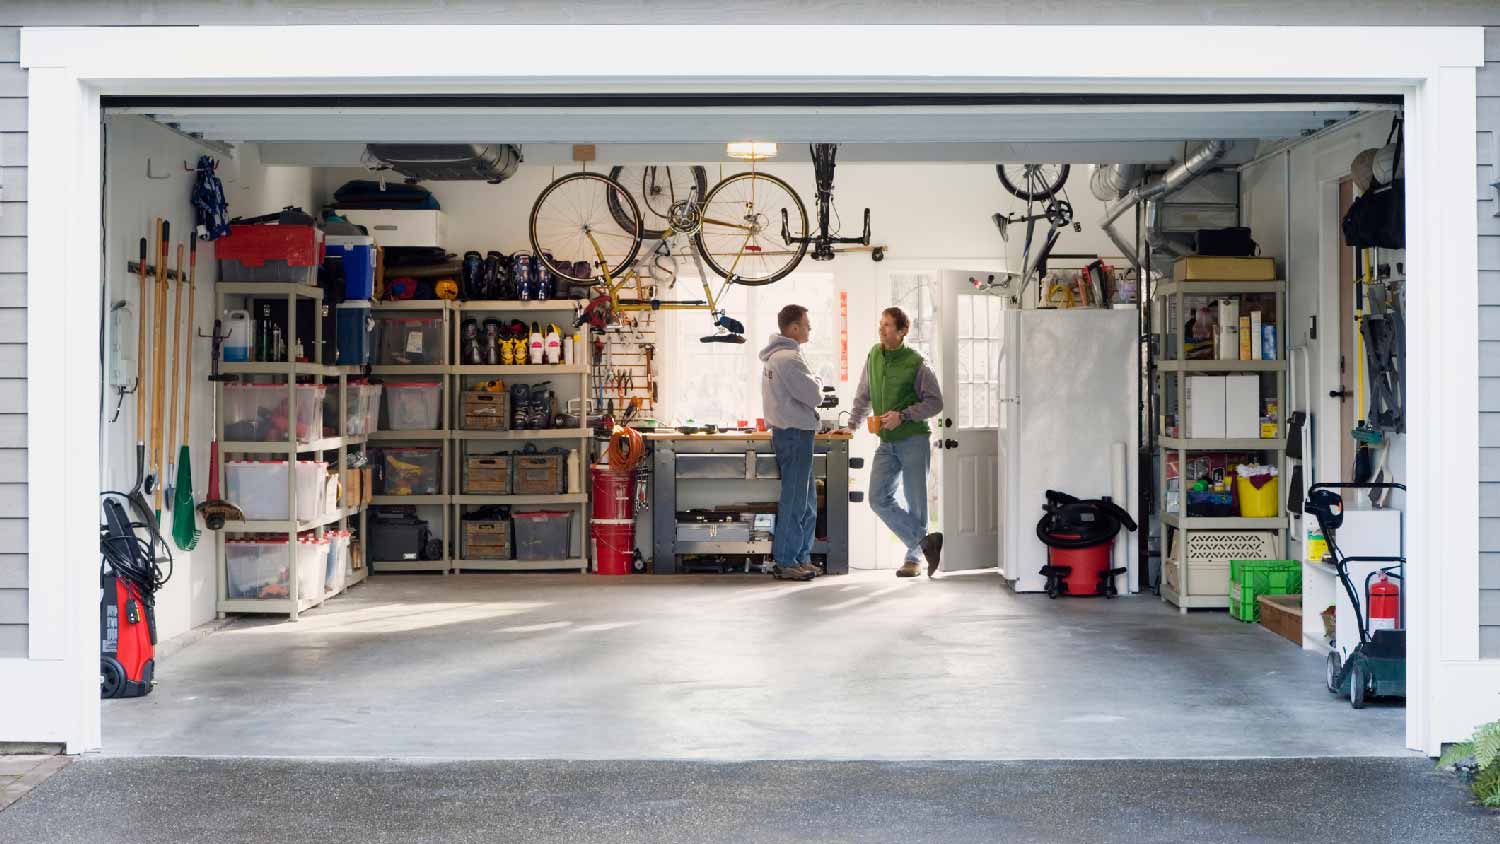
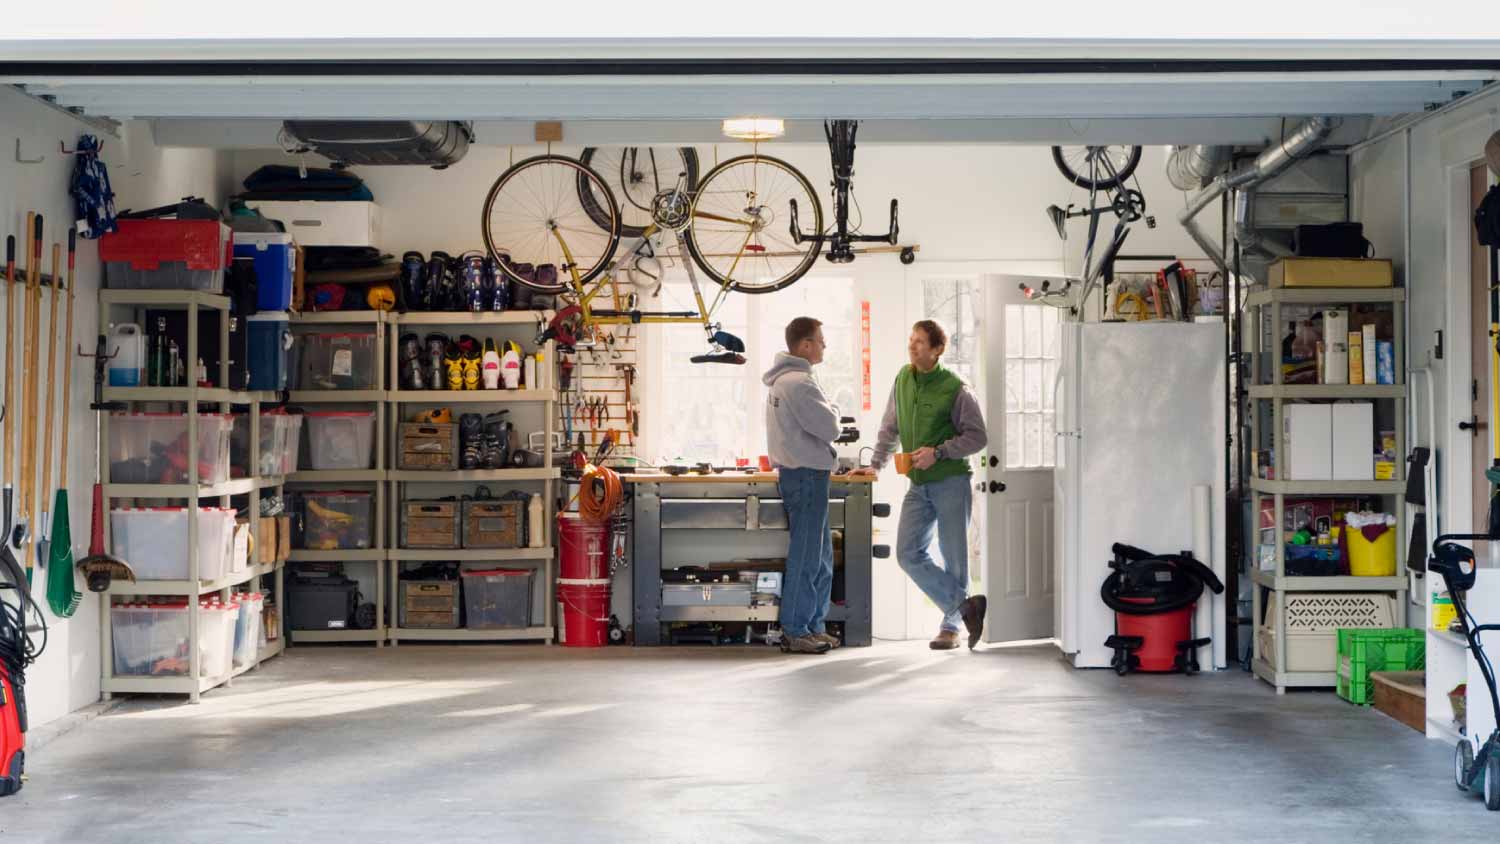
Your garage can be many things—a storage space, a hangout area, or even a workshop. All purposes are possible, especially if you have a garage heater to make the cooler seasons more tolerable. But you’ll also need to learn how to vent a garage heater so that the fumes have somewhere to escape to. Our guide can walk you through each step to get your garage heater and its vent up and running.
Before you bust out your toolbelt, you may want to take care of a few things to ensure the garage heater venting process goes smoothly. First, make sure your garage is approved to vent a heater by researching your area’s building codes and regulations. Determine whether you need a permit or inspection before you add a ventilation system. You should also thoroughly read the heater’s instruction manual to familiarize yourself with the directions.
Once your ducks are in a row, follow the steps below to vent your garage heater.
Measure the vent pipe and cut in where necessary to fit the route. Attach the sections with fittings and use a sealant at the joints to keep them secure. Then, use the metal fittings to secure the pipe to the wall or ceiling along the route.

Using your pencil, mark the location where the vent will exit and drill a hole with your power drill. Make the hole large enough for the vent pipe, then install a wall or roof plate around the hole, if necessary. Be sure to practice ladder safety guidelines when working at high heights.
Attach the vent cap to the end of the vent pipe on the outside. Seal it properly to keep any water or other elements from seeping inside.
Next, connect the vent pipe to the heater’s exhaust outlet and seal the connection tightly. Check along the vent for any kinks or obstructions and make adjustments as needed.

Turn on the heater to make sure it’s running properly and that the fumes are exhausting correctly. Check for any gas leaks before cleaning up the surrounding area. If you have trouble completing the installation or there’s a consistent leak in the vent, consider hiring a pro to review your work and fix any issues.
Seasoned DIYers can likely handle adding a garage heater vent with the help of instructions and a few tools and supplies. However, if you don’t feel comfortable completing this project, contact your local furnace repair specialist. Although DIY always allows you to save costs on labor, it’s worth your time and energy to hire a professional to ensure the job is done correctly.
You can expect to pay anywhere from $150 to $4,000 to install a garage heater, depending on the size of your garage and the type of heater. You’ll need to consult your garage heater installer about additional pricing for ventilation services.
I normally do not leave reviews, but my experience with Worthington Air was extremely frustrating and disappointing. About 30 days ago, I had a consultation done for an HVAC replacement and was quoted approximately $15,079. Based on that quote, I applied for financing through their company...
Great company! Price was competitive, technician showed up on time and completed the job (exterior electric Radon fan replacement) quickly. Would hire them again.
Raven and crew does absolutely fantastic job. They are very professional if any concerns were to occur with any of her work she always took responsibility and finished out with a great job. I have worked with her business for a year and have always been satisfied. Very trusted business and...
I would recommend this company to anyone! He showed up on time, was friendly, completed a very difficult repair on our dryer vent cover, was responsive, and pricing was extremely fair and competitive. I would have him back to do any of our repairs or cleanings without hesitation!
Ace Fireplace Services' chimney sweep service is truly exceptional. They used advanced technology to ensure a thorough cleaning process, and my chimney has never looked better. I highly recommend their services.
 Ace Fireplace Services
The technician was very professional and friendly. He answered all my questions and was very thorough. He left the fireplace area very clean . He inspected from the roof and advised me as to other work that might need to be done. There was no pressure there. I was very satisfied with the...
 Supreme brick & chimney
Excellent experience with hiring Tether House to Mount our 77’ Samsung TV in our bedroom. Fast, friendly, and knowledgeable. Highly recommend.
On time, clean and finished fast. Windows seem sturdy and the finish is good. Caulking was done with no smudges. Would recommend.
Great job...edging and pre clean up went well with a great job with seal coat. Friendly, efficient and professional.
 All Star Paving and Sealing
Good workers and they do a good job.
From average costs to expert advice, get all the answers you need to get your job done.
A heater is essential if you spend any time in your garage. Find out the average garage heater installation cost based on fuel type, run time, and labor.

A mini-split allows for zoned cooling, helpful for cooling spaces like garages. Learn the cost to install a mini-split unit in a garage with this guide.

Water heater venting keeps your family safe from carbon monoxide poisoning, but not all water heaters require it. This guide provides the details and more.
For those who spend time in their garage, heating is a winter essential. Consider these helpful tips on how to heat a garage.
Make the most out of your garage by installing a garage heater for ultimate comfort. Our guide will walk you through the entire process.
You can work in your garage all winter long with the help of a portable heater. Read our guide to see if you can repurpose your patio heater.