
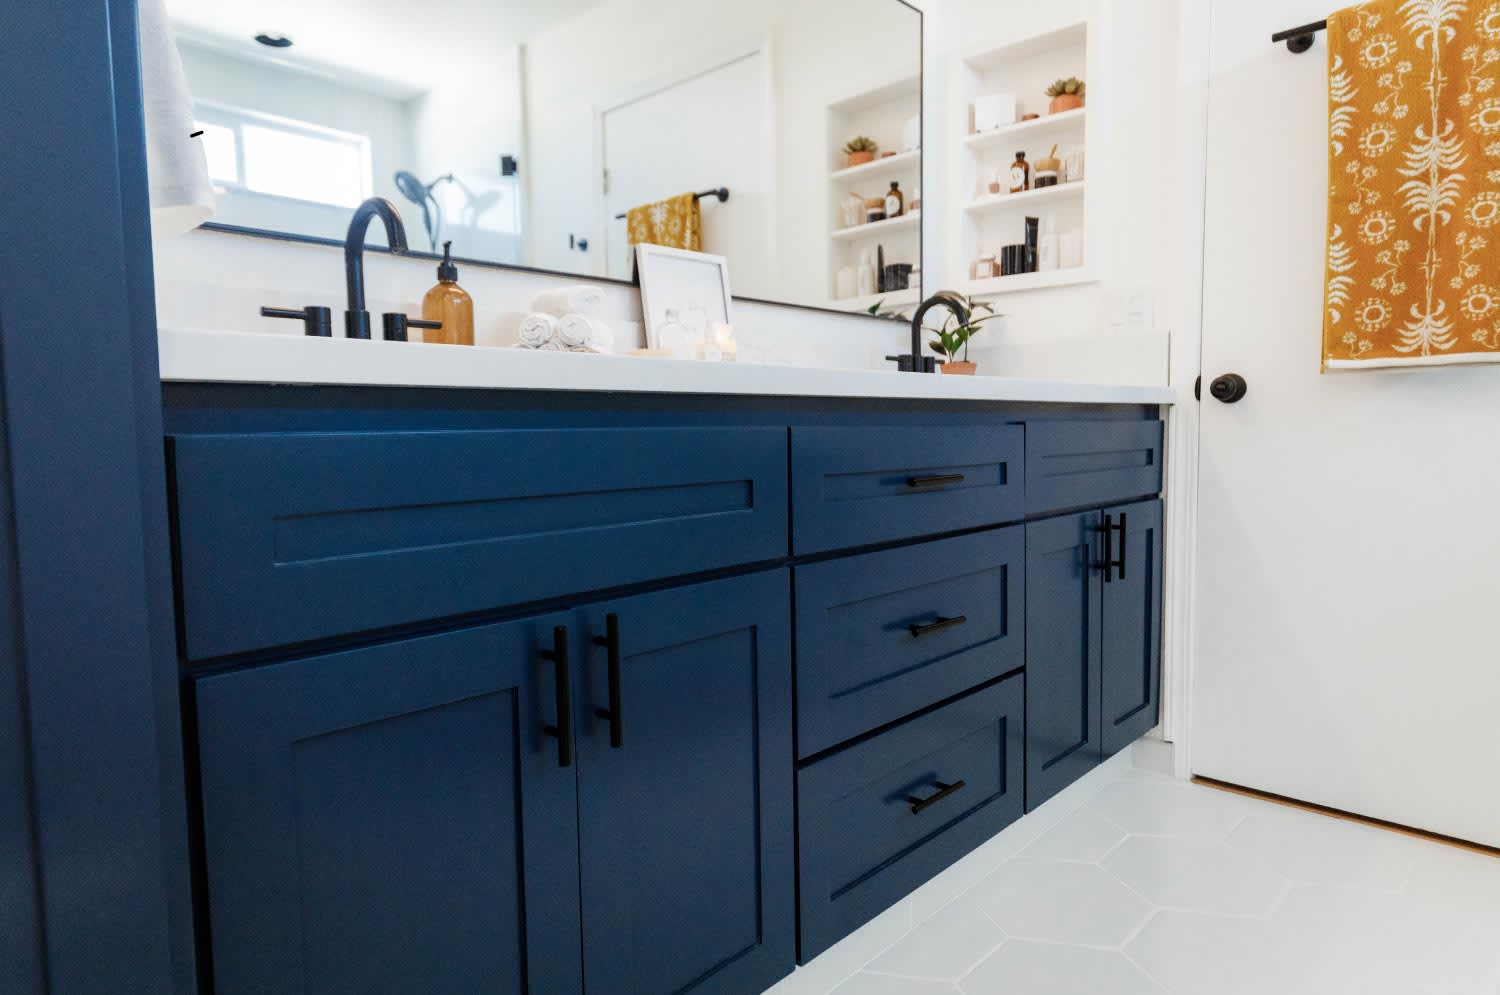
If your bathroom needs sprucing up, a new vanity will make a big difference. Vanity installation costs depend on the size and type of the countertops and fixtures you choose.
You don't need to be a pro to transform your bathroom vanity

Bathroom vanities get a lot of use over the years, especially if they’re passed down from person to person, but it doesn’t take much to make them look as good as new. With a can of primer, a bucket of paint, and a bit of sandpaper, your cabinet doors and drawers can be restored to their original glory in just a couple of days. Learn how to paint a bathroom vanity in 10 simple steps.

There are a few steps worth taking before painting to ensure the final product looks the best it can.
Use a screwdriver to remove all the different parts of your vanity—cabinet doors, hinges, and knobs. Then, pull out the drawers by hand and lay everything spaced apart on a drop cloth. Working on each individual piece will make it easier to reach all the nooks and crannies that might be difficult to get to otherwise. Keep smaller parts, like the hinges and knobs, in a sealed plastic bag to prevent anything from disappearing. Finally, label each door and cabinet with a pencil or marker so that you know where everything is supposed to go when it’s time to reassemble.
Put on your goggles and gloves, then grab a bucket and prepare your trisodium phosphate (TSP) cleaning solution according to the manufacturer’s directions. Use a sponge to scrub all of the vanity’s surfaces with TSP, which will effectively remove dirt and grime from your drawers and cabinets.
When you finish, rinse everything with water to remove all of the product.

Once you’ve removed all the parts, examine your bathroom cabinets for any holes or scratches and patch them up with putty or another filler. If you plan to swap out your old hardware and need to drill new holes, you’ll want to fill the old cabinet holes at this point, too.
Before moving on to the next step, let the putty dry completely. You can check out the directions on the package if you aren’t sure how long to leave it.

Sanding away the original layer of gloss and paint will make it easier for the new coats of primer and paint to stick and help them last longer. It’s not necessary to remove absolutely everything. Simply sanding until you achieve a rough surface will be more than enough to guarantee the new coat takes.
When you’re done sanding, clean the vanity with a damp sponge or microfiber cloth to collect any dust that’s sticking to the surface. Then, use a vacuum to suck up any other debris around it.
Your vanity shouldn’t be too wet after you wipe it down, but you should still let it dry for about an hour before applying anything else (including primer or paint) to the surface.
If you’ve decided to paint only the front-facing parts of your bathroom vanity, line the inside with newspaper or plastic to keep it clean. Otherwise, feel free to paint the entire thing, but just be sure to sand accordingly.
Some countertops for bathroom vanities are removable. In this case, removing it before getting started is the best way to prevent unwanted smudges. If this isn’t an option for you, coating the counter’s outer edges in painter’s tape will keep it safe from splashes. From there, lay down a drop cloth and affix it to the floor with additional tape to maintain the rest of your bathroom while you work.

Coating your bathroom vanity in a layer of shellac- or oil-based primer will blot out blemishes and create a smooth surface to paint on. Use a brush or roller to apply a layer of primer. Let it dry, then apply one more layer of primer.
After applying the primer, it’s best to wait overnight before beginning to paint to guarantee your cabinets have had enough time to dry. When they’re completely dry to the touch, lightly sand the surfaces one more time and remove the dust with a damp sponge. (The last thing you want is dust trapped beneath your new coat of paint.)
Oil, latex, and chalk-based are the best paint choices for bathroom vanities. Oil paint has a hard finish that protects against scratching and chipping, but it has a strong odor that can be difficult to work with. Latex paints are water-based, which means they’re less smelly and much easier to clean. A lot of DIYers favor chalk paint because it doesn’t require a coat of primer, but it won’t last as long as other options.

Once your cabinet doors are completely prepped and primed, you’re ready to start painting. Painting can also help repair a water-damaged bathroom vanity. Paint two to three coats, letting the paint dry before beginning each new coat, and keep going until the surfaces are fully and evenly covered. You should need a max of three coats to accomplish this.

After another night, your cabinets will be fully dried and ready to put back together. Remove any labels you might have used as well as plastic or newspaper lining and painter’s tape before reassembling.
If you’re an intermediate DIYer, learning how to paint a bathroom vanity cabinet is very doable—and makes for a great bathroom remodel idea. It doesn’t cost as much as buying a new vanity and doesn’t take very long, but there are some cases where hiring a pro may be a better choice.
If you’re short on time, you may want to hire someone to prep and paint it for you. Or, if your vanity is old or damaged, it may be time to toss it and get an entirely new one. If getting a new vanity ends up being a better choice than refinishing the original, a bathroom vanity installer near you can help you save time and money. Vanity installation costs typically fall between $300 and $3,800, with an average cost of around $1,500.
Stephanie Mickelson and Audrey Bruno contributed to this piece.
Jason has helped me with multiple household projects, with the most recent being new door installation. He has always showed up on time and organized and has done an incredible job! Jason is very professional and he's now my go-to for anything around my house that needs to be fixed or...
Cole has been handling plumbing and general contracting for our four properties over the past three years, and he’s always done a great job. Most recently, he installed a sink and countertop in our retail store where none existed before, and it turned out exactly how we needed. He’s...
 ANB Renovations LLC
1st Choice Renew is simply the best! We hired them for a complete home renovation, and they transformed our space into something truly amazing. The team attention to detail and commitment to quality were evident throughout the project. They were easy to work with, very responsive, and always...
This company went above and beyond with their work, chimney sweeps are usually pretty messy, but the clean up was spot on.!! Josh explained every thing that he was doing, and the things that he was checking to make sure the chimney was safe for me and my family. He was very professional,...
 Supreme brick & chimney
Custom Paint Jobs LLC turned our outdated bathroom into a modern masterpiece.
Excellent customer service and knowledge. I was recommend to him from my neighbour. My front door and window came in great and were installed beautifully perfectly, I m very satisfied with their excellent work, so decided to order one more big bow window for my living room. I cant wait for...
If I could give 10 stars for Kitchen Tune Up, I would. I cannot say enough good things about my experience with Kitchen Tune Up and the entire team involved in the process of my kitchen project. They went above and beyond as far as service and quality with my cabinets, paint, countertops, and...
It was wonderful working with Yordy and his team. They were very professional and are experts in what they do. They have completed the work on time, with better quality and with in fairly reasonable price. We just started with backsplash work , but liking his work, we went on to provide...
We were having 2”x 2” tile installed . There was a small installation error and the new additional replacement tile was from a different lot and the colors didn’t match. Joe assured us that he would rectify everything , which he did without hesitation. We decided to go with the 18” x 36” tile...
 CarifaTile
They work that 360 did on my kitchen cabinets is nothing short of amazing. I still cannot believe the difference from before and after. Jon and Jeff were both so incredibly professional throughout the whole process and their communications with me were constant and consistent. These guys...
 360 Painting Columbus
From average costs to expert advice, get all the answers you need to get your job done.
If your bathroom needs sprucing up, a new vanity will make a big difference. Vanity installation costs depend on the size and type of the countertops and fixtures you choose.
A new coat of paint can transform your bathroom and improve home value. Learn about the cost to paint a bathroom and what factors affect the total.
Bathrooms get hot and humid, so choosing the best bathroom vanity paint can help your paint job last. Here are five options to keep your vanity looking spiffy.

You have built your dream bathroom, but do not stop there. Learn how to protect your bathroom vanity from water damage to avoid costly repairs.
If your vanity is in good shape but needs a new look, try a fresh coat of paint. Find out how to restore your bathroom vanity with a budget-friendly paint job.
Major leaks can cause irreparable bathroom vanity damage, but some water damage can be rectifiable. Whether it's peeling paint or veneer, warped or sagging panels, learn some techniques for repairing a water-damaged bathroom vanity.