

Sink installation costs depend on the type of sink, the material, and the labor. This guide can help you budget for your project—from pedestal to farmhouse.
Installing a sink can save you money and can be done in an afternoon

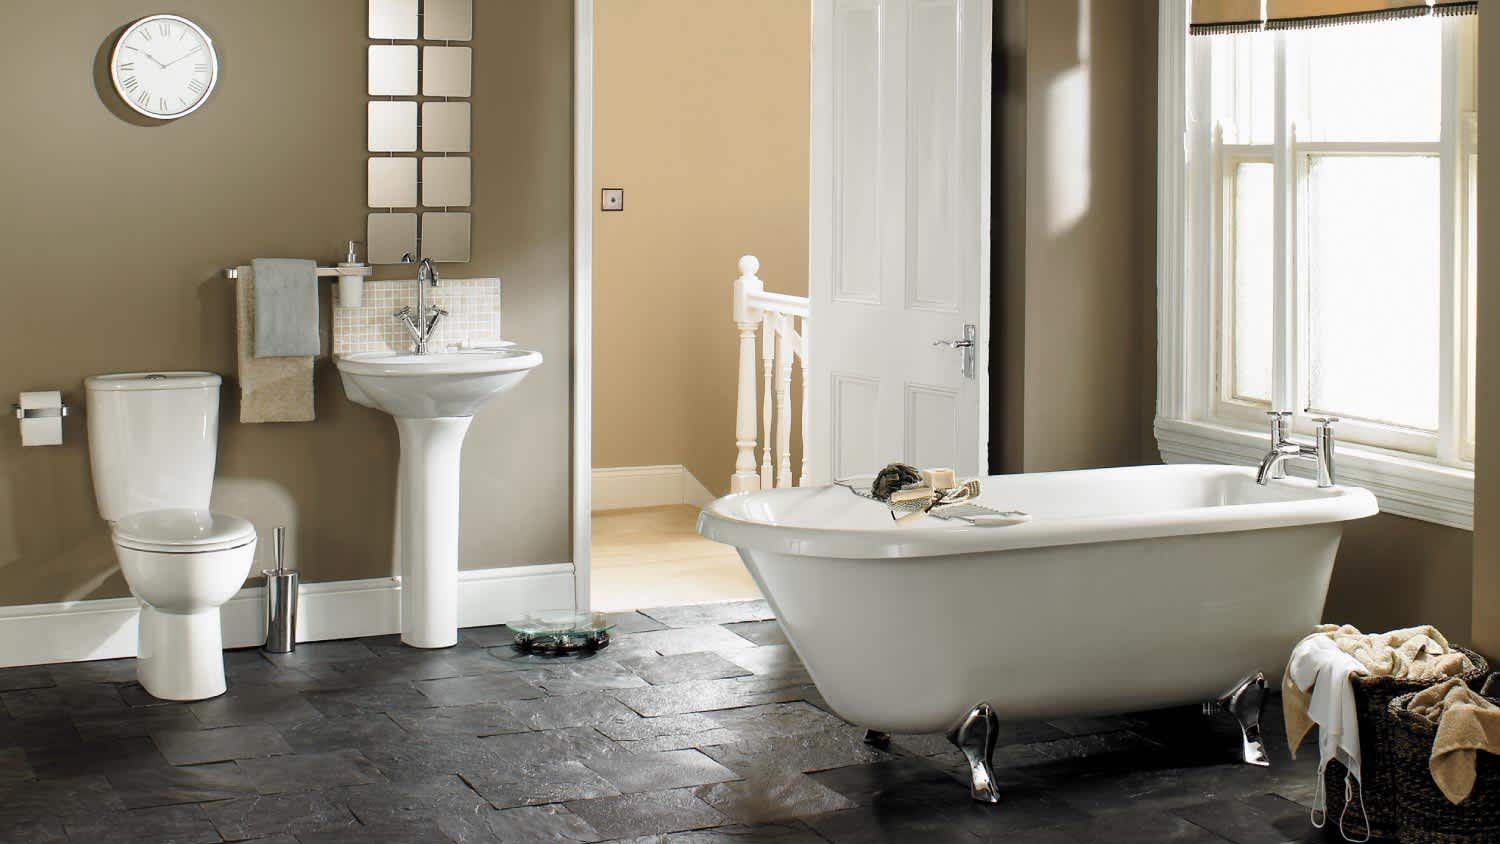
Your bathroom sink installation connects faucets, drains, and plumbing lines, requiring precise measurements and proper sealing to prevent leaks and water damage.
Expect to pay $250 to $650 for professional bathroom sink installation, with plumbers charging $50 to $200 per hour for the work.
You'll need to turn off water supply valves, disconnect the P trap and water lines, and caulk around your new sink before reconnecting all plumbing.
Hiring a local sink installation professional keeps your plumbing secure and prevents costly water damage, especially when working with undermount sinks or complex drain connections.
Learning how to install a bathroom sink is no small feat, but if you’re handy, you can do it yourself in an afternoon—especially if you have a pair of helping hands. Or, you could hire a sink installation pro to get the job done faster (and with less hassle on your part).
Small DIY projects like applying a fresh coat of paint are a great way to save money during a remodel, but leave major plumbing upgrades to the pros. An inexperienced hand can cause burst pipes and water damage.

Before you remove your bathroom sink to make room for the new one, you’ll have to start by turning off the water supply valves beneath it. There are two valves, and you’ll want to turn them both completely to the right to stop the flow of water. If you can’t turn the valves because they’re stuck, don’t force it. You can find your main water shut-off valve to your home and turn it off instead.
Test the water to make sure it’s off before you start disconnecting your plumbing.
When you remove your sink, you’ll have to carefully disconnect the plumbing. Start by removing the P trap. The P trap always has some water in it, so you may want to disconnect it over a bucket or towel to avoid a mess. Disconnect the hot and cold water supply lines and remove your sink.
If you’re having problems removing your bathroom sink from the counter, try slipping a putty knife underneath the caulk to loosen it. You may need to use a chisel and hammer if your sink is glued to the countertop.
Installing the faucet is easier to do before you actually fit your new sink into place. Simply follow the instructions that came with your unit. Though every type of faucet is slightly different, you’ll likely need to place a gasket on the faucet opening (if your sink has a gasket) and then place the faucet over the gasket.
Screw the faucet into place, tightening the nuts on the underside of the sink. Caulk around the edge of your faucet (if your sink doesn’t have a gasket). After you install the faucet, install any extra hardware on your sink or vanity.

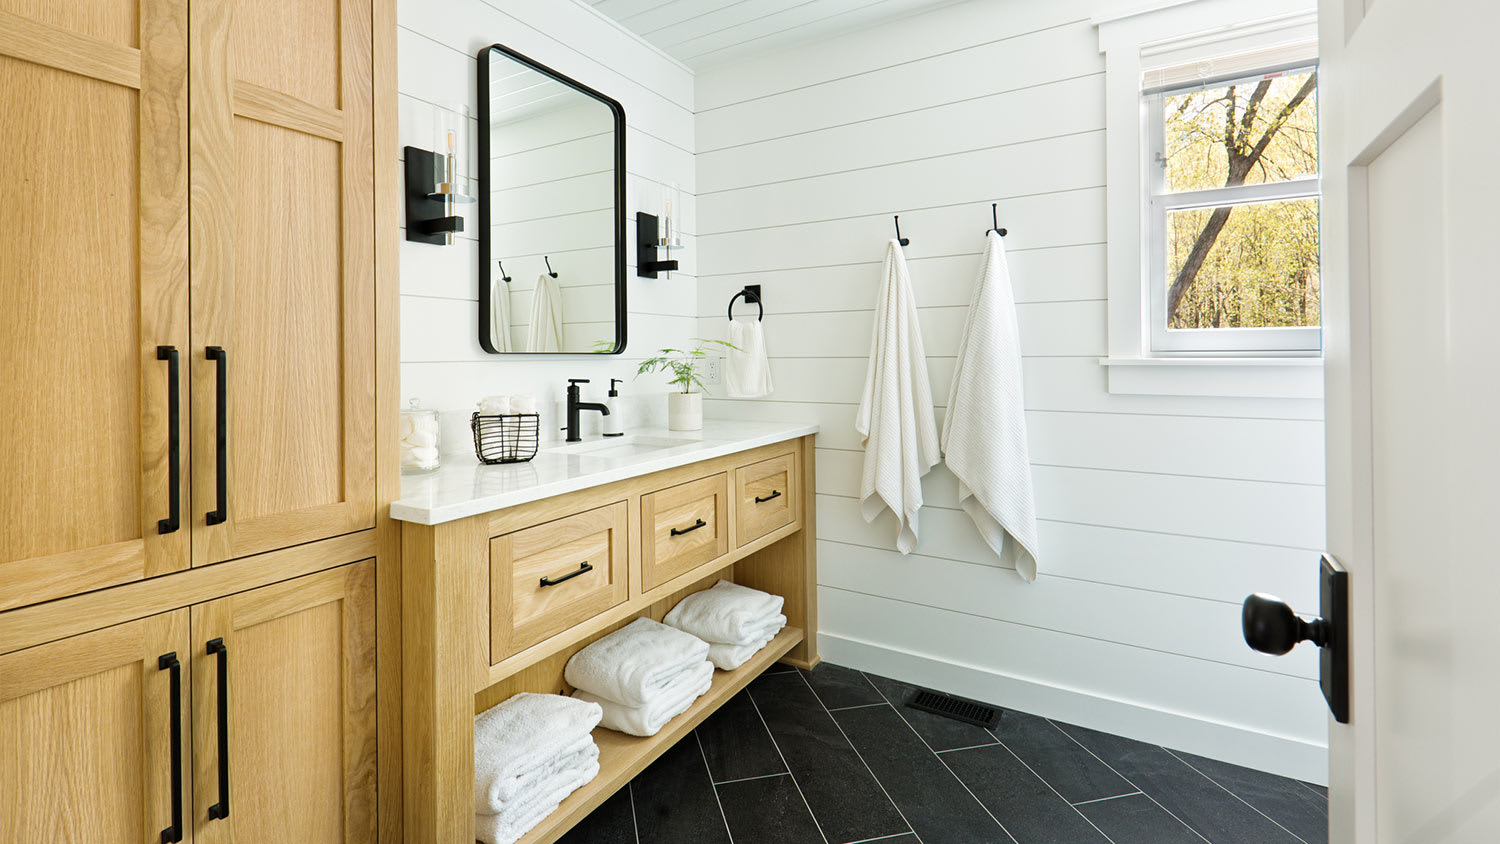
How you install your sink depends on the type. Some sinks come with a gasket to seal the unit in place. Other sinks need a layer of non-hardening plumber’s putty, caulking, or silicone around the bottom lip (for a drop-in sink) or the top lip (for an undermount sink).
To mount your sink, install the gasket if it comes with one. If not, apply caulk around the correct side of the lip. Drop or push the sink into place and secure the sink bolts or clips.
If your sink doesn’t come with clips, which is common for some porcelain or ceramic sinks, you’ll have to secure it using another method—like a two-part epoxy or brackets. Wait 24 hours for the caulk to completely set before you reconnect the plumbing.
Tip: If you’re installing an undermount sink, make sure you have a friend to help with the installation. Unlike a drop-in sink, this type can fall before it’s secured in place.
Once your caulk has dried, you can attach your drain and plumbing, adding caulk where needed. Some people caulk their drain and sink before reattaching the plumbing, but it’s usually easier to do as much as you can after the fact. This way, everything is lined up correctly and you don’t get gaps.
First, install your drain per the manufacturer’s instructions. This typically requires you to caulk the drain in place. Attach the drain’s tailpiece to the bottom of the sink. Make sure to install it with the accompanying gasket. If your model doesn’t come with a gasket, seal it with silicone caulk.
Reattach the P trap, water lines, and any other hardware, like a pop-up drain. Seal the connections with silicone caulk. When applying caulking, make sure you seal areas where water could migrate. This includes around the basin where the sink meets the countertop and/or where the sink attaches to a wall, as well as any other gaps you might find. Let the caulk dry for 24 hours before turning on the water and testing your work.
A sink can last decades, but you can replace your sink whenever you want. This is a common update within a larger bathroom remodel—especially if you remodel with a different design style. Homeowners usually choose to upgrade their sink when they get new countertops or a new vanity. That said, there are some signs you should start to think about a replacement:
Your sink is rusted or corroded
Your sink has cracks and other damage
Your drain is constantly clogging
You have an older sink with a low water volume
The sink design looks dated
Some of the time, you can fix individual issues, like reglazing a scratched porcelain sink or swapping out a rusty drain. If your sink has several issues and seems like it’s nearing the end of its life span, it may be time for a replacement.
For most homeowners, professional sink installation costs $250 to $650. Of course, the total cost depends on the type of bathroom sink. A simple pedestal sink will usually cost less than a trendy farmhouse sink. Drop-in sinks are usually the most affordable.
Overall, homeowners can usually save a little bit of money on sink installation if it’s part of a larger bathroom remodel. Contractors may be willing to cut a deal if you pair it with another job like converting a tub to a walk-in shower or replacing your vanity and countertops.
Plumbers charge between $50 and $200 per hour. This means that labor costs make up a significant portion of the overall cost of a new bathroom sink. Technically, homeowners can save a lot by tackling installation themselves and only paying for materials.
However, we don't recommend DIY plumbing projects. Mistakes can lead to serious problems with high repair costs, such as water damage. Unless you have solid plumbing experience, leave this job to your local sink installation pro.
Learning how to properly clean a bathroom sink is the key to maintenance. In general, you’ll want to use a non-abrasive all-purpose cleaner (for porcelain, stainless steel, and glass) or liquid dish soap (for copper and stone). Certain sinks, like copper or stone sinks, may need a protective wax or sealant to preserve the facade. Beyond that, these tips can help you extend the life span of your sink:
Clean your bathroom at least once a week to fight corrosion and mildew buildup.
Rinse away debris—like a rogue squeeze of toothpaste—before it dries down.
Recaulk around your sink when you start to notice peeling, cracking, and gaps.
Make timely repairs as issues arise.
Avoid using chemical clog removers, since they can damage piping over time.
Mariel Loveland and Kathryn Pomroy contributed to this article.
Jason has helped me with multiple household projects, with the most recent being new door installation. He has always showed up on time and organized and has done an incredible job! Jason is very professional and he's now my go-to for anything around my house that needs to be fixed or...
Cole has been handling plumbing and general contracting for our four properties over the past three years, and he’s always done a great job. Most recently, he installed a sink and countertop in our retail store where none existed before, and it turned out exactly how we needed. He’s...
 ANB Renovations LLC
1st Choice Renew is simply the best! We hired them for a complete home renovation, and they transformed our space into something truly amazing. The team attention to detail and commitment to quality were evident throughout the project. They were easy to work with, very responsive, and always...
This company went above and beyond with their work, chimney sweeps are usually pretty messy, but the clean up was spot on.!! Josh explained every thing that he was doing, and the things that he was checking to make sure the chimney was safe for me and my family. He was very professional,...
 Supreme brick & chimney
Custom Paint Jobs LLC turned our outdated bathroom into a modern masterpiece.
Excellent customer service and knowledge. I was recommend to him from my neighbour. My front door and window came in great and were installed beautifully perfectly, I m very satisfied with their excellent work, so decided to order one more big bow window for my living room. I cant wait for...
If I could give 10 stars for Kitchen Tune Up, I would. I cannot say enough good things about my experience with Kitchen Tune Up and the entire team involved in the process of my kitchen project. They went above and beyond as far as service and quality with my cabinets, paint, countertops, and...
It was wonderful working with Yordy and his team. They were very professional and are experts in what they do. They have completed the work on time, with better quality and with in fairly reasonable price. We just started with backsplash work , but liking his work, we went on to provide...
We were having 2”x 2” tile installed . There was a small installation error and the new additional replacement tile was from a different lot and the colors didn’t match. Joe assured us that he would rectify everything , which he did without hesitation. We decided to go with the 18” x 36” tile...
 CarifaTile
They work that 360 did on my kitchen cabinets is nothing short of amazing. I still cannot believe the difference from before and after. Jon and Jeff were both so incredibly professional throughout the whole process and their communications with me were constant and consistent. These guys...
 360 Painting Columbus
From average costs to expert advice, get all the answers you need to get your job done.
Sink installation costs depend on the type of sink, the material, and the labor. This guide can help you budget for your project—from pedestal to farmhouse.
Pedestal sinks are small bathroom wonders, but how much does a pedestal sink installation cost? Learn the cost factors for adding one to your bathroom.

If your bathroom needs sprucing up, a new vanity will make a big difference. Vanity installation costs depend on the size and type of the countertops and fixtures you choose.
A handyperson is an ideal pro to remove and install your new bathroom vanity and sink. We have rounded up the best people who can get the job done.
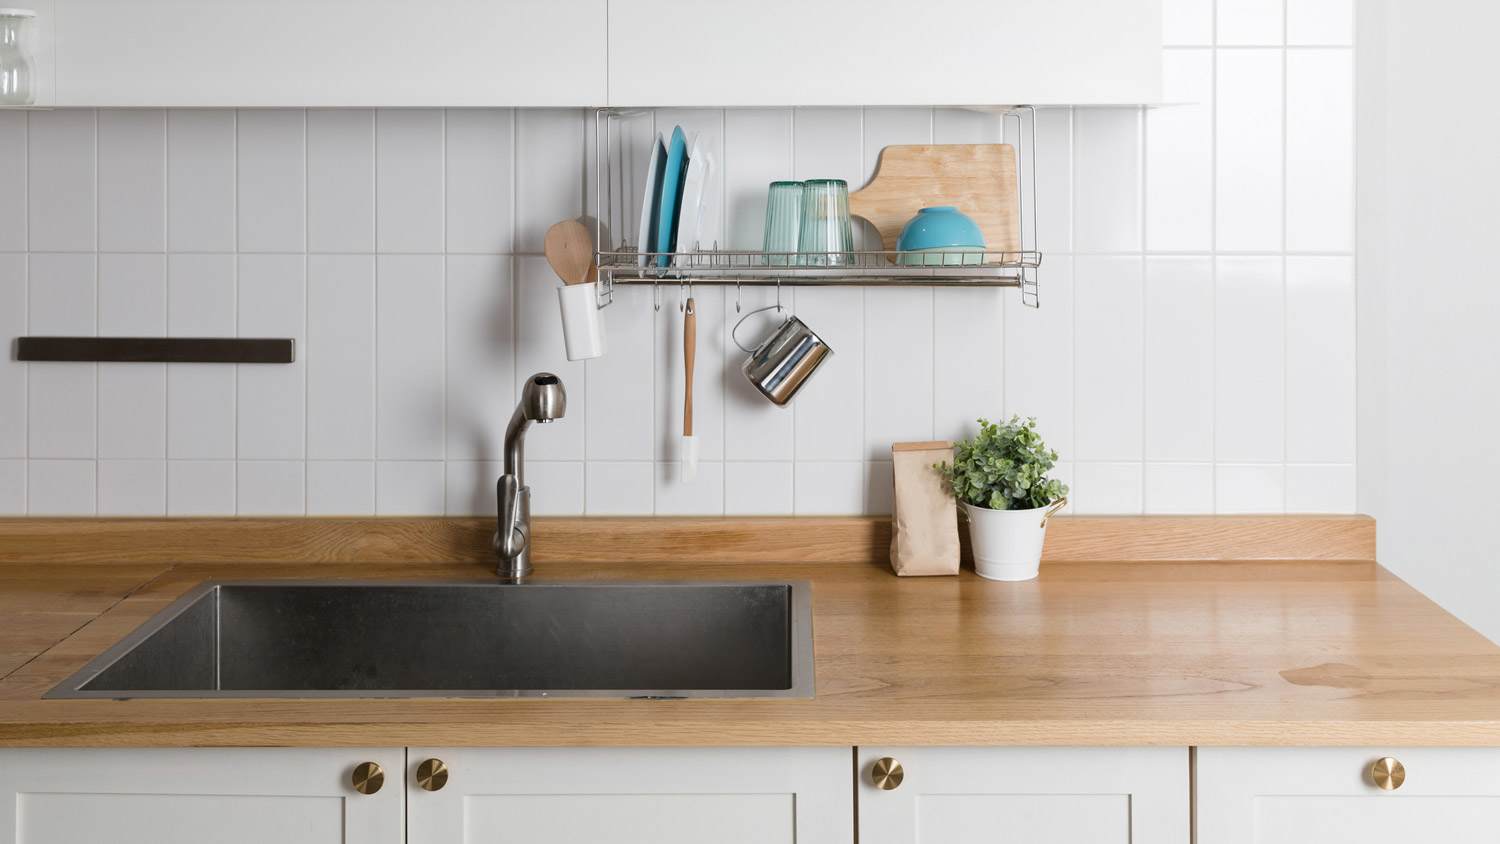
Installing a new kitchen sink involves removing the old sink and putting in the new one. Follow these steps to learn how to install a kitchen sink like a pro.

This handy guide will walk you through 17 types of bathroom sinks to help you decide on the best one for your bathroom remodel.