
Don’t let a bathroom sink stop up your routine. Find out how to unclog a bathroom sink fast using tools you probably already have on hand.
Give your sink a little TLC, and say goodbye to grime and germs

Cleaning a stainless steel sink with mild dish soap and a soft cloth removes soap scum, toothpaste, and daily residue without scratching the surface.
Daily rinsing and drying prevents water spots and bacterial growth, keeping your sink fresh between weekly deep cleans with disinfectant spray.
You should avoid abrasive scrubs and bleach on stainless steel, as these materials scratch the metal or cause corrosion and pitting over time.
Hiring a local house cleaning professional keeps your bathroom sanitized and spotless when you need consistent help maintaining a clean, germ-free sink.
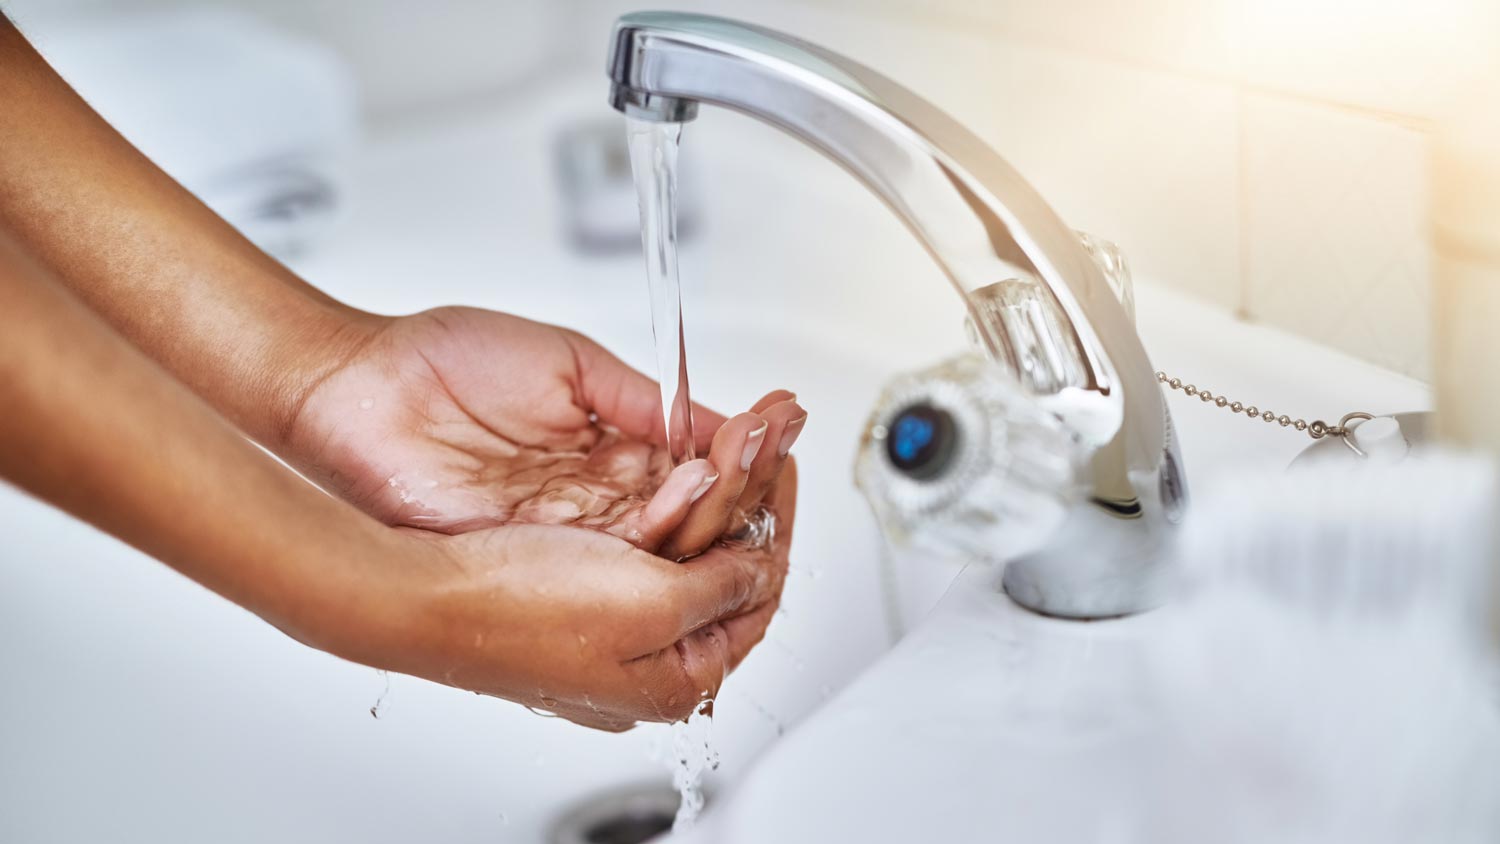
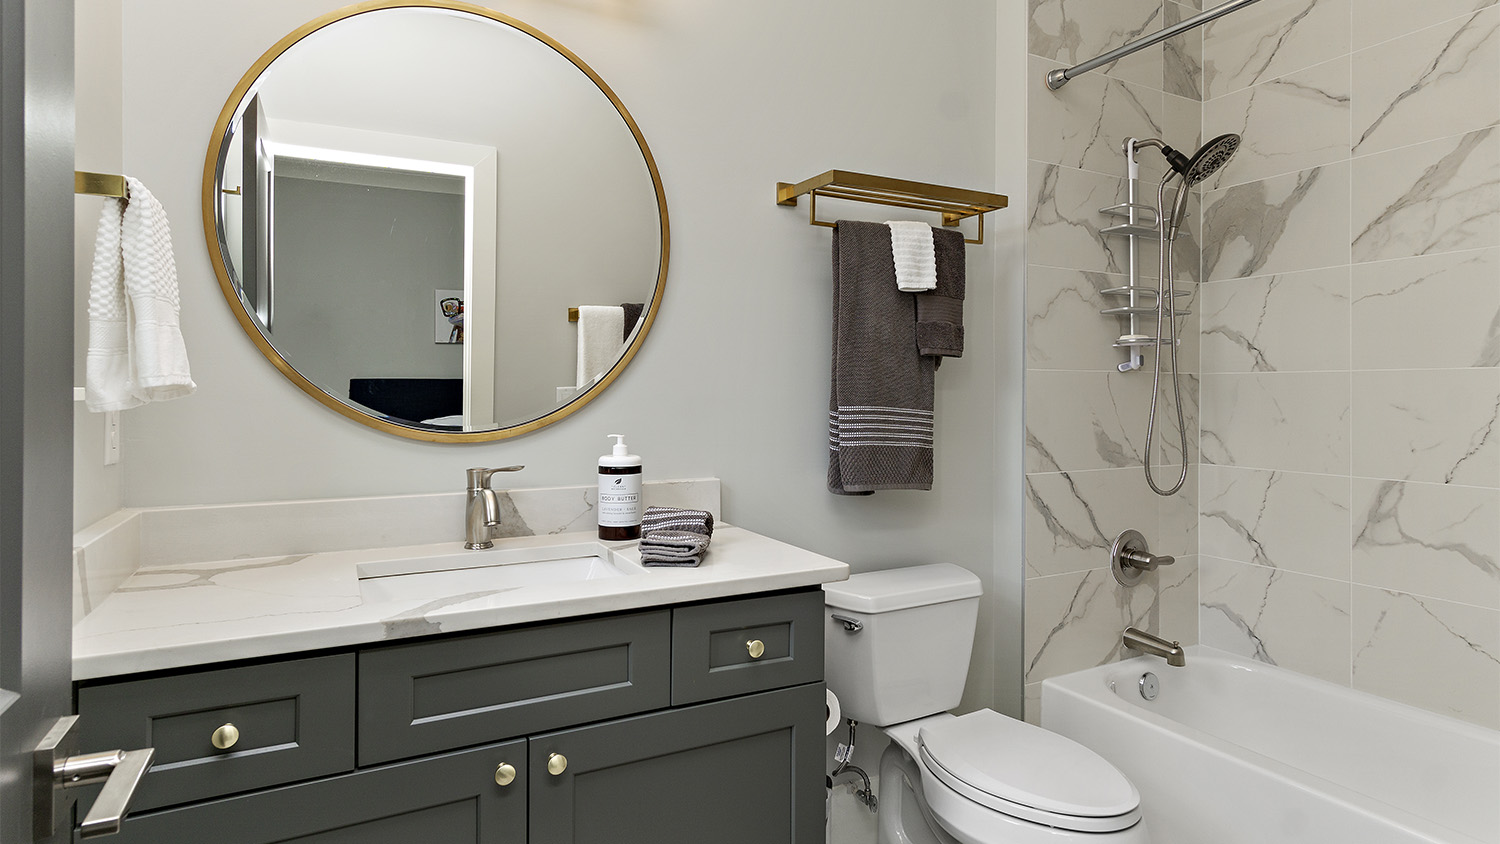
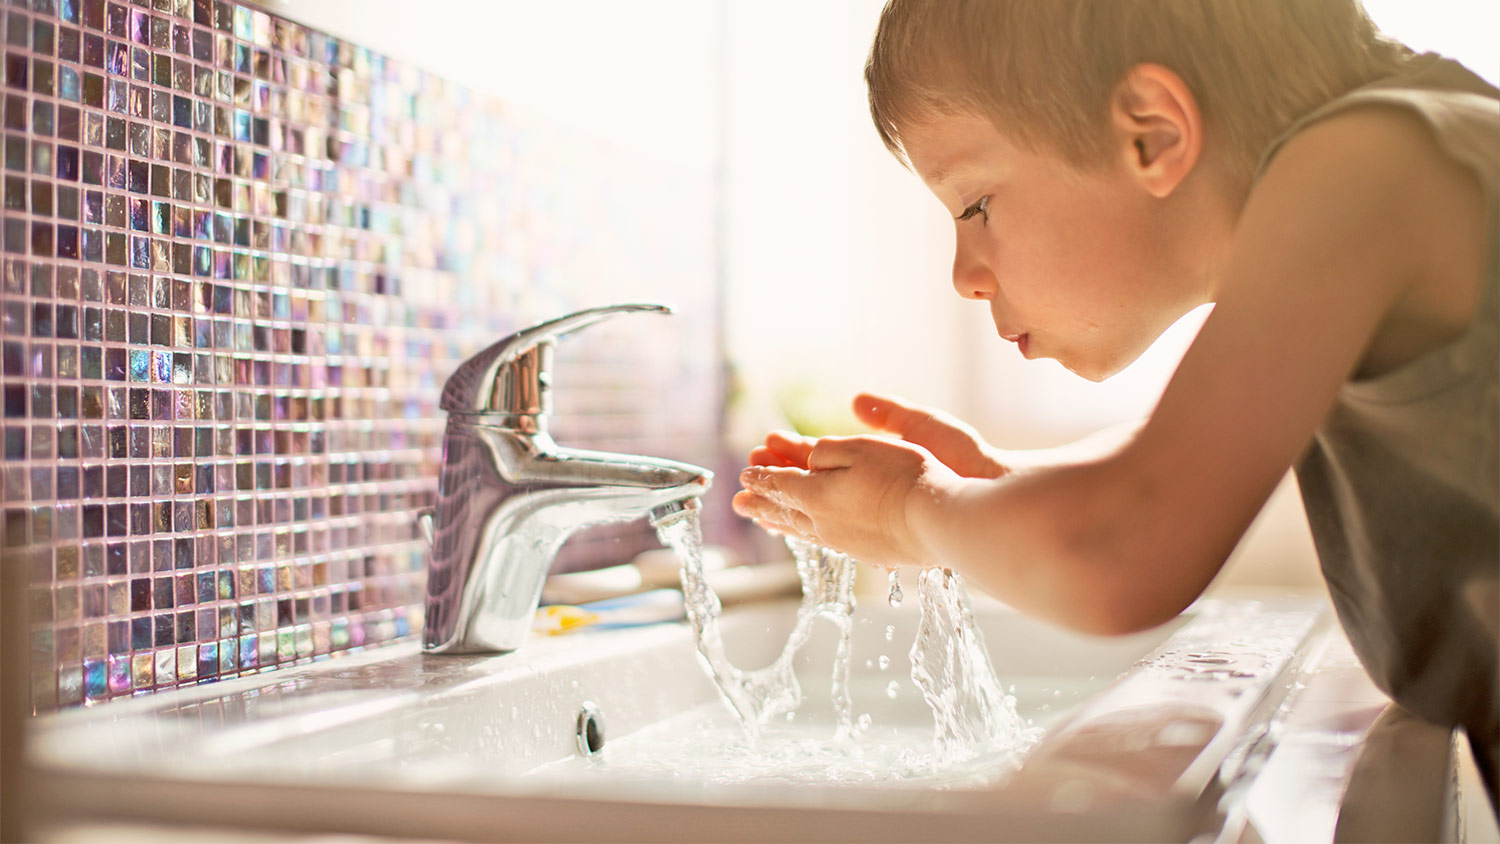
Your bathroom sink is where you wash your hands and brush your teeth, so you might be tempted to think it doesn’t get that dirty with all that soap and water. Unfortunately, though, everyday use can leave your sink looking grimy and smelling bad if you don’t keep on top of cleaning it. Learn how to clean a bathroom sink to keep it sparkling clean and free of germs, stains, and unpleasant odors.
Bathroom sinks get a lot of everyday use. Over time, soap scum, toothpaste residue, mineral deposits, and other debris from daily use can build up, giving bacteria and mildew a place to breed and leaving your sink dirty. A dirty sink can make you sick, make your bathroom smell bad, and cause clogs or a slow drain. Regularly cleaning your bathroom sink removes soap residue, dried toothpaste, and the dirt, dust, and debris that can collect on grimy surfaces, leaving you with a clean, sanitary sink.
You’ll follow the same general steps for cleaning your sink no matter the material, but it’s important to know what material your sink is made out of so that you know which cleaning products and techniques will get your sink gleaming without causing damage.
Once you’ve determined the best cleaner and any special considerations for your sink material, follow these steps to clean your bathroom sink:
Wipe out any loose debris in the sink with a damp cloth or non-abrasive sponge.
Use the sink stopper and fill the sink about 2/3rds of the way with hot water and the appropriate cleaner for your sink type.
While you let that soak for a few minutes, use your sponge or cloth to scrub any part of the sink basin that’s still exposed, including around the faucets.
Clean faucets with a mixture of dish soap and water.
Drain the sink and scrub the entire basin, paying special attention around the drain and on any stubborn spots.
Rinse the sink and dry it with a dry cloth.
Disinfect the sink by spraying it with a disinfectant spray and allowing it to dry according to the manufacturer’s instructions. Wipe with a dry microfiber cloth to remove water spots.
Wipe or spray faucets and faucet heads with disinfectant. Once dry, wipe with a dry microfiber cloth to remove spots.
The most popular materials for bathroom sinks, porcelain and ceramic are easy to maintain and clean.
Avoid using abrasive cleaners, scouring pads, steel wool, or stiff-bristled brushes, all of which can cause scratches and damage the surface of your sink.
Use an all-purpose cleaner (consult the manufacturer’s instructions for proper dilution) or a mix of white vinegar and a few tablespoons of dish soap.
Stainless steel is a durable material, but can scratch if a too-abrasive material is used.
Avoid any abrasive cleaners or tools that might scratch the metal, including scrubs, scouring pads, and steel wool.
Do not use bleach to clean stainless steel, as it can corrode and pit the metal.
Use an all-purpose cleaner or a vinegar/dish soap mix.
While copper sinks are less common, they can add a warm, homey look to a bathroom.
Copper is a soft metal that’s easily abraded, so avoid anything that could scratch it like scrubs or abrasive sponges or scouring pads.
Use a mild soap like dish soap for general cleaning.
For stubborn spots, mix baking soda and water into a thick paste and gently buff the spot.
Stone sinks look great but have special considerations for cleaning.
Avoid any acidic cleaners, including vinegar and citrus cleaners.
Don’t use abrasive scrubs or scouring pads.
Consult your sink’s manufacturer for recommendations for stone polish to restore shine after cleaning.
Glass sinks can give your bathroom a modern look, but are also easy to scratch and can show residue and water spots more than other materials.
Avoid all abrasive cleaners and tools.
Vinegar and dish soap make a great combo to remove residue and keep the glass sparkling clean.
For added shine, use commercial glass cleaner spray as your final step after disinfecting.
Quartz is highly durable and less porous than other natural material sinks. There are still some considerations when it comes to cleaning quartz, though.
Don’t use anything that can scratch the quartz like scrubs, steel wool, and other abrasive materials.
Avoid letting acidic cleaners like vinegar or citrus-based cleaners sit on the surface or soak, as these materials can compromise the quartz over time.
A mild cleanser like dish soap is a good choice for quartz.
Cleaning your drain can help prevent clogs and slow-draining sinks, and can also help keep unpleasant sink odors at bay.
Remove the drain stopper and scrub off any grime and residue.
For general preventive drain cleaning, pour one cup of vinegar down the drain and let it sit for 15 to 20 minutes. Follow with one quart or more of hot water. (Do not use boiling water if you have PVC pipes, as it can damage your plumbing.)
One-half cup of hydrogen peroxide poured down the drain can help with a slow-draining sink.
Remove clogs with a drain snake, plastic clog remover, or wire hanger. More serious clogs may require a plumber to remove the clog.
It’s a good idea to clean your bathroom every week, but your sink gets so much use that grime can quickly build up. A small amount of daily maintenance will help keep your sink looking great in between cleanings.
Rinse out the sink daily to remove residue, particularly after brushing your teeth.
Dry out the sink after use to prevent water spots and discourage bacterial growth.
Use a disinfectant spray daily to keep germs at bay.
Cleaning your bathroom sink yourself is an economical choice, but if you don’t have the time to keep up with a clean bathroom, hiring a house cleaner near you can keep you on track! Professional house cleaners generally charge $30 to $50 an hour, and are experts on keeping sinks and the rest of the bathroom clean and sanitized.
I had FabClean 614 clean my apartment, and she did an outstanding job. She was so professional and efficient. My apartment looks absolutely spotless every surface, every corner, all cleaned to perfection. Definitely highly recommend FabClean 614 if you're looking for top-notch cleaning...
Best cleaning I've had at my property
Fantastic group, very communicative, and they really did a great job cleaning my condo. Will be hiring them for recurring cleaning!
100% satisfied with the work done by Supreme Brick & Chimney. Josh responded to my Angi request very quickly and squeezed our house into his schedule only a couple business days out. The chimney cleaning process was extremely clean with ZERO dirt going anywhere besides in Josh's vacuum. Very...
 Supreme brick & chimney
On time, clean and finished fast. Windows seem sturdy and the finish is good. Caulking was done with no smudges. Would recommend.
Great job...edging and pre clean up went well with a great job with seal coat. Friendly, efficient and professional.
 All Star Paving and Sealing
Mary Cleaning Service is fantastic! The entire team is professional and pay a great deal of attention to detail. They do such a thorough job of cleaning my house. I would definitely recommend!
It was just fine. They did a good job. They cleaned what needed to be cleaned.
 Dezired Cleaners LLC
They cleaned my very dirty basement. They were prompts, quick, thorough and their price was fair.
Excellent! We were very satisfied with the service provided and the entire experience from start to finish. Very friendly and professional staff. I was able to instantly get in contact with them for a quote and the response time and overall communication remained quick and easy throughout the...
 Prime Cleaning Service
From average costs to expert advice, get all the answers you need to get your job done.
Don’t let a bathroom sink stop up your routine. Find out how to unclog a bathroom sink fast using tools you probably already have on hand.
Fast-track your way to a clean bathroom with this 13-step bathroom cleaning checklist. All you need are five minutes and some basic supplies.
A bathroom sink draining slowly is a major inconvenience, but it's usually a simple DIY fix. Learn more about what you can do to troubleshoot the clog.
Cleaning your kitchen sink and drain is easy. It just takes a few household items. Follow our guide to clean your kitchen sink quickly and efficiently.
A sink has many hidden working parts. Understanding how the parts of a sink work is essential for maintaining your sink for years to come. This guide will help.
Stainless steel sinks are a popular choice for many homeowners, especially because they are easy to clean and maintain. With some due diligence, you can keep your sink sparkling. Follow these simple tips to care for a stainless steel sink.