
Winterizing a house depends on its type, size, location, and more. Our guide breaks down how much it costs to winterize a home.
Protect your pipes (and your home!)

Winterizing pipes protects your home from frozen pipe damage by combining heat cables and insulation, especially when temperatures drop to 20 degrees Fahrenheit or lower.
Disconnecting outdoor hoses and draining your water lines prevents pressure buildup that can burst pipes, while opening cabinets lets warm air reach plumbing under sinks.
Keep your thermostat set to at least 55 degrees Fahrenheit when you're away, and let faucets drip on extra-cold nights to eliminate dangerous pressure from ice blockages.
Hiring a local plumbing professional provides reliable help with pipe insulation, heat cable installation, and identifying vulnerable plumbing areas before winter weather arrives.
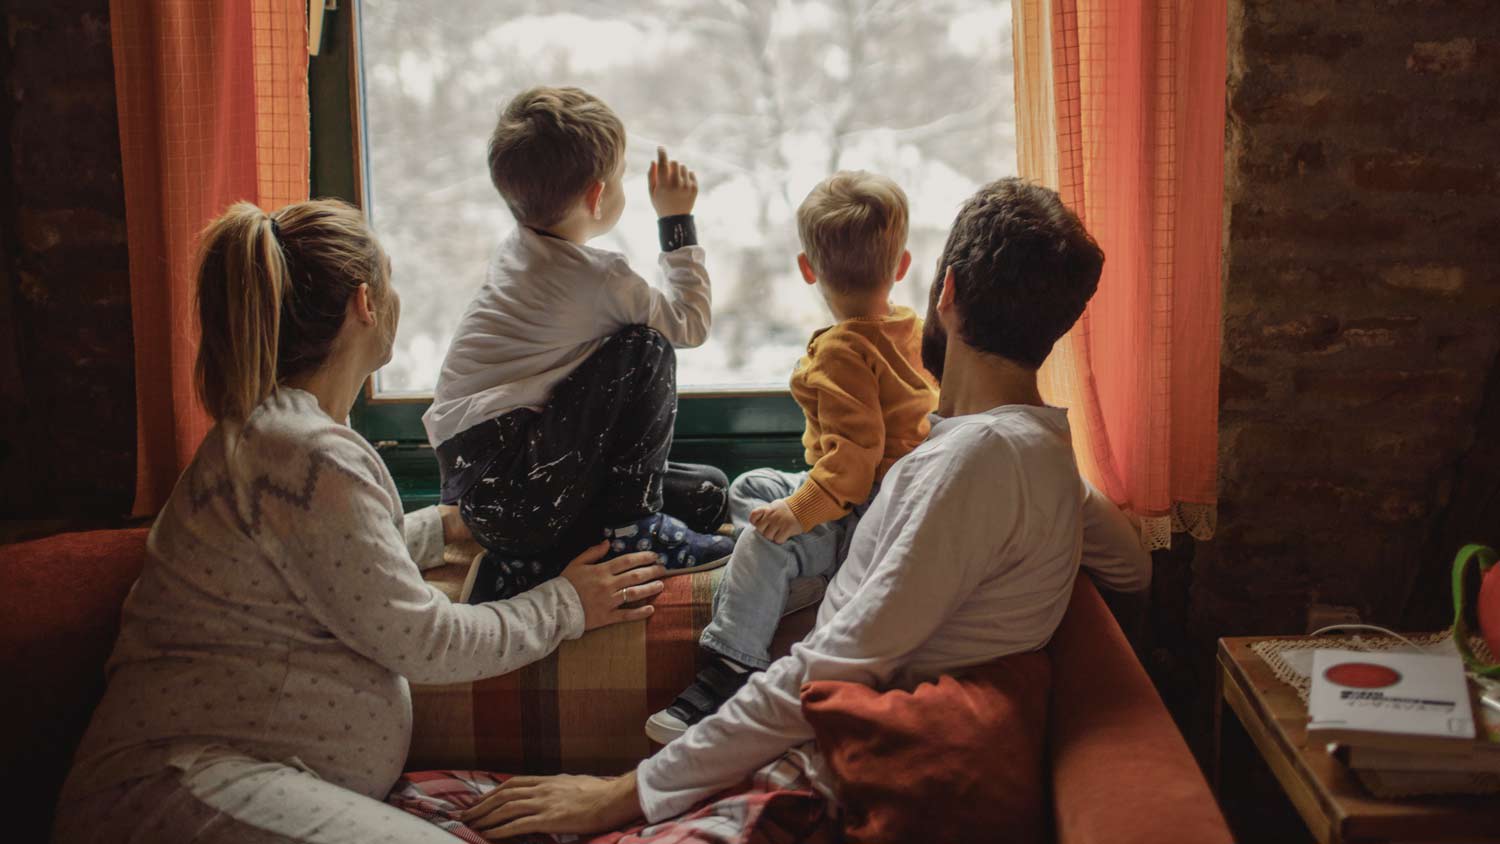
Preparing your home for the winter is more than buying wreaths and inflatable Santas. You should prep your pipes for the cold long before it’s the season to deck the halls—in fact, winterizing your home is a Thanksgiving plumbing tip. Not caring for your pipes before winter sets in could lead to finding frozen pipes in your home and expensive repairs. But you can take several preemptive steps to winterize your pipes, ensuring you're prepared and that your pipes will survive the snow.
Plumbing winterization starts with insulation. Pipes in places like the attic, crawl space, or garage are more likely to freeze—especially when temperatures drop to 20 degrees Fahrenheit or lower. Using a combination of heat cables and insulation is worth it to help protect pipes from freezing. You can find insulation tools in your local hardware or plumbing supply store.
But keep in mind: Just using insulation alone won’t be enough to keep your pipes warm, and it can even prevent heat from getting to the pipes. So it’s important to use insulation and heat cables as your pipe protection dream team.
To winterize outside faucets and pipes, disconnect the hoses from the outdoor faucets and drain any existing water in the hose. If possible, it's also a good idea to turn off the water supply to the outdoor faucet and open it up to drain any remaining water in the pipes.
On extra-cold nights, turn on faucets along exterior walls and let them drip through the cold. Keeping dripping faucets eliminates the pressure that can build between the faucet and any potential ice blockage. So even if the pipe freezes, it might not burst.
Introduce more heat by opening the cabinet doors below your sinks. This small act lets more heat get to the pipes within.

Before winter arrives, inspect your home’s exterior and look for any cracks or holes. Fill these imperfections with spray foam insulation and caulking to help stop the cold air from getting to your pipes.
Pier and beam homes with ventilated crawl spaces should be sealed against the cold weather. Cover your vents with heavy-duty pieces of cardboard cut to size and duct tape the cardboard in place. Don't forget to seal off access to the crawl space, too.
If you have a basement, look for cracks in any basement windows that could allow cold air to make contact with pipes. Also, check for worn or missing insulation around the garage and utility doors.
Turning your heat off is a bad idea, even if you’re planning to be away from home. The money you’ll save on your heating bill won’t exactly cover the cost of fixing damage from a burst pipe! So if you’re traveling for the holidays, set the thermostat to 55 degrees Fahrenheit or higher.
This optional step can help improve water flow in pipes and prevent cold air from freezing the pipes from the inside out. While the step alone likely won’t make any significant difference in preventing pipes from freezing, removing air from pipes does help keep water flow steady in the pipes, which can help prevent pressure from building up inside them until they burst.
There are several signs of frozen pipes to look out for, including:
Little or no water coming out of your faucets
Visible frost on the pipes
Foul odors coming from your drain or faucet
Unusually low water pressure
Water hammer sounds coming from the pipes
Strange-tasting water
Bulging or leaking pipes
Gurgling or bubbling sounds when you turn on the faucet or flush the toilet
If you're wondering what to do when your pipes freeze, there are a few steps you can take to help thaw them and get them back in working order. Start by turning on the faucets in your house to identify where the frozen pipes are. If there's little or no water coming out of a faucet, then your frozen pipe is likely nearby, leading to the faucet. You might also be able to identify frozen pipes by looking for visible frost on them.
Once you identify the culprit, turn on the nearby faucet to relieve any pressure from the system and allow water to drain out as the pipes thaw. Make sure to turn on both the cold and hot handles.
Now it's time to start the thawing process by applying heat to the pipes. You can use a hair dryer and/or heating pad to help warm them up; you can also use a space heater, but make sure you use a gradual heat setting and supervise the process to avoid any damage. Don't use any fire or other forms of extreme heat. The thawing process can take a while, so try to be patient.
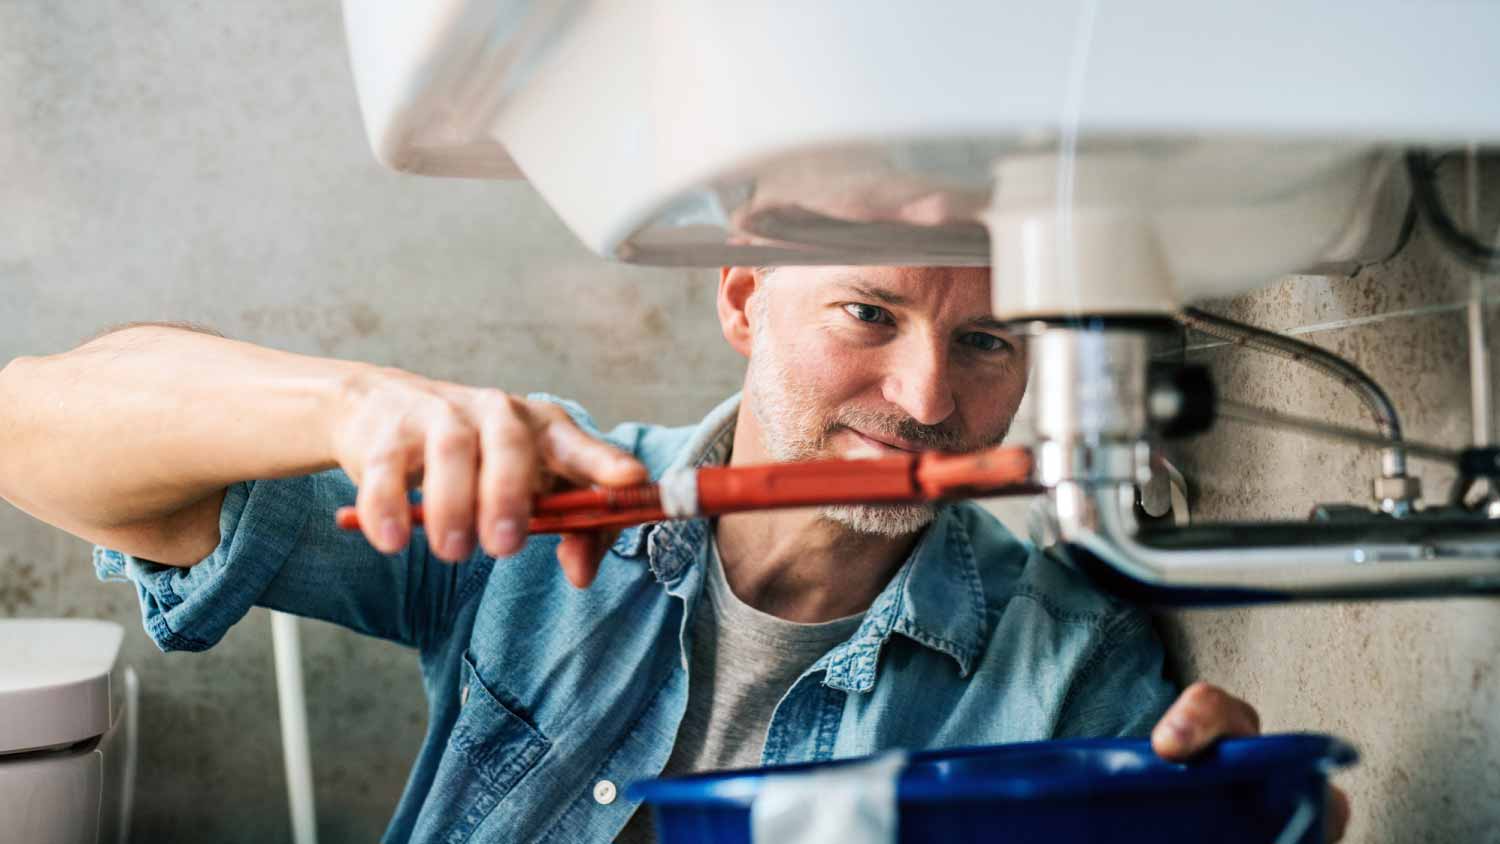
Once the water starts flowing again, inspect the faucet and surrounding pipes for any leaks or other damage that might have occurred during the freeze. If you find any damage, call a licensed plumber or a plumber near you to help.
Positive experience. As previously stated, the replacement/repair could not be completed (no fault of the plumbing tech) b/c misinformation was rec?d by property management maintenance. Thanks to the plumbing tech for your efforts. Appreciate you!
 The Waterworks
If you want to pay the most exorbitant prices possible for your job, this is the company for you. “By the job” pricing is a rip-off, at least how these people use it. Every job is plugged into a category and prices are set by category. You might have a job that takes half an hour or one that...
 Benjamin Franklin Plumbing
Cole has been handling plumbing and general contracting for our four properties over the past three years, and he’s always done a great job. Most recently, he installed a sink and countertop in our retail store where none existed before, and it turned out exactly how we needed. He’s...
 ANB Renovations LLC
Matt is a consummate professional. The work turned out to be far more difficult than expected and rather than turn the job down, Matt rose to the occasion and completed a near impossible task. I can not recommend Greene's Plumbing Service more highly. On a scale of 1-5 I would give Matt a...
Involved an extensive bathroom remodel, including removing tub & installing walk in shower, new drywall, custome tile work to ceiling, plumbing, etc. Overall, job was done on time and on budget. Nick & his team were very professional and had high attention to detail. Quality was great. Highly...
 Stamos Flooring and Remodeling LLC
Awesome company. Had a jacuzzi tub taken out and replaced with huge walk in shower with partial glass enclosure. Onyx to the ceiling with a decorative border, moved plumbing and installed hand held shower, new ceiling, flooring, and paint. Replaced window with glass block. Everything was done...
 Columbus Bath Design
The initial quoted price from a walk-through seemed high, but we discussed that the quote represented worst case scenario (re-wiring to two floors) and we were excited about the opportunity to have the work done in a timely manner with closing for fire safety reasons, etc. When the job was...
Initially, I called the Service People to have a leaking garbage disposal replaced. I had purchased a special deal through Angie's List: $79 for $200-worth of plumbing services. <br /> When I went to schedule the work, the earliest date I could get through Angie's List was after the upcoming...
This company did a very good job on the brick wall and it looks just amazing. The staff was always professional and was practically OCD on how the bricks were stacked and how they were laid. Although it took longer than expected, I am willing to sacrifice time over perfection anyday. The...
 My Handy Mate LLC Improvement & Remodeling
<p>I am so glad we called Rotor-Rooter. I was hesitant to call them because we usually prefer to give business to local providers. But when we had sewage back up in our basement on a Saturday evening, I had a hard time getting a hold of someone, not to mention the high weekend/evening rate...
From average costs to expert advice, get all the answers you need to get your job done.
Winterizing a house depends on its type, size, location, and more. Our guide breaks down how much it costs to winterize a home.
Under the sink, behind the tub, or through the walls—pipe replacement costs for small projects run the gamut. Here's what to know.
Plumbing problems can lead to costly damage to your home, and they occur most often during winter. Use this guide to protect your home and wallet from winter plumbing problems.

Follow these seven tips to keep your vacation home’s plumbing fully winterized so you can enjoy running water and avoid burst pipes during your next family trip.
When winter rolls around, water can freeze in your pipes and cause serious damage. This guide covers when to drip faucets and which faucets to drip.

Knowing how to prepare for a winter storm can prevent disaster and keep you and your family safe. Explore 10 must-know tips before the cold weather blows in.