


Top-rated ceramic tile pros.

Get matched with top ceramic tile pros in Plover, WI

Enter your zip and get matched with up to 5 pros

Need a pro for your ceramic tile service project in Plover, WI?

Select your specific project to find the pro for you.

Find Ceramic tile pros in Plover

Avatar for Miracle Method
Miracle Method
4.8(
62
)
Tile: Ceramic and Porcelain - InstallTile: Ceramic and Porcelain - Install - For BusinessTile: Ceramic and Porcelain - Repair+1 more

Serving Plover, WI and surrounding areas

In business since 1999

Free estimates

Credit card accepted

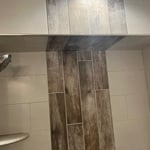
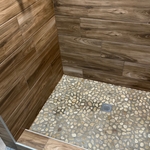
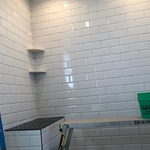
"We had the tile resurfaced in a large walk-in shower and neighboring spa tub surround. Did two different colors and the job took 4 days. The 1 and 4th days were partial days, Jeremy the technician did an excellent job...was on time and considerate. We are very happy with the work that was done and the finished product."
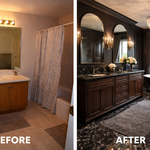
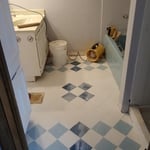
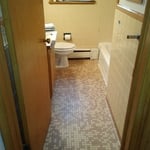
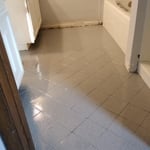
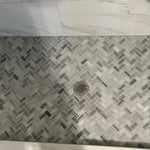
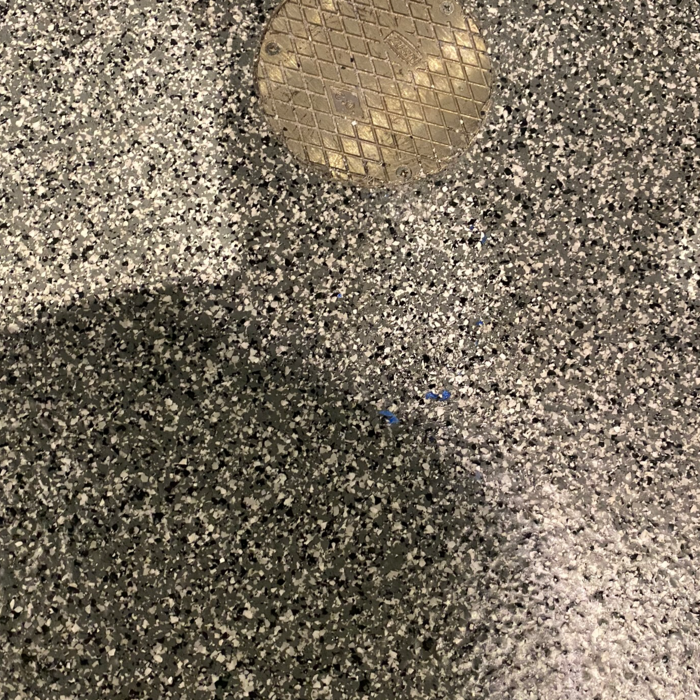
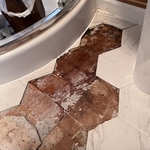
Bathroom Floor Tile Before
Overview
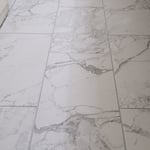
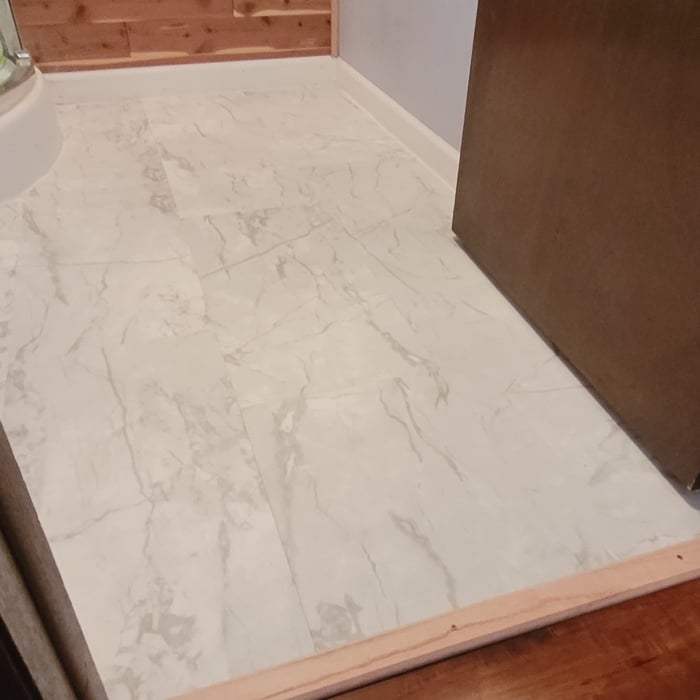
Bathroom Floor Tile After
Overview
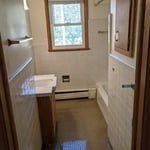
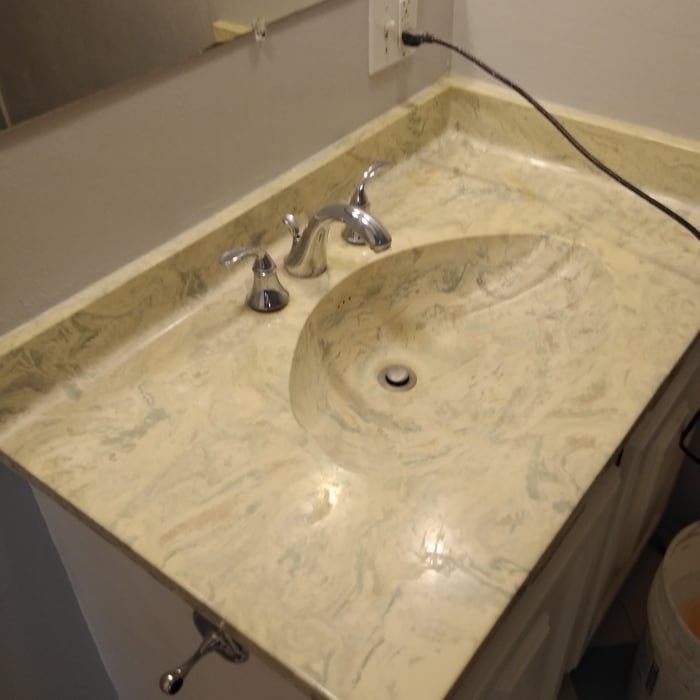
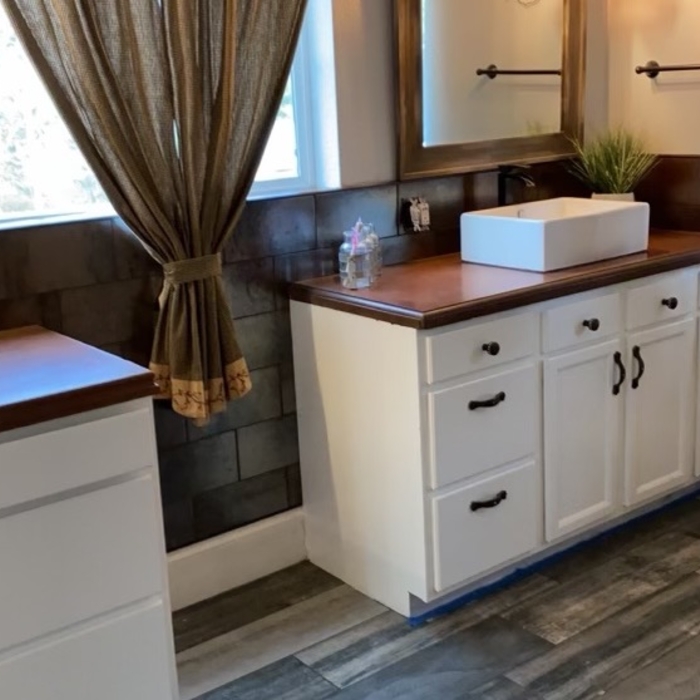
Vanity Before

+50

Recommended by92%of homeowners
Showing 1-10 of 28
Ceramic Tile questions, answered by experts

Figure out how much tile you need by measuring the backsplash area. Measure the height and length in feet and multiply to get the square footage. Don’t make adjustments for outlets or small cutouts but subtract the square footage for windows or other large obstructions from the total. To account for waste, get 10% more than your calculation.

There are a few different tools you can use to score tiles. Manual tile cutters or tile scribes work well for scoring in straight lines. Tile nippers are one of the best options for scoring because they can make small and irregular cuts that larger tools may not be able to handle.
The process takes two to four days, depending on the size of the area and your experience level. The first day involves assessing and prepping the existing tile, while the second day is for laying the new tile. This may take longer in complex areas. After letting the adhesive dry for 24 hours, grouting and sealing can be completed on day three. For larger projects or intricate tile patterns, expect the timeline to stretch a bit longer. Also, proper drying time between steps is essential for long-lasting results, which extends the project’s time.

If the hearth ends against a wall, you can use a tile cutter as you normally would. However, if the edge of your hearth ends with no surface pressing against it,you may want to look into rounded tiles. These give a smooth edge to your hearth and make sure cut edges aren’t visible. You can also see if the tile you have has pieces that have been glazed or rounded on one edge. You’d then cut the tile and place it normally, with the cut edge facing inward. 

You can let the tile sit without grout. Don’t panic if there’s a delay between installing the tiles and grouting. A substantial stoppage isn't a problem, provided you keep the tile surface clear of dust and debris. Also, avoid walking over less stable ungrouted floor tiles as they are more prone to premature cracking and shifting. 

The Plover, WI homeowners’ guide to ceramic tile services

From average costs to expert advice, get all the answers you need to get your job done.