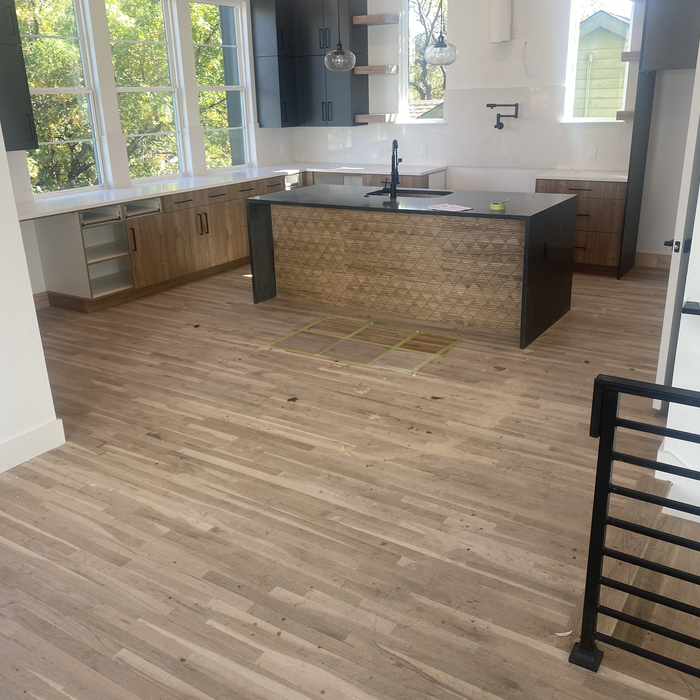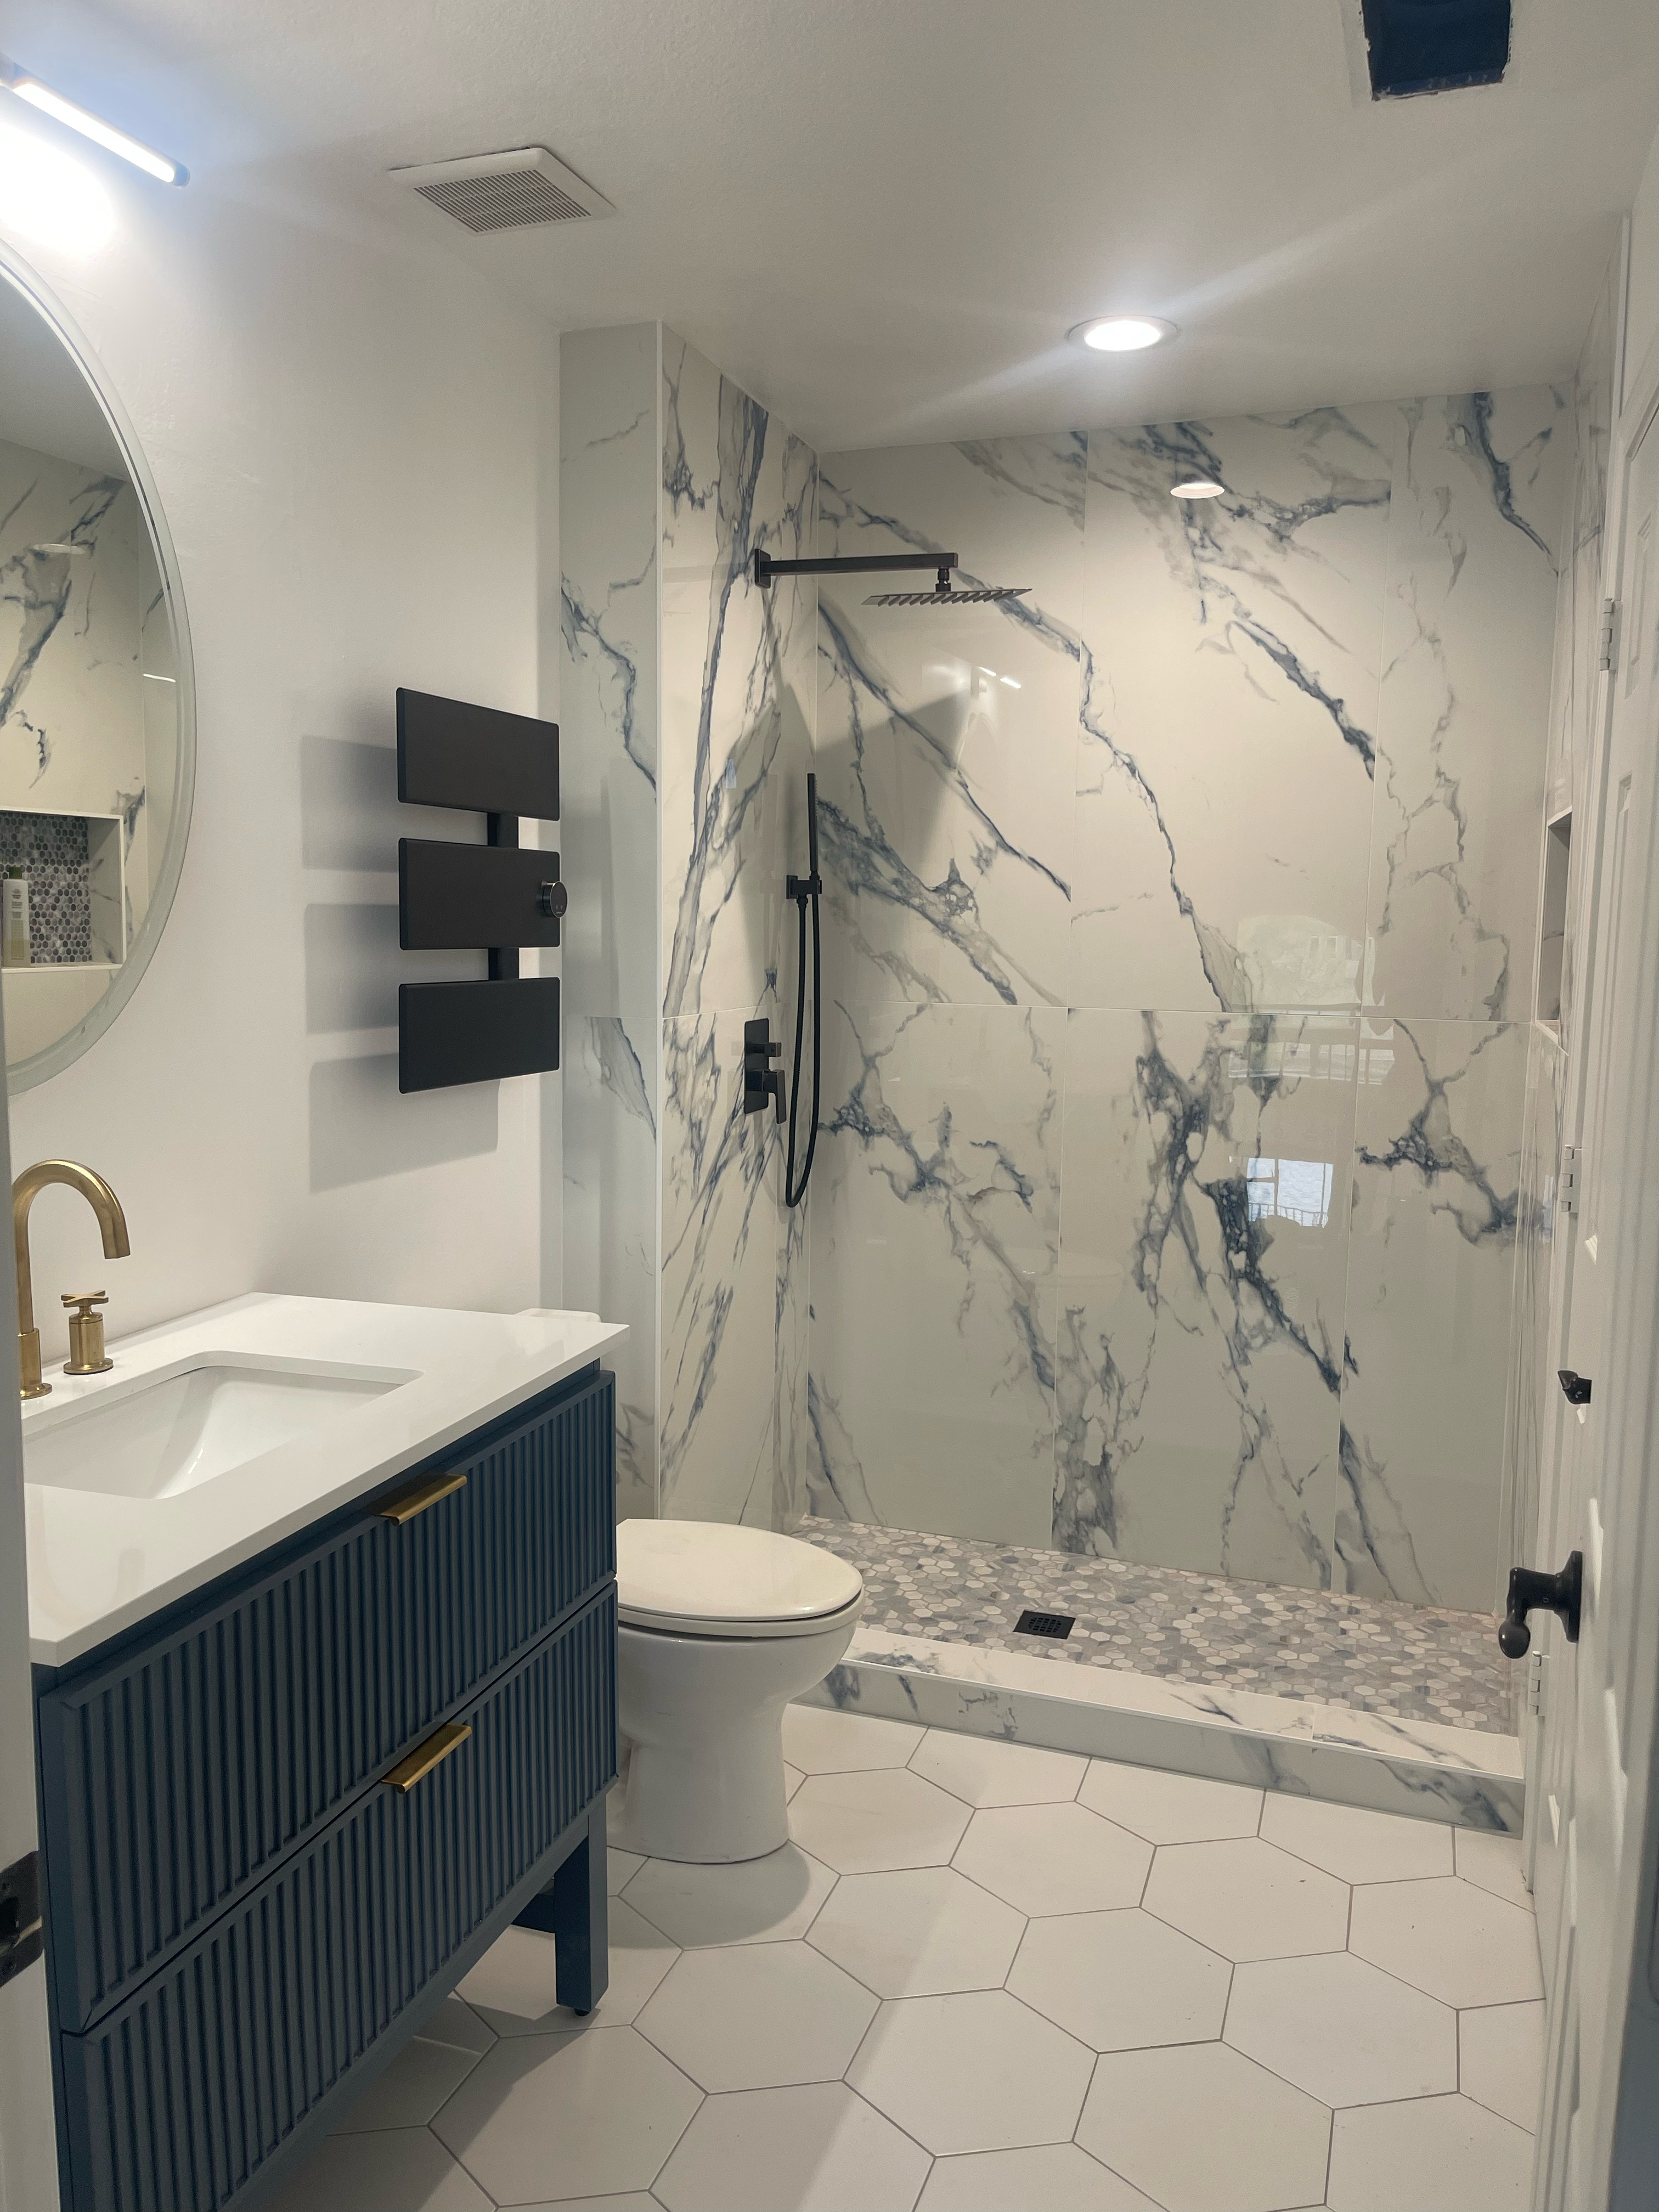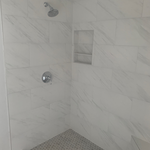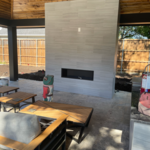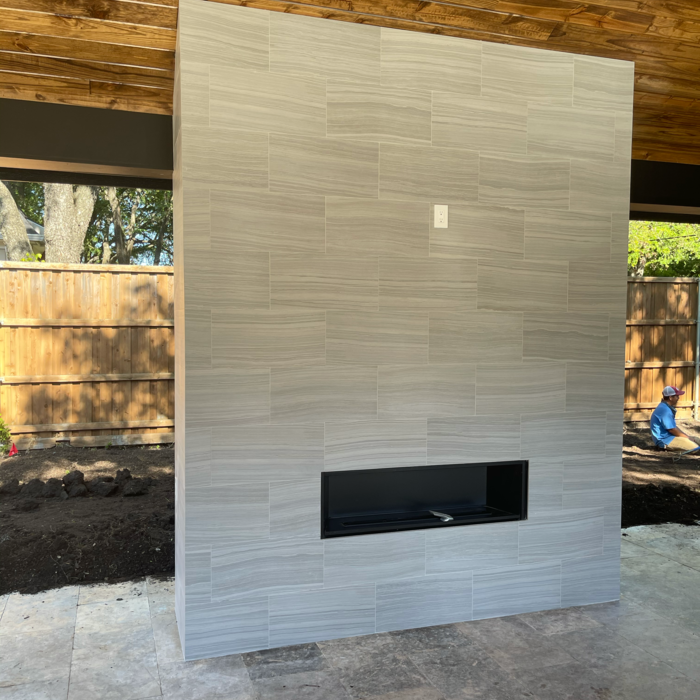








"Crew did an awesome job with a 1500 sqft tile installation. I was constantly updated about the job’s status. They were easy to work with, polite, professional, and helpful."

"The team was fast and efficient when installing my new freezer. They handled everything with care, explained the setup, and even gave tips on how to maintain it. The service was smooth from start to finish!"
"Our bathroom remodel was just what we needed. The fresh fixtures, elegant tiles, and revamped layout have created a spa-like atmosphere. Itâ s a serene retreat where we can unwind, and the craftsmanship is truly impressive."
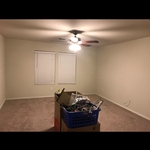
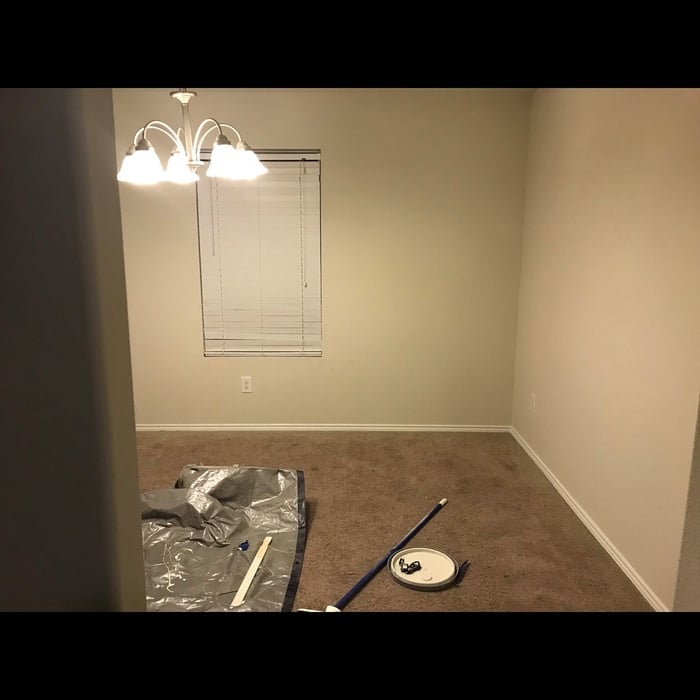
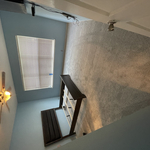
"I hired Sonart Construction to remodel my sons bedroom and they did a great job. The price was very good, they was on time with their job, and it came out beautiful. Very good company."
"Painted our entire downstairs areas in a short time and worked around our scheduling conflicts. Also did some fence work that we couldn’t be any happier with. Very reasonably priced and a hard worker. Hiring for other home repairs in the future. Small company and usually a two man team, so if you have a small to midsized project and you have the time, this is who to call."
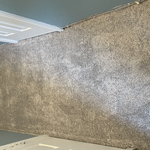
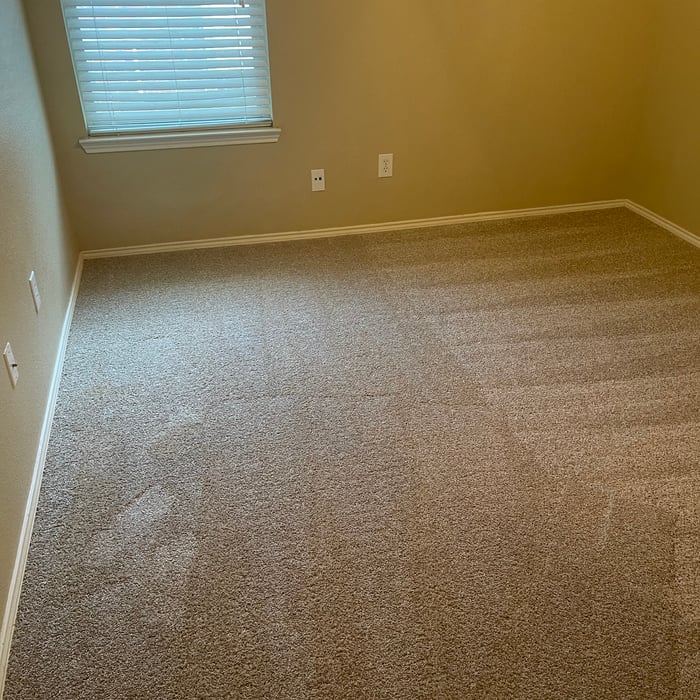
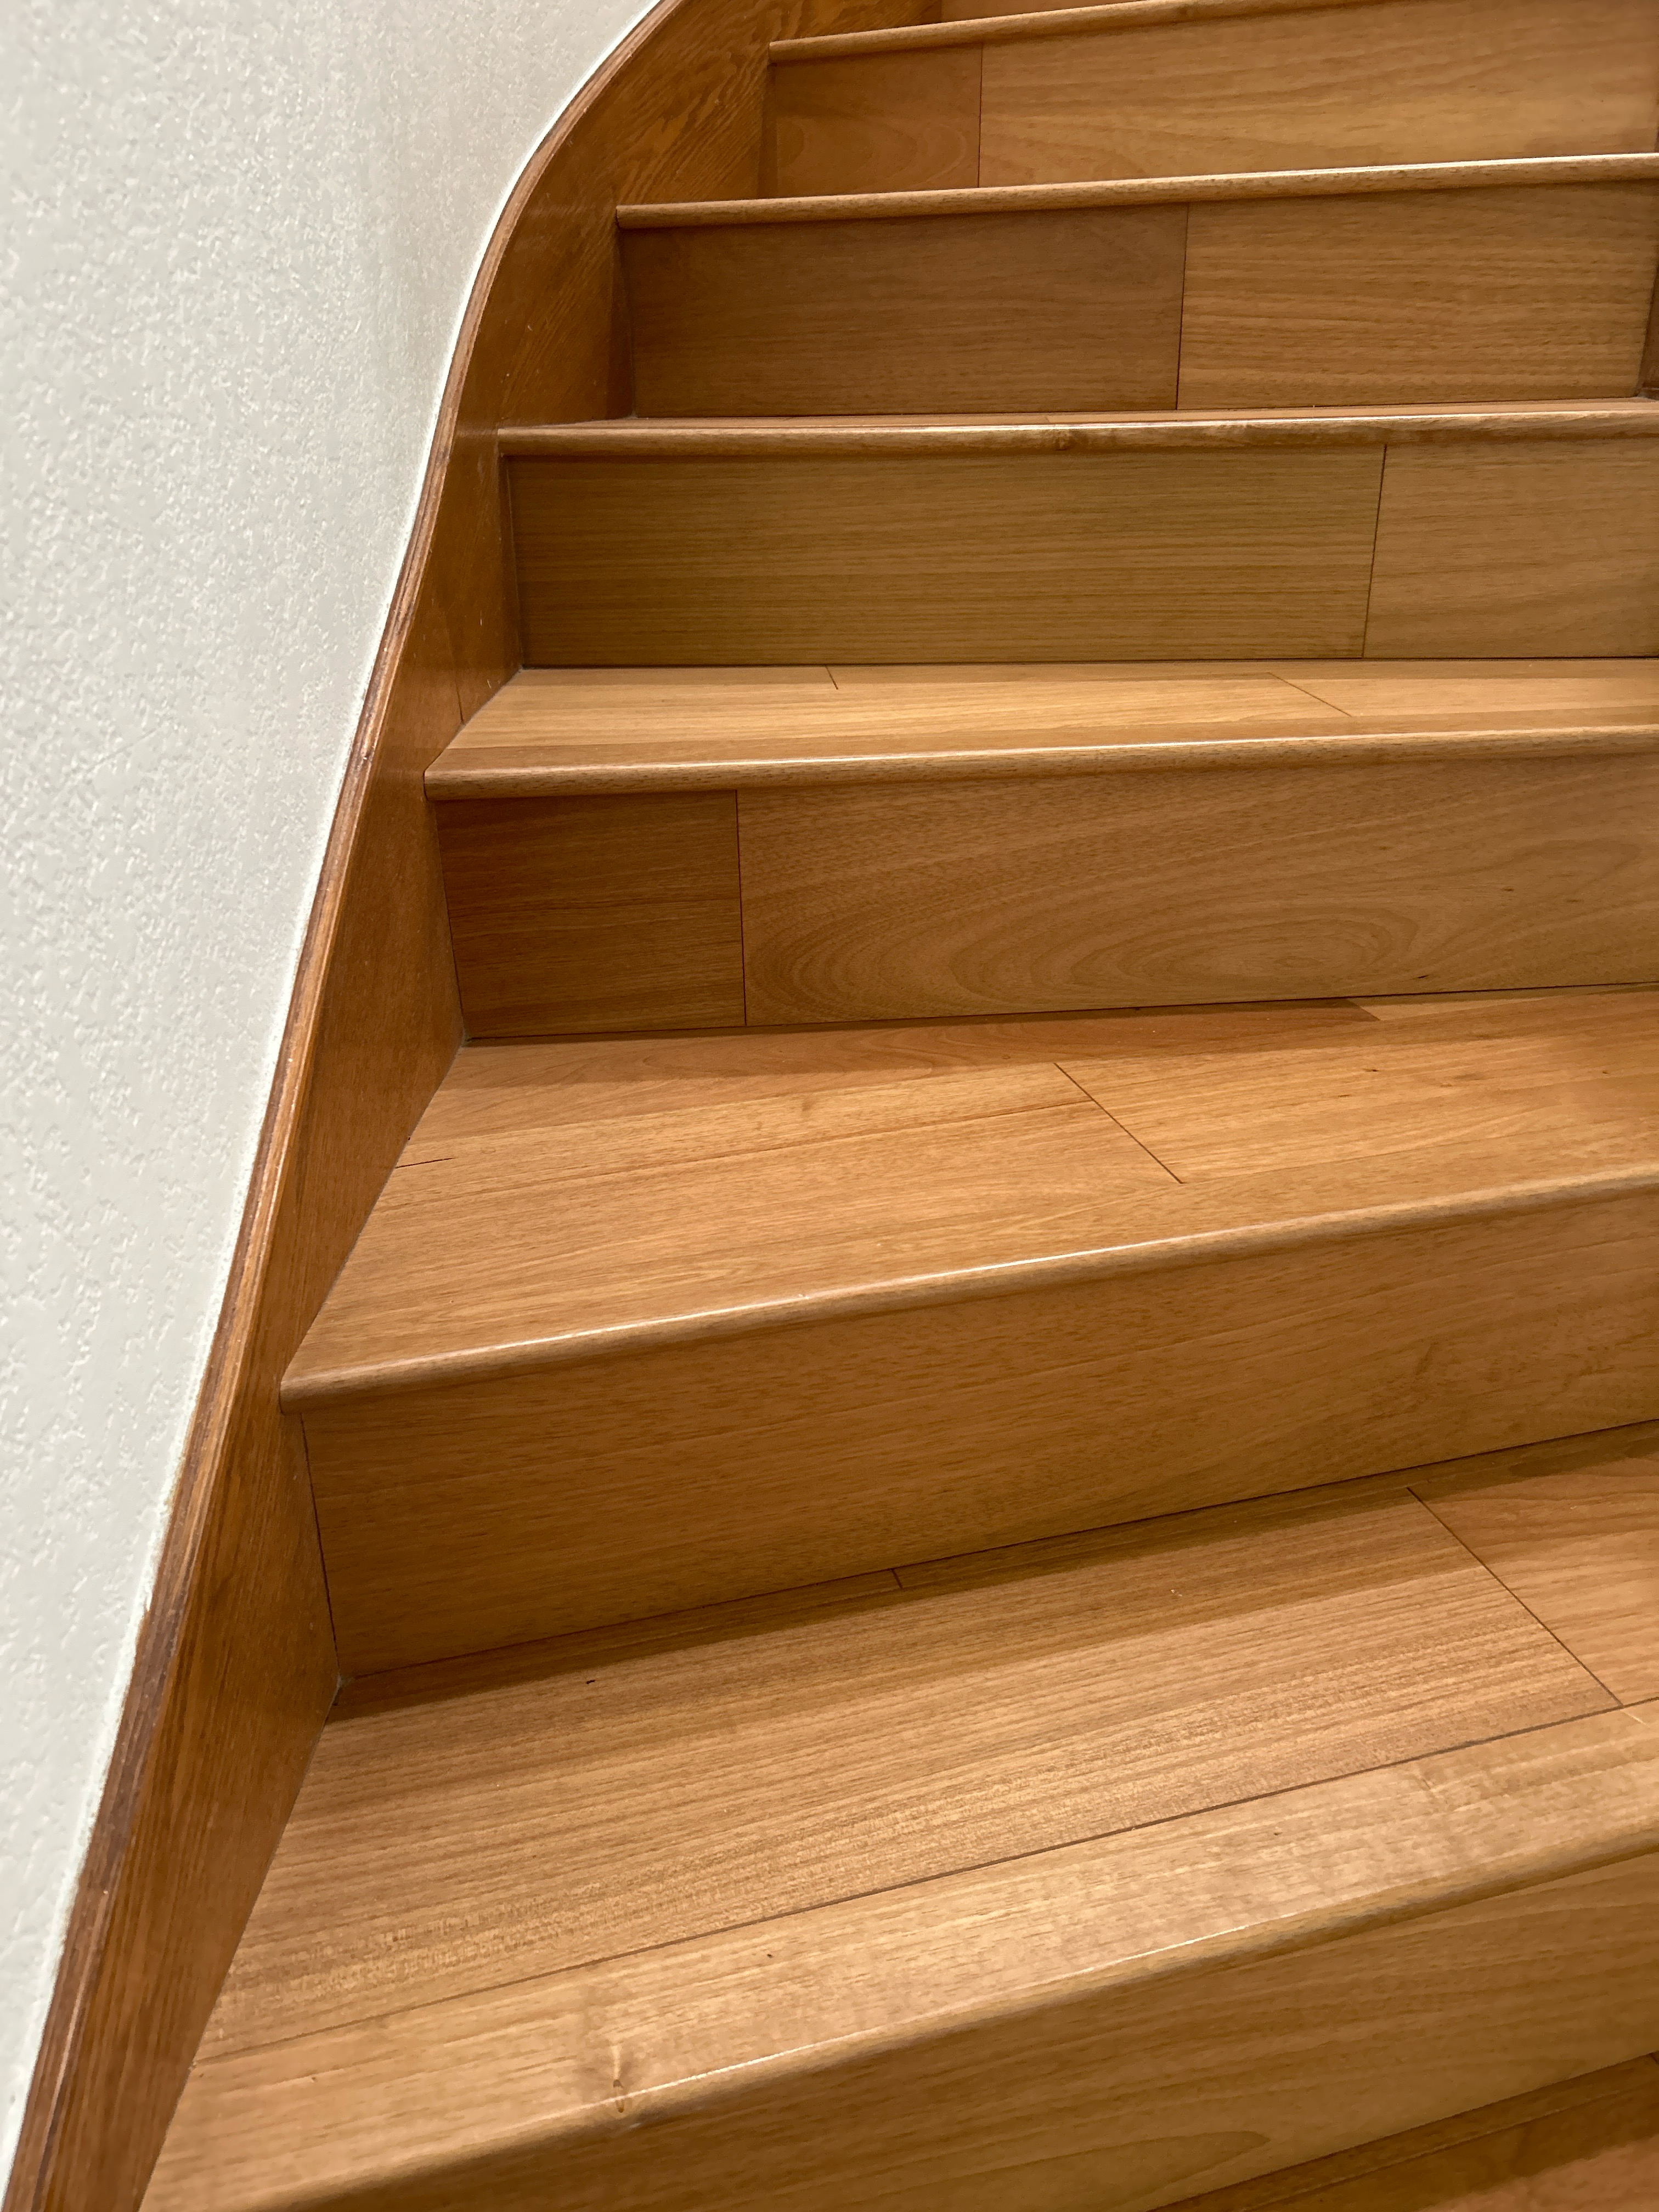
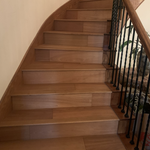
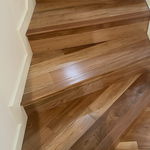
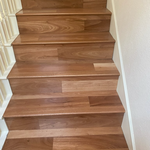
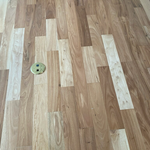
"The owners came before and after installation to make sure everything was correct. I had wood flooring installed one day and two days later had carpet installed. Very happy with the overall experience."
"Geraldo was a pleasure to work with. He installed a concrete pad to expand our driveway and a concrete pad for a storage shed. Both of these projects involved obtaining HOA approval as well as city permits. Geraldo managed the city permits for me in a very timely manner. The concrete work is over a year old now and is in perfect condition with no cracks or sinking. His communication style was very timely and professional. I would definitely recommend Texas Green Leaf Construction and use the company again."


"Very professional retaining wall installation, pavers and sod installation. The job was finished well before expected completion date. Manny was on site and kept me informed through the entire process. I will happily hire him again for my next project. I give this firm my best recommendation for your project. C Mays - Grapevine, Tx"
"Install was fine. Quality of work was good. Guys did not clean up after job was completed. I had to call them back out . They came next day and finished cleaning up. Overall great job and floors look great!
Backsplash Installation questions, answered by experts
Natural stone floors, especially pebble-style tiling, are one of the least slippery options for a shower floor. Natural stone has a texture to reduce slickness, and pebble-shaped tiles add more visual and textural contrast while reducing slippage. Vinyl tiles are also designed with anti-slip texture for added safety. If you have a slippery tile, be sure to add a grippy shower mat to reduce the risk of falls.
Technically, you can start tiling in a corner and work your way out. However, it's not traditionally how tiling is done. Instead, work from the bottom middle of the wall. Tile out the entire row with whole tiles before moving on to the next row. Once you finish installing all of the whole tiles, then you focus on tiling the corners.
Yes, you can tile over existing shower tiles, but it's better to remove the old tiles first for the best results. Tiling over existing tiles requires a clean, level surface and proper adhesion. If the old tiles are in good condition, you can roughen the surface to improve adhesion. However, removing the old tiles ensures a smoother, longer-lasting finish and prevents potential issues down the line.
The process takes two to four days, depending on the size of the area and your experience level. The first day involves assessing and prepping the existing tile, while the second day is for laying the new tile. This may take longer in complex areas. After letting the adhesive dry for 24 hours, grouting and sealing can be completed on day three. For larger projects or intricate tile patterns, expect the timeline to stretch a bit longer. Also, proper drying time between steps is essential for long-lasting results, which extends the project’s time.
Add a T-shaped spacer to each corner of a tile when placing it. You’ll want to nudge the tiles closer together so the spacers are touching each corner. When you’re done installing your tile, you can remove each spacer, wash them, and use them for your next project.
The Hurst, TX homeowners’ guide to backsplash installation services
From average costs to expert advice, get all the answers you need to get your job done.
When installing a kitchen backsplash, you’ll need the right tools, materials, and knowledge. Our guide will show you how to install a kitchen backsplash.