
Learn how to remove a stripped bolt with sturdy pliers and rust remover. Follow our step-by-step guide for the best results.
A rubber band might just do the trick

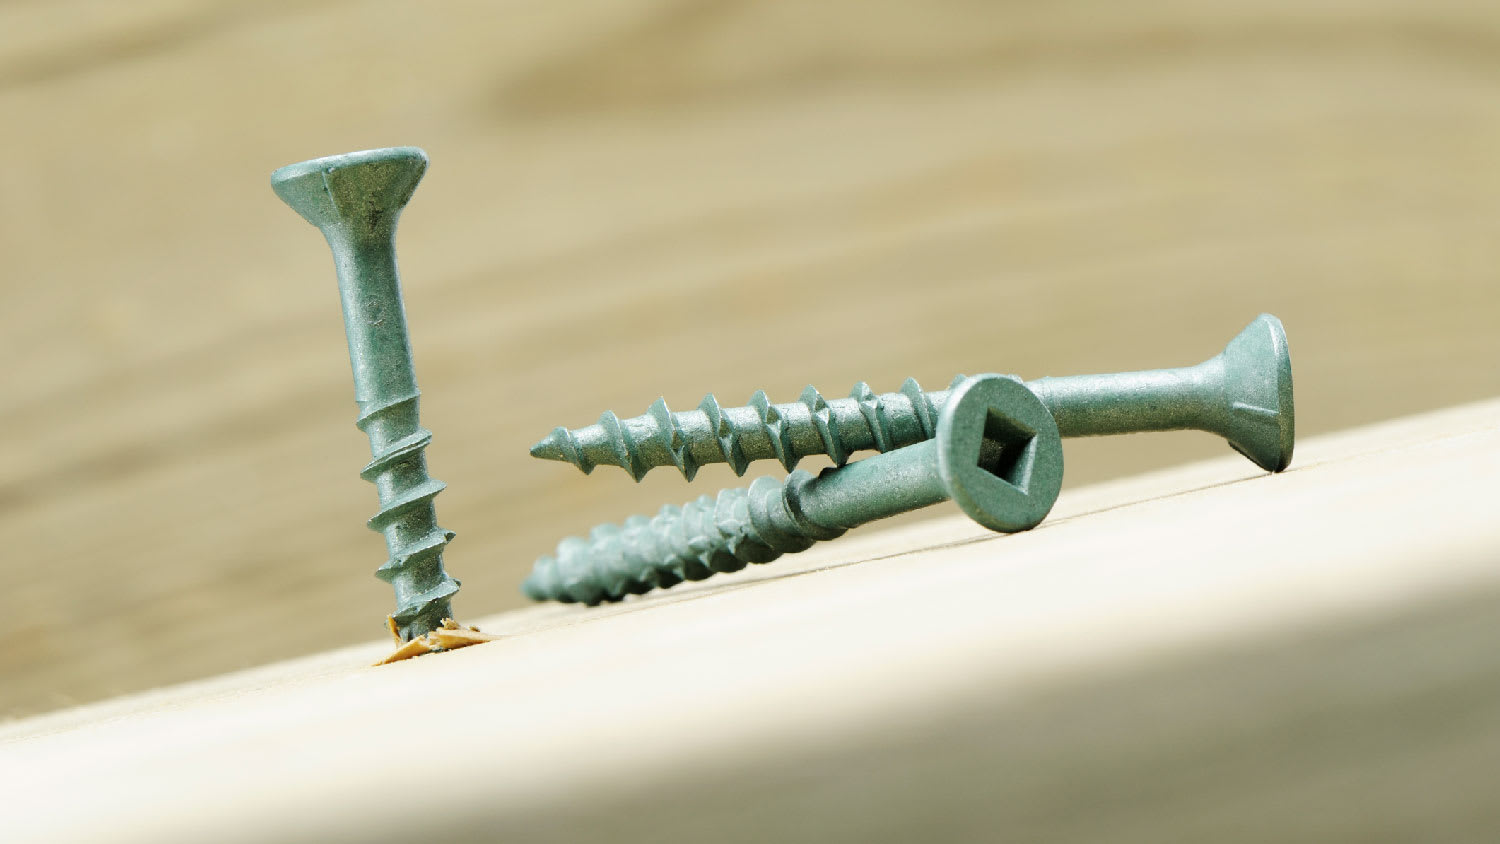
A stripped screw happens when the grooves inside the screw head wear away, making it difficult for your drill or screwdriver to grip properly.
Expect to pay $13 to $25 for a screw extractor kit to handle stubborn screws, while professional help ranges from $15 to $150 per hour.
You can remove a stripped screw by switching to a manual screwdriver, using locking pliers, or placing a rubber band over the screw head for better traction.
Hiring a local handyman service professional takes the guesswork out of stubborn screw removal, especially when dealing with corroded fasteners or delicate surrounding surfaces.
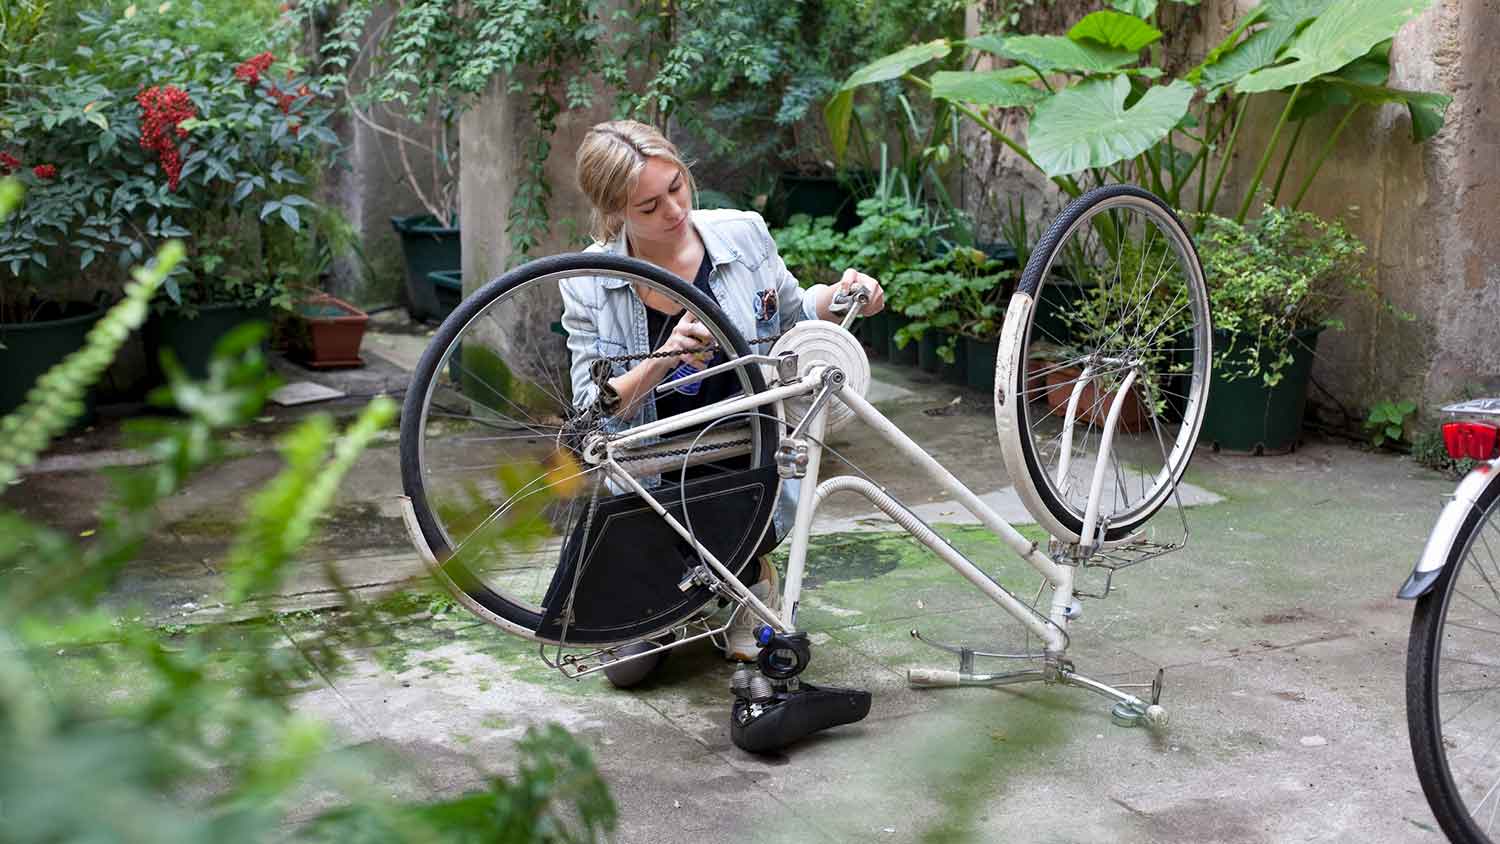
A pesky stripped screw can make it difficult to get your project done. Learn how to remove a stripped screw using six different methods to save time, energy, and frustration.
Difficulty: Simple (2/5)
This task is relatively simple, though it may require trial and error (plus a bit of elbow grease).
Total Project Time: 10 to 30 minutes
This depends on which method you use, how badly the screw is stripped, and how many stripped screws you need to remove.
Cost: A screw extractor kit can cost between $13 and $25.
This price will go up depending on the tools and materials you already have at your disposal. If you have to hire a pro, it will cost you between $15 and $150 per hour.
Rubber band
Wood plug
Power drill
Screw driver
Locking pliers
Two-sided screw extractor bit
Flat chisel
Hammer
Hole saw drill bit

A stripped screw is one in which the grooves within the head of the screw have worn away, making it tough to grip with a drill or screwdriver. Due to this, the screw becomes stuck and difficult to remove.
There are a few things that will cause a screw to become stripped, including:
Corrosion and rust
Using the wrong tools to install or remove the screw
Excessive force when tightening
Not drilling a pilot hole when needed
A stripped screw may seem impossible to remove, but there are several methods you can try.
If you’ve been trying to remove a screw with a drill, double check to make sure you have been using it in reverse first before moving on. This is a common mistake that’s easy for anyone to accidentally overlook.

Using a power drill to try and remove a screw that won’t budge may be doing more harm than good. Try switching to a manual handheld screwdriver to remove the screw. This allows you to have more control over what is happening.

You may be able to grip the head of the screw with a pair of locking pliers if the screw is slightly elevated from the surface. Get your locking pliers and grasp them tightly around the screw. Twist counterclockwise until the screw is removed.
This method may seem bonkers at first, but it actually works quite well in most scenarios. Simply lay a rubber band flat over the screw head—the wider the rubber band the better. Use a drill in the reverse setting, pushing into the rubber band and screw head.
The rubber band helps the drill grip on to the screw better than just using metal on metal. The screw should come right out. If not, the screw may be too stuck for this method.
If the above methods aren’t working in your quest to learn how to remove a screw with a stripped head, it’s time to get a screw extractor kit. In this kit, you’ll find a screw extractor bit that attaches to your power drill. This is a double-sided drill bit—one side cuts the screw when the drill is in reverse and the other removes it.
Use the burnishing or cutting side first, drilling directly into the middle of the screw head to create new ridges to grab onto. Your drill needs to be set in reverse for it to cut into the screw head properly.
Then, flip the bit around so the extractor side is pointing out, keeping your drill set in reverse. Push the extractor bit into the center of the screw head, and lightly press down on the trigger. You should feel the bit gain traction with the screw—slowly removing it from the surface.
If you don’t have access to the screw extractor kit mentioned above, try using a flat chisel and hammer.
Hold the chisel at an angle, with the chisel head resting on the edge of the screw head. Use a hammer to drive force on the handle end of the chisel. Ideally, this will loosen the screw enough to remove it with pliers.
Keep in mind that this removal method has the potential for causing damage to the screw and the surrounding surface you’re trying to remove the screw from.

If you’ve exhausted all your options, there is one last way to remove a very stuck and very stripped screw—a hole saw drill.
Get a hole saw drill bit for your power drill. Make sure the size of this drill bit is only slightly larger than the circumference of the screw head—you don’t want to make a bigger hole than what’s necessary.
Use this bit to drill around the screw and through to the other side of the surface you’re working on. This will remove the screw and some of the surrounding wood. Fill in the hole with a wood plug.
Sometimes a stripped screw is out of your control, especially when it comes to rust and natural deterioration. However, there are ways to keep a screw from stripping due to preventable causes. These include:
Making sure you’re using the correct screw for the job
Using the correct size and style screwdriver or drill bit
Drilling a pilot hole when working with extra tough surfaces
Not using a screw if it shows signs of corrosion
Jason has helped me with multiple household projects, with the most recent being new door installation. He has always showed up on time and organized and has done an incredible job! Jason is very professional and he's now my go-to for anything around my house that needs to be fixed or...
Cole has been handling plumbing and general contracting for our four properties over the past three years, and he’s always done a great job. Most recently, he installed a sink and countertop in our retail store where none existed before, and it turned out exactly how we needed. He’s...
 ANB Renovations LLC
1st Choice Renew is simply the best! We hired them for a complete home renovation, and they transformed our space into something truly amazing. The team attention to detail and commitment to quality were evident throughout the project. They were easy to work with, very responsive, and always...
This company went above and beyond with their work, chimney sweeps are usually pretty messy, but the clean up was spot on.!! Josh explained every thing that he was doing, and the things that he was checking to make sure the chimney was safe for me and my family. He was very professional,...
 Supreme brick & chimney
Custom Paint Jobs LLC turned our outdated bathroom into a modern masterpiece.
Excellent customer service and knowledge. I was recommend to him from my neighbour. My front door and window came in great and were installed beautifully perfectly, I m very satisfied with their excellent work, so decided to order one more big bow window for my living room. I cant wait for...
If I could give 10 stars for Kitchen Tune Up, I would. I cannot say enough good things about my experience with Kitchen Tune Up and the entire team involved in the process of my kitchen project. They went above and beyond as far as service and quality with my cabinets, paint, countertops, and...
It was wonderful working with Yordy and his team. They were very professional and are experts in what they do. They have completed the work on time, with better quality and with in fairly reasonable price. We just started with backsplash work , but liking his work, we went on to provide...
We were having 2”x 2” tile installed . There was a small installation error and the new additional replacement tile was from a different lot and the colors didn’t match. Joe assured us that he would rectify everything , which he did without hesitation. We decided to go with the 18” x 36” tile...
 CarifaTile
They work that 360 did on my kitchen cabinets is nothing short of amazing. I still cannot believe the difference from before and after. Jon and Jeff were both so incredibly professional throughout the whole process and their communications with me were constant and consistent. These guys...
 360 Painting Columbus
From average costs to expert advice, get all the answers you need to get your job done.
Learn how to remove a stripped bolt with sturdy pliers and rust remover. Follow our step-by-step guide for the best results.
Confused about drywall screws versus wood screws? Learn their key differences, best uses, and which one to choose for your next project.
Learn the various, effective methods for easily removing old paint from door hinges without damaging them, and what to do when you encounter stubborn paint.

Curious about what's under old coats of wall paint? Learn how to remove paint from wood with these tricks to bring the wall, table, or home siding back to life.

Paint on metal doesn’t have to be permanent. Learn how to remove paint from metal yourself with various household methods.
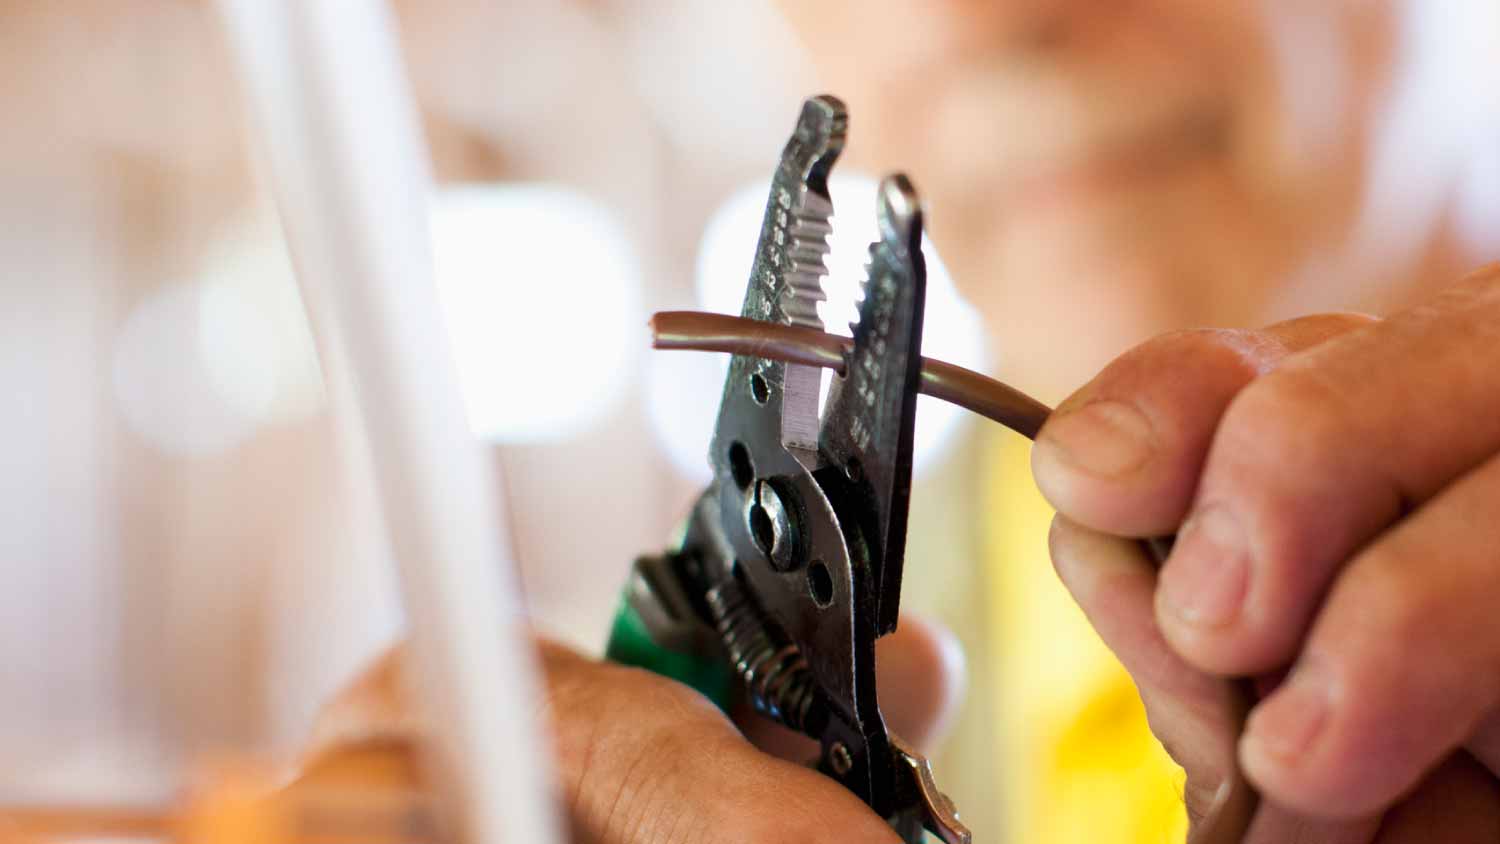
Learn how to strip wire safely and effectively with these tools and techniques.