

From your flower beds to your walkway, river rocks make a classic addition to your landscape. Learn about the cost to install river rock to set a proper budget.
Give your garden a distinguished look with a modest budget


Whether you're trying to make your garden bed or lawn borders look pristine and neat or add definition around the perimeter of outdoor living spaces, there are many ideas for garden edging to choose from. Installing plastic edging is wallet-friendly and relatively easy, even if DIY isn’t always your jam. Learn how to install plastic edging in this seven-step guide.
You'll first need to figure out exactly how much plastic or landscape edging you'll need and where. Use a tape measure to figure out the length you'll need to cover, then write down the dimensions to know what you'll need to cut later. You may find it helpful to DIY edge your lawn before taking your measurements and digging your trench.
Remember, 60 feet of plastic edging for garden beds and outdoor spaces starts at around $30 at home improvement stores.
Plastic edging typically comes in a coil and often maintains that shape once unraveled. You'll want straight plastic edging to work with to make the job as simple as possible, so uncoil it and set it in the sun for about 60 minutes first.
Set a rock or other lightweight object on each end if it keeps curling back to its original shape. Nothing too heavy, as you don't want to bend it too far.
*Feel free to skip this step if you’re installing edging around a circular perimeter.

The trench you dig needs to be at least 3 inches deep for plastic edging to fit. This helps secure the edging underground but allows for an extra 1/2-inch to 1-inch space above to help maintain uniformity around your garden's perimeter.
Pull up any weed-control fabric before you start digging.
Use a pair of garden shears to cut your plastic edging according to your measurements. Set each strip down roughly where it needs to go on the edge of the trench.
Place your edging in the trench you dug. Keep a trowel handy to dig or backfill any spaces. Before you begin hammering in stakes, you want it as even as possible.

Place landscape stakes every 3 to 6 inches along the perimeter. Use a mallet to install them from the inside of the garden or flower bed for garden edging. (Don't use a metal hammer, as this will break the stakes.)
You may consider using plastic coupling to secure corners or odd angles together. If you made accurate cuts and backfilled properly, it may not be necessary.
Use a trowel or shovel to backfill dirt into the trench on both sides. Gently move the dirt to avoid shifting your new plastic edging, and gently pat it down with your hand.
To help the dirt around the edging settle, lightly water your garden or flower bed.
For most homeowners, plastic edging installation will only take a few hours and isn't that difficult. It's a great, low-cost project that you can get done with basic household tools.
That said, it may not be for everyone. If you have a specific vision in mind for your garden beds, a local gardener can give you tips to help your gardens or flower beds truly pop. You could also hire a landscaper near you—they can often install plastic edging, too.
From average costs to expert advice, get all the answers you need to get your job done.
From your flower beds to your walkway, river rocks make a classic addition to your landscape. Learn about the cost to install river rock to set a proper budget.
.jpg?impolicy=leadImage)
Landscaping your yard adds curb appeal and expands your home’s living space into the outdoors. Learn how much landscaping costs for various projects.

Xeriscape costs depend on materials, the size of your yard, and if you DIY. This guide will help you determine what your xeriscaping project will cost.
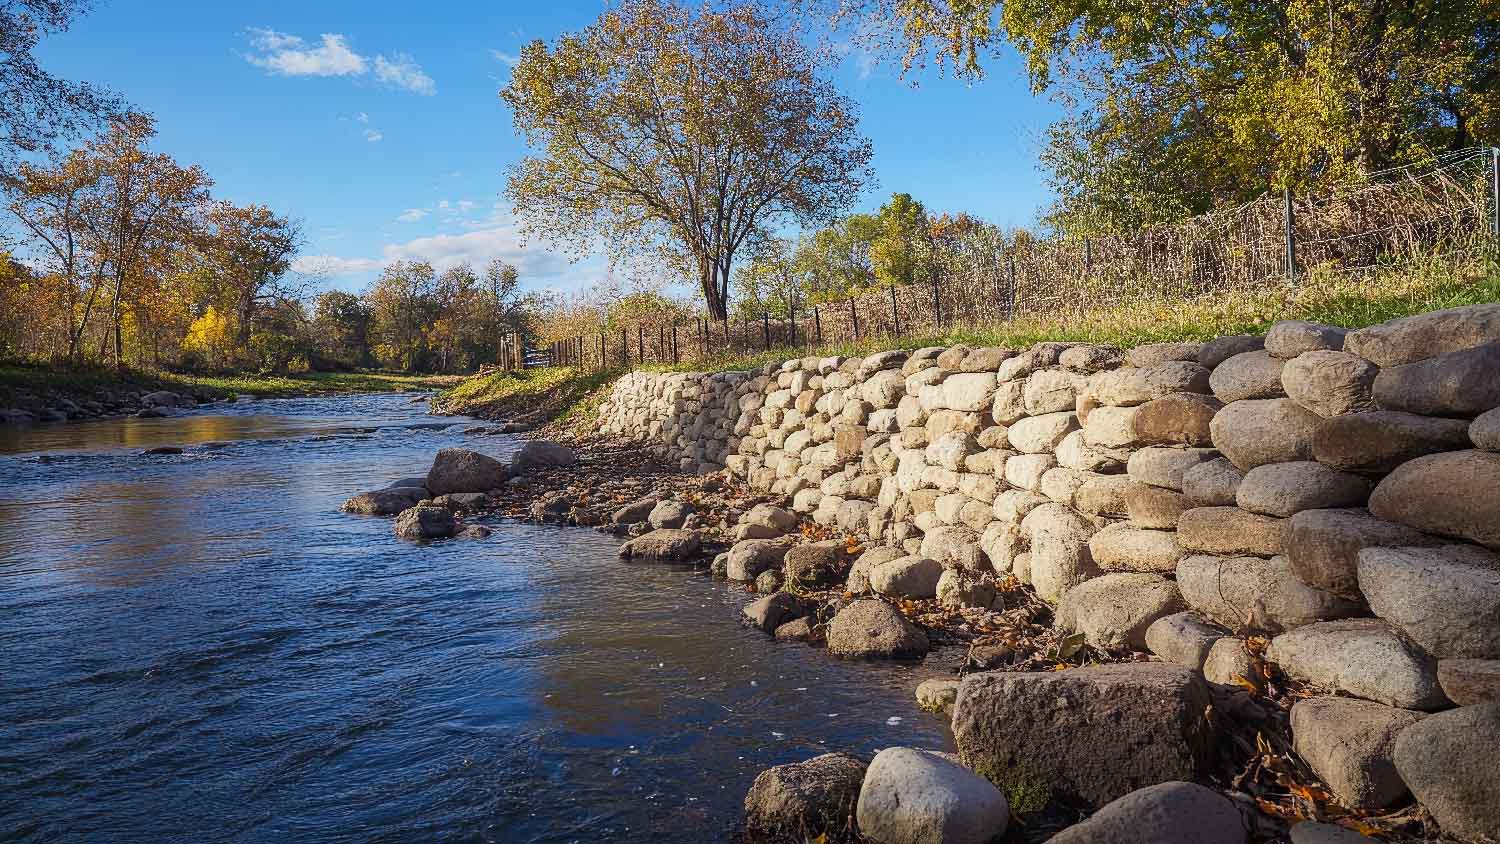
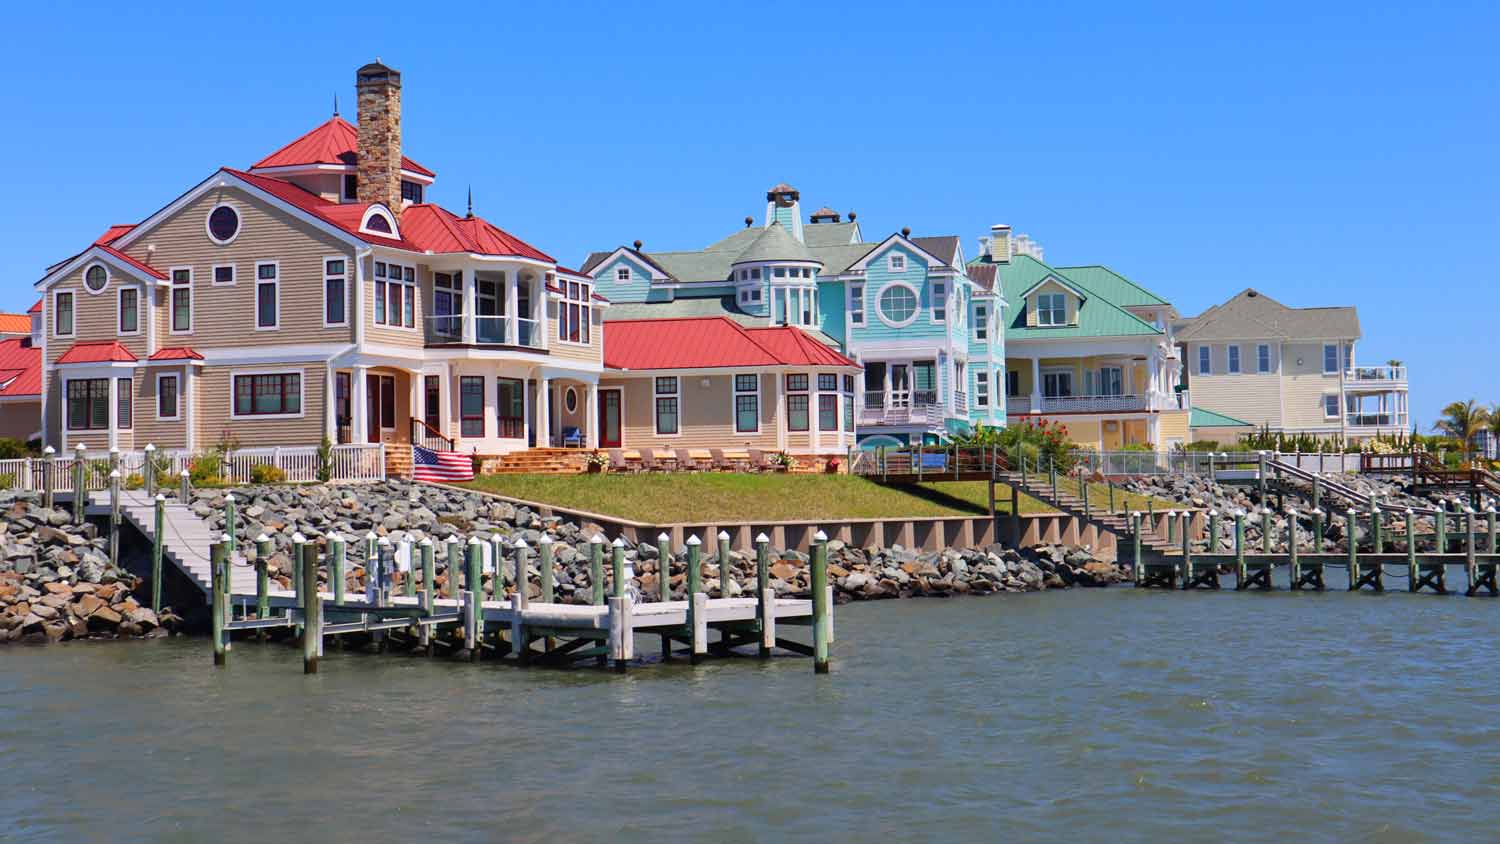
Looking to build flood and erosion resilience on your land? Review this guide for riprap costs that will stabilize your shorefront property.
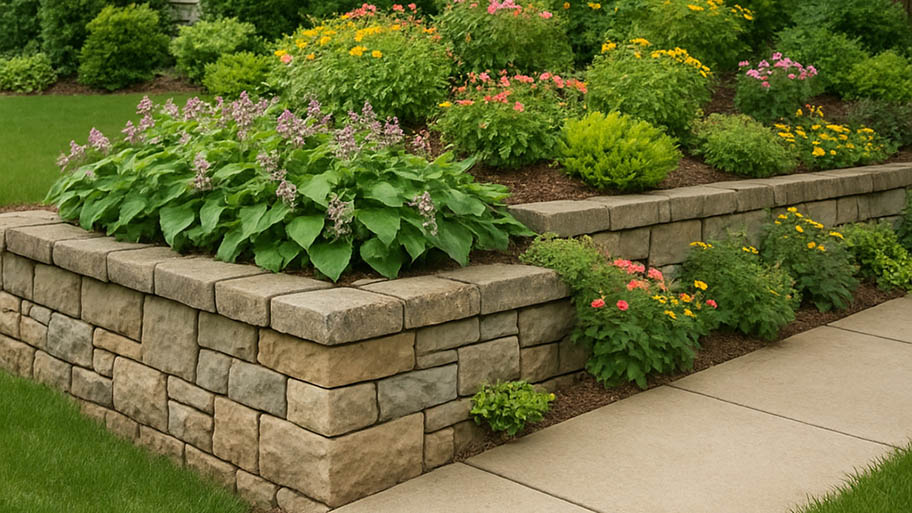
There is no one-size-fits-all retaining wall for your yard. In fact, the options are endless. Check out 20 retaining wall ideas to upgrade your hardscape.
If you’re trying to prevent erosion in your yard, riprap might be the right material for your project. So, what is riprap, exactly? Let’s walk through it.