
The cost to install wainscoting depends on labor, materials, and square footage. This guide will help you budget for your next project.
If you know the rule of thirds, you’re partway there

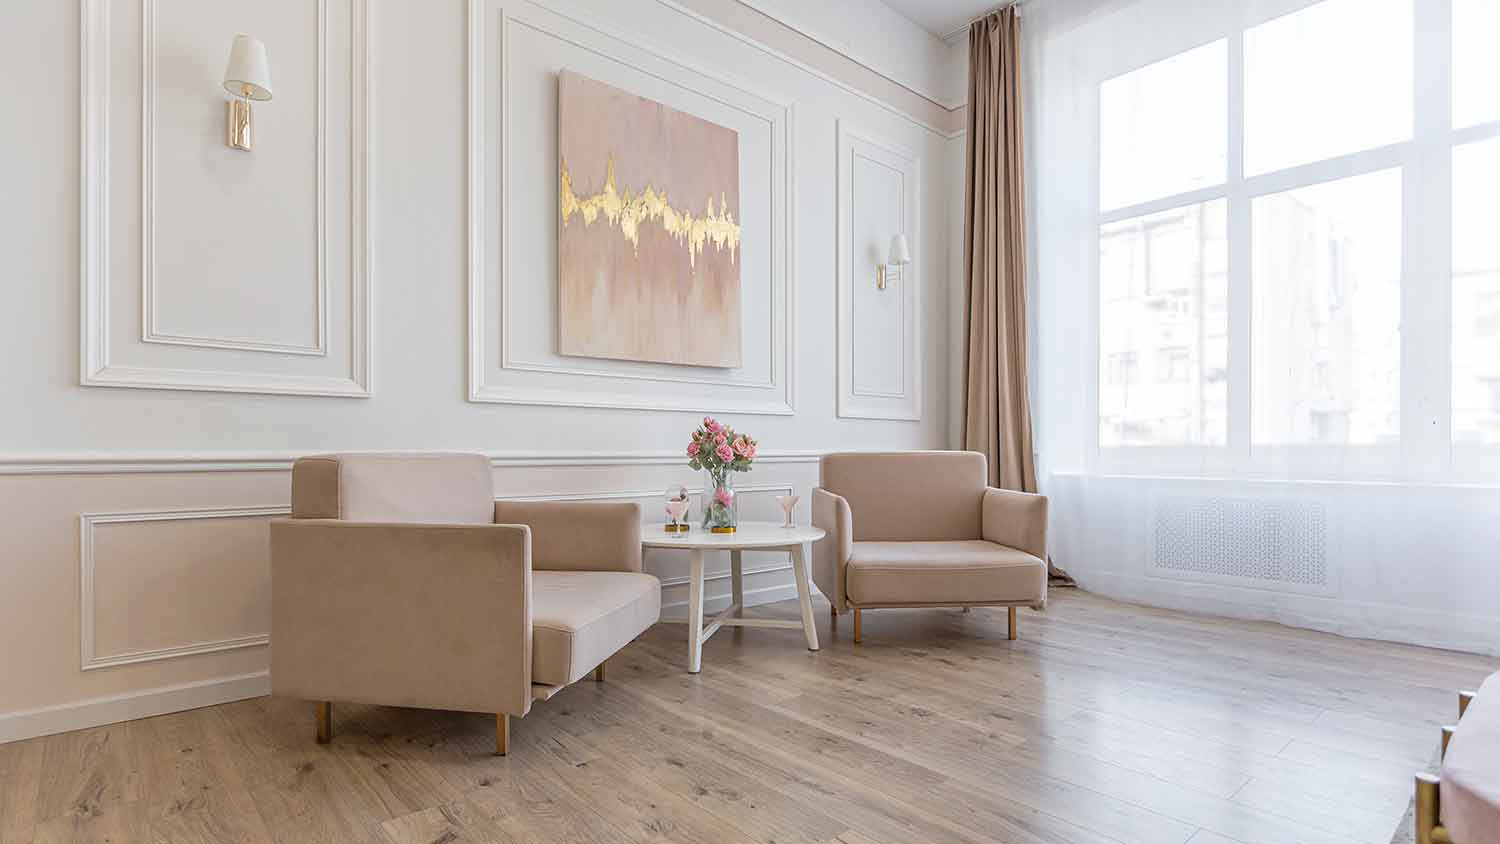
Bathroom wainscoting works best on the lower third of your wall, following the rule of thirds to create visual balance and elegance.
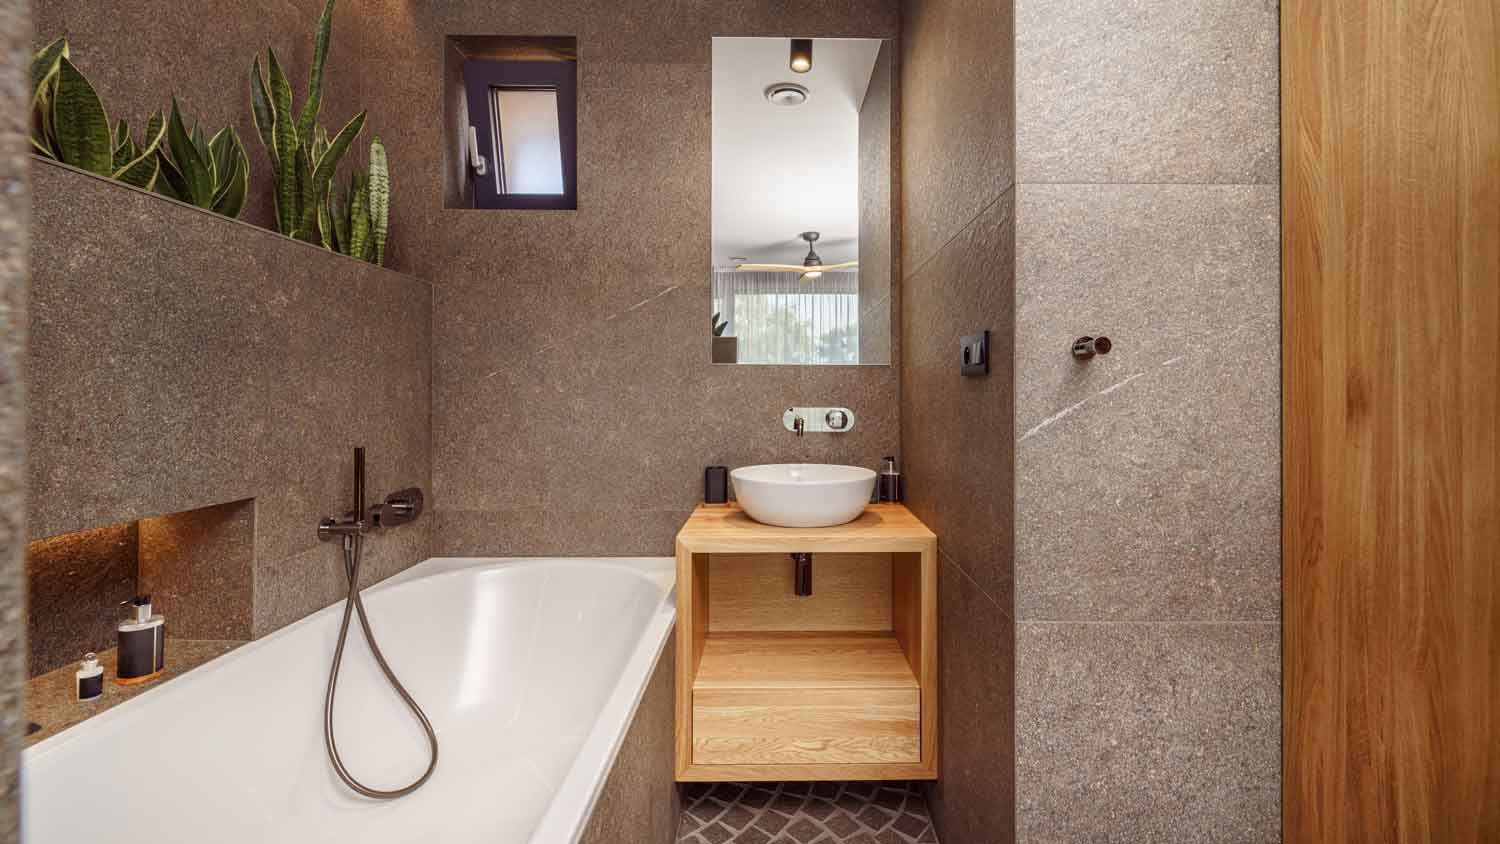
Wainscoting materials range from $1 per square foot for plywood to $40 per square foot for high-end hardwood, with moisture-proof tile a smart bathroom choice.
Measure your wall height from floor to ceiling, including baseboards and crown molding, then divide by three to find your ideal wainscoting height.
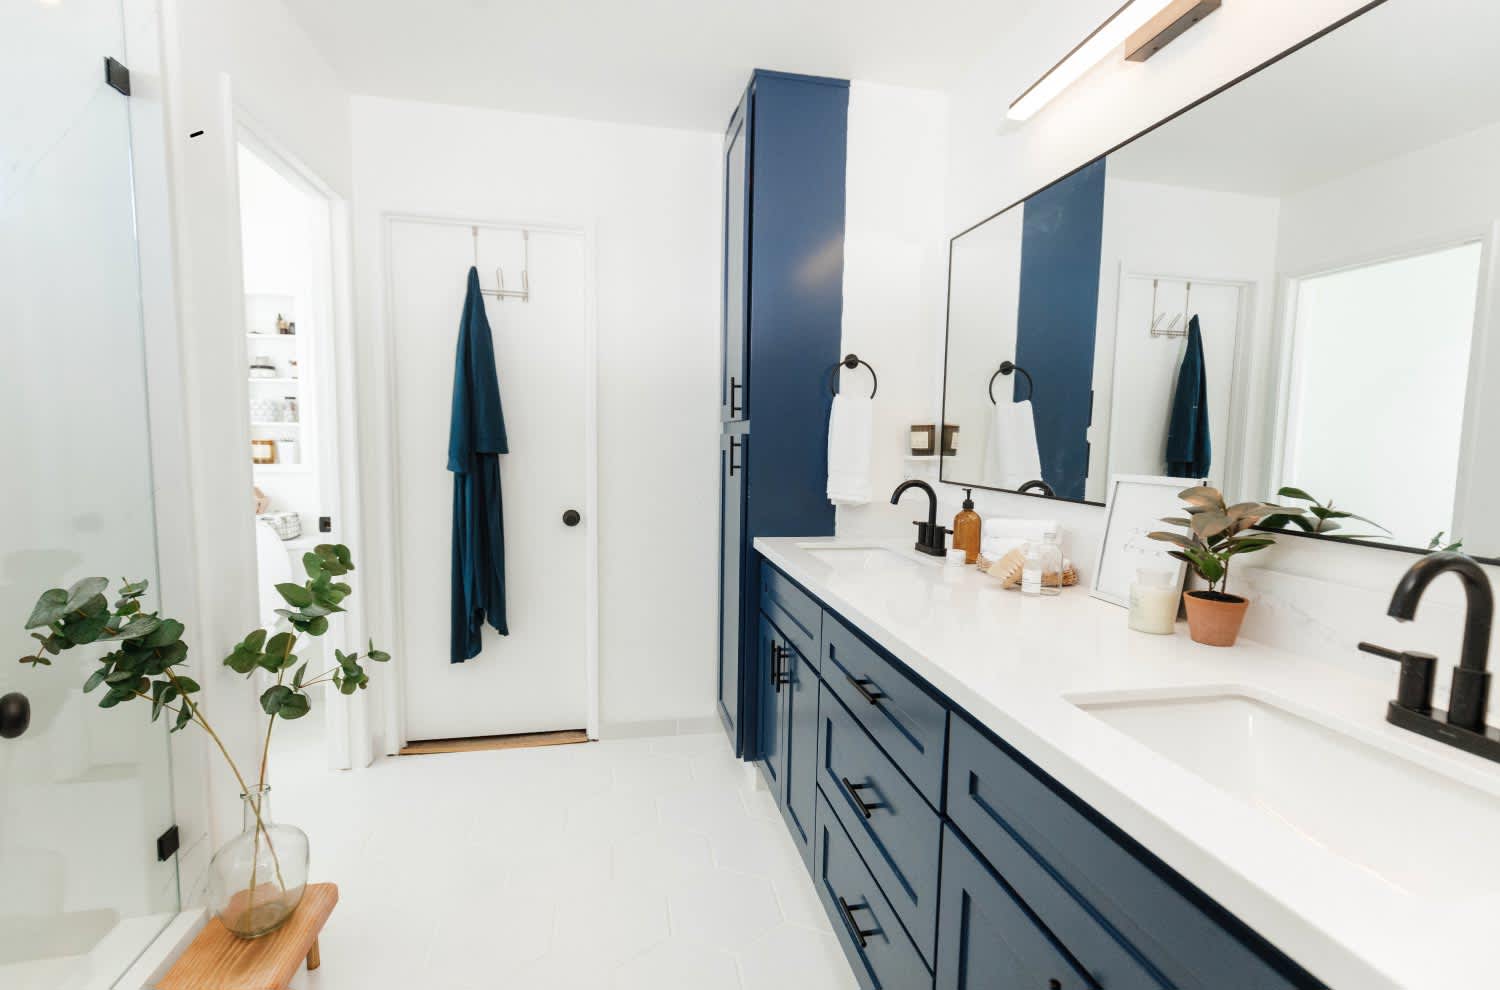
Hiring a local bathroom design professional keeps your installation aligned and level, especially when working around windows, outlets, and countertops.
Wainscoting is an architectural wall design that can add visual interest and a touch of elegance to any room. In the bathroom, it can be a chic alternative to tile or wallpaper. The appropriate bathroom wainscoting height is one-third of the entire wall height. If you think wainscoting will elevate your bathroom, here’s how to measure for it and how a pro installs it.
Wainscoting is a type of decorative wall molding made of wood panels. Originally, it was more than just an aesthetic. It started in the 18th century as a way to insulate a room, but in time, it was used to cover only a portion of the wall instead of the entire wall.
Now, it’s more decorative than functional, but it can make any room look upscale and traditional. It looks great with many colors of paint or even patterned wallpaper. If you are replacing older trim, wainscoting may boost a home’s value.
You want to work with the rule of thirds for wainscoting. Wainscoting works best on the lower portion of the wall, so plan to install it on the lowest one-third section.
Depending on the room, you can also make a statement by installing wainscoting on the majority of each wall. Working with the rule of thirds, this would be two-thirds of the entire wall. In a smaller space, like a bathroom, it’s best to stick to the shorter wainscoting on one-third of the wall to keep the space from looking cramped.
For shorter walls, stick to the rule of thirds or keep wainscoting to at least 32 inches high.
When measuring for a third of the wall, you should include the baseboards and crown molding. So if your wall is 12 feet from floor to ceiling, you’ll install wainscoting from the top of the baseboard to the 4-foot mark.
Before jumping into a wainscoting project, you’ll need to consider the bathroom layout, traffic patterns, and other design elements to properly install and design the wainscoting. A nearby bathroom designer can help you iron out some of the details if you’re not comfortable DIYing it. Several common room features can cause problems when installing and calculating the bathroom wainscoting height if you’re not prepared.
Lofted ceilings stand 15 feet high. If you divide 15 by three for the rule of thirds, that puts the wainscoting at 5 feet. However, that’s an awkward height to divide the room at because it draws the eye away from the ceiling, minimizing the effect of its height.
You can opt to bring the wainscoting height to between 32 and 48 inches, though bathroom panels are 38 to 42 inches high. The wainscoting design and other design elements like window location and height can help you further narrow down the right height within that 32- to 48-inch range.
Wall outlets present two challenges when installing wainscoting. First, you have to cut the wainscoting around the outlet, and second, you have to add an electrical box extender because of the added thickness of the wainscoting.
Cutting around the outlets requires careful marking and precise cutting, involving a measuring tape, chalk, colored caulking, or a marking pencil and a jigsaw or handsaw. Box extenders come in different depths and box sizes, so you’ll need to measure to ensure you get one that will align the outlets with the exterior of the wainscoting.
Windows complicate adding wainscoting to the bathroom, though some types of wainscoting, like beadboard, can be easier to manage. Wainscoting requires creating equal-width panels. You may need to change the panel sizes around the windows to create a uniform appearance.
The window width and height can also factor into your bathroom remodel design. You’ll need to factor in how much of the window’s trim will be visible, or you may need to adjust the panel height throughout the room to keep the wainscoting underneath the windows.
Countertops and backsplashes can be handled in different ways, depending on the bathroom design. You can install taller wainscoting and use it as a backsplash. In this case, you might have to move the vanity to install the wainscoting behind it, which could increase your bathroom remodel costs because of extra materials. Another option is to install the wainscoting just below counter height so that it lines up with your vanity and doesn’t require cutting to line up with the backsplash.


Installing wainscoting is possible to do yourself, although you can ensure it is aligned evenly and applied quickly with the help of a professional. If you decide to install it yourself, you would save $2 to $4 per square foot for labor, but it might not look as nice if you aren’t experienced.
Note that this project will take several days to DIY. For a professional, it may take 10 to 15 hours to install wainscoting in a bathroom.
Start by removing the trim around the windows and doors of the room, if you are replacing them to match the wainscoting, as well as the outlet covers. Be sure to switch off the electrical circuit in the room before touching the outlets.
First, measure the wall, then measure to the height you’d like for the wainscoting. Use a pencil to mark the wainscoting height for each wall.
Use a stud finder to find the studs, which you’ll need for nailing in the wainscoting. Mark the studs with a pencil.
Start by installing the new door trim and installing the baseboards around the room with a nail gun. You don’t have to replace the trim and baseboards if they already match the wainscoting.
Now, it’s time to glue and nail in the wainscoting panels. The common method is to move left to right. Start in a left corner, and line the panel up with the baseboard and the line you made for the wainscoting height.
You’ll glue the wall panels until you reach a stud, where you’ll nail in the wainscoting with the nail gun.
When you come across an outlet, you’ll need to cut notches into the panels to make room for the outlet.
Depending on the size of your panels and the length of your walls, you might not have the perfect amount of paneling to reach from corner to corner. You’ll also need to cut panels to fit the corners.
If you have some DIY experience, this is a fairly straightforward job, especially if you’re keeping the current trim. Installing wainscoting does require some tools and supplies—including a nail gun, level, adhesive, stud finder, measuring tape, and saw—which can increase the cost to DIY if you don’t already have them. Hiring a pro, like a local bathroom designer, can make the process go faster, and if you’re not sure exactly where to install wainscoting or what color to paint it, a designer can help.
The cost to add wainscoting to your bathroom walls depends on the wainscoting material and labor. This molding and trim style was traditionally made from wood panels, and that material is still used today. For humid or wet rooms, like bathrooms, you can also opt for ceramic tile wainscoting, which can withstand moisture better than wood.
Several types of wainscoting materials are available. Different types of wood are popular for living or dining spaces, but for bathrooms, stick to something moisture-proof like ceramic tile or plastic.
| Wainscoting Material | Average Cost (Per Square Foot) |
|---|---|
| Plywood | $1 |
| Plastic | $5–$10 |
| Regular hardwood | $10–$20 |
| Ceramic tile | $10–$30 |
| High-end or intricate hardwood | $40 |
If you hire a local handyperson to install wainscoting, the labor cost will be about $2 to $4 per square foot, or around $90 per hour.
Jason has helped me with multiple household projects, with the most recent being new door installation. He has always showed up on time and organized and has done an incredible job! Jason is very professional and he's now my go-to for anything around my house that needs to be fixed or...
Cole has been handling plumbing and general contracting for our four properties over the past three years, and he’s always done a great job. Most recently, he installed a sink and countertop in our retail store where none existed before, and it turned out exactly how we needed. He’s...
 ANB Renovations LLC
1st Choice Renew is simply the best! We hired them for a complete home renovation, and they transformed our space into something truly amazing. The team attention to detail and commitment to quality were evident throughout the project. They were easy to work with, very responsive, and always...
This company went above and beyond with their work, chimney sweeps are usually pretty messy, but the clean up was spot on.!! Josh explained every thing that he was doing, and the things that he was checking to make sure the chimney was safe for me and my family. He was very professional,...
 Supreme brick & chimney
Custom Paint Jobs LLC turned our outdated bathroom into a modern masterpiece.
Excellent customer service and knowledge. I was recommend to him from my neighbour. My front door and window came in great and were installed beautifully perfectly, I m very satisfied with their excellent work, so decided to order one more big bow window for my living room. I cant wait for...
If I could give 10 stars for Kitchen Tune Up, I would. I cannot say enough good things about my experience with Kitchen Tune Up and the entire team involved in the process of my kitchen project. They went above and beyond as far as service and quality with my cabinets, paint, countertops, and...
It was wonderful working with Yordy and his team. They were very professional and are experts in what they do. They have completed the work on time, with better quality and with in fairly reasonable price. We just started with backsplash work , but liking his work, we went on to provide...
We were having 2”x 2” tile installed . There was a small installation error and the new additional replacement tile was from a different lot and the colors didn’t match. Joe assured us that he would rectify everything , which he did without hesitation. We decided to go with the 18” x 36” tile...
 CarifaTile
They work that 360 did on my kitchen cabinets is nothing short of amazing. I still cannot believe the difference from before and after. Jon and Jeff were both so incredibly professional throughout the whole process and their communications with me were constant and consistent. These guys...
 360 Painting Columbus
From average costs to expert advice, get all the answers you need to get your job done.
The cost to install wainscoting depends on labor, materials, and square footage. This guide will help you budget for your next project.
Remodeling your bathroom can add significant value to your home. Your bathroom remodel cost will depend on size, fixtures, materials, labor, and other factors.
Small bathroom remodel costs depend on a number of factors—like what exactly you’re upgrading and the size of the room. This guide will help you budget.

Are the walls in your home overlooked and underappreciated? Check out these inspiring wainscoting ideas to give them the upgrade they deserve.

Wainscoting gives your walls a classy upgrade that actually protects them. Get the scoop on styles, costs, and whether you should DIY or call in the pros.
Wainscoting is a chic way to add an old school touch to any home, but each different style can have a totally unique impact on your space.