
From modern farmhouse to just plain modern, these shiplap wall ideas prove shiplap works with any decor style. Get inspired now.
Because you shouldn't just put it anywhere

Installing shiplap in a bathroom works well when you avoid wet areas like shower walls, where wood can warp, swell, and develop mold from constant water exposure.
Expect to pay $2.50 to $7 per square foot for shiplap materials, with total bathroom projects ranging from $100 to $700 depending on your space and wood choice.
Protect your shiplap bathroom walls by applying mold-resistant paint and a clear wood sealer, then keep the space ventilated with an exhaust fan to prevent moisture damage.
Hiring a local bathroom design professional helps you balance shiplap placement with moisture concerns, ensuring your design stays beautiful without risking water damage or mold growth.
With its clean lines, rustic charm, and ability to instantly update a room without breaking the home renovation budget, it’s no wonder that shiplap is everywhere. But should it be? Specifically, is it okay to add shiplap to a bathroom where high moisture and humidity levels occur?
Whether you’ve scoured the internet for modern farmhouse design ideas or watched enough home improvement TV shows, you’ve seen shiplap bathrooms. And they can absolutely be done, as long as you take a few precautions.
Because shiplap is a type of wood paneling, avoid placing it in areas that are frequently exposed to water, such as a shower wall or ceiling. When wood gets wet, it can swell, warp, and sag and develop mold and mildew.
The problem becomes more complicated when you want a sink backsplash or an accent wall by a standalone tub. The shiplap will undoubtedly get wet occasionally—especially if you have young kids—but it won’t be in frequent contact with water. If you’re unsure where to add shiplap in a bathroom, speak with a local bathroom designer who can help you balance all the design elements while sticking to your budget.
To protect your shiplap boards against the occasional splash of water, apply a coat of mold- and mildew-resistant paint. These paints are designed for bathrooms and other high-moisture environments and can effectively repel water.
You can apply a clear coat of wood sealer on top of the paint for additional protection. Alternatively, you can forgo the paint and use a clear sealer for a wood-shiplap look.
We also recommend applying some sort of wood protectant to all the shiplap in your bathroom, even if you’re installing it far away from your water sources, such as on the ceiling. That’s because bathrooms are prone to humidity, which can still wreak havoc on your wood.
The exception to this would be if you are doing a shiplap bathroom ceiling in a powder room with only a sink and toilet. Without a shower, the bathroom shouldn’t get hot and steamy, so moisture resistance will be less of a concern.
To extend the life of your shiplap, keep your bathroom ventilated. That means installing a bathroom fan and using it while showering. And it means opening the bathroom door—and windows if possible—to let steam escape. It’s worth spending a little extra money on a high-powered exhaust fan, given that the cost to install shiplap is high.
If you really want to install shiplap inside your shower or are worried about overall wear and tear, consider doing a faux shiplap with PVC planks and trim. While it’s true that they don’t have the signature wood texture and rabbeted edges of shiplap, they can mimic a shiplap look. The best part? PVC is waterproof and resists mildew, rot, and swelling without any help from protective paint.
Ready to install shiplap in your bathroom? Here are the steps to get it done:
1. Measure the wall and figure out how much shiplap to buy.
2. Cut your shiplap boards to fit the wall.
3. Remove the existing baseboards.
4. Install the shiplap horizontally or vertically on the wall using a level and construction adhesive.
5. Use a nail gun to secure the shiplap.
6. Spackle the nail holes and sand.
7. Reinstall the baseboards.
8. Paint the boards with a mold- and mildew-resistant paint for bathrooms.
9. Apply a coat of moisture-resistant wood sealer.
Plan your shiplap project by getting a budget together. Shiplap costs $2.50 to $7 per square foot, so depending on your bathroom size and plans, you’ll likely spend $100 to $700. Actual costs depend on the type of wood you choose. Hardwood and pine are more affordable, while cedar is on the higher end of the cost range.
Since remodeling a small bathroom costs between $1,500 and $15,000, a shiplap project is one of the more cost-effective options for elevating the space. If done right, it can give your bathroom a whole new vibe.
Shiplap works well in a bathroom as long as you take certain precautions. So, how will you use it for your next project? Check out these bathroom designs for inspiration, and don’t miss our roundup of shiplap wall ideas for every room in the house.

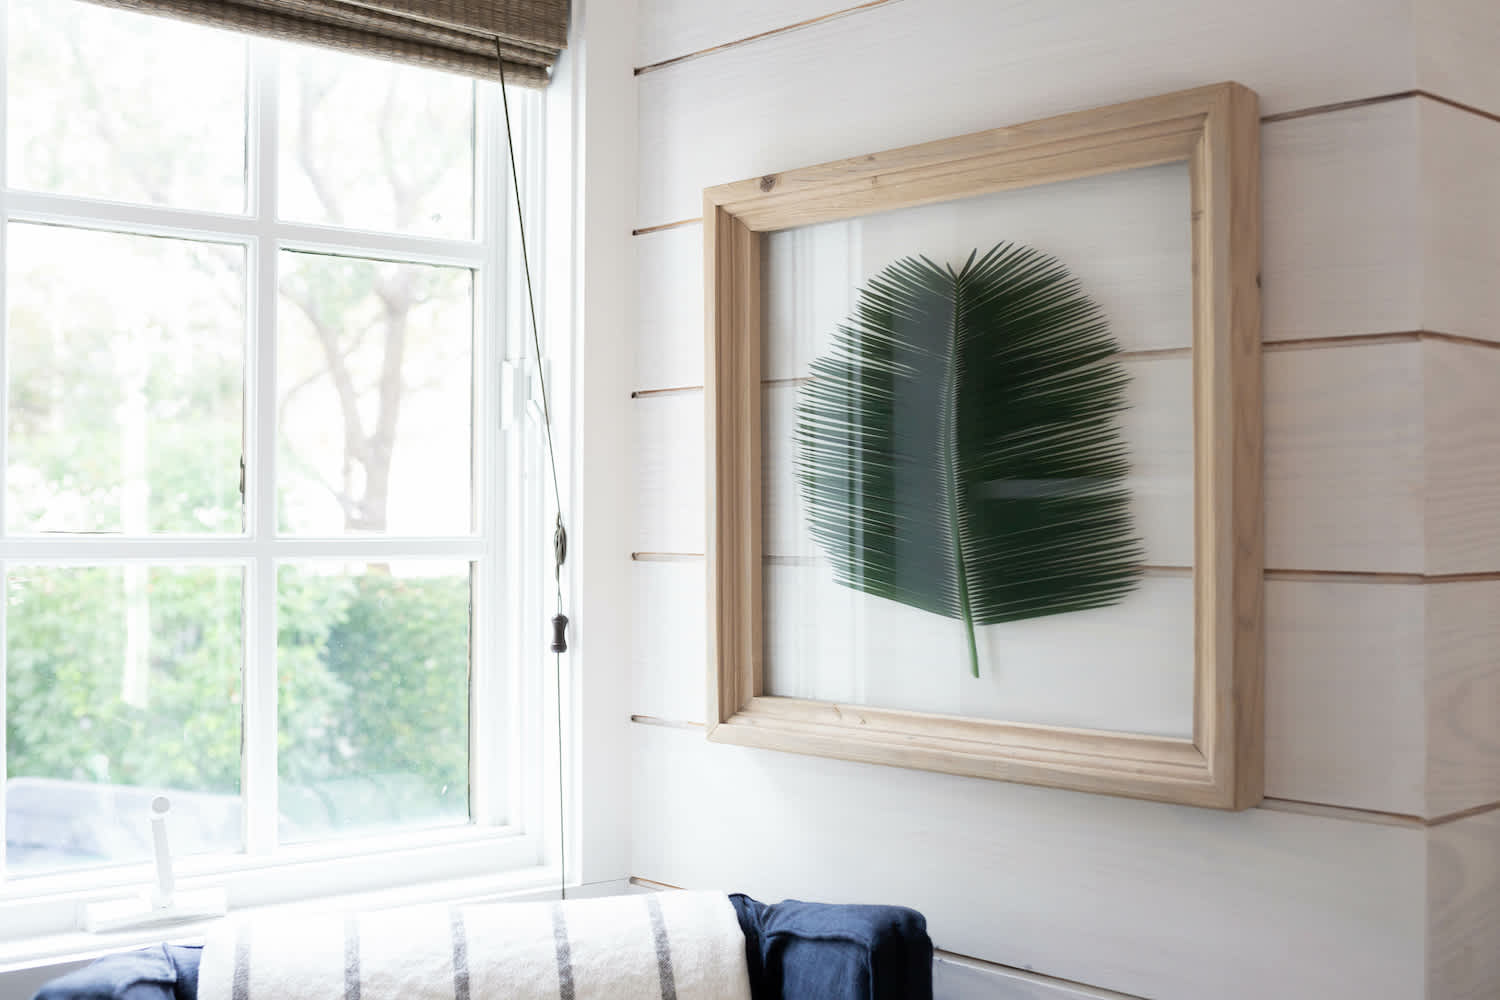
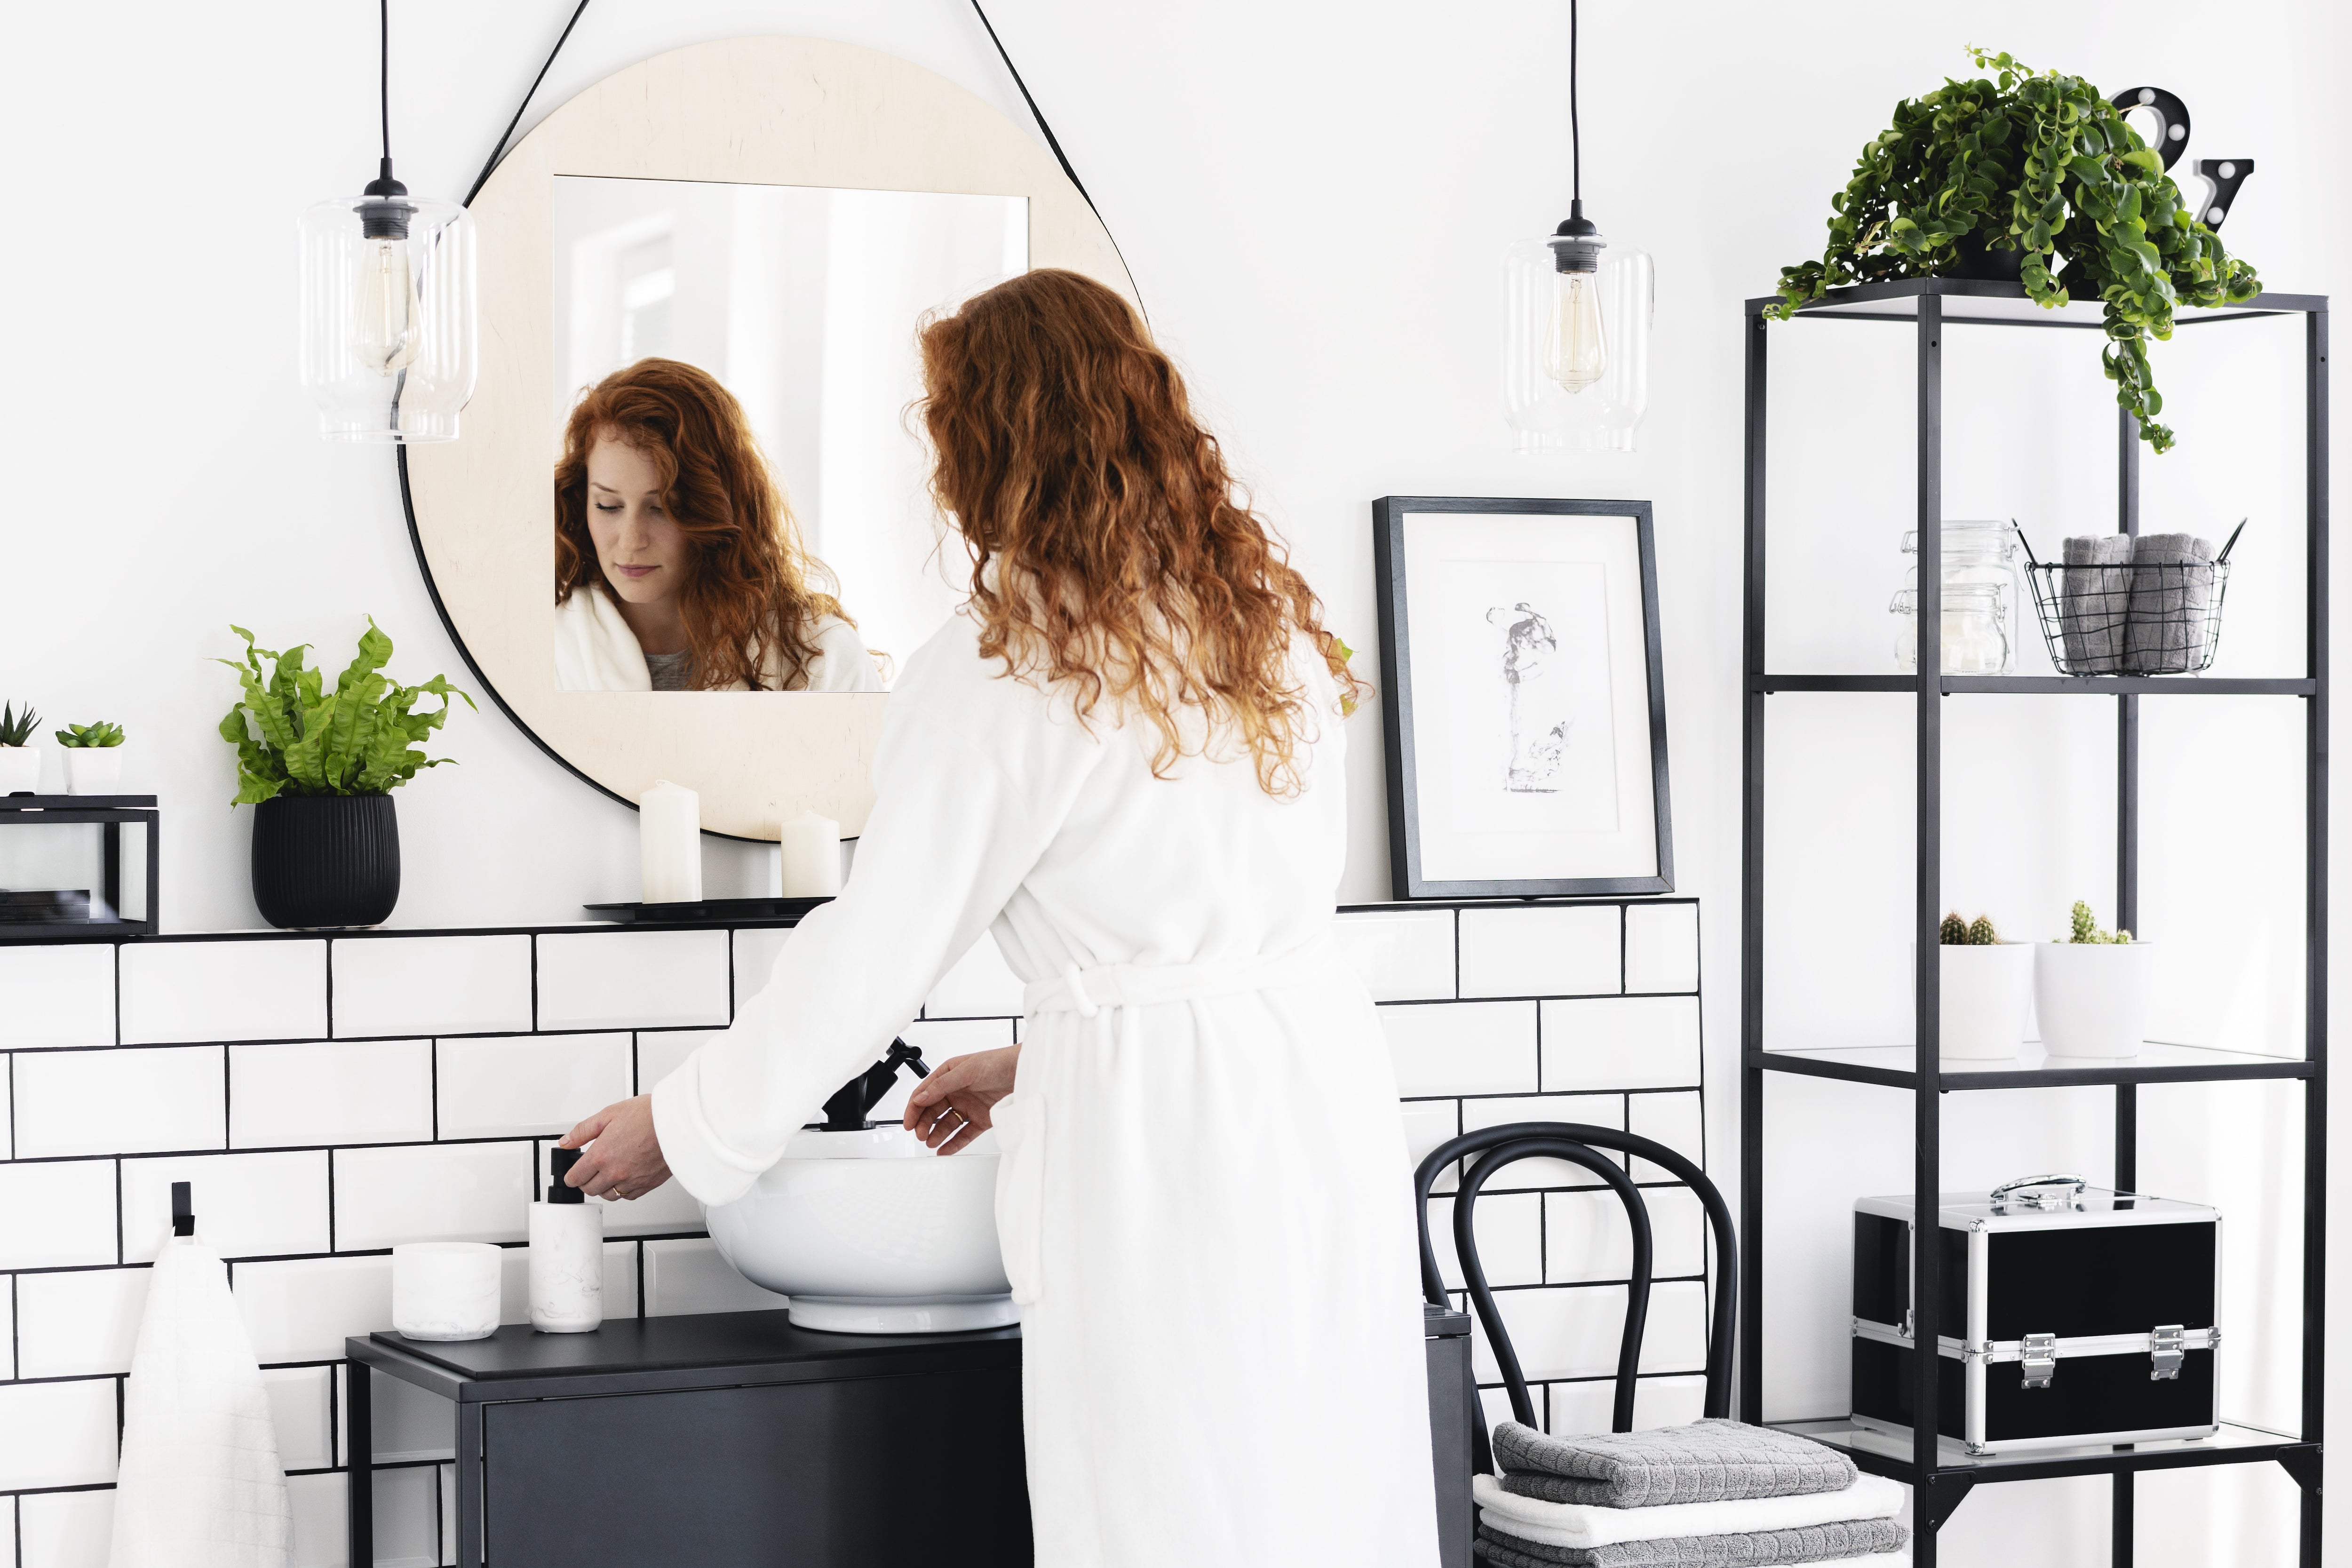
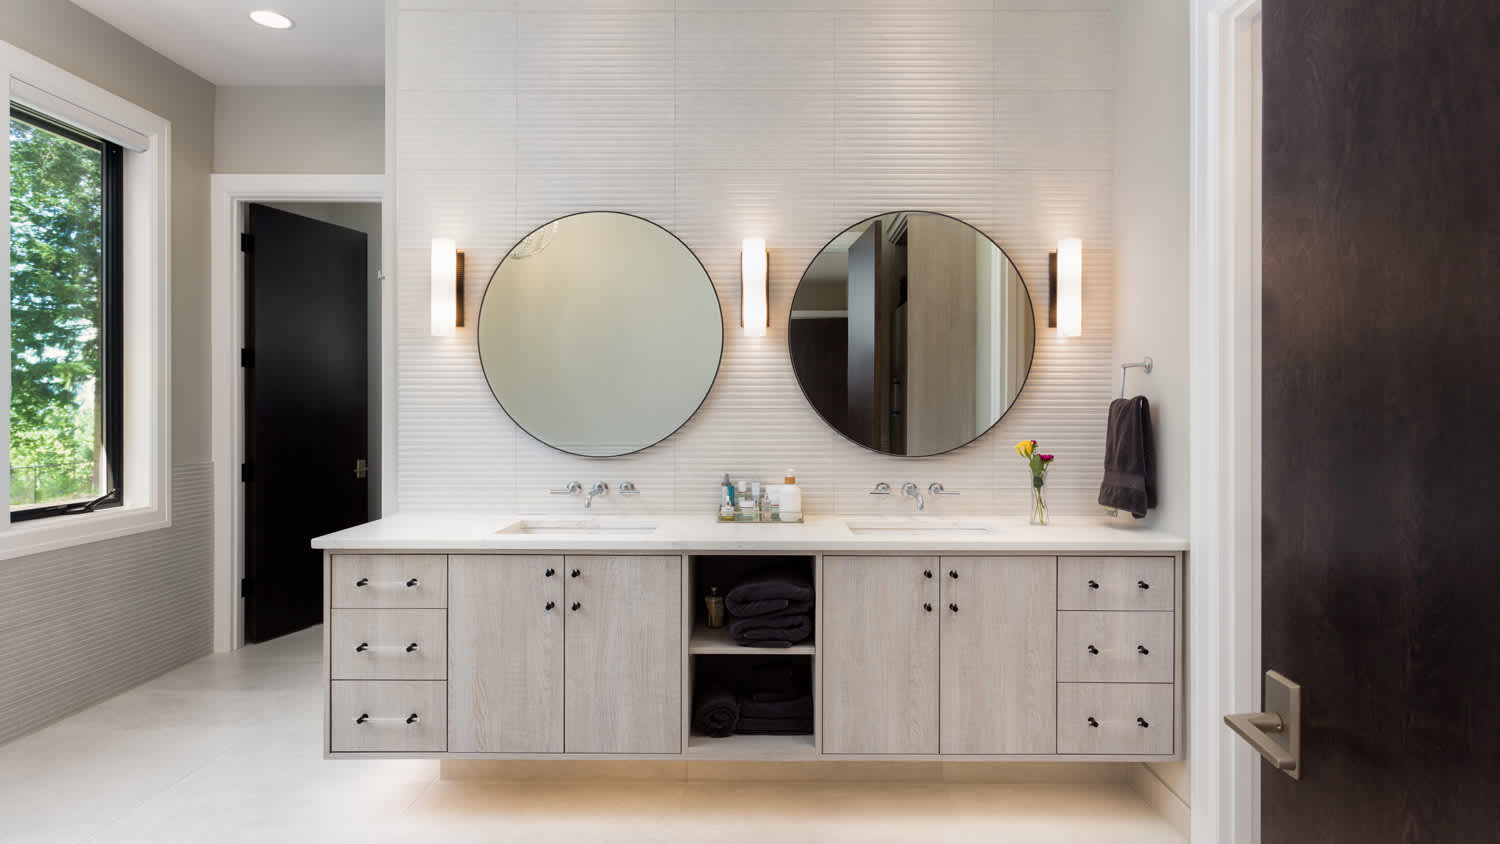
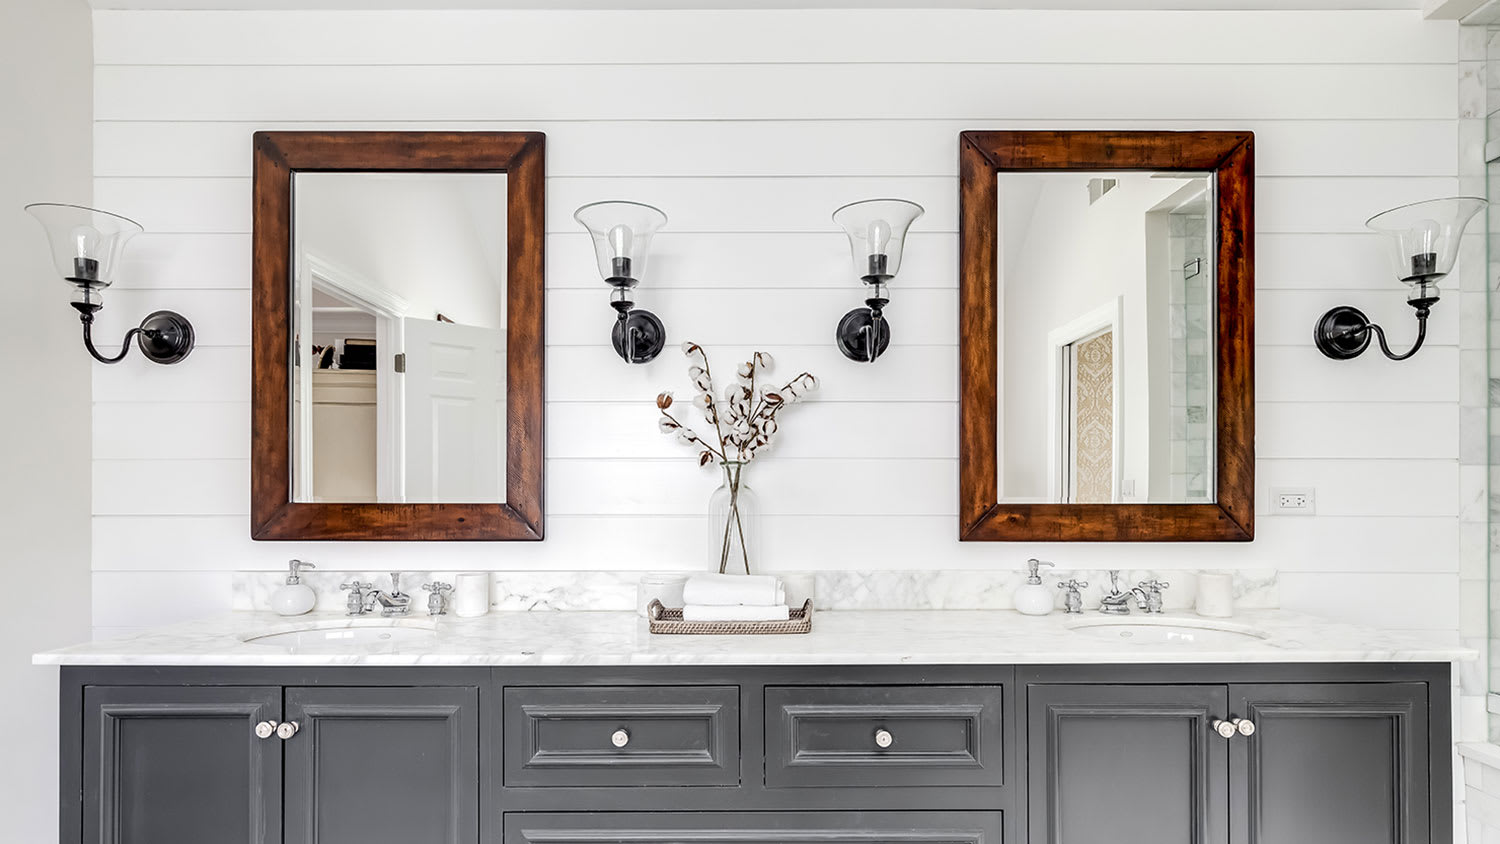
Instead of a full shiplap wall around the entire bathroom, you can opt for just an accent wall above a sink or bathtub. Make sure to properly seal the corners, especially for walls that touch the rim of a bathtub.

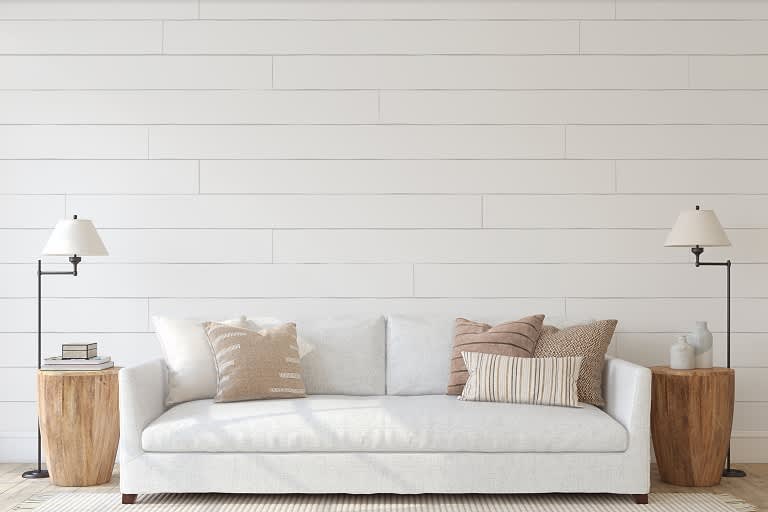
Cover all of your bathroom walls with shiplap to get the full effect. To blend in with your other finishes, choose a neutral wood stain or painted shiplap.

A floor-to-ceiling shiplap wall provides a dramatic welcome to your bathroom. If you want the all-wood look, explore alternatives or faux shiplap options to avoid water damage.

The ceiling is an excellent place for shiplap in your bathroom because it’s less likely to come into contact with water, whereas shiplap on the walls or countertops can get wet from time to time.

Wainscoting is an alternative to shiplap that provides a similar wood paneling look. If you’re having trouble finding the right place for shiplap, many other wood paneling ideas may be worth exploring.
Caroline Gilbert contributed to this piece.
Jason has helped me with multiple household projects, with the most recent being new door installation. He has always showed up on time and organized and has done an incredible job! Jason is very professional and he's now my go-to for anything around my house that needs to be fixed or...
Cole has been handling plumbing and general contracting for our four properties over the past three years, and he’s always done a great job. Most recently, he installed a sink and countertop in our retail store where none existed before, and it turned out exactly how we needed. He’s...
 ANB Renovations LLC
1st Choice Renew is simply the best! We hired them for a complete home renovation, and they transformed our space into something truly amazing. The team attention to detail and commitment to quality were evident throughout the project. They were easy to work with, very responsive, and always...
This company went above and beyond with their work, chimney sweeps are usually pretty messy, but the clean up was spot on.!! Josh explained every thing that he was doing, and the things that he was checking to make sure the chimney was safe for me and my family. He was very professional,...
 Supreme brick & chimney
Custom Paint Jobs LLC turned our outdated bathroom into a modern masterpiece.
Excellent customer service and knowledge. I was recommend to him from my neighbour. My front door and window came in great and were installed beautifully perfectly, I m very satisfied with their excellent work, so decided to order one more big bow window for my living room. I cant wait for...
If I could give 10 stars for Kitchen Tune Up, I would. I cannot say enough good things about my experience with Kitchen Tune Up and the entire team involved in the process of my kitchen project. They went above and beyond as far as service and quality with my cabinets, paint, countertops, and...
It was wonderful working with Yordy and his team. They were very professional and are experts in what they do. They have completed the work on time, with better quality and with in fairly reasonable price. We just started with backsplash work , but liking his work, we went on to provide...
We were having 2”x 2” tile installed . There was a small installation error and the new additional replacement tile was from a different lot and the colors didn’t match. Joe assured us that he would rectify everything , which he did without hesitation. We decided to go with the 18” x 36” tile...
 CarifaTile
They work that 360 did on my kitchen cabinets is nothing short of amazing. I still cannot believe the difference from before and after. Jon and Jeff were both so incredibly professional throughout the whole process and their communications with me were constant and consistent. These guys...
 360 Painting Columbus
From average costs to expert advice, get all the answers you need to get your job done.
From modern farmhouse to just plain modern, these shiplap wall ideas prove shiplap works with any decor style. Get inspired now.
Get inspired for your bathroom makeover with these bathroom remodel ideas, including decor styles and materials to elevate your space.
DIY a shiplap ceiling by cutting the boards to size and installing them perpendicular to the joists with a nail gun. Get exact instructions here.
What is shiplap? The answer might not be in line with what you’ve heard. Read on as we cover everything you need to know, including exactly what shiplap wood is, what its pros and cons are, and how you can capture its rustic look in your home.
While it may be tempting to hop on the latest interior design bandwagon, remodeling your bathroom is a major investment you want to love for years to come. Learn about the bathroom remodeling trends experts think will stand the test of time.
Shiplap and beadboard are types of decorative wall paneling with different looks. So, how do they compare? Learn the differences between shiplap vs. beadboard.