Sink installation costs depend on the type of sink, the material, and the labor. This guide can help you budget for your project—from pedestal to farmhouse.
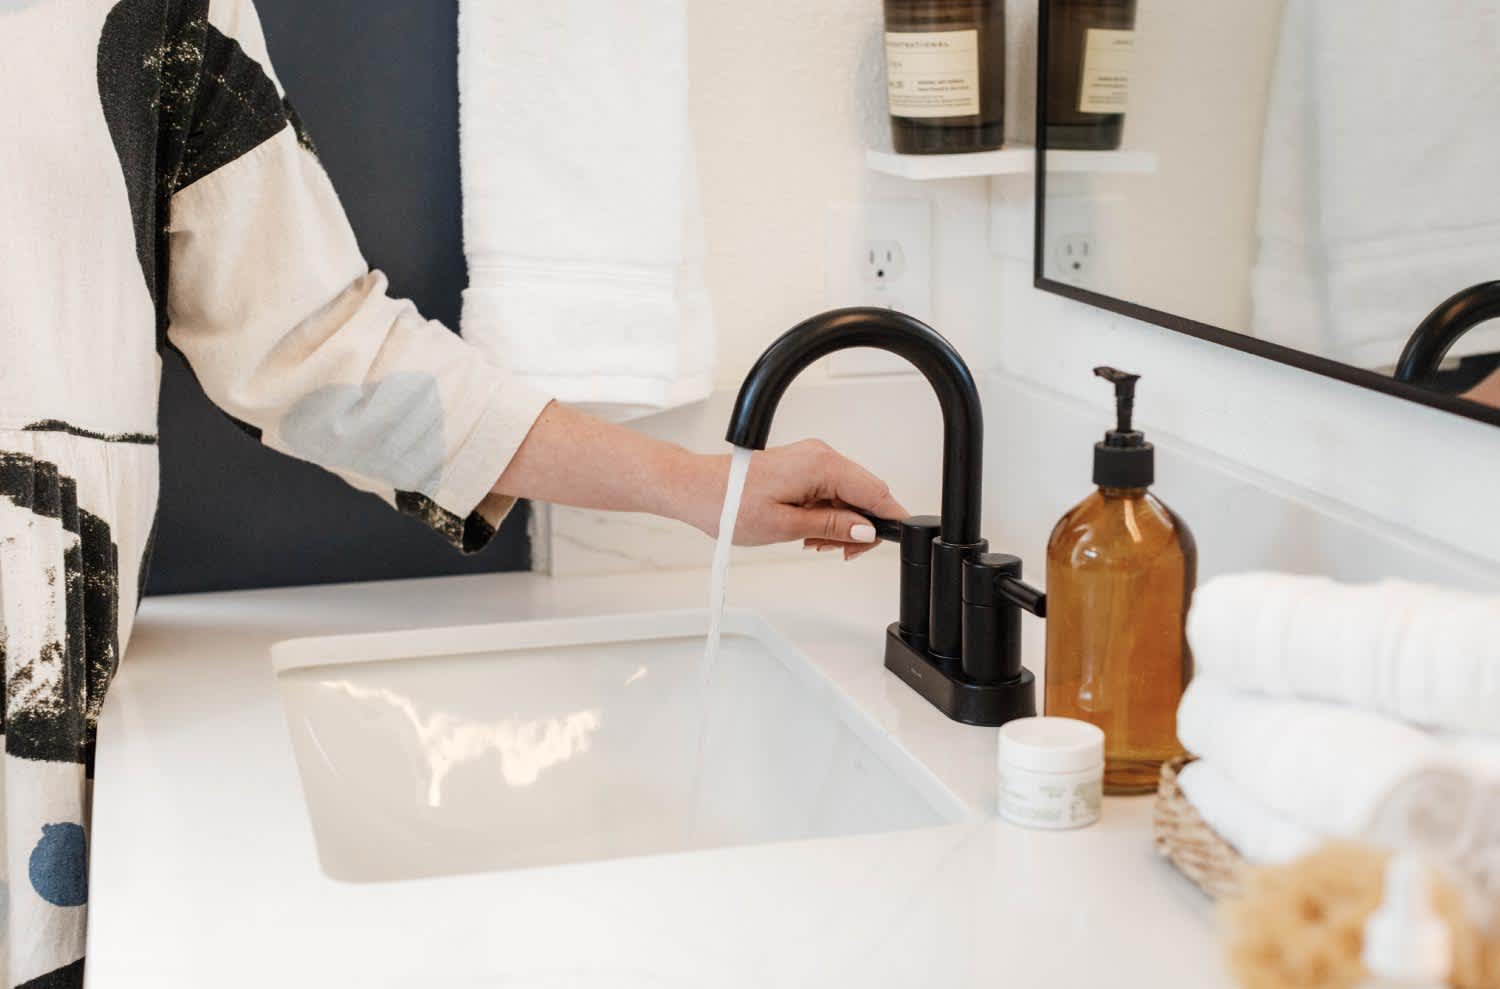
Replacing a faucet aerator is relatively easy with the right parts

A clogged aerator slows your water flow or sends it sideways, and replacing it takes under an hour with basic tools and a new aerator.
Faucet aerators cost $3 to $8 for parts, making this one of the most affordable fixes when your faucet acts up.
Unscrew your old aerator by hand or with pliers, match the size to a coin, then screw in the new one and tighten gently.
Hiring a local plumbing professional provides reliable support when aerators won't budge or when you need help with cache aerator installation and specialized tools.
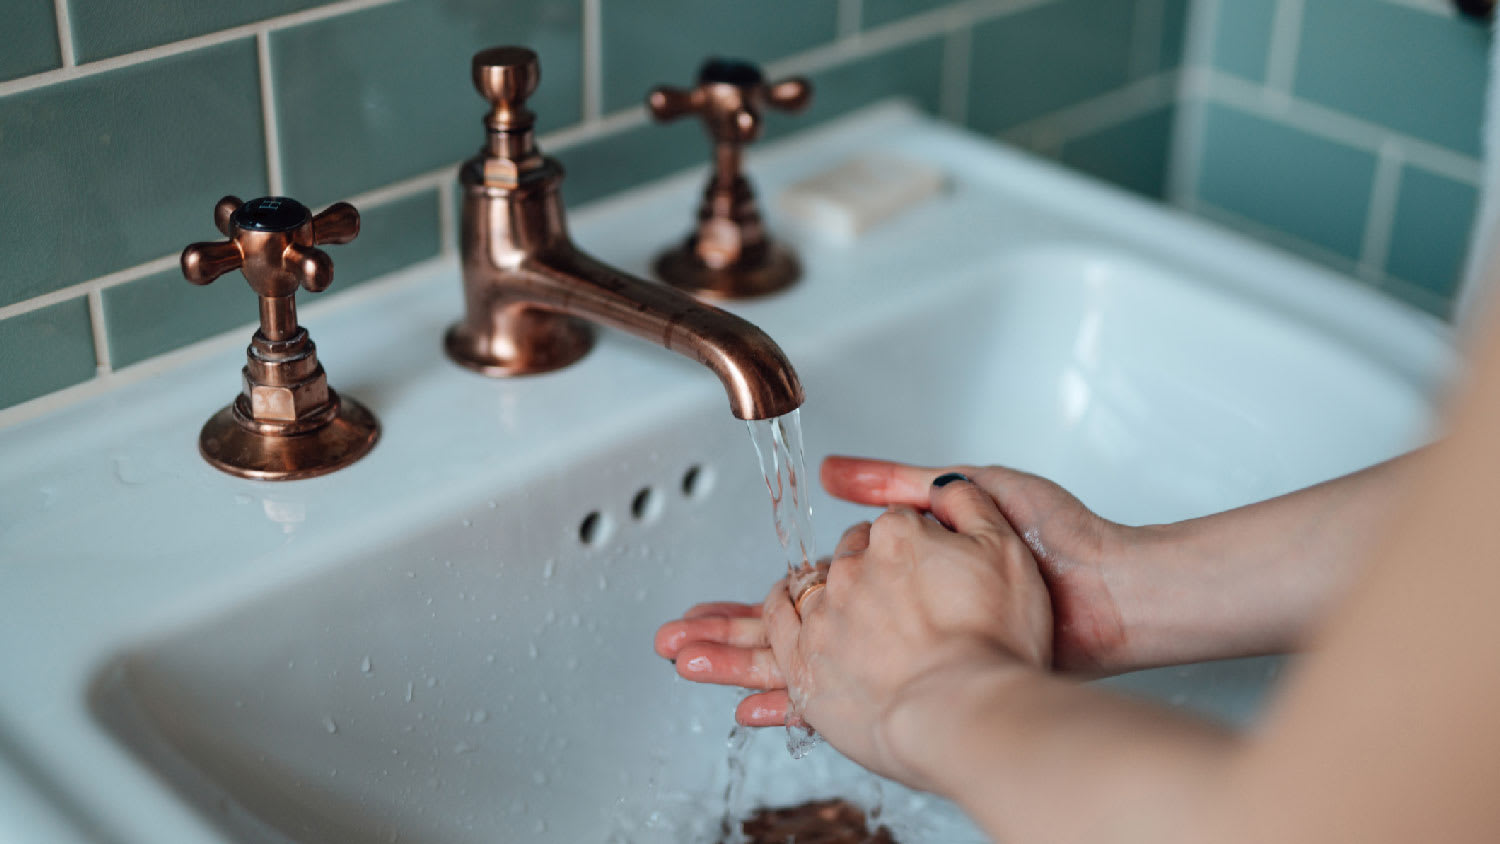
If water from your faucet is squirting to one side or you’ve noticed the flow of water has slowed to a dribble, then it might be a clogged aerator that needs replacing. Faucet aerators come in several designs: housing, integrated thread, or special design models. On some faucets, it’s impossible to replace the aerator at all, and other faucets don’t have one to fix. Learn more about your options depending on the type of faucet and how to replace your aerator yourself.
Thankfully, faucet aerators are inexpensive and easy to remove. You can easily DIY without the need to hire a professional plumber. But sometimes, you may need a little elbow grease or small tools. You will need a special tool to remove a cache aerator. The device is size-specific and comes with your new aerator.
Try unscrewing the old aerator from the faucet spout by hand. As aerators are threaded, they often unscrew quite easily. To get a good grip, make sure the faucet spout is dry.
If unscrewing the aerator doesn’t work by hand, you may want to try pliers. Make sure the pliers are protected with rubber jaws so you don’t scratch the surface of your faucet spout. Or, you wrap masking tape around your fixture to protect it.
Turn the aerator counter-clockwise to unscrew it from the spout. If it doesn’t budge, try unscrewing it from a new position. Try not to grip the aerator too tightly as the metal may bend, making your job harder.
If the aerator still won’t budge, or you’ve accidentally bent it a bit, you may need to resort to heat. Using a hairdryer, you might be able to expand the metal, making it possible to loosen the metal aerator. Don’t try this on plastic aerators, and don’t use high heat as any rubber washer or plastic parts may melt.
You can also try oil, such as WD-40 or a similar product, which costs about $6 at your local hardware store. Spray it on the threads and let it sit for a few minutes, then use pliers to loosen the aerator. The oil makes the metal slippery, so it may take a couple of tries.

If the metal screen or other parts on your aerator are rusted or damaged, it’s best to buy a replacement aerator assembly. You’ll find a variety of options at the store, so be sure to choose the right size and type for your faucet.
These are the most common. They screw into the end (tip) of the faucet spout and, as the name implies, don’t move.
If an aerator has threads on the inside, it’s a female aerator. Female aerators are installed on male faucet spouts that have threads on the outside. If the aerator has external threads, it is a male aerator and will be connected to a faucet spout with internal threads.
These aerators have both female and male threads, usually separated by a split washer inside the aerator.
Standard aerators are visible because they extend from the faucet spout.
These aerators are hidden up inside the faucet and are typically found in high-end faucets.
With a swivel aerator, you can direct the water in different directions, either by retracting or pulling it. Swivel aerators are usually found in smart or modern kitchen or bath faucets. Some swivel aerators have a small outlet on the side for attaching a hose. This allows you to use the aerator while diverting water to a filter.

Faucet aerators are not universal. You will need to determine the size of your old aerator before replacing it.
Standard aerators come in three sizes. Remove the old aerator from your faucet and lay it on a flat surface next to a quarter, dime, or nickel.
If the aerator is the size of a nickel, you will likely need a Tom Thumb-size aerator. The average cost is about $3–$5.
If the old aerator is the size of a dime, you will need a junior-size aerator. The average price is $4–$8.
If the aerator is quarter-size, you will need a regular-sized aerator at about $3–$6 each.
Cache aerators come in four different sizes, so you’ll need to pick a pocket for a penny too. Each of the measurements above applies to cache aerators also, except for aerators that are the size of a penny. If your old aerator is the size of a penny, you will need a tiny junior-size aerator, which costs about $4 to $8.
Depending on what the faucet is used for, there are three different types of water streams to consider.
These are the most common type of faucet aerators. They work by introducing air into the water to produce a whiter and broader stream.
Spray stream aerators provide wide coverage.
These aerators are all water with no air mixed in. They are typically non-splashing and best for faucets where high water flow is needed.
Replacing a faucet aerator is much easier than replacing your kitchen or bathroom faucet, and sometimes all you need to do to see improved water flow. After you’ve removed your old aerator and found the right size and type for your specific faucet, you can now take these steps to install your new aerator.
When you’ve chosen the correct aerator and have it in hand, the last thing you need to do is lose it down the drain.
To remove any lingering debris in your faucet, turn on the water full blast for a few seconds to flush out any particles.
Screw in the new aerator slowly to avoid bending, denting, or cross-threading it.
Tighten your new aerator as tight as possible with your fingers. Check the flow of water by turning on the faucet just a bit. If you notice leaking around the aerator threads, tighten the aerator slightly more using your pliers with a protective rubber covering. You can also wrap the end of your faucet and aerator with tape to protect the finish.
If you are replacing your aerator with a cache aerator, you will need to use the special tool that came with the aerator to tighten it.
Positive experience. As previously stated, the replacement/repair could not be completed (no fault of the plumbing tech) b/c misinformation was rec?d by property management maintenance. Thanks to the plumbing tech for your efforts. Appreciate you!
 The Waterworks
If you want to pay the most exorbitant prices possible for your job, this is the company for you. “By the job” pricing is a rip-off, at least how these people use it. Every job is plugged into a category and prices are set by category. You might have a job that takes half an hour or one that...
 Benjamin Franklin Plumbing
Cole has been handling plumbing and general contracting for our four properties over the past three years, and he’s always done a great job. Most recently, he installed a sink and countertop in our retail store where none existed before, and it turned out exactly how we needed. He’s...
 ANB Renovations LLC
Matt is a consummate professional. The work turned out to be far more difficult than expected and rather than turn the job down, Matt rose to the occasion and completed a near impossible task. I can not recommend Greene's Plumbing Service more highly. On a scale of 1-5 I would give Matt a...
Involved an extensive bathroom remodel, including removing tub & installing walk in shower, new drywall, custome tile work to ceiling, plumbing, etc. Overall, job was done on time and on budget. Nick & his team were very professional and had high attention to detail. Quality was great. Highly...
 Stamos Flooring and Remodeling LLC
Awesome company. Had a jacuzzi tub taken out and replaced with huge walk in shower with partial glass enclosure. Onyx to the ceiling with a decorative border, moved plumbing and installed hand held shower, new ceiling, flooring, and paint. Replaced window with glass block. Everything was done...
 Columbus Bath Design
The initial quoted price from a walk-through seemed high, but we discussed that the quote represented worst case scenario (re-wiring to two floors) and we were excited about the opportunity to have the work done in a timely manner with closing for fire safety reasons, etc. When the job was...
Initially, I called the Service People to have a leaking garbage disposal replaced. I had purchased a special deal through Angie's List: $79 for $200-worth of plumbing services. <br /> When I went to schedule the work, the earliest date I could get through Angie's List was after the upcoming...
This company did a very good job on the brick wall and it looks just amazing. The staff was always professional and was practically OCD on how the bricks were stacked and how they were laid. Although it took longer than expected, I am willing to sacrifice time over perfection anyday. The...
 My Handy Mate LLC Improvement & Remodeling
<p>I am so glad we called Rotor-Rooter. I was hesitant to call them because we usually prefer to give business to local providers. But when we had sewage back up in our basement on a Saturday evening, I had a hard time getting a hold of someone, not to mention the high weekend/evening rate...
From average costs to expert advice, get all the answers you need to get your job done.
Sink installation costs depend on the type of sink, the material, and the labor. This guide can help you budget for your project—from pedestal to farmhouse.

The average cost to replace a bathroom faucet typically ranges from $170 to $360. Faucet installation costs often vary based on the selected fixture hardware.
Pedestal sinks are small bathroom wonders, but how much does a pedestal sink installation cost? Learn the cost factors for adding one to your bathroom.
DIY sink installation is a doozy but do-able for those with experience. Use this guide to learn how to install a bathroom sink in a few steps.
Learn all about the parts of a sink faucet so you can maintain and repair your bathroom and kitchen faucets. We’ve got you covered from handle to mount.

Your kitchen sink plumbing has many hidden components, but learning its parts can help you tackle minor problems and keep your plumbing running smoothly.