

G & D Construction, LLC
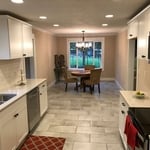
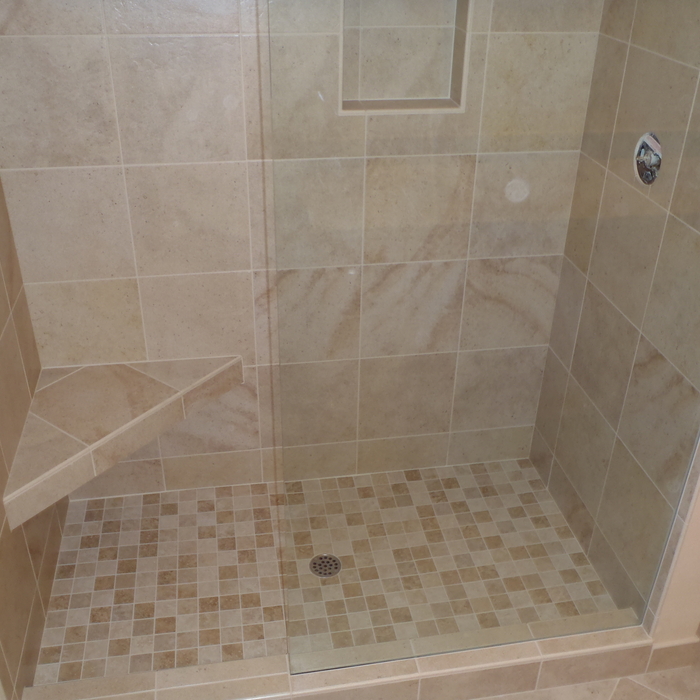
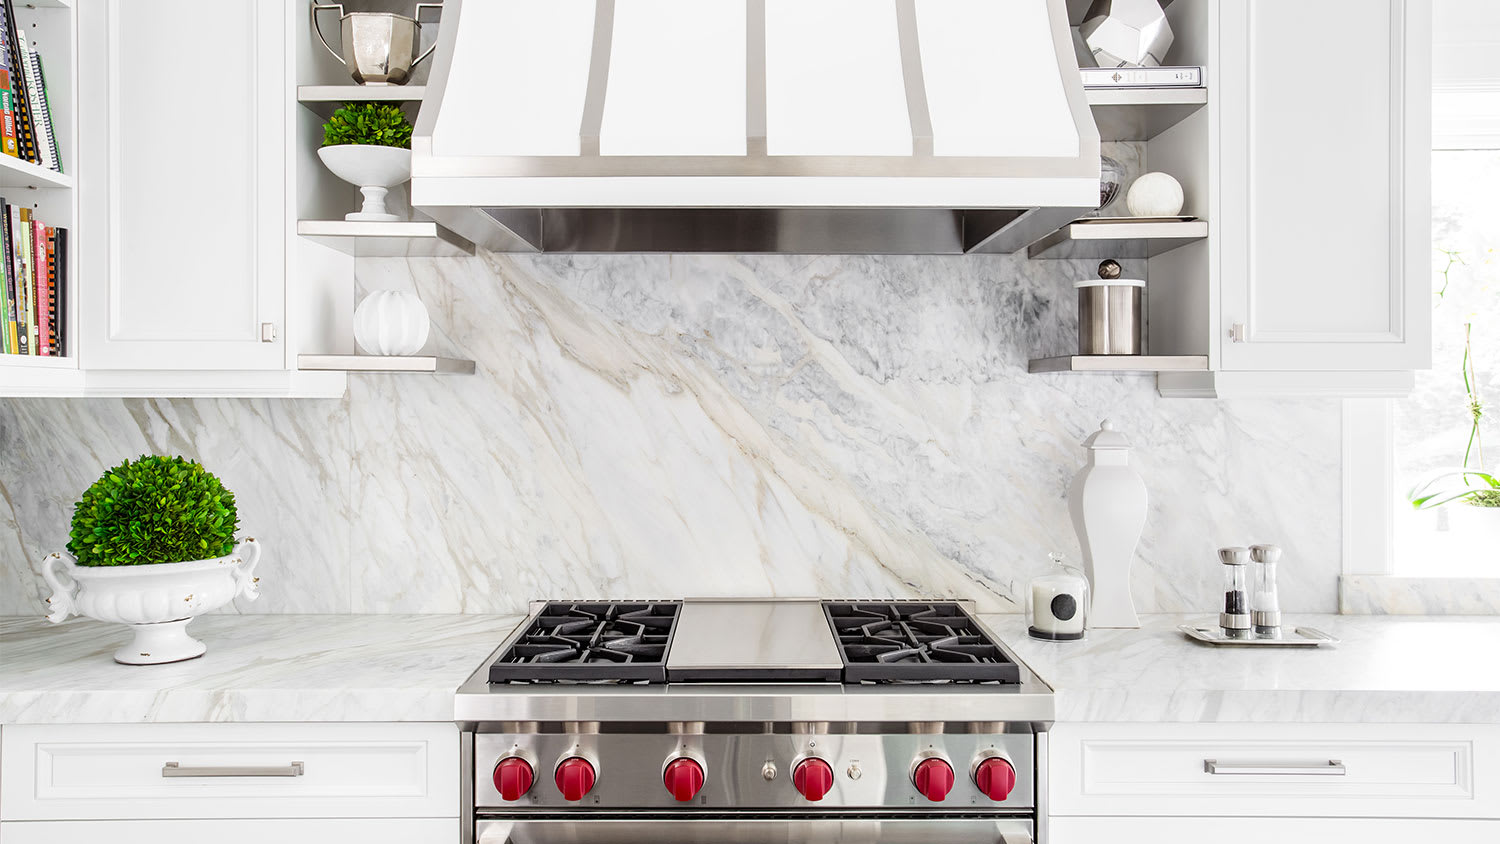
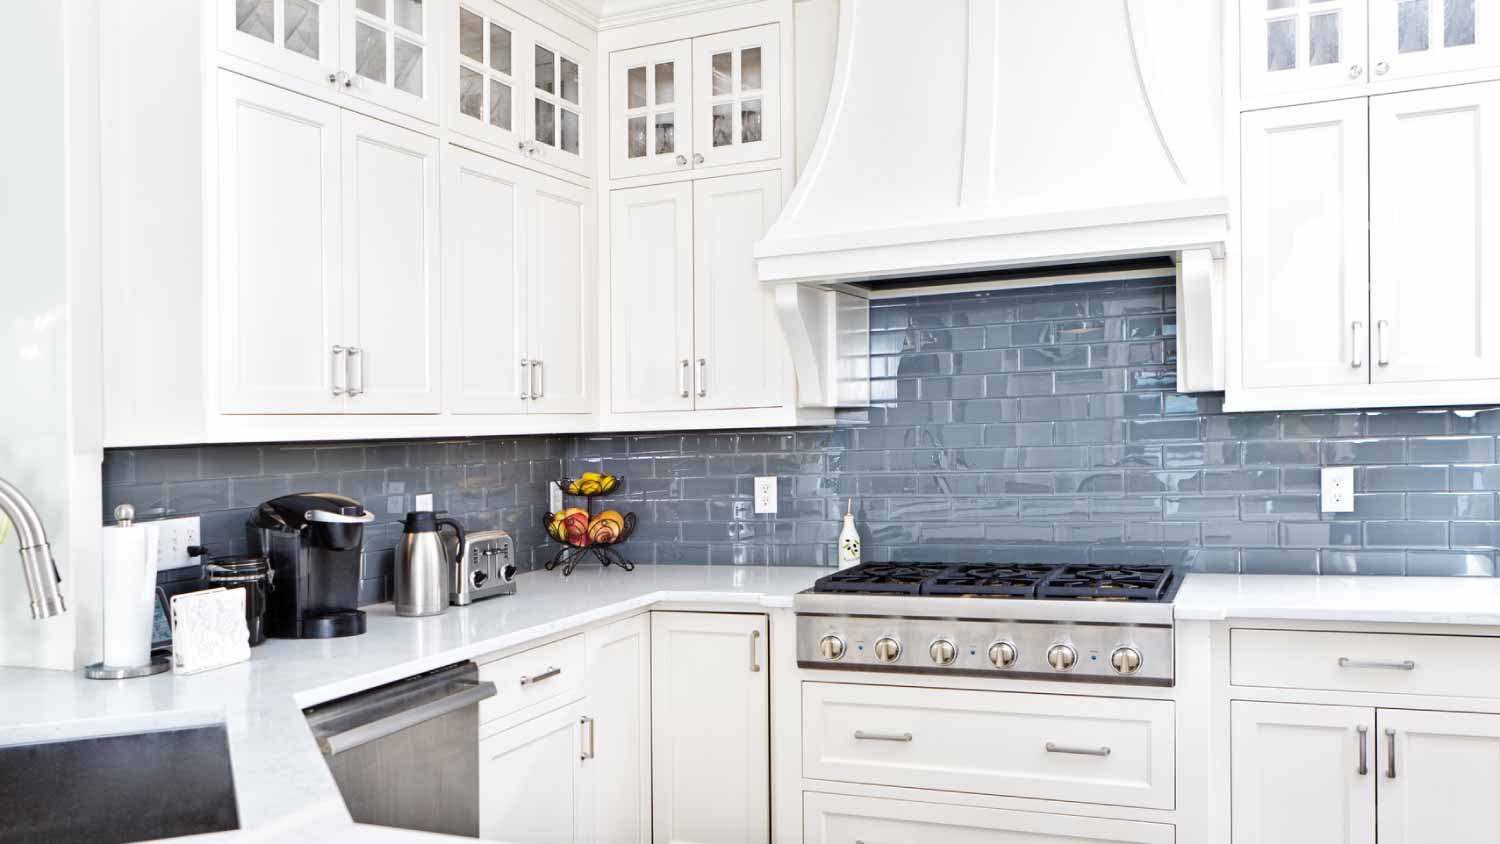
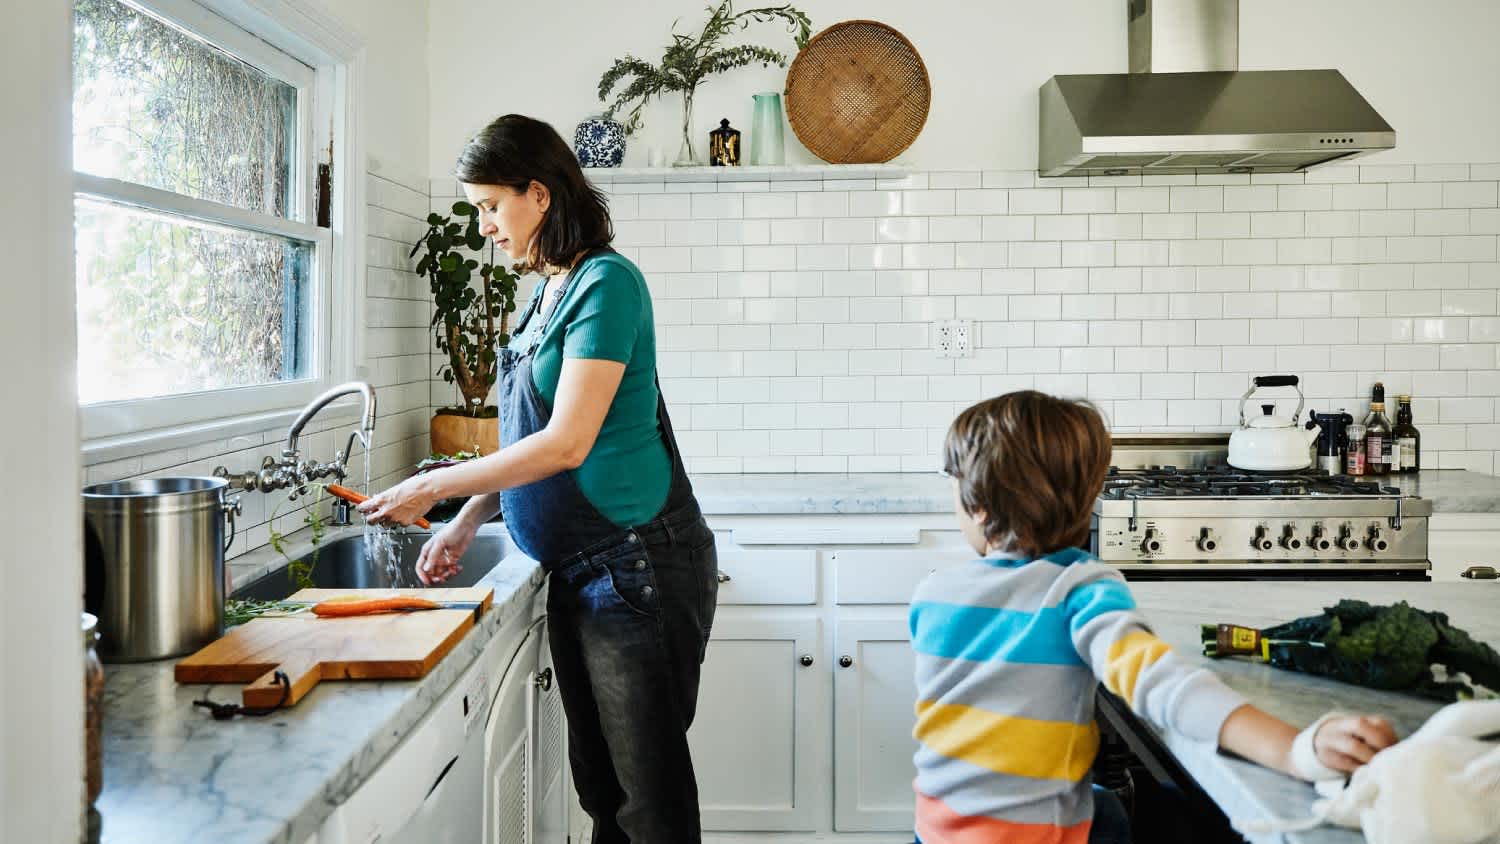
Tile: Ceramic and Porcelain - Install
Serving Cathlamet, WA and surrounding areas
Approved
Free estimates
Small jobs welcome
We are a general contractor company with over 40 years of combined experience. Servicing Southwest Washington.