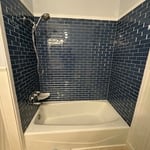
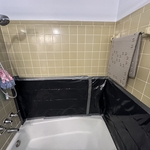
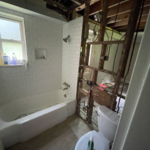
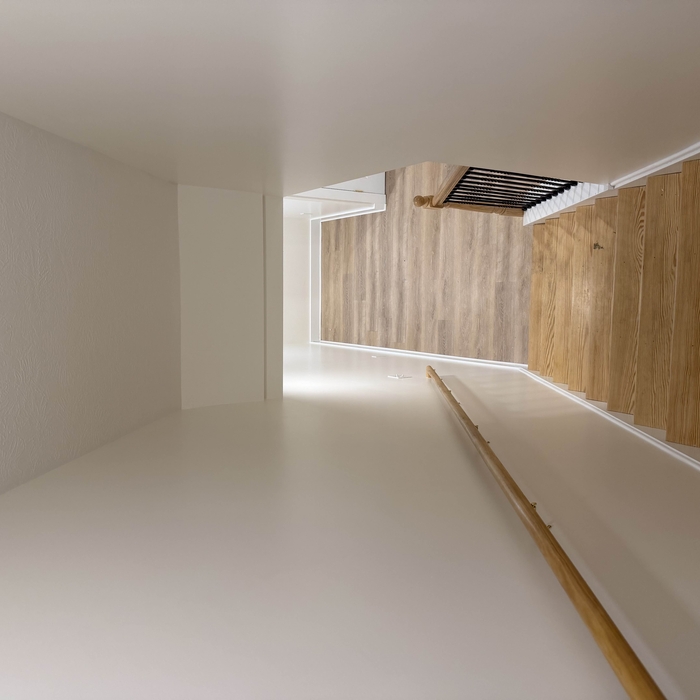
"Jesse drywalled a bathroom and utility area, repaired the ceiling and painted. When he was done it looked new again. Great work, on time and he stuck to his original bid. It was a much bigger job than I even thought once all the damaged drywall was removed."
"our handyman installer was very customer service oriented, friendly and easy to work with. he did the whole project uninstalling and installing the microwave over-the-range appliance in less than an hour (40-45 min). I really appreciated that Mr. Handyman offered the haul-away service of the old appliance that the other home handyman services I was considering did not. overall, it was excellent--a professional and efficient home installation service. the cost was also comparable with what Home Depot was charging. I will definitely keep Mr. Handyman in mind for any upcoming home projects we may need."
"The owners (Chris and Cal) did an excellent job on our remodeled project. They were personally involved with the project and worked directly with us during the entire planning and implementation of the work. They were true craftsmen. We wanted a contractor who could do the entire project and C&C fit the bill. They performed the drywall, flooring, windows, painting, electrical, and structural part of the job. We would highly recommend them ."
"David did a great job on this project, very clear communication and it was obvious he cared about quality. I would gladly hire him again for a future project."
"I hired them for multiple projects many different times. Always on time and reliable service. They work clean and always had the job done. Highly recommended."
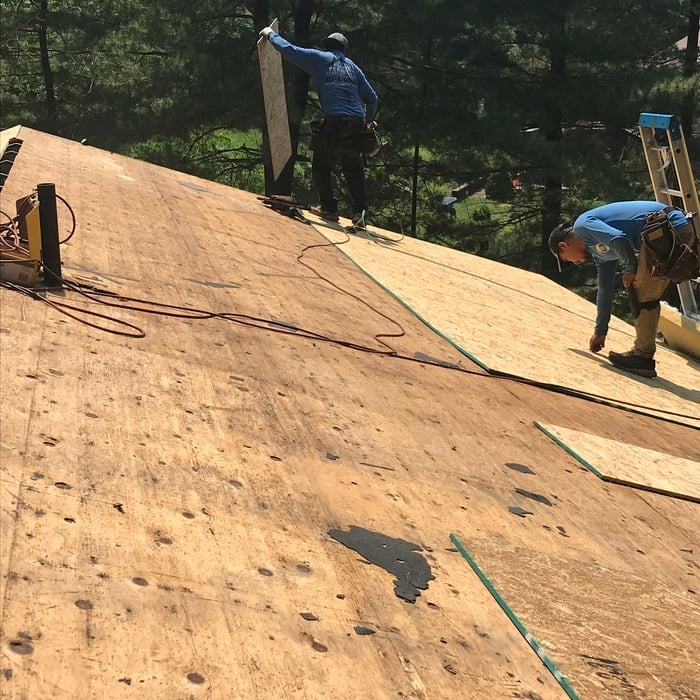
"I bought the roof maintenance deal on Angies list and will definitely do it again. My house is small so Zach did not even charge me the full price...I did not even ask him to discount it. I am very happy with his service and even more happy that I found an honest, capable company for all my future roofing needs. I would definitely recommend calling them for all your roofing needs."
Backsplash Installation questions, answered by experts
Add a T-shaped spacer to each corner of a tile when placing it. You’ll want to nudge the tiles closer together so the spacers are touching each corner. When you’re done installing your tile, you can remove each spacer, wash them, and use them for your next project.
Yes, cracked tiles allow water to seep through the substrate or subfloor, leading to mold and mildew growth. It can also cause severe structural damage. At the very least, water damage can cause your tile to lift from the substrate, meaning one cracked tile can lead to several cracked tiles. It’s a good idea to waterproof tile in areas with direct water exposure or lots of moisture.
It’s best to start with tiling the shower floor before moving on to the walls for the most visually-pleasing results. When taking on any tiling project, you’ll want the wall tiles to “sit” neatly on the floor tiles rather than overlapping them. Finishing your floor tiles first will allow you to place your wall tiles without any gaps, holes, or awkward intersections.
Tile countertops can be an excellent and budget-friendly option for a kitchen, provided they are installed correctly. It's important to choose tiles, such as ceramic, that are heat-, water-, and scratch-resistant. When the grout is properly sealed, it will resist stains, making the surface easy to clean. Tile is also considered a sustainable material. For a cohesive kitchen design and added protection, you can pair a tile countertop with a matching tile backsplash.
Penny tile should be sealed to protect the grout from moisture and keep stains from damaging the look of the tile. If penny tile is in a humid or high-traffic area, like a bathroom, kitchen, or entryway, it needs sealant. Any type of tile and grout is best maintained with a sealant reapplied by a pro every one to two years.
The Swissvale, PA homeowners’ guide to backsplash installation services
From average costs to expert advice, get all the answers you need to get your job done.
When installing a kitchen backsplash, you’ll need the right tools, materials, and knowledge. Our guide will show you how to install a kitchen backsplash.