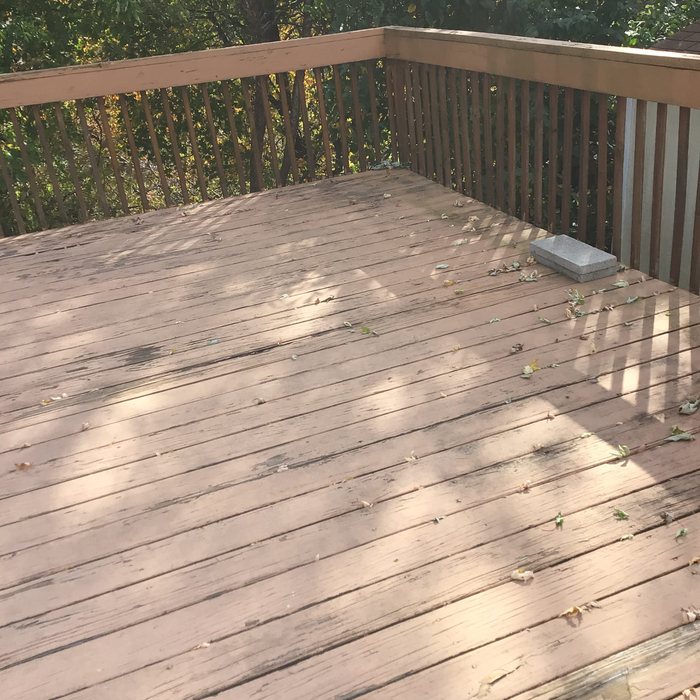
"We needed new gutter guards installed on our shed. Jesse thoroughly cleaned the gutters and professionally installed the new guards. The gutters were approximately 20 feet above ground level, and Jesse completed the work safely and efficiently. He arrived exactly as scheduled and worked diligently until the job was fully completed. We were very pleased with his workmanship, professionalism, and attention to detail."
"our handyman installer was very customer service oriented, friendly and easy to work with. he did the whole project uninstalling and installing the microwave over-the-range appliance in less than an hour (40-45 min). I really appreciated that Mr. Handyman offered the haul-away service of the old appliance that the other home handyman services I was considering did not. overall, it was excellent--a professional and efficient home installation service. the cost was also comparable with what Home Depot was charging. I will definitely keep Mr. Handyman in mind for any upcoming home projects we may need."
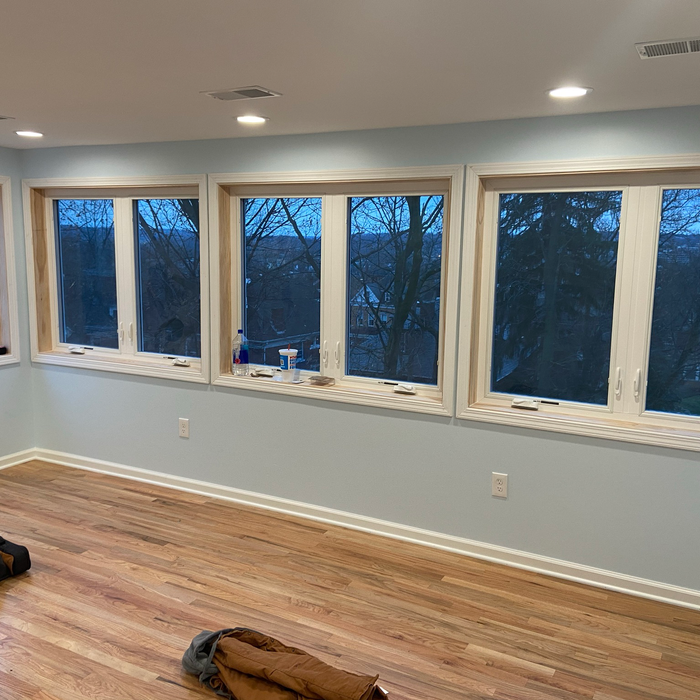
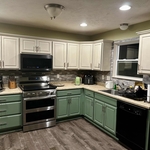
"The owners (Chris and Cal) did an excellent job on our remodeled project. They were personally involved with the project and worked directly with us during the entire planning and implementation of the work. They were true craftsmen. We wanted a contractor who could do the entire project and C&C fit the bill. They performed the drywall, flooring, windows, painting, electrical, and structural part of the job. We would highly recommend them ."
\nRoots to Roofs Solutions provides dependable home repair and remodeling services throughout the Pittsburgh area. We specialize in drywall repair, painting, flooring installation, tile work, kitchen and bathroom updates, and general home improvements.\n\nWe pride ourselves on clear communication, reliable scheduling, and quality workmanship. Whether you need a small repair or help with a larger renovation project, our goal is to make the process simple and deliver results you can trust.
"Have used them several times for carpet installation and tile flooring. Always a good experience. Great products and looks great. Very professional sales people and installers who are quite efficient."
We pride our company on reliability, great communication, integrity, and quality work. We are experts in our trade and will do our best to keep you as educated as we can on your particular task or project. We look forward to earning your business!
\n
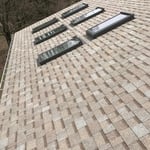
"Very well. Always Perfect Contracting was very professional, they gave an accurate bid on the work and accurate estimate of the time needed. They did an excellent job and the new roof looks terrific and have new, well installed gutters is excellent."
"I'm currently renovating a bathroom that was covered in pink plastic tiles. After I finished clearing everything out of the room, I had Bob come in and re-plaster the walls and ceiling (ceiling was also covered in the plastic tiles). He did a fantastic job! The room was brand new when he was finished. Bob also contacted me a couple times after the job was done a week or two later just to check in on how things are and to make sure I was still satisfied. I will use him again for future plastering and would highly recommend him to others."
Add a T-shaped spacer to each corner of a tile when placing it. You’ll want to nudge the tiles closer together so the spacers are touching each corner. When you’re done installing your tile, you can remove each spacer, wash them, and use them for your next project.
No, when done correctly, removing the tile shouldn’t damage the subfloor. However, if there was pre-existing damage to the subfloor from standard use or lack of maintenance, the subfloor may need repairs. For example, if the contractors notice mold growth on the subfloor or an uneven surface, you may need more extensive services before installing new tile.
If you DIY tile removal, remove the tiles one step at a time, individually removing the tile, grout, and mortar to prevent unnecessarily damaging the subfloor. Depending on the age of your home, consider having a professional inspect the subfloor to ensure it’s in good enough condition to lay new tile.
It’s best to start with tiling the shower floor before moving on to the walls for the most visually-pleasing results. When taking on any tiling project, you’ll want the wall tiles to “sit” neatly on the floor tiles rather than overlapping them. Finishing your floor tiles first will allow you to place your wall tiles without any gaps, holes, or awkward intersections.
Technically, you can start tiling in a corner and work your way out. However, it's not traditionally how tiling is done. Instead, work from the bottom middle of the wall. Tile out the entire row with whole tiles before moving on to the next row. Once you finish installing all of the whole tiles, then you focus on tiling the corners.
Tile countertops can be an excellent and budget-friendly option for a kitchen, provided they are installed correctly. It's important to choose tiles, such as ceramic, that are heat-, water-, and scratch-resistant. When the grout is properly sealed, it will resist stains, making the surface easy to clean. Tile is also considered a sustainable material. For a cohesive kitchen design and added protection, you can pair a tile countertop with a matching tile backsplash.
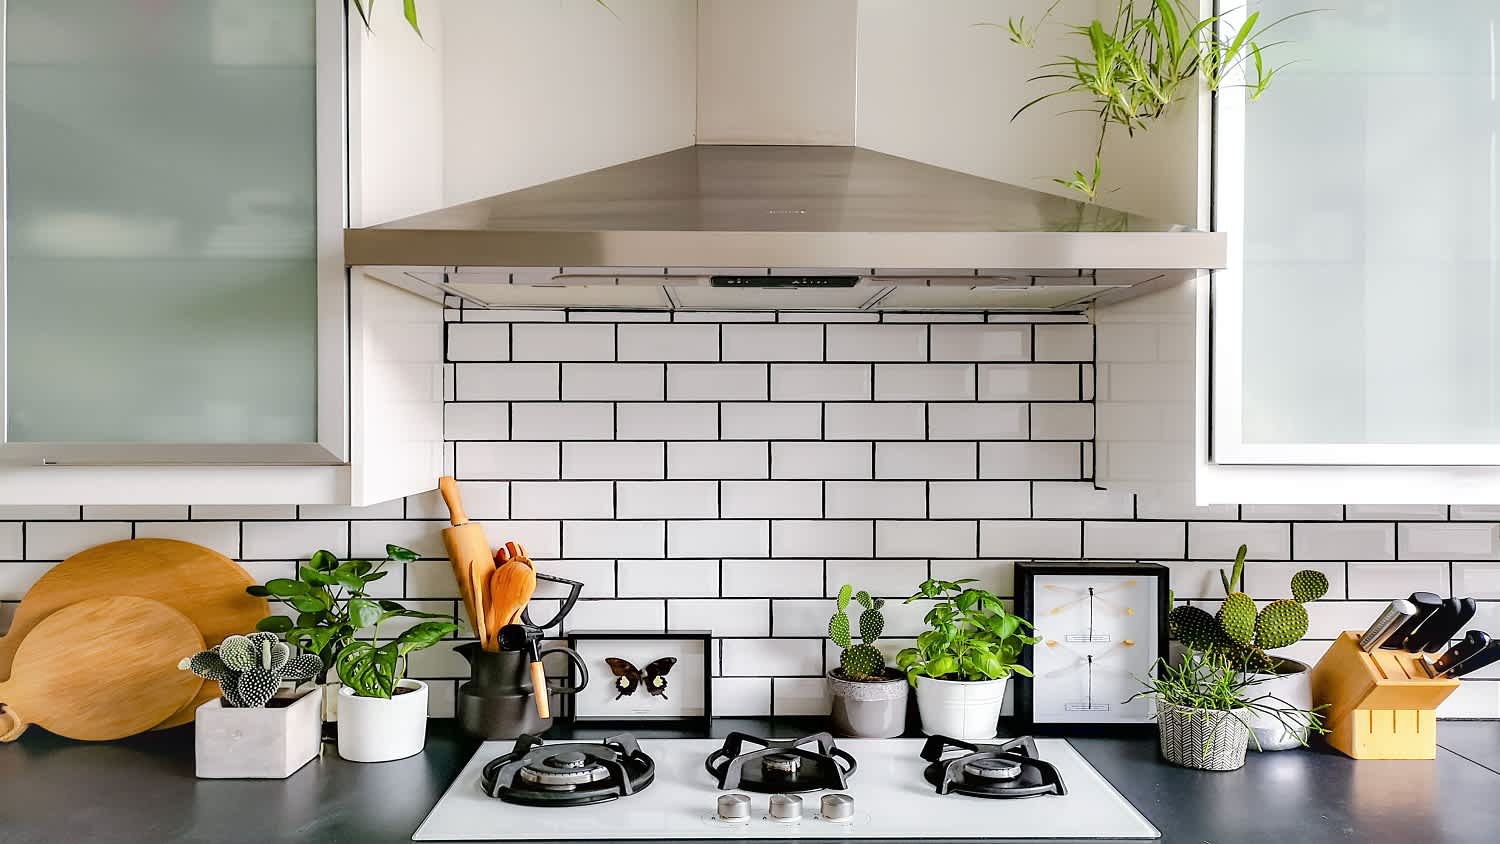
The Rankin, PA homeowners’ guide to backsplash installation services
From average costs to expert advice, get all the answers you need to get your job done.
When installing a kitchen backsplash, you’ll need the right tools, materials, and knowledge. Our guide will show you how to install a kitchen backsplash.