"Very kind with regard to extenuating personal issues on my part. Also, creative and excellent in his performance. Listened to my ideas and found solutions to problems created by previous installers (SAS.) Couldn't be happier with his service."
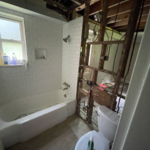
"Jesse drywalled a bathroom and utility area, repaired the ceiling and painted. When he was done it looked new again. Great work, on time and he stuck to his original bid. It was a much bigger job than I even thought once all the damaged drywall was removed."
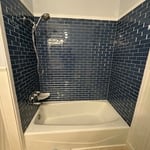
"When Zane first answered my query about doing this tile job he was extremely communicative the entire time as we planned the job. He said he had an opening in just a few days if I could make my decisions about exactly what I wanted, He arrived this morning, did a great set up to keep the room clean through the process, the two of us discussed a couple approaches to the project and then he proceeded to work hard all day to bring it to fruition. I would recommend Zane to anyone who needs a home remodeling project."
"our handyman installer was very customer service oriented, friendly and easy to work with. he did the whole project uninstalling and installing the microwave over-the-range appliance in less than an hour (40-45 min). I really appreciated that Mr. Handyman offered the haul-away service of the old appliance that the other home handyman services I was considering did not. overall, it was excellent--a professional and efficient home installation service. the cost was also comparable with what Home Depot was charging. I will definitely keep Mr. Handyman in mind for any upcoming home projects we may need."
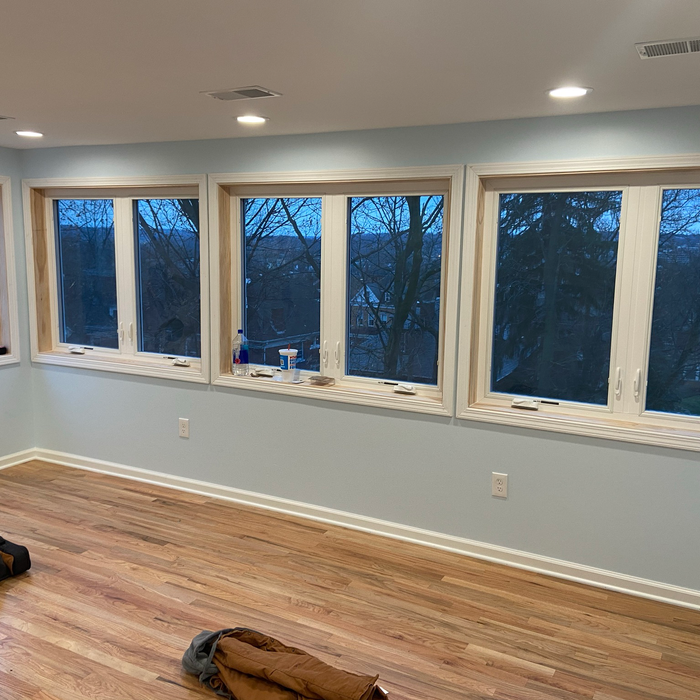
"The owners (Chris and Cal) did an excellent job on our remodeled project. They were personally involved with the project and worked directly with us during the entire planning and implementation of the work. They were true craftsmen. We wanted a contractor who could do the entire project and C&C fit the bill. They performed the drywall, flooring, windows, painting, electrical, and structural part of the job. We would highly recommend them ."
"David did a great job on this project, very clear communication and it was obvious he cared about quality. I would gladly hire him again for a future project."
"Have used them several times for carpet installation and tile flooring. Always a good experience. Great products and looks great. Very professional sales people and installers who are quite efficient."
"I hired them for multiple projects many different times. Always on time and reliable service. They work clean and always had the job done. Highly recommended."
Backsplash Installation questions, answered by experts
Poured-in-place terrazzo flooring is more durable than tile. In fact, it’s one of the most durable types of flooring on the market. It can last anywhere from 40 to 100 years, depending on maintenance. On average, you can expect your terrazzo floor to last about 75 years, but you will have to make repairs as needed.
Popular options include ceramic, porcelain, stone, and glass tiles, chosen based on the area (bathroom, kitchen) and desired aesthetic.
Penny tile should be sealed to protect the grout from moisture and keep stains from damaging the look of the tile. If penny tile is in a humid or high-traffic area, like a bathroom, kitchen, or entryway, it needs sealant. Any type of tile and grout is best maintained with a sealant reapplied by a pro every one to two years.
Terracotta tile is a broad term for clay tile that’s been fired in a kiln, and Saltillo tile is a specific type of terracotta tile produced in Saltillo, Mexico. In addition to Saltillo, terracotta tile comes in a range of other shades and styles. You’ll often find it used in buildings throughout Mexico, southern Europe, and the western United States.
You can technically install tile over tile, but we don’t suggest it. Installing tile over any surface that isn’t a completely flat and prepared subfloor will result in a shoddy overall job, uneven flooring, tiles that don’t adhere, extra weight, gaps, cracks, and room for moisture and dirt to enter. For the best results, only install new tile on a flat, sanded surface like subflooring or concrete that is prepared for tile.
If you have asbestos tile and would rather tile over it than remove it, or if your existing tile is completely flat and bonded tightly to the floor, you may be able to tile over existing tile. But experts recommend thinking twice before you do.
The Forest Hills, PA homeowners’ guide to backsplash installation services
From average costs to expert advice, get all the answers you need to get your job done.
When installing a kitchen backsplash, you’ll need the right tools, materials, and knowledge. Our guide will show you how to install a kitchen backsplash.