"We needed new gutter guards installed on our shed. Jesse thoroughly cleaned the gutters and professionally installed the new guards. The gutters were approximately 20 feet above ground level, and Jesse completed the work safely and efficiently. He arrived exactly as scheduled and worked diligently until the job was fully completed. We were very pleased with his workmanship, professionalism, and attention to detail."
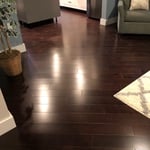
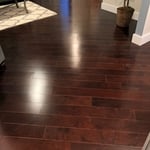
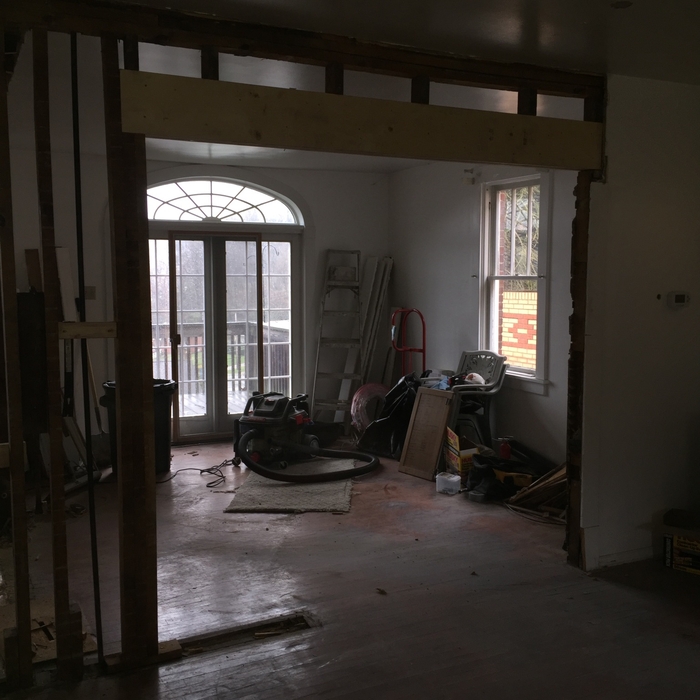
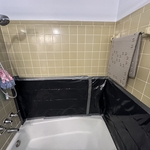
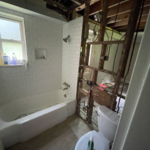
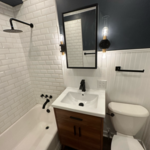
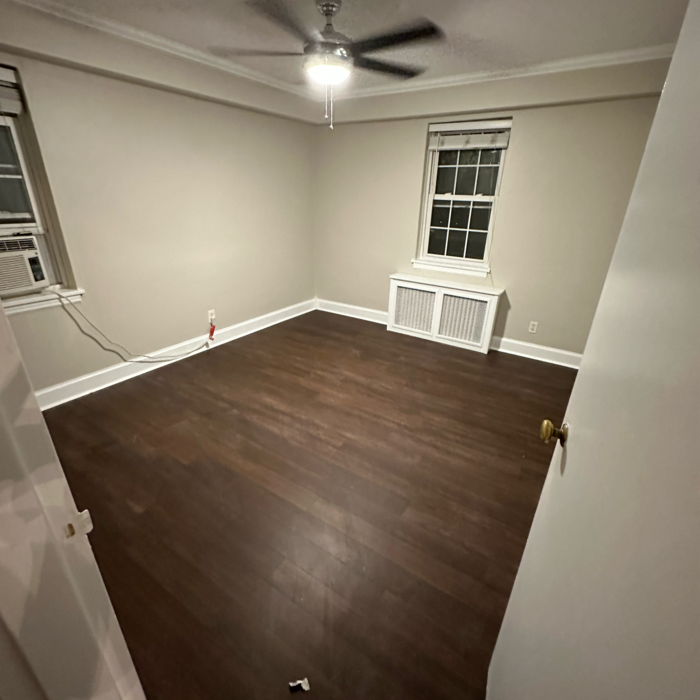
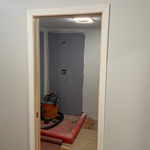
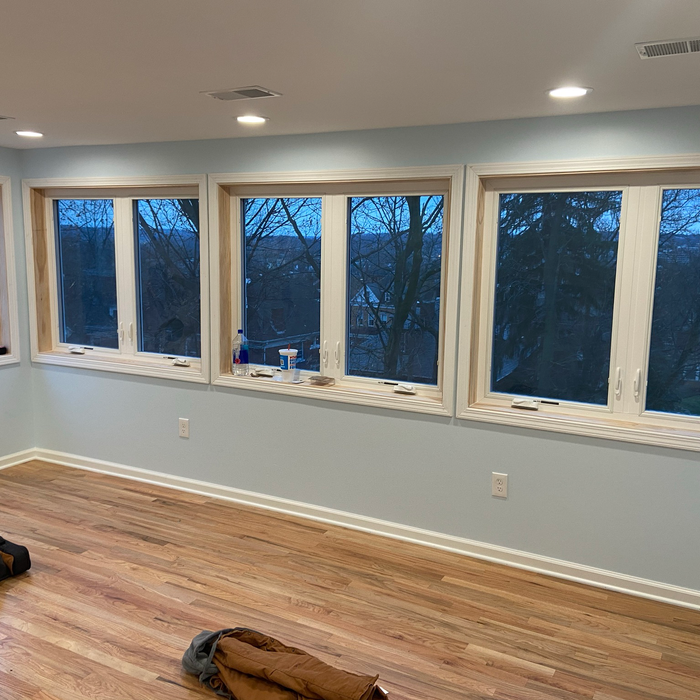
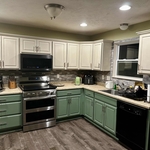
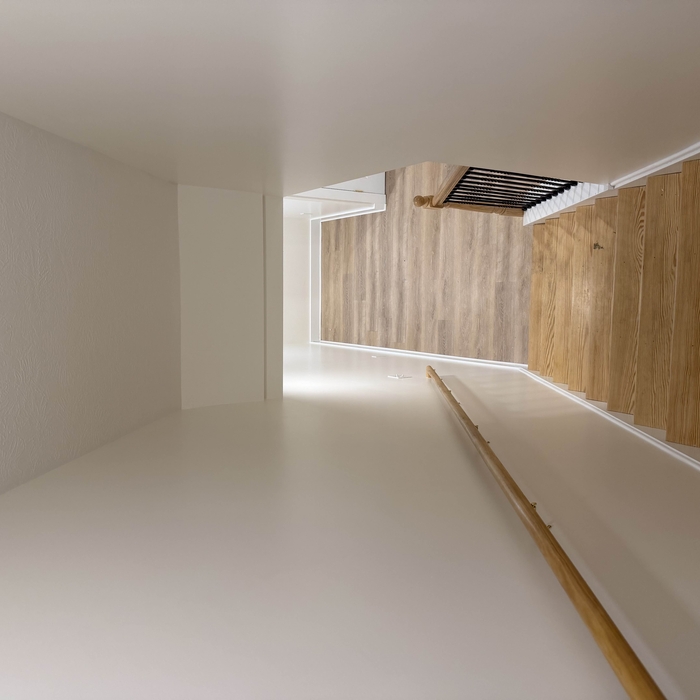
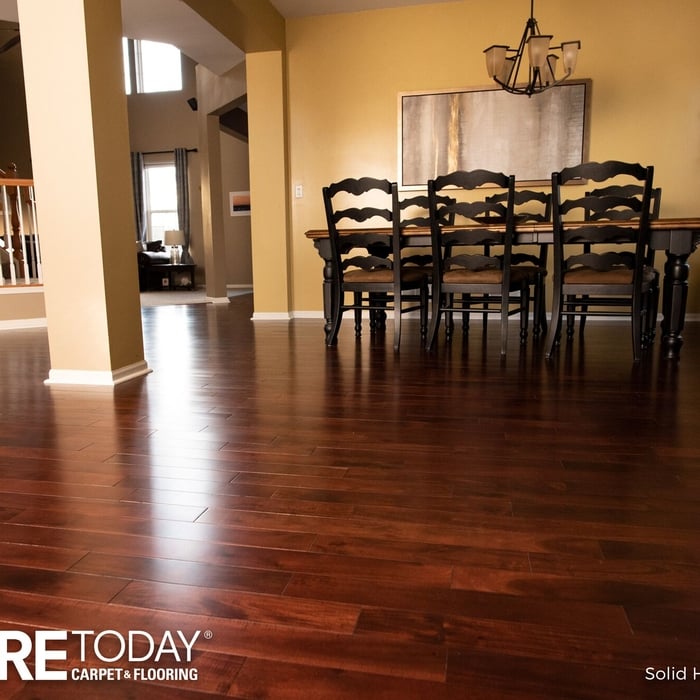
"The owners (Chris and Cal) did an excellent job on our remodeled project. They were personally involved with the project and worked directly with us during the entire planning and implementation of the work. They were true craftsmen. We wanted a contractor who could do the entire project and C&C fit the bill. They performed the drywall, flooring, windows, painting, electrical, and structural part of the job. We would highly recommend them ."
"David did a great job on this project, very clear communication and it was obvious he cared about quality. I would gladly hire him again for a future project."
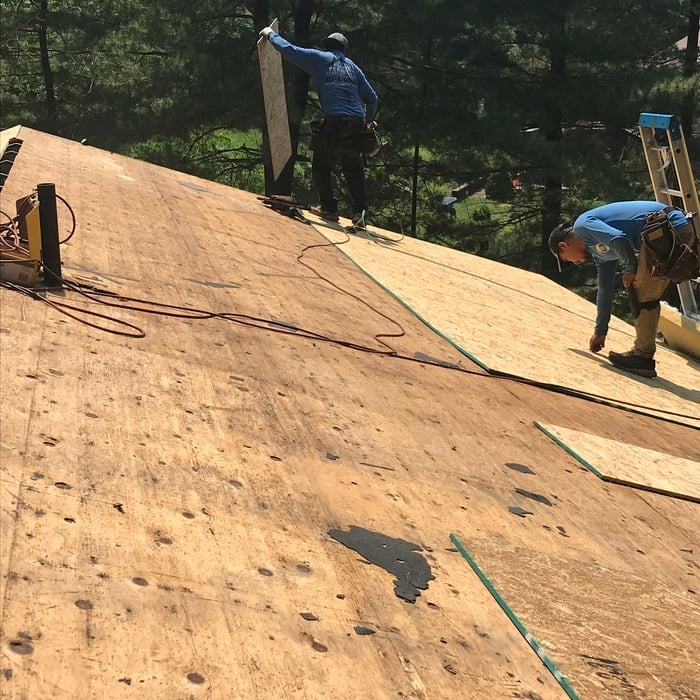
"I bought the roof maintenance deal on Angies list and will definitely do it again. My house is small so Zach did not even charge me the full price...I did not even ask him to discount it. I am very happy with his service and even more happy that I found an honest, capable company for all my future roofing needs. I would definitely recommend calling them for all your roofing needs."
Backsplash Installation questions, answered by experts
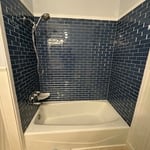
On average, tiling a bathroom involves about 12 hours of labor, usually spread over two to three days to accommodate prep work and curing times. A professional tiler can often complete the installation in 6 to 8 hours, whereas a DIYer might take 10 to 16 hours. The total project time is influenced by factors like the bathroom layout, tile type, and necessary prep work, such as removing old tile. The process includes specific timelines for different areas; for example, tiling a floor takes about six hours, while a shower area can take six to ten hours. It is essential to allow for adequate curing time—typically 24 hours each—for the mortar, grout, and caulk, which is why the project extends over several days.
The tile trim you use will depend on a few factors, including design preferences, budget, and whether the project is DIY or not. You might choose plastic trim if you want an easier DIY job that is more budget-friendly. There are also more color options available in plastic. On the other hand, you might choose metal to match your fixtures or for areas with heavy use.
Per the International Code Council, walk-in shower floors should have a minimum slope of 1/4-inch per foot (or a 2% slope) towards the drain. The slope should be no steeper than 1/2-inch per foot (or a 4% slope). This helps safely direct water into the drain rather than all over your bathroom.
Glazed ceramic tiles don’t need to be sealed because the glazing already offers some protection against moisture. Unglazed ceramic tiles need to be sealed to keep the porous tile safe from moisture and staining. However, both types of tile can benefit from sealing. Sealant can make the tiles easier to keep clean and offer more resistance to water, spills, and stains.
Yes. You can tile over tile if the old tile is in good shape, but this will also create a thicker floor. As a result, you may have to remove and readjust baseboards and other room trimmings and potentially even raise door heights to work with the higher floors. In most projects, it’s best to remove the old tile before installing a new tile floor.
The North Versailles, PA homeowners’ guide to backsplash installation services
From average costs to expert advice, get all the answers you need to get your job done.
When installing a kitchen backsplash, you’ll need the right tools, materials, and knowledge. Our guide will show you how to install a kitchen backsplash.