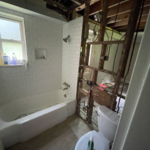
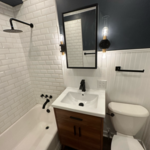
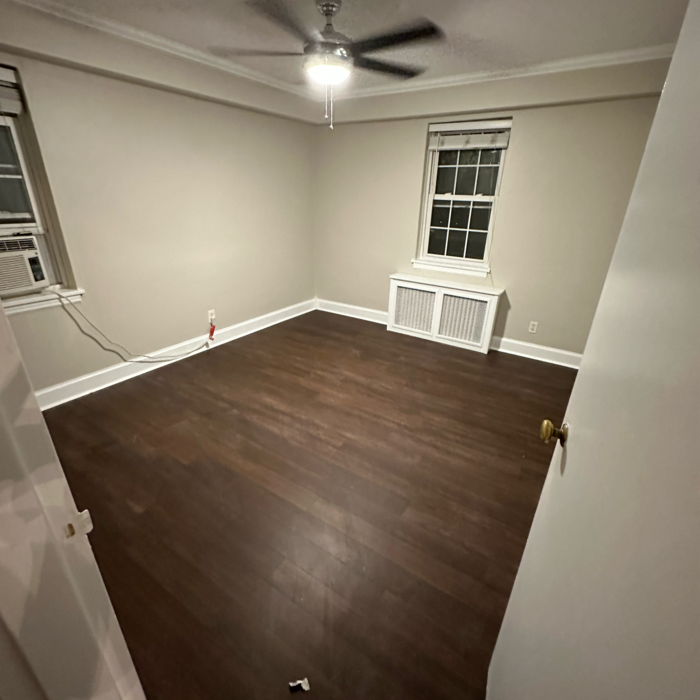
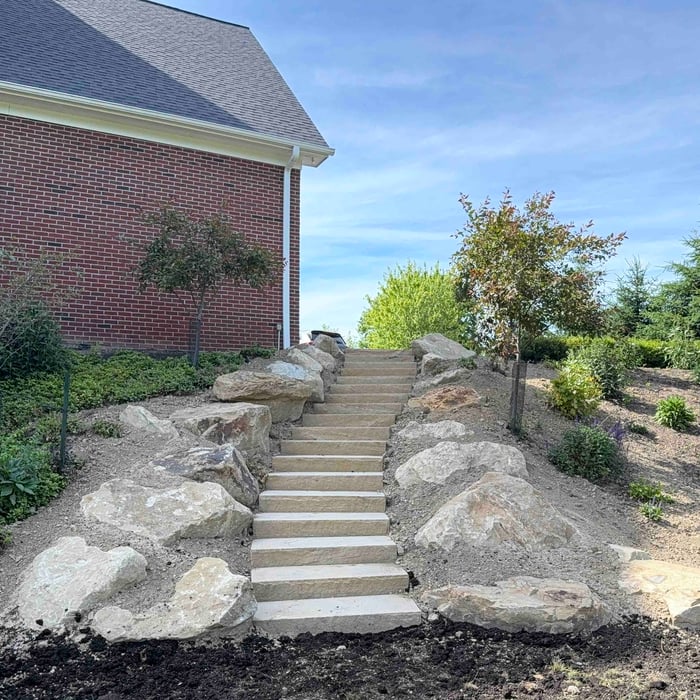
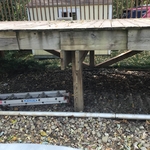
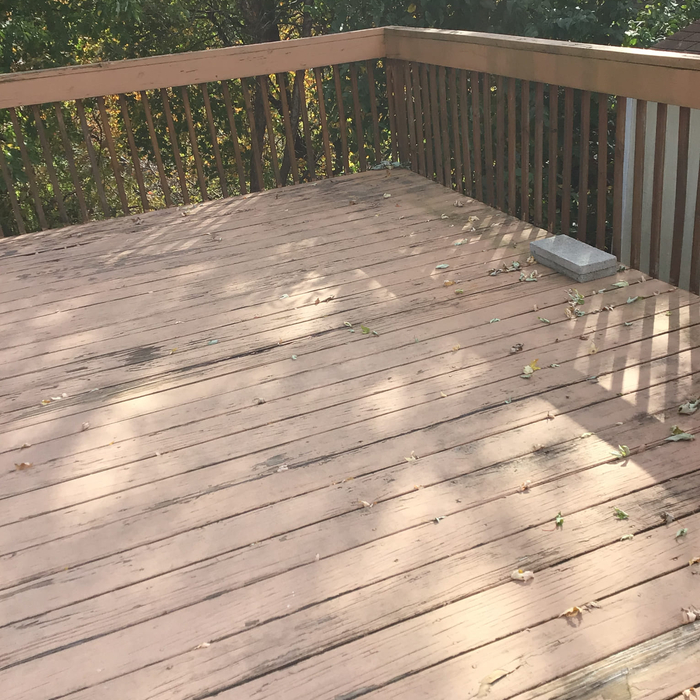
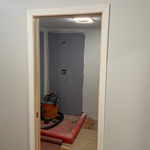
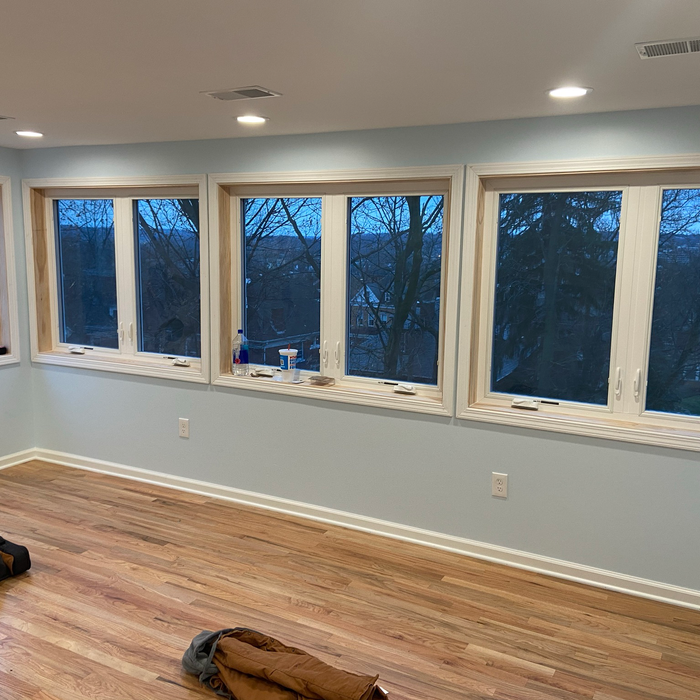
"Jesse drywalled a bathroom and utility area, repaired the ceiling and painted. When he was done it looked new again. Great work, on time and he stuck to his original bid. It was a much bigger job than I even thought once all the damaged drywall was removed."
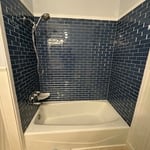
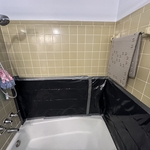
"When Zane first answered my query about doing this tile job he was extremely communicative the entire time as we planned the job. He said he had an opening in just a few days if I could make my decisions about exactly what I wanted, He arrived this morning, did a great set up to keep the room clean through the process, the two of us discussed a couple approaches to the project and then he proceeded to work hard all day to bring it to fruition. I would recommend Zane to anyone who needs a home remodeling project."
"our handyman installer was very customer service oriented, friendly and easy to work with. he did the whole project uninstalling and installing the microwave over-the-range appliance in less than an hour (40-45 min). I really appreciated that Mr. Handyman offered the haul-away service of the old appliance that the other home handyman services I was considering did not. overall, it was excellent--a professional and efficient home installation service. the cost was also comparable with what Home Depot was charging. I will definitely keep Mr. Handyman in mind for any upcoming home projects we may need."
"The owners (Chris and Cal) did an excellent job on our remodeled project. They were personally involved with the project and worked directly with us during the entire planning and implementation of the work. They were true craftsmen. We wanted a contractor who could do the entire project and C&C fit the bill. They performed the drywall, flooring, windows, painting, electrical, and structural part of the job. We would highly recommend them ."
"David did a great job on this project, very clear communication and it was obvious he cared about quality. I would gladly hire him again for a future project."
"Have used them several times for carpet installation and tile flooring. Always a good experience. Great products and looks great. Very professional sales people and installers who are quite efficient."
"I hired them for multiple projects many different times. Always on time and reliable service. They work clean and always had the job done. Highly recommended."
Backsplash Installation questions, answered by experts
If you’re handling your tile removal yourself, seal the room using painter’s tape and heavy-duty contractor bags to prevent dust and shards from escaping. Use a claw hammer or a pry bar and a mallet to get behind the tile and pry it away from the floor or wall. Once your tiles are all removed, sweep everything into contractor bags for disposal, being careful not to overfill them. Make sure you wear a dust mask, safety goggles, and work gloves to keep yourself safe from injury while you work.
Poured-in-place terrazzo flooring is more durable than tile. In fact, it’s one of the most durable types of flooring on the market. It can last anywhere from 40 to 100 years, depending on maintenance. On average, you can expect your terrazzo floor to last about 75 years, but you will have to make repairs as needed.
It’s easiest to start from an edge as it gives you a straight line. A problem may arise if your edge doesn’t line up perfectly, in which case it’s best to start from the center. Some think that starting tile from the center adds a focal point in the center of the hearth.
Tile shouldn’t be set tight against the tub. Bathtubs can expand when filled, and they can shift slightly with the weight of occupants. For this reason, it’s important to leave a slight gap between the bathtub and the first row of tile. Aim for a narrow gap of approximately 1/16 of an inch, filled with caulk, to allow for this expansion and movement while still allowing for tile shower waterproofing.
Updating your backsplash without removing the tile is possible in a couple of different ways. First, you can remove the old grout and replace it with new grout to give your backsplash a fresh look. You can also change the grout color, which can have a surprisingly large impact on the final appearance of the backsplash. Finally, you can paint the original tile to totally change the look of the backsplash without removing it.
The Verona, PA homeowners’ guide to backsplash installation services
From average costs to expert advice, get all the answers you need to get your job done.
When installing a kitchen backsplash, you’ll need the right tools, materials, and knowledge. Our guide will show you how to install a kitchen backsplash.