
Top-rated drywall pros.

Get matched with top drywall pros in Lincoln, ID

Enter your zip and get matched with up to 5 pros

Need a pro for your drywall service project in Lincoln, ID?

Select your specific project to find the pro for you.

TRUSTED BY LINCOLN, ID HOMEOWNERS

  • Average homeowner rating star icon4.5
    Average homeowner rating
  • Verified reviews icon62
    Verified drywall services reviews

Find Drywall pros in Lincoln

Avatar for A Better Home Handyworks
A Better Home Handyworks
5.0(
13
)
Drywall - Repair

Serving Lincoln, ID and surrounding areas

Approved

In business since 2008

Free estimates

Small jobs welcome

"Being a landlord, I'm very careful about who goes into my units with my tenants. I want them to be treated very well. I have had tenants contact me after Darren and his team went in to do repairs in the units to let me know how friendly, thorough and clean Darren's work was. I highly recommend A Better Home Handiworks!"
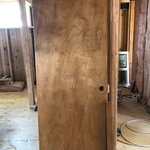
Stained to match and finished
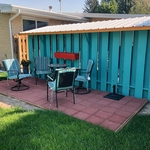
New Patio
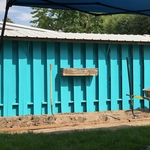
After paint but before patio is laid
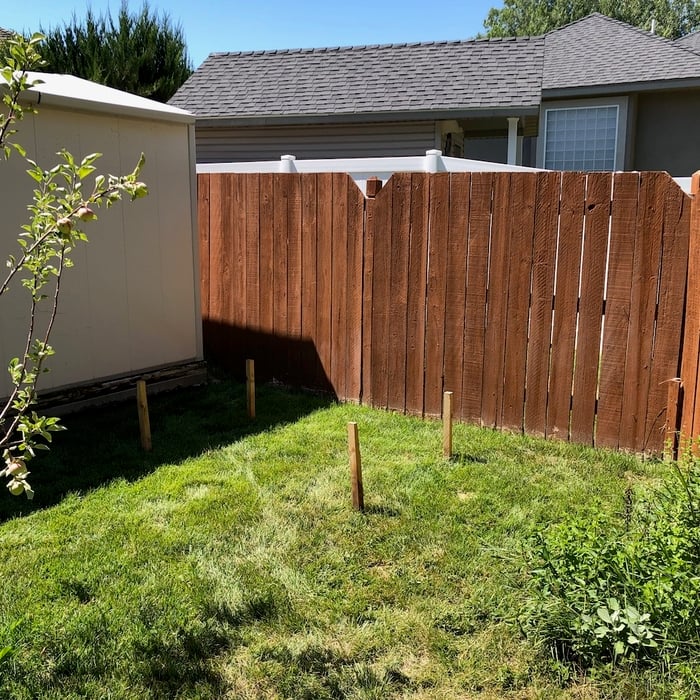
Garden Arbor
Garden Arbor

+11

Response time7 hrs
Recommended by100%of homeowners
Avatar for Black Iron Construction and Fabrication
Black Iron Construction and Fabrication
4.9(
11
)
Drywall - Install

Serving Lincoln, ID and surrounding areas

Approved

In business since 2021

Free estimates

Customers say: True professional

"Ryan Seminario/Black Iron Construction installed a sliding door package in our living room. It was difficult to find someone willing to do a smaller project but Ryan was totally on board. This project required installing a header and re-constructing the wall to fit the doors, putting up drywall, sanding and texturing the wall and putting up new siding on the outside. He did a beautiful job! He paid attention to detail and got everything right. He is very good about communicating. Especially when he will be on site and what he will be working on. When he wasn't comfortable doing the wiring needed for our project, he was honest and upfront with me. We worked together and found an electrician to do it. He put up a plastic wall around the work area and cleaned the work area at the end of each day. I really appreciated that! I highly recommend Black Iron Construction for any project."
Response time8 hrs
Response rate100%
4 neighbors recently requested a quote
...
Showing 1-10 of 135
Drywall questions, answered by experts

Whether you can reuse a drywall anchor depends on its type, material, and how it is removed. Plastic anchors, such as expansion or self-drilling types, are generally considered single-use because they are designed to expand and are likely to break or become deformed upon removal. Metal anchors, like toggle bolts, are more durable and can often be reused if they are not damaged during extraction. However, with toggle bolts, the toggle mechanism can fall inside the wall when the bolt is removed, making it difficult to retrieve. If an anchor is damaged or must be cut for removal, it cannot be reused regardless of its material.

You should wait at least 24 hours for drywall mud to dry before sanding or applying another coat. However, the exact drying time depends on several factors, including the thickness of the application, room temperature, humidity, and the type of compound used. Thicker layers, or projects in high humidity, may require 48 hours or more. Lightweight compounds tend to dry faster than heavier, all-purpose ones. You'll know the mud is ready when it feels completely dry and firm to the touch and has changed to a consistent light color. Sanding too early can cause smudging or gouges, so patience is essential for a smooth finish.

There are six levels of drywall finish, from 0 to 5, that refer to the amount of work performed during the finishing process.

Level 0: Drywall is hung with no finishing work.

Level 1: Tape is placed over the seams between drywall sheets.

Level 2: A thin layer of mud is applied over the tape and screw holes. This level is common for utility rooms or walls that will be covered.

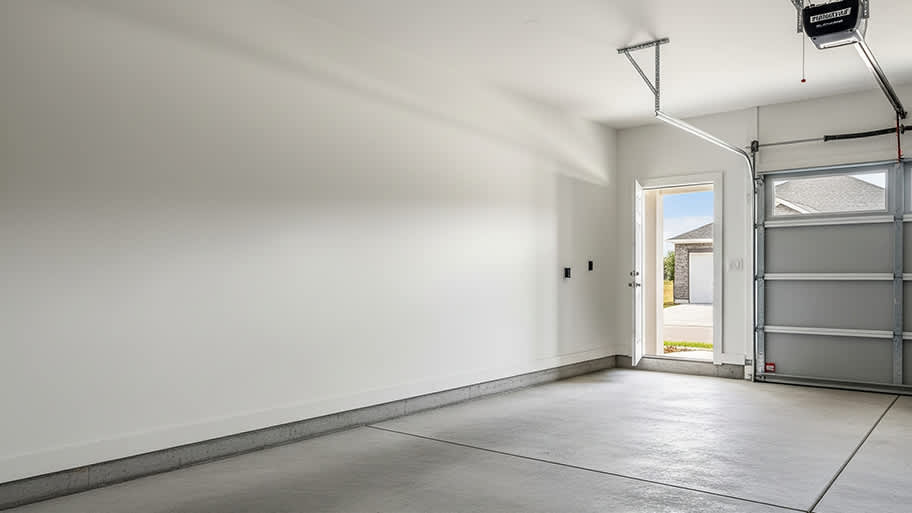
Level 3: A full coat of mud covers the screw holes and tape, but the surface is not sanded. This is often used in garages.

Level 4: This is the most common finish for visible interior walls. It involves applying two coats of mud over seams and screw holes, with sanding between each coat, creating a smooth surface ready for flat paint.

Level 5: This is a high-end finish for luxury homes. It includes full taping, mudding, and sanding, plus a final skim coat over the entire surface before painting.

The tool you use to sand plaster will depend on the size of the project. If you’re just working on a small section of your wall to get rid of an uneven spot on the surface, hand-sanding might work. However, for larger projects, a drywall sander can make a huge difference when it comes to both time and elbow grease—and an orbital sander can help for detailed areas such as around ceiling fans.

Metal corners, often referred to as corner beads for square corners, are used on drywall installations to provide structural reinforcement to vulnerable outside corners. Their usage safeguards against chipping, denting, or other forms of damage, enhancing the overall durability of the wall. Metal corners also offer a precise and straight edge that facilitates sharp and clean lines, crucial for achieving a polished and professional finish.

The Lincoln, ID homeowners’ guide to drywall services

From average costs to expert advice, get all the answers you need to get your job done.