

•
Discover the cost to build a greenhouse. Learn about average prices, key cost factors, and how to save on your greenhouse project.
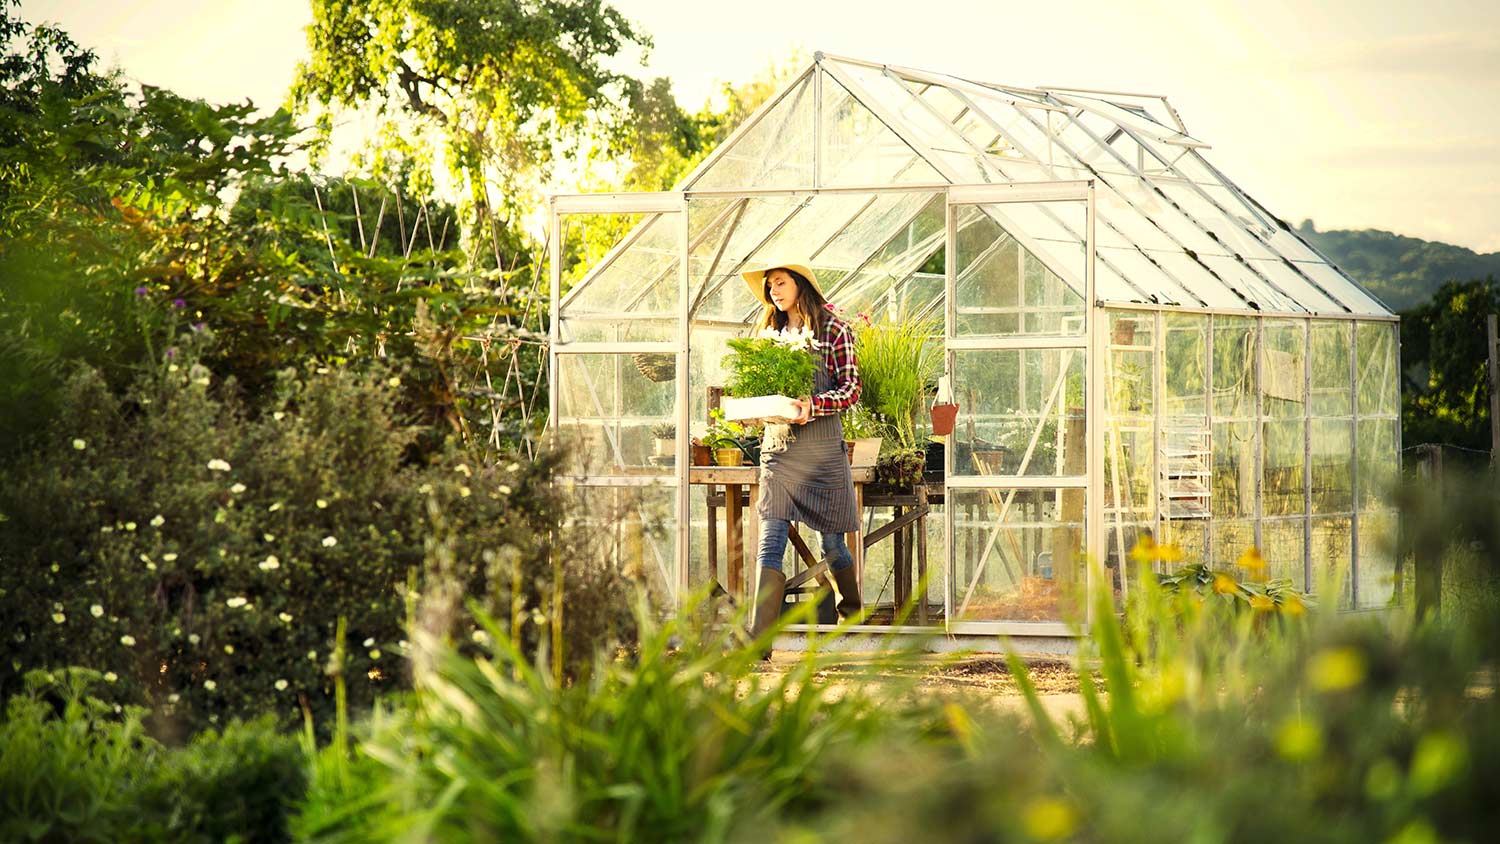
Use your green thumb to build your own custom greenhouse

Building a wooden greenhouse requires careful planning and proper measurements, so you'll need to choose your door and window sizes before you start framing the walls.
Expect to pay $200 to $400 for materials when building an 8-by-6-foot wooden greenhouse, depending on your lumber choices and the polycarbonate sheets you select.
Your greenhouse needs adequate sunlight, flat ground, and low winds, so prep your chosen spot by removing rocks and stumps before marking the corners with cinder blocks.
Hiring a local general contractor provides reliable support with framing, roof assembly, and door installation, keeping your wooden greenhouse project structurally sound and properly ventilated.
With a simple online search, you’ll quickly see how many options there are for building a DIY greenhouse. This guide will teach you how to build a wood frame greenhouse that’s small and simple, yet sturdy.
Difficulty: Hard (4/5)
This project is rated hard for those without building and woodworking experience. However, that rating changes to easy (2/5) for those with basic carpentry experience.
Project time: 1–2 days
How long it takes depends on your skill level and whether or not you have someone to help.
Cost: About $200–$400 The cost of a greenhouse will vary depending on size, design, and chosen materials.
Measuring tape
Pencil
Air nailer or power drill
Circular saw
16d framing nails
Caulking tool
Clamps
10–15 2x4 planks
Small window
Small door
Polycarbonate sheets
Caulk
Self-tapping screws with a built-in rubber washer
Consider these tips for building a homemade greenhouse before getting started.
Should you opt for a greenhouse kit instead?—Consider opting for a greenhouse kit instead of a complete DIY project. Kits are easier to build, and they come with all the materials you need already pre-cut to the correct dimensions. This is especially true if you’d like to build a small greenhouse.
Do you have building experience?—This DIY requires you to measure, cut, and drill wood planks, as well as build structurally secure wall frames to support a window and door. If this project is outside of your wheelhouse, consider hiring a professional contractor or opting for a DIY greenhouse kit.
Do you have a helping hand?— A project of this size will require an extra hand at times to ensure safety while building.
Can your backyard support a greenhouse?—Is your backyard large and flat enough to support a separate structure such as a greenhouse? Do you have the right climate factors to support growth (more sun than shade, low winds, weather conditions, etc.)?
Do you have the necessary permissions?—A greenhouse may require special permissions and restrictions by your HOA or local zoning board. The fines for breaking the rules can be hefty, so make sure you are granted the necessary approvals before you build.

Use this plan to build a small 8-by-6-foot greenhouse using 2x4 plywood planks.
Note: It’s important to choose your door and ventilation window before getting started. You’ll need the specific measurements of those elements in order to build the wall frames.

When choosing a spot for your greenhouse, look for the following qualifications:
Adequate sunlight
Flat ground
Low winds
Once you’ve found the perfect spot, prep the area by removing any rocks, stumps, or trees if necessary. Measure out the length and width of the greenhouse and mark the corners using cinder block footers.

Once your greenhouse location has been picked and primed, you’re ready to start building. First things first—frame the 8-foot-by-6-foot walls.
Frame the first wall. Starting with two 8-foot 2x4 planks, use a measuring tape to mark the very center with a pencil. From the center, mark 24 inches from the left of center, and 24 inches from the right of center. These marks are where you will install additional 2x4 planks to finish the wall frame.
Secure the first wall. Use clamps to put the wall frame together without actually drilling to check that everything fits together evenly. You should have one 8-by-6-foot square with three supporting planks spaced evenly within the square.
Nail the boards in place using an air nailer or drill. If you use a drill, you will need to pre-drill the screws to prevent the wood from splitting. Repeat this bullet and the previous bullet to build the opposite wall.
Cut the planks for the front and back walls. Now it’s time to build the frames for the 6-foot front and back walls. Repeat the same process as above, just using 6-foot 2x4 planks across the top this time. You’ll still need to use 8-foot 2x4 planks for the length to keep all four walls the same height.
If the planks for your 6-foot side walls aren’t already pre-cut, you will need to cut them down on your own using a measuring tape and circular saw.
Make space for the door and window. These walls will be framed a bit differently since you’ll need to account for a door frame on one side and a small window frame for ventilation on the other. Instead of using three supporting planks like you did with the 8-foot walls, you will only need two this time.
Build the front and back wall frames. Start with the wall that will be supporting the door frame. Measure the door and install the two planks at that width from the center of the frame. Repeat this process on the other side using the measurements of the window you’ll be using.

Cut the planks for the roof. Start with a 6-foot 2x4 plank at the base for your front-facing gable roof. Cut two additional 6-foot 2x4 planks, and measure a 45-degree-angle cut at both ends, creating a triangle when connected to the base plank. Nail these planks together, creating a point at the top, and repeat the process for the opposite side.
Connect both triangles together. Nail an 8-foot 2x4 plank at the top point of each triangle, connecting the two triangles together. From there, evenly measure space for two additional 8-foot planks (rafters) on either side of the roof.
Cut a 45-degree angle bevel on the edge of an 8-foot plank. This will be the base of the long side of the roof. Repeat for the other side.
Put it all together. Once all four walls frames are complete, get a helping hand to help you stand them upright and screw everything together.

For the siding, we’ll be using polycarbonate sheets. You can order these sheets pre-cut to the measurements you need, or you can cut them on your own using a circular saw or a utility knife.
It’s best to use self-tapping screws with a built-in rubber washer. This will help keep moisture from building up, preventing mold and mildew.
Drill the polycarbonate sheet into place using the roof frame, rafters, and wall frames as anchors.

Next, install the door and ventilation window. Before installing your door, test it by fitting it within the frame to make sure it fits properly. If so, move ahead by marking and installing three door hinges, followed by the installation of the door.
Once the door is in place, try opening and closing the door to make sure everything is moving properly. Depending on the door you chose, you may need to also install a padlock to keep the door still when closed.
Continue on by installing the window. Place the window in the frame and make sure it fits. If so, continue on by setting the window aside while you caulk the edges. Press the window firmly into the caulk and screw in the edges to keep it in place.

Finally, you can build your own custom tables and shelving or simply bring in small tables to set your plants on. Add finishing touches such as lighting and heating based on your plant’s needs.
Depending on your gardening needs and construction skill set, a different greenhouse option may work better for you. Consider one of the following alternatives:

A greenhouse kit comes with everything you need to build a greenhouse. All materials are provided and already cut to size. Simply follow the instructions and have a fully functioning greenhouse in an hour or two.

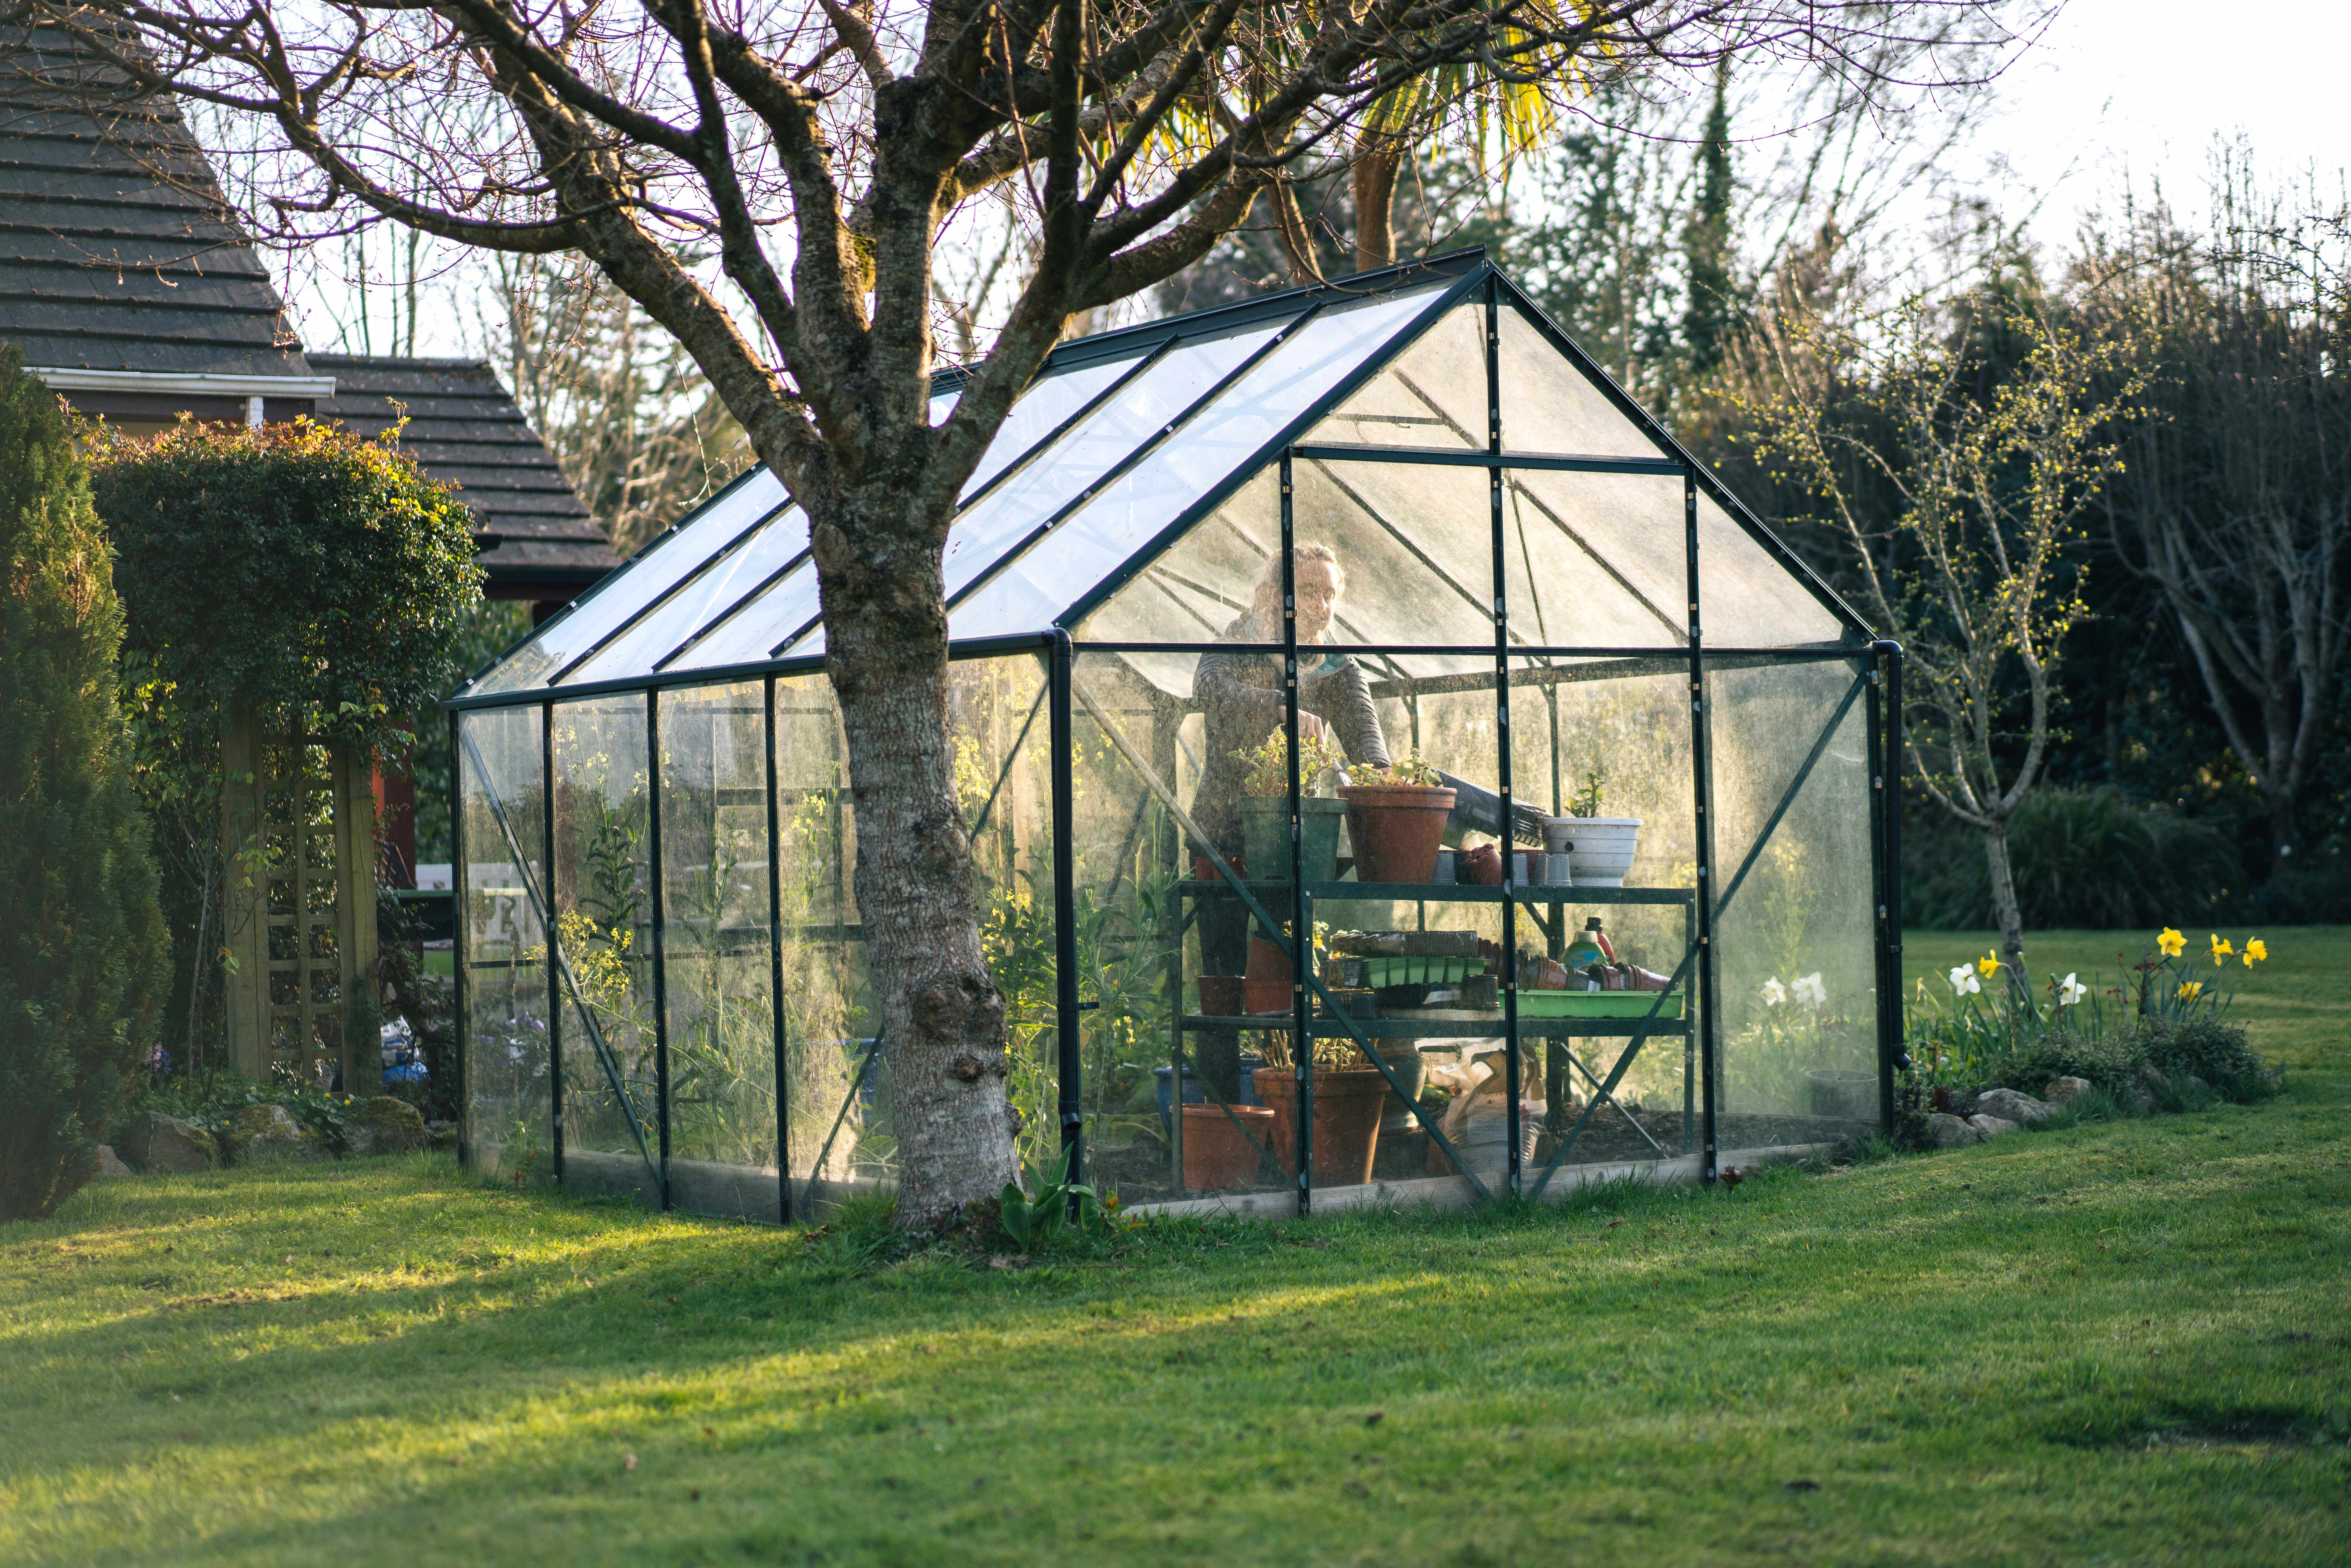
Glass/window greenhouses are structurally beautiful, but they require help from an experienced handy-person.

A lean-to greenhouse leans up against one of your exterior house walls, essentially creating the need to only build three greenhouse walls and a slanted roof. This option also typically requires the help of a professional contractor.
A hoop house is an arched structure that resembles an airplane hangar (except much, much smaller). This option is quite easy to DIY—all you really need is PVC piping and plastic sheeting. Hoop greenhouses also come in easy-to-install kits.
Custom Paint Jobs LLC made our home feel like a piece of art. Thank you for your creativity!
Window Depot did an amazing job on my deck. I wasnt sure what I wanted to do, but their composite decking was affordable and will last a long time. I am excited to have family over, and I am no longer embarrassed by my backyard. Jeff and the ground crew were polite, respectful, and caring for...
First of all, the gentleman I dealt with (Cam?) was very responsive to my many questions and concerns throughout the project, which is a huge plus to me. From the first time I met him for the estimate all the way til the completion of the job, he and his crew were professional and respectful....
 All Star Paving and Sealing
We had a 20+ year old landscape lighting system that needed replacement. Midwest Lightscapes worked with us to design a much improved lighting system, lighting the exterior of the house and the back yard. Installation of the 45 light system took one and one-half days, and went very smoothly....
 Midwest Lightscapes
Another great success for me on home advisor. This company did an awesome job on my landscaping and stayed within my budget. The best part, the work was complete within 2 days of my initial request. Professional and responsive. I highly recommend!
The company no showed on me twice. The 2nd time was no call no show. They were responsive to set up the first appointment to perform the "landscape cleanup". 3 hours after their initial scheduled appointment time they called me to let me know they had some "problem" with the truck and their...
 Ruby Home and Hauling Services
Received ideas for future landscape plans...quote to do the work seemed a bit high but I did not have any other quotes to compare it to, so perhaps that is the going rates. <br />
 Landscapes By Terra, Inc
All around they have done a really great job. <br /> I have used JL Landscapes for the past 8 years. I own and operate my own commercial/residential real estate company where we own, operate, and maintain our own properties. JL Landscapes has been our exclusive landscaper for both our...
 J.L. Landscapes
Bought a half a cord of firewood from Pitzer with stacking last month. I waited to report so I could see how the wood burned. <br /> <br /> I have three pet peeves regarding landscapers, but Pitzer scored "A"s regarding all three. First, rather than having customers "leave a message" and...
 Pitzer Landscaping
I left a message on Sunday requesting to schedule a time to obtain an estimate/walk-through and received a return call in the morning of the following Monday. Mark worked with me and agreed to schedule the estimate/walk-through for the following Saturday. When Mark arrived for the...
From average costs to expert advice, get all the answers you need to get your job done.
Discover the cost to build a greenhouse. Learn about average prices, key cost factors, and how to save on your greenhouse project.
Find out the average cost to repair a greenhouse, key price factors, and ways to save. Get transparent estimates to plan your greenhouse repair project confidently.

Want to grow that green thumb of yours? Learn how to budget for and build a small greenhouse outdoors in this four-step guide.
Having a greenhouse at home can be an excellent way to extend the growing season for your plants. Greenhouses can be made from many different types of materials, as long as they consist of transparent walls that trap warm moist air inside.

Discover the advantages of an attached greenhouse addition to your home. Learn about the benefits, considerations, and design options.
A greenhouse can add natural beauty to your yard. Learn about standard greenhouse dimensions and how to choose the right size.