
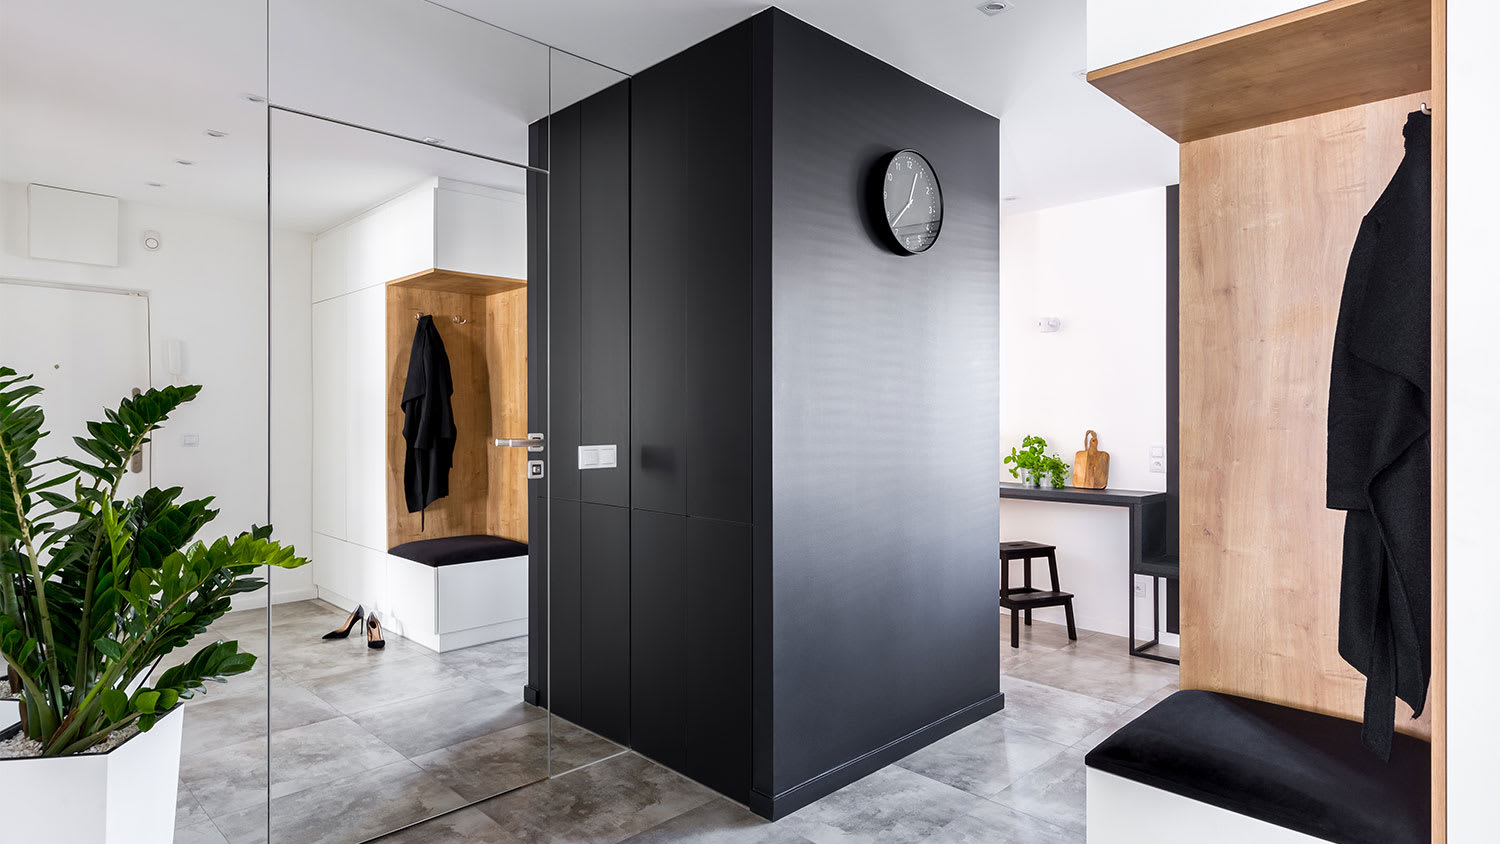
Whether you're remodeling a previously owned home to suit your tastes or updating your own previous renovations, removing mirrors glued to a wall can be an important part of personalizing your home to match your aesthetic.
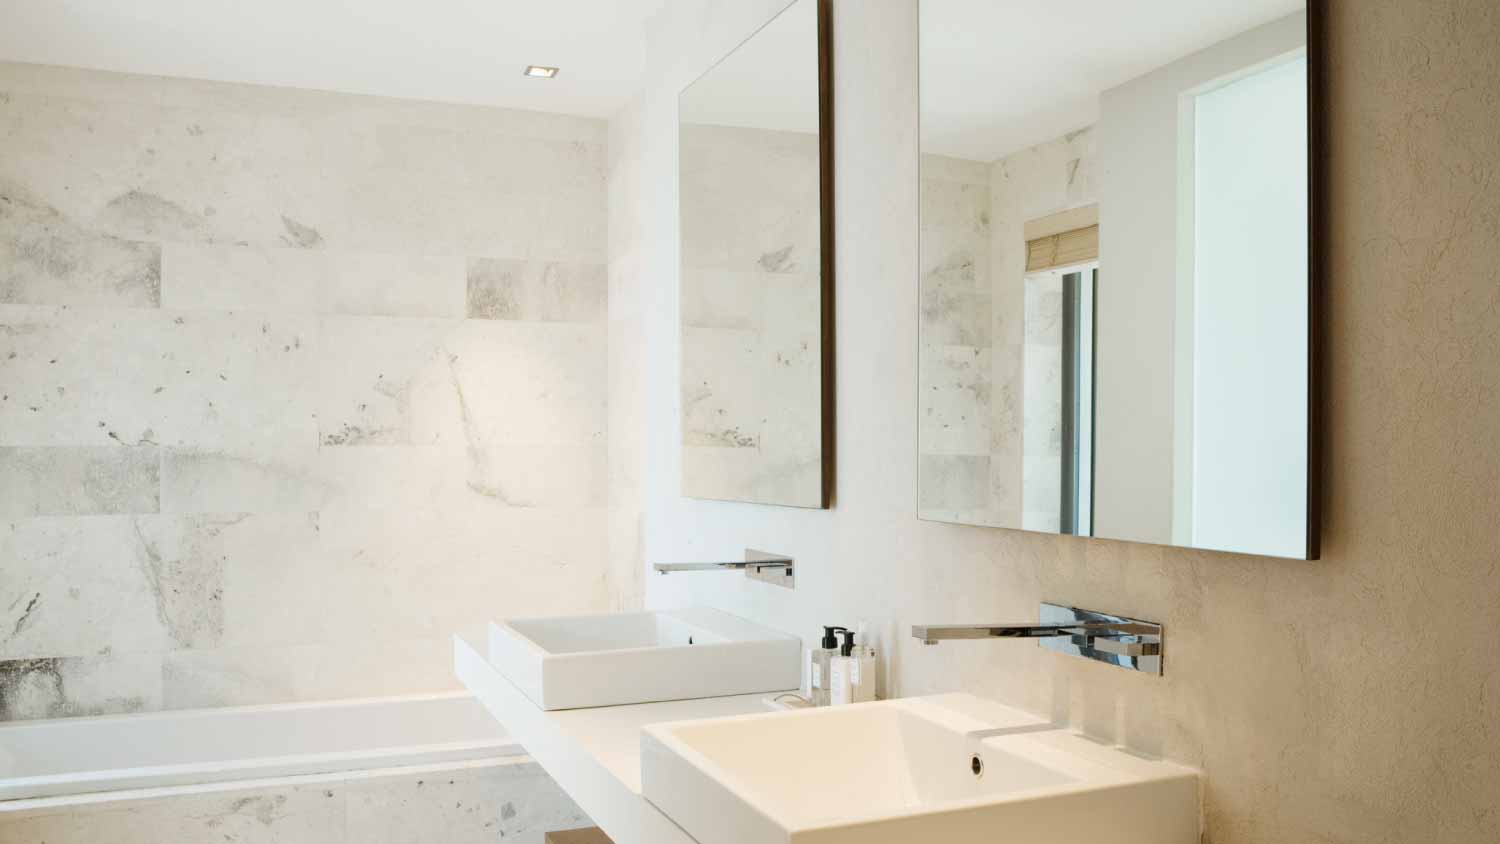
Update your builder-grade bathroom mirror with minimal damage to your wall

Removing a bathroom mirror glued to the wall requires heating the adhesive with a hair dryer and carefully prying the mirror away from the surface.
Expect to pay $60 to $125 per hour for a handyperson or an average of $500 for professional mirror removal, depending on the mirror size.
Taping off your mirror with duct tape or packing tape before removal keeps glass intact and prevents injuries if the mirror breaks during the process.
Hiring a local bathroom remodeling professional provides expert help with mirror removal and handles larger bathroom updates, keeping your walls and glass safe throughout the project.
If you’re looking to update the look of your bathroom, a great place to start is with a new bathroom mirror. That project might hit a speedbump, though, when you realize your current mirror is glued to the wall and needs to come off before you can get started. Learn how to remove a bathroom mirror safely and effectively so you can start your journey to a bathroom you really love.
Removing your bathroom mirror is best accomplished as a two-person project. While it might be possible to do it on your own with a small mirror, you run a higher risk of safety issues like broken glass, pinched fingers, and difficulty balancing a heavy mirror.
When you remove a mirror that’s adhered to the wall, there is a chance that the mirror will break as you’re handling it, so make sure to wear the appropriate safety gear, including safety glasses and thick work gloves. Before you get started, cover the countertop and sink area with a drop cloth.

Safety is of the utmost importance, and custom mirrors can be costly, so you’ll want to take every precaution you can. Because of the possibility of broken glass, you’ll need to tape off the mirror to keep as much glass intact as possible and prevent it from falling and potentially injuring you.
Using long strips of thick tape—such as duct tape, packing tape, or masking tape—tape the perimeter of the mirror, across the mirror vertically and horizontally (make multiple tape lines for larger mirrors), and diagonally from corner to corner.
If your mirror is affixed to the wall with a combination of adhesive and clips, remove the clips with a screwdriver.

Starting in one of the top corners of the mirror, use your hair dryer or heat gun to heat the mirror and the adhesive behind it. Heat one small section at a time until the adhesive loosens enough that you’re able to easily pull it away from the wall. Have your helper hold on to the mirror from this point on as you work to ensure it doesn’t suddenly drop or fall.
You may be able to pull the mirror away from the wall using only heat and your hands. If the adhesive is loosening up enough for you to separate the mirror from the wall, work slowly and carefully until the entire mirror is free from the wall. If not, try one of the following methods.
If you can’t get the mirror to budge using just heat, once you’ve heated the mirror, take a length of wire—like piano or guitar wire—longer than the width of the mirror and slip it between the mirror and the wall, using a back-and-forth sawing motion to cut through the softened adhesive until the mirror is released from the wall.
For particularly stubborn adhesive, you may have to use a little more force to get the mirror away from the wall. Please note that this method increases the likelihood of breaking the mirror as well as damage to your drywall.
Once you’ve heated the mirror’s adhesive, insert wooden shims every 6 inches or so around the perimeter of the mirror between the mirror and the wall. Use your pry bar or crowbar to gently pry between the shim and the wall, working carefully and methodically around the mirror until it comes loose.

Once your mirror is off the wall, use the heat gun or hair dryer to loosen any remaining adhesive and scrape it away with a putty knife.

If your mirror has broken or cracked during the process, carefully put the pieces into a cardboard box or several heavy-duty contractor’s bags to avoid injury from glass shards. If the glass has remained intact and you’re planning to repurpose it, store it in between two sheets of cardboard so as not to accidentally damage it.
If removing your glued-on bathroom mirror is too big of a project for you to manage on your own, hiring a handyperson might be a good option. A handyperson typically charges between $60 and $125 per hour for tasks like this. The cost of removing a larger mirror professionally averages $500. If you’re looking for a more involved update for your bathroom, a local bathroom remodeler can execute a larger bathroom project for you.
Jason has helped me with multiple household projects, with the most recent being new door installation. He has always showed up on time and organized and has done an incredible job! Jason is very professional and he's now my go-to for anything around my house that needs to be fixed or...
Cole has been handling plumbing and general contracting for our four properties over the past three years, and he’s always done a great job. Most recently, he installed a sink and countertop in our retail store where none existed before, and it turned out exactly how we needed. He’s...
 ANB Renovations LLC
1st Choice Renew is simply the best! We hired them for a complete home renovation, and they transformed our space into something truly amazing. The team attention to detail and commitment to quality were evident throughout the project. They were easy to work with, very responsive, and always...
This company went above and beyond with their work, chimney sweeps are usually pretty messy, but the clean up was spot on.!! Josh explained every thing that he was doing, and the things that he was checking to make sure the chimney was safe for me and my family. He was very professional,...
 Supreme brick & chimney
Custom Paint Jobs LLC turned our outdated bathroom into a modern masterpiece.
Excellent customer service and knowledge. I was recommend to him from my neighbour. My front door and window came in great and were installed beautifully perfectly, I m very satisfied with their excellent work, so decided to order one more big bow window for my living room. I cant wait for...
If I could give 10 stars for Kitchen Tune Up, I would. I cannot say enough good things about my experience with Kitchen Tune Up and the entire team involved in the process of my kitchen project. They went above and beyond as far as service and quality with my cabinets, paint, countertops, and...
It was wonderful working with Yordy and his team. They were very professional and are experts in what they do. They have completed the work on time, with better quality and with in fairly reasonable price. We just started with backsplash work , but liking his work, we went on to provide...
We were having 2”x 2” tile installed . There was a small installation error and the new additional replacement tile was from a different lot and the colors didn’t match. Joe assured us that he would rectify everything , which he did without hesitation. We decided to go with the 18” x 36” tile...
 CarifaTile
They work that 360 did on my kitchen cabinets is nothing short of amazing. I still cannot believe the difference from before and after. Jon and Jeff were both so incredibly professional throughout the whole process and their communications with me were constant and consistent. These guys...
 360 Painting Columbus
From average costs to expert advice, get all the answers you need to get your job done.
Whether you're remodeling a previously owned home to suit your tastes or updating your own previous renovations, removing mirrors glued to a wall can be an important part of personalizing your home to match your aesthetic.
Discover the average cost of mirror installation. Learn average prices, key cost factors, and tips to save on your next mirror project.

Discover average wall mirror installation costs. Learn about price factors, labor rates, and ways to save on your wall mirror project.

Understand these 6 common bathroom mirror problems and how to fix them, either by yourself or by hiring a professional.
The standard bathroom mirror size is 24 by 36 inches, but dimensions can vary drastically. Read this guide to discover how to measure for a bathroom mirror.
Mirror, mirror, on the wall—how do I hang you so you won’t fall? Get tips and tricks for how to hang a vanity mirror and keep your reflection straight.