
•
Discover the average flowerbed installation cost, key price factors, and tips to save on your landscaping project for accurate planning.
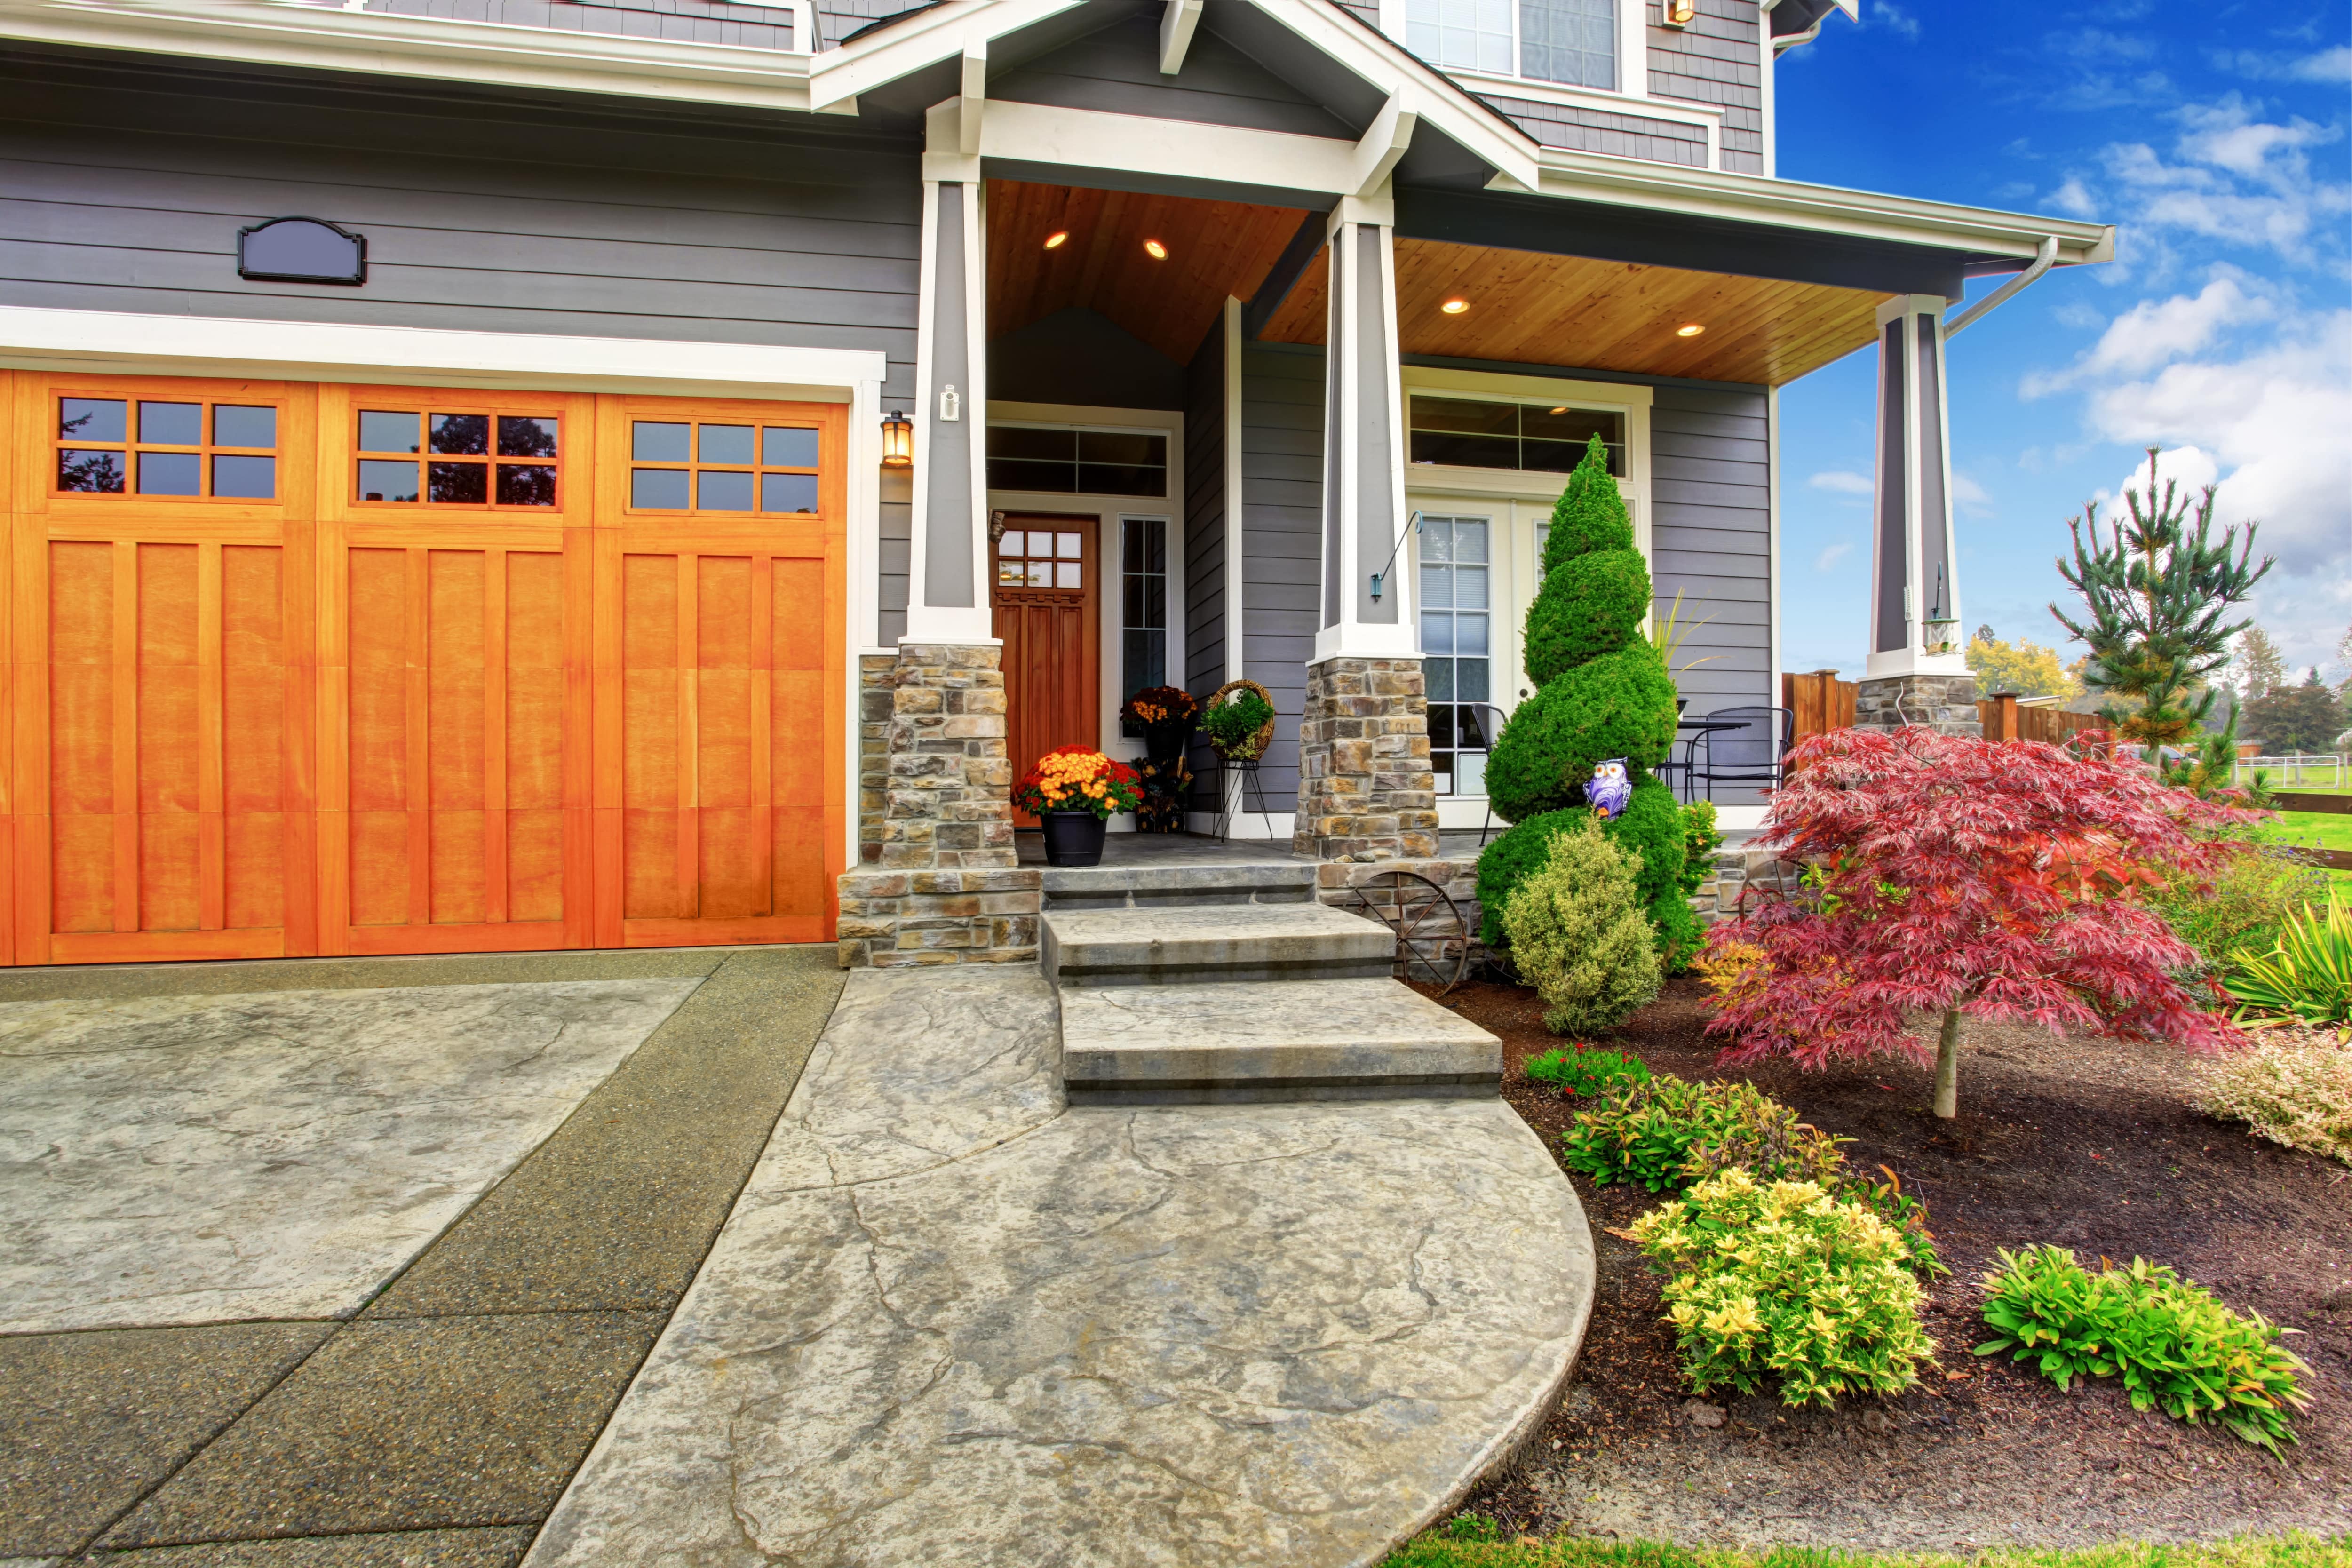
Give your landscape an edge with these tips

You purchased some fresh perennials and read all the tips on creating a stunning garden, but something’s still missing: a well-defined edge. Learning how to edge a flower bed can make a huge difference in how tidy it looks. This guide will show you how to edge a garden bed for a manicured appearance.
Before digging into the ground, you should have your lawn’s soil texture tested with ribbon testing. Many gardens in the southern part of the U.S. have heavy and compacted clay soil, making it difficult to edge gardens and keep lawns healthy.
Soil testing costs around $35 to $75 for an at-home ribbon test, and you can amend your clay soil by adding organic compost or gypsum.
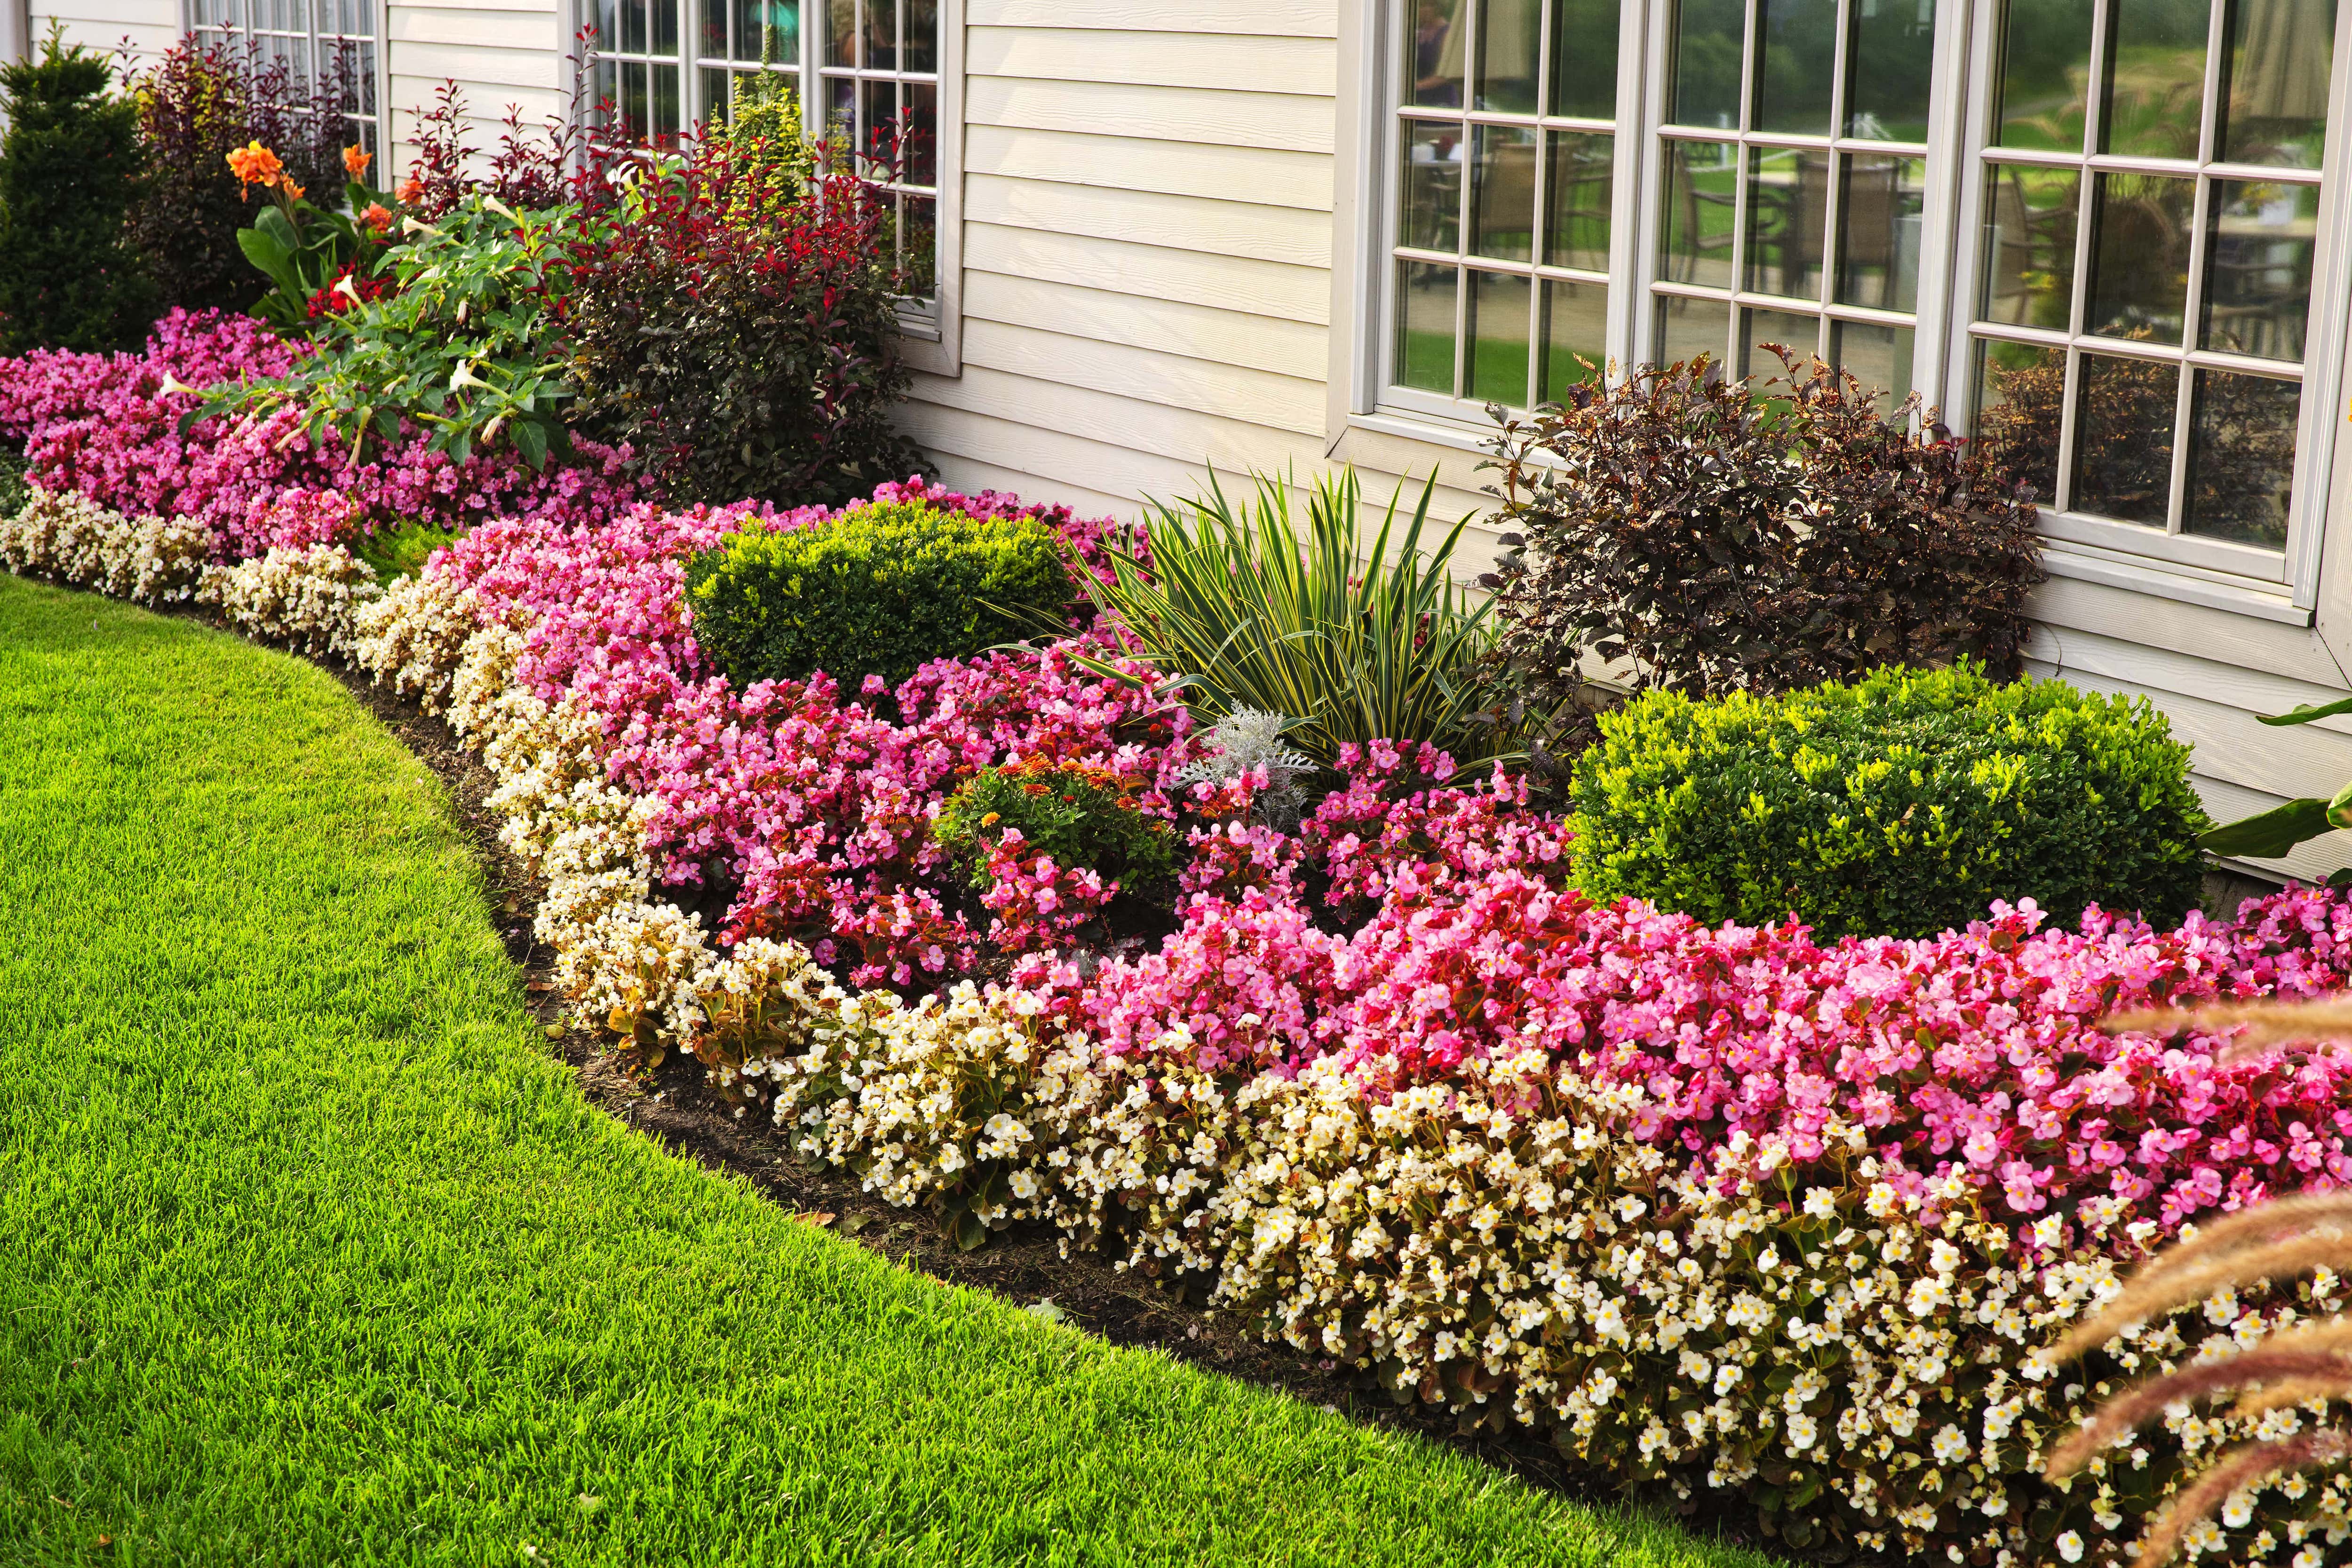
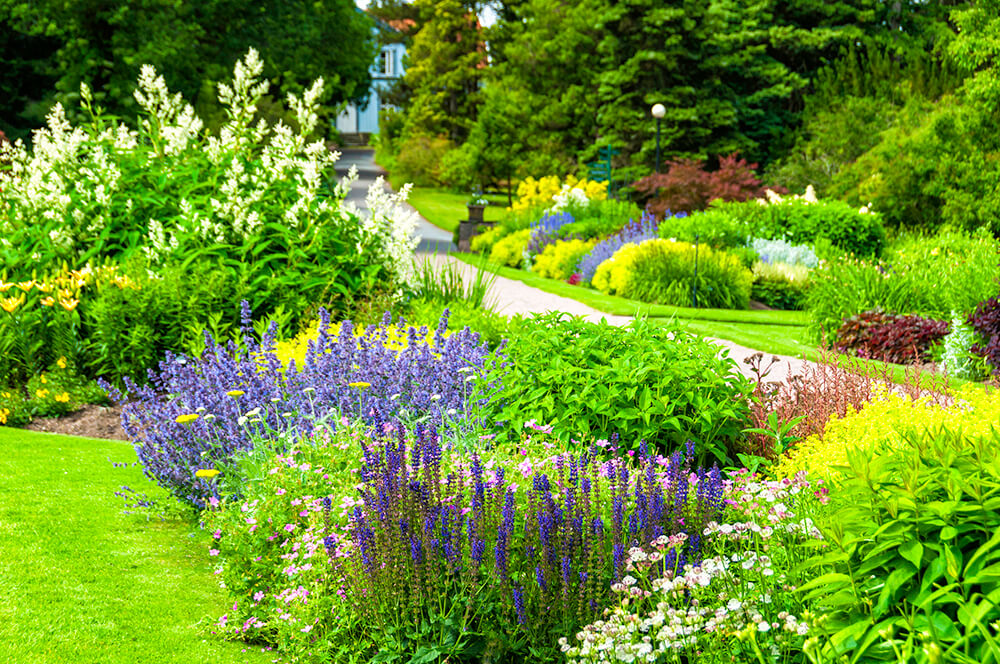
To create those crisp edges that’ll make your neighbors give it a nod of appreciation, you need to plan how you want it to look. You can shape your edges to fit your home’s style and yard in a couple of ways. You can use straight edges for a simple yet clean look, especially if you want the focal point of your lawn to be on the flower bed. Or you can follow your flower bed's natural curved pattern to make those edges pop.
You’ll also take this time to decide what type of landscape edging material you’ll want to use. Plastic, stone, metal, brick, and concrete are some of the more popular edging materials. Here’s a quick breakdown of each:
Plastic: Plastic edging material is easy to find at most home improvement stores and can make the transition from your flower bed to your lawn nearly invisible. Ensure you’re installing plastic edging that can take a few hits from your lawn equipment.
Stone: Stone edging is durable and can complement your flower bed with its natural, textured appearance.
Metal: Installing metal edgings like aluminum and steel can protect your garden from grass and give your flower bed a natural, borderless look.
Brick: For attractive, durable, and relatively inexpensive edging, consider brick. This option is stronger than plastic, but it costs less than stone.
Concrete: Concrete edging, whether poured or pavers, is easy to maneuver around and protects your beds from weeds.
Now that you know how you want your edges to look, it's time to decide on the edging tool you’ll use to get the job done. Here are a few different tools you can use:
Half-moon edging tool: A manual half-moon edger can give you straight edges that allow you to control your edges more. However, using them requires more effort.
Bed edger: A dedicated flower bed edger can help you make precise edges quickly.
String trimmer: String trimmers are a versatile tool that can be used for trimming and edging your grass for small and large flower beds. Typically, if you’re starting a new flower bed, a string trimmer works best when paired with a half-moon edger.
Electric lawn edger: While used primarily for boundaries around a property, it can give your flower beds clean lines with less effort than a manual tool.
Hand shears: If you just need to touch up your garden (and snip away those wayward grass), hand shears are a perfect, no-power tool option.
There’s no right or wrong tool you can use for this task. Your decision will depend on how much time, effort, and money you want to put into this project.
The great debate: Should you mow or edge first? The best practice is to mow your lawn first so you can see how short you’ll need to trim your edges later. Plus, it helps to prevent bare patches and lets your flower beds keep their freshly edged look.
Once you decide how your edges look and have a freshly mowed lawn, use string and stakes to help you outline where they’ll go. This can help you visualize how it’ll look, which makes it easy to make changes if it doesn’t fit your vision. Even if you have an existing flower bed, this step can help you see if you want to change where your edges are currently.
Start at the beginning of your outline and use a half-moon edger to cut along it by stepping on it until the lip touches the soil. Once you’ve finished, step inside your flower bed to create a second cut that will meet the first one, creating a V shape. Take the dirt you’ve removed and toss it into a wheelbarrow.
You can also cut your shape with an electric circular-bladed edge cutter. This tool helps to cut clean lines along your border. However, an electric edger only cuts 1 1/2 inches deep, so you’ll have to dig down further with a half-moon edger to finish the process.
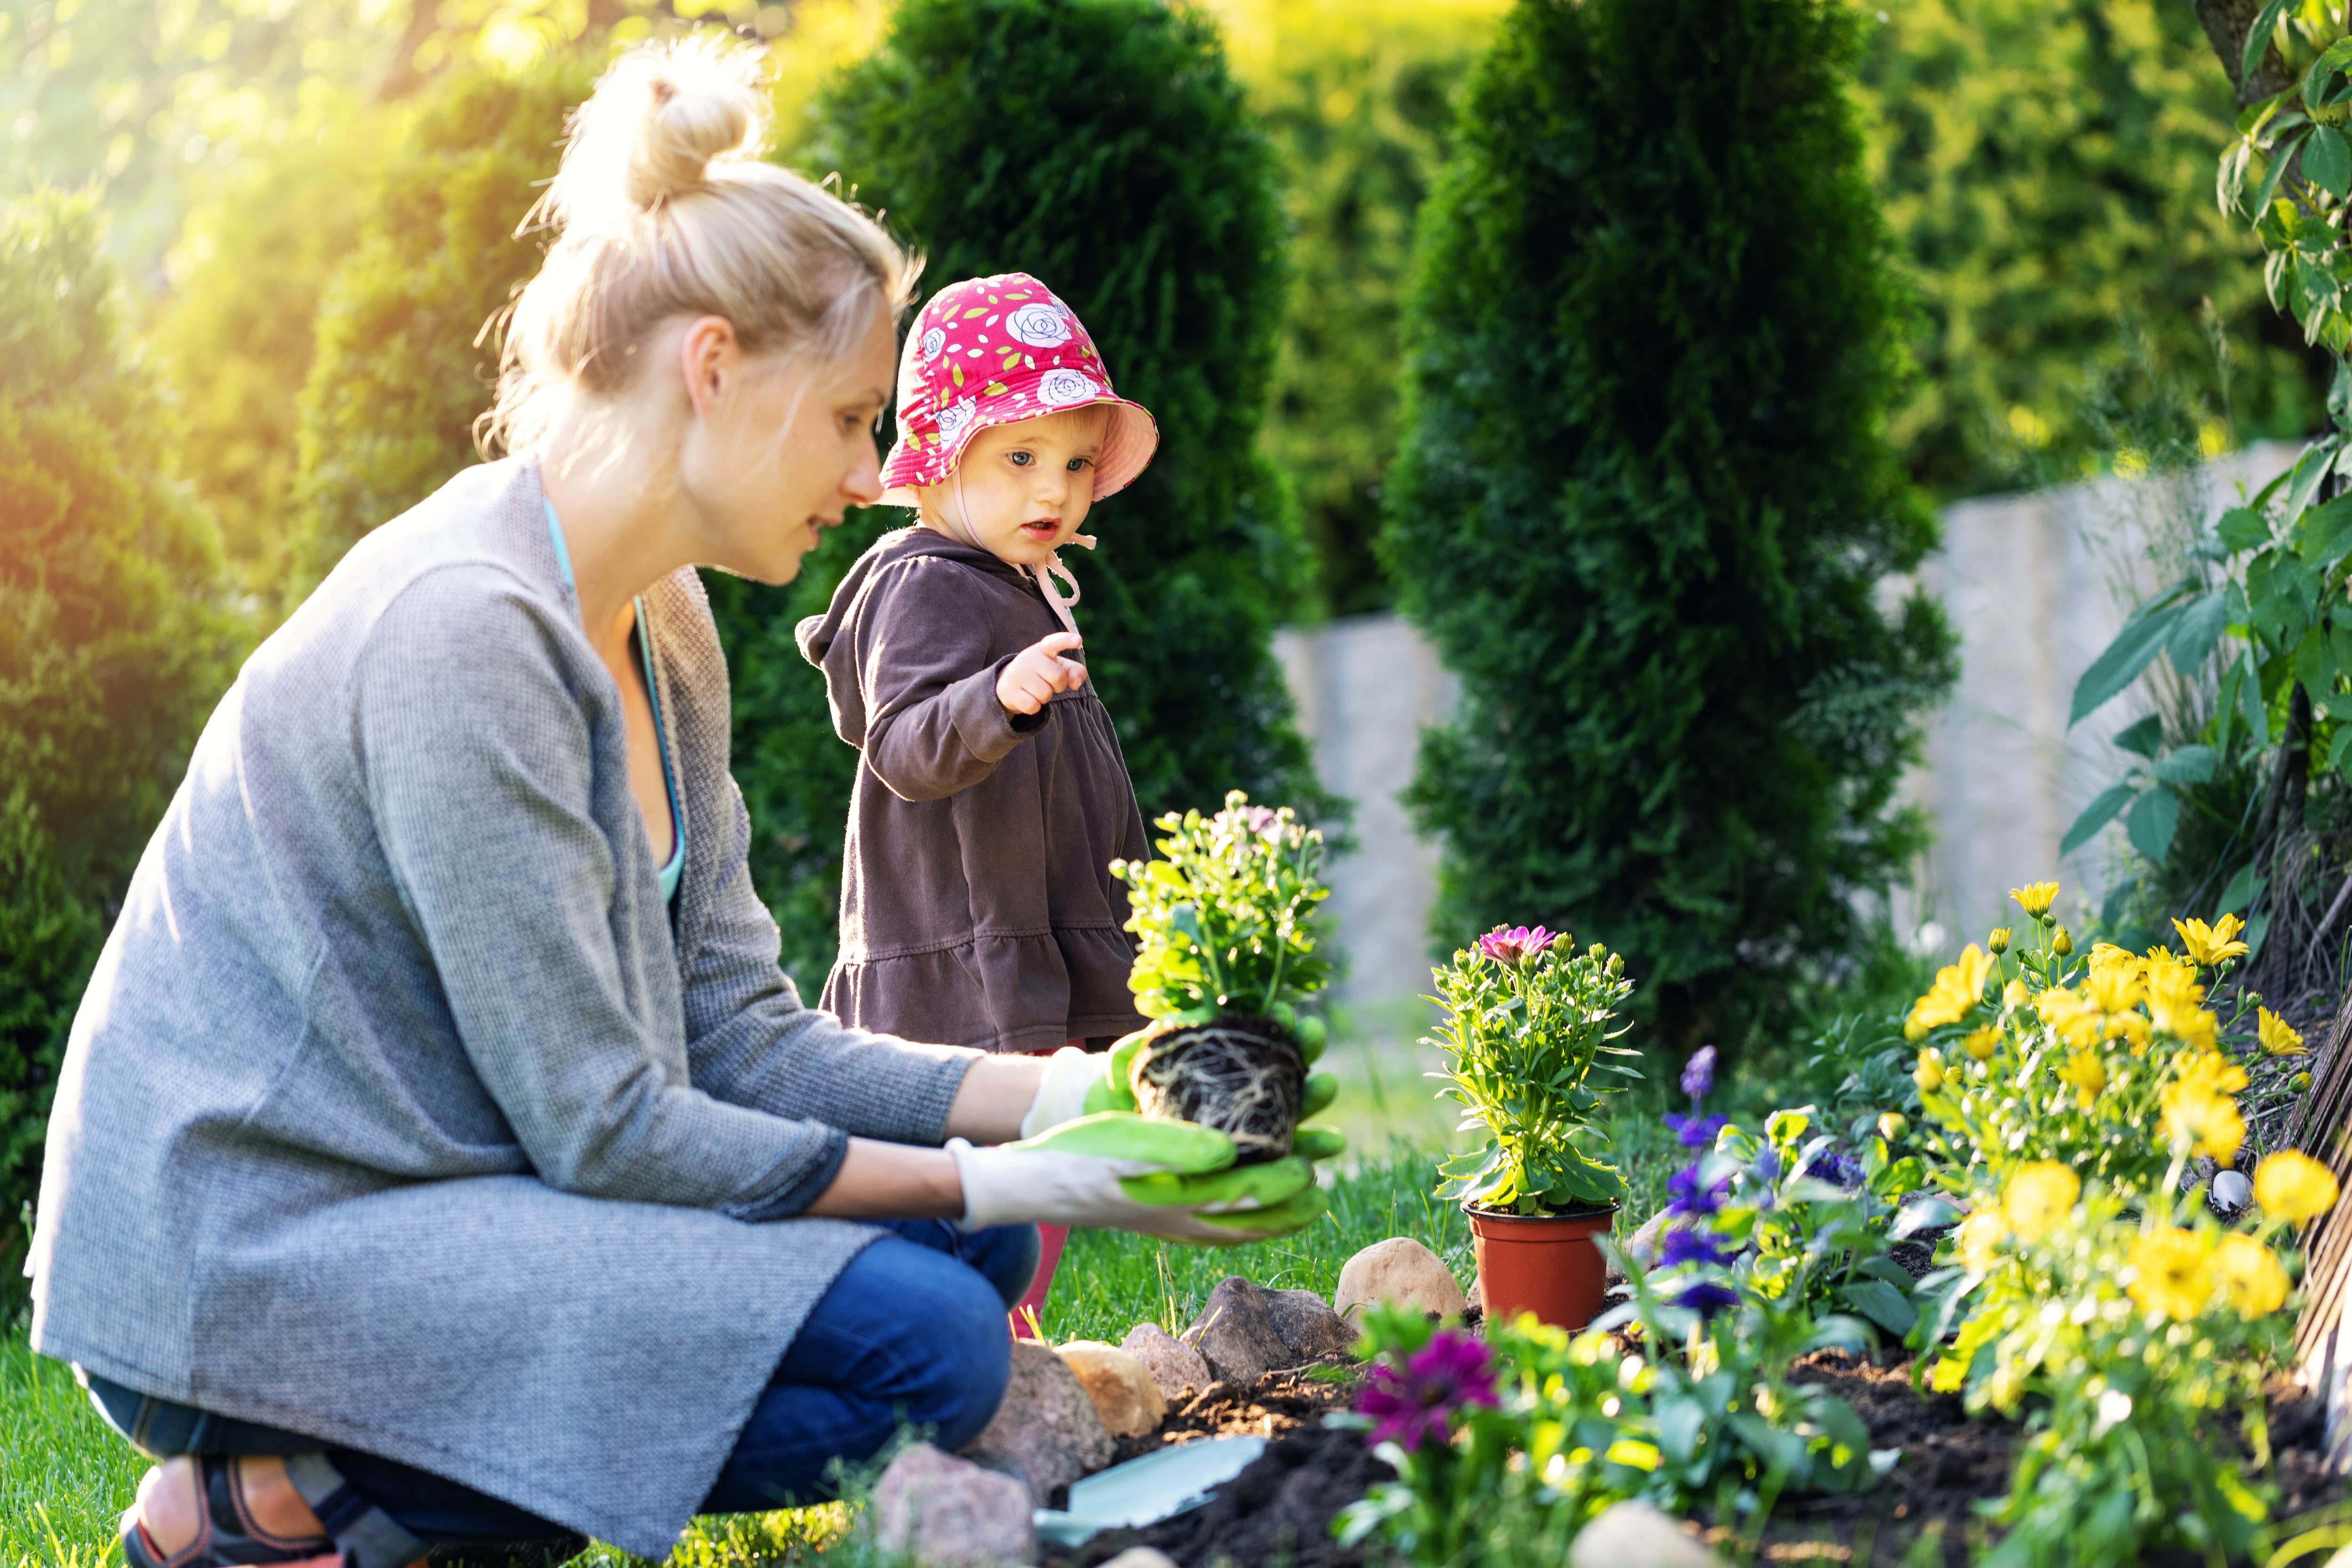
If this is your first time fleshing out your flower bed, use a rake to add 2 to 3 inches of fresh pine bark mulch to your flower bed to suppress weed growth and give nutrients to your soil. Then, dig a hole into the mulch to plant your flowers and shrubs, leaving enough space between your border and planted greens. And, of course, don’t forget to water them.

Generally, here are a few methods you can use to install your chosen edging material, if you’re using an):
Trench edging: Grab a small shovel or garden trowel and dig out a shallow trench along the edging line. You’ll want to take the soil and mound it upward as you dig to create a downslope.
Metal edging: A metal or aluminum edge goes right inside your edging border. Metal borders come in a long, lightweight, and firm strip.
Plastic edging: Use hand shears to cut the edges of your plastic so they fit neatly into the space. Then, hammer in stakes with a rubber mallet and backfill dirt around your edging with a shovel.
Brick edging: Line the edge of your trench with stone dust, line up your bricks in and above the trench, and mound them into place with a rubber mallet. Seal the bricks by adding water to the sand to create a heavy locking paste.
Concrete edging: Fill your trench with a paver base and place your concrete pavers along the border. Add polymeric sand to the paver linings, hose them down with water, clear off the pavers, and set them into place.
Stone edging: First, add a mound of fresh soil, stack your stones above your flower bed, and secure them in place with a landscape-block adhesive paste.
Now that your flower bed has beautiful edges, you’ll need to put in the extra work to ensure they’ll stay that way. Here are a few ways you can maintain its edge:
Edge your flower bed at least once a year. However, you may want to edge it every week, depending on how fast your grass grows and how crisp you like your edges.
Follow your edge’s path when you mow around it.
Trim your plants if they grow over your edge.
Remove cut grass from your flower bed to prevent weeds from taking root.
Once you learn how to edge a flower bed, DIYing this project and maintaining your handiwork is straightforward. You can expect to spend roughly $40 to $100 on the supplies for this job.
A local landscaper can provide you with an edged flower bed if you prefer someone else to create or maintain it for you. On average, these pros cost about $40 to $80 per hour. Additionally, if you don’t know how to (or want to) plan your edge’s design, a landscape designer can help you find the right edging that works for your home and garden. Hiring a landscape designer costs around $50 to $150 per hour.
Paige Bennett contributed to this piece.
Custom Paint Jobs LLC made our home feel like a piece of art. Thank you for your creativity!
Window Depot did an amazing job on my deck. I wasnt sure what I wanted to do, but their composite decking was affordable and will last a long time. I am excited to have family over, and I am no longer embarrassed by my backyard. Jeff and the ground crew were polite, respectful, and caring for...
First of all, the gentleman I dealt with (Cam?) was very responsive to my many questions and concerns throughout the project, which is a huge plus to me. From the first time I met him for the estimate all the way til the completion of the job, he and his crew were professional and respectful....
 All Star Paving and Sealing
We had a 20+ year old landscape lighting system that needed replacement. Midwest Lightscapes worked with us to design a much improved lighting system, lighting the exterior of the house and the back yard. Installation of the 45 light system took one and one-half days, and went very smoothly....
 Midwest Lightscapes
Another great success for me on home advisor. This company did an awesome job on my landscaping and stayed within my budget. The best part, the work was complete within 2 days of my initial request. Professional and responsive. I highly recommend!
The company no showed on me twice. The 2nd time was no call no show. They were responsive to set up the first appointment to perform the "landscape cleanup". 3 hours after their initial scheduled appointment time they called me to let me know they had some "problem" with the truck and their...
 Ruby Home and Hauling Services
Received ideas for future landscape plans...quote to do the work seemed a bit high but I did not have any other quotes to compare it to, so perhaps that is the going rates. <br />
 Landscapes By Terra, Inc
All around they have done a really great job. <br /> I have used JL Landscapes for the past 8 years. I own and operate my own commercial/residential real estate company where we own, operate, and maintain our own properties. JL Landscapes has been our exclusive landscaper for both our...
 J.L. Landscapes
Bought a half a cord of firewood from Pitzer with stacking last month. I waited to report so I could see how the wood burned. <br /> <br /> I have three pet peeves regarding landscapers, but Pitzer scored "A"s regarding all three. First, rather than having customers "leave a message" and...
 Pitzer Landscaping
I left a message on Sunday requesting to schedule a time to obtain an estimate/walk-through and received a return call in the morning of the following Monday. Mark worked with me and agreed to schedule the estimate/walk-through for the following Saturday. When Mark arrived for the...
From average costs to expert advice, get all the answers you need to get your job done.
Discover the average flowerbed installation cost, key price factors, and tips to save on your landscaping project for accurate planning.
Breathe new life into your home’s exterior by adding a garden. Discover some flower bed ideas to maximize outdoor living space, and watch as your yard blooms.
Flower bed edging creates a tailored and stylish look. Follow our DIY guide to find out how to edge a flower bed or garden in five easy steps.

Wondering how to stop grass from growing into your flower beds? Use these four helpful methods for keeping your grass in the right place.

Building a flower bed is a great way to fill your outdoor space with color, fragrance, and splendor. Before you start buying plants and pulling out weeds, follow this guide to make sure you have the right tools and know-how.
Inspires "oohs" and "aahs" from neighbors with these front yard landscaping ideas. Learn how to boost curb appeal and inspire more outside time with the fam.