
Landscape curbing can really improve the look of a yard, but at what cost? Find out how much it costs and the different ways you can do it
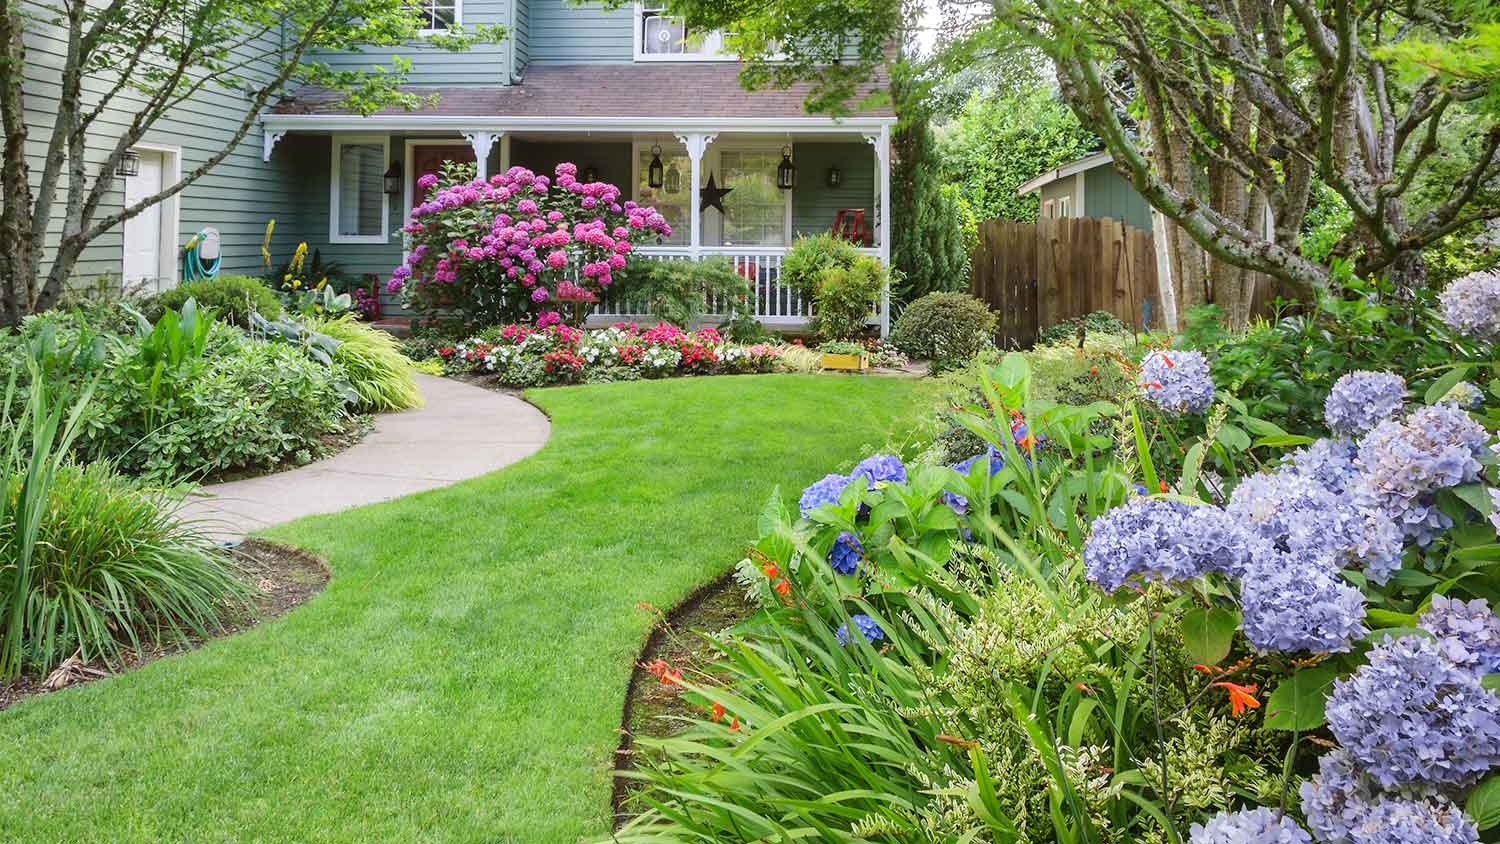
Give your garden a distinguished look with a modest budget

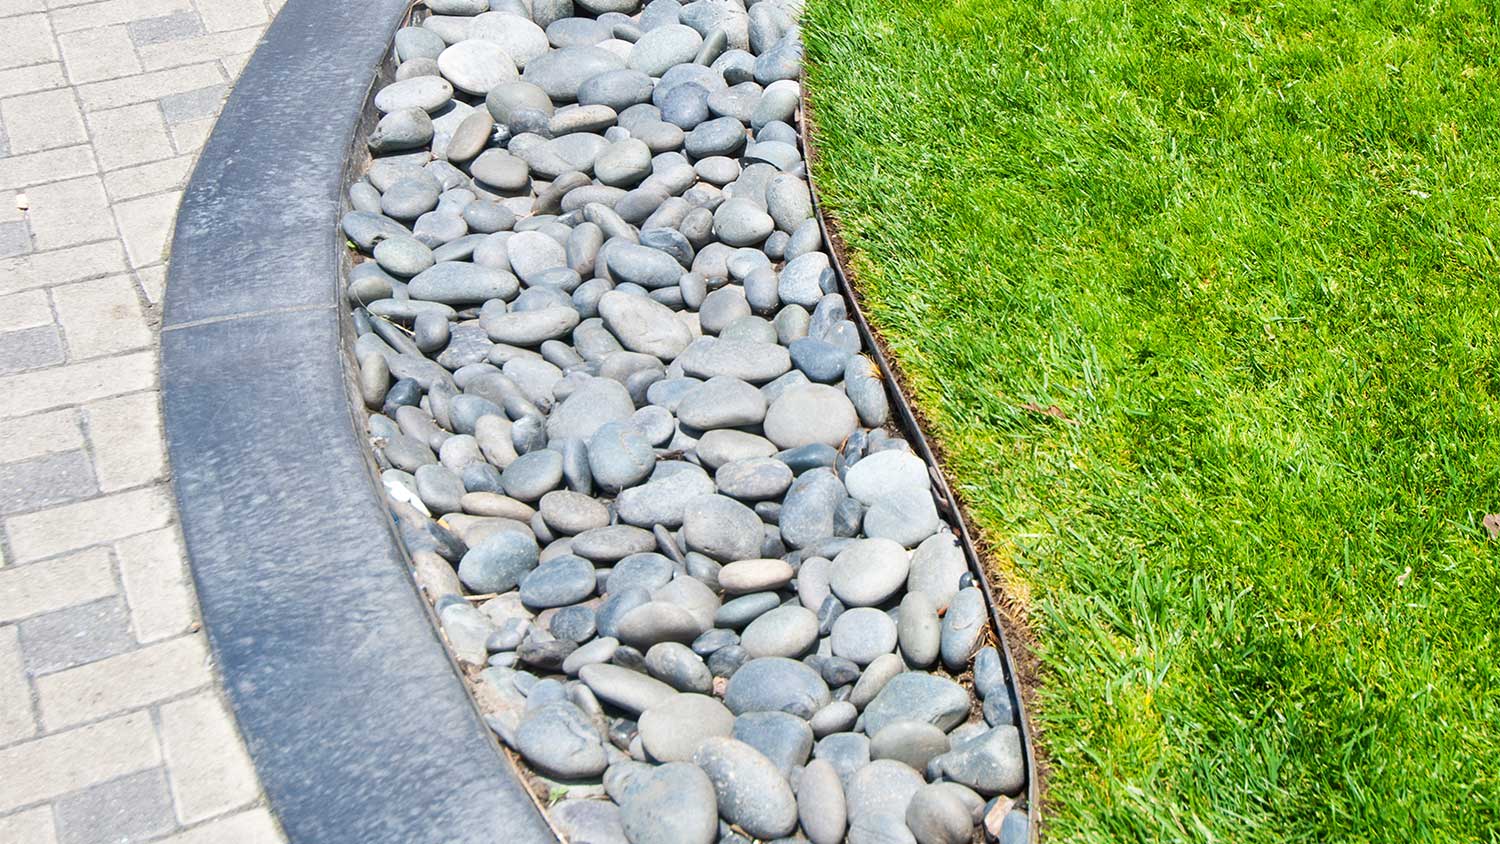
Whether you're trying to make your garden bed or lawn borders look pristine and neat or add definition around the perimeter of outdoor living spaces, there are many ideas for garden edging to choose from. Installing plastic edging is wallet-friendly and relatively easy, even if DIY isn’t always your jam. Learn how to install plastic edging in this seven-step guide.
You'll first need to figure out exactly how much plastic or landscape edging you'll need and where. Use a tape measure to figure out the length you'll need to cover, then write down the dimensions to know what you'll need to cut later. You may find it helpful to DIY edge your lawn before taking your measurements and digging your trench.
Remember, 60 feet of plastic edging for garden beds and outdoor spaces starts at around $30 at home improvement stores.
Plastic edging typically comes in a coil and often maintains that shape once unraveled. You'll want straight plastic edging to work with to make the job as simple as possible, so uncoil it and set it in the sun for about 60 minutes first.
Set a rock or other lightweight object on each end if it keeps curling back to its original shape. Nothing too heavy, as you don't want to bend it too far.
*Feel free to skip this step if you’re installing edging around a circular perimeter.

The trench you dig needs to be at least 3 inches deep for plastic edging to fit. This helps secure the edging underground but allows for an extra 1/2-inch to 1-inch space above to help maintain uniformity around your garden's perimeter.
Pull up any weed-control fabric before you start digging.
Use a pair of garden shears to cut your plastic edging according to your measurements. Set each strip down roughly where it needs to go on the edge of the trench.
Place your edging in the trench you dug. Keep a trowel handy to dig or backfill any spaces. Before you begin hammering in stakes, you want it as even as possible.

Place landscape stakes every 3 to 6 inches along the perimeter. Use a mallet to install them from the inside of the garden or flower bed for garden edging. (Don't use a metal hammer, as this will break the stakes.)
You may consider using plastic coupling to secure corners or odd angles together. If you made accurate cuts and backfilled properly, it may not be necessary.
Use a trowel or shovel to backfill dirt into the trench on both sides. Gently move the dirt to avoid shifting your new plastic edging, and gently pat it down with your hand.
To help the dirt around the edging settle, lightly water your garden or flower bed.
For most homeowners, plastic edging installation will only take a few hours and isn't that difficult. It's a great, low-cost project that you can get done with basic household tools.
That said, it may not be for everyone. If you have a specific vision in mind for your garden beds, a local gardener can give you tips to help your gardens or flower beds truly pop. You could also hire a landscaper near you—they can often install plastic edging, too.
Custom Paint Jobs LLC made our home feel like a piece of art. Thank you for your creativity!
Window Depot did an amazing job on my deck. I wasnt sure what I wanted to do, but their composite decking was affordable and will last a long time. I am excited to have family over, and I am no longer embarrassed by my backyard. Jeff and the ground crew were polite, respectful, and caring for...
First of all, the gentleman I dealt with (Cam?) was very responsive to my many questions and concerns throughout the project, which is a huge plus to me. From the first time I met him for the estimate all the way til the completion of the job, he and his crew were professional and respectful....
 All Star Paving and Sealing
We had a 20+ year old landscape lighting system that needed replacement. Midwest Lightscapes worked with us to design a much improved lighting system, lighting the exterior of the house and the back yard. Installation of the 45 light system took one and one-half days, and went very smoothly....
 Midwest Lightscapes
Another great success for me on home advisor. This company did an awesome job on my landscaping and stayed within my budget. The best part, the work was complete within 2 days of my initial request. Professional and responsive. I highly recommend!
The company no showed on me twice. The 2nd time was no call no show. They were responsive to set up the first appointment to perform the "landscape cleanup". 3 hours after their initial scheduled appointment time they called me to let me know they had some "problem" with the truck and their...
 Ruby Home and Hauling Services
Received ideas for future landscape plans...quote to do the work seemed a bit high but I did not have any other quotes to compare it to, so perhaps that is the going rates. <br />
 Landscapes By Terra, Inc
All around they have done a really great job. <br /> I have used JL Landscapes for the past 8 years. I own and operate my own commercial/residential real estate company where we own, operate, and maintain our own properties. JL Landscapes has been our exclusive landscaper for both our...
 J.L. Landscapes
Bought a half a cord of firewood from Pitzer with stacking last month. I waited to report so I could see how the wood burned. <br /> <br /> I have three pet peeves regarding landscapers, but Pitzer scored "A"s regarding all three. First, rather than having customers "leave a message" and...
 Pitzer Landscaping
I left a message on Sunday requesting to schedule a time to obtain an estimate/walk-through and received a return call in the morning of the following Monday. Mark worked with me and agreed to schedule the estimate/walk-through for the following Saturday. When Mark arrived for the...
From average costs to expert advice, get all the answers you need to get your job done.
Landscape curbing can really improve the look of a yard, but at what cost? Find out how much it costs and the different ways you can do it
Discover how much it costs to install a drip edge, exploring how factors like your roof’s size, height, and layout affect your final costs.
Calling all homeowners looking for clean new lines in their yard or garden. Here's how to install metal landscape edging in seven steps around your home.
Looking to install landscape edging but not sure which professional is best? Learn who to hire to edge your yard for the best results possible.
When you can't afford to replace the windows or caulk and plastic window film can provide additional insulation to help keep your home cozy in the winter.
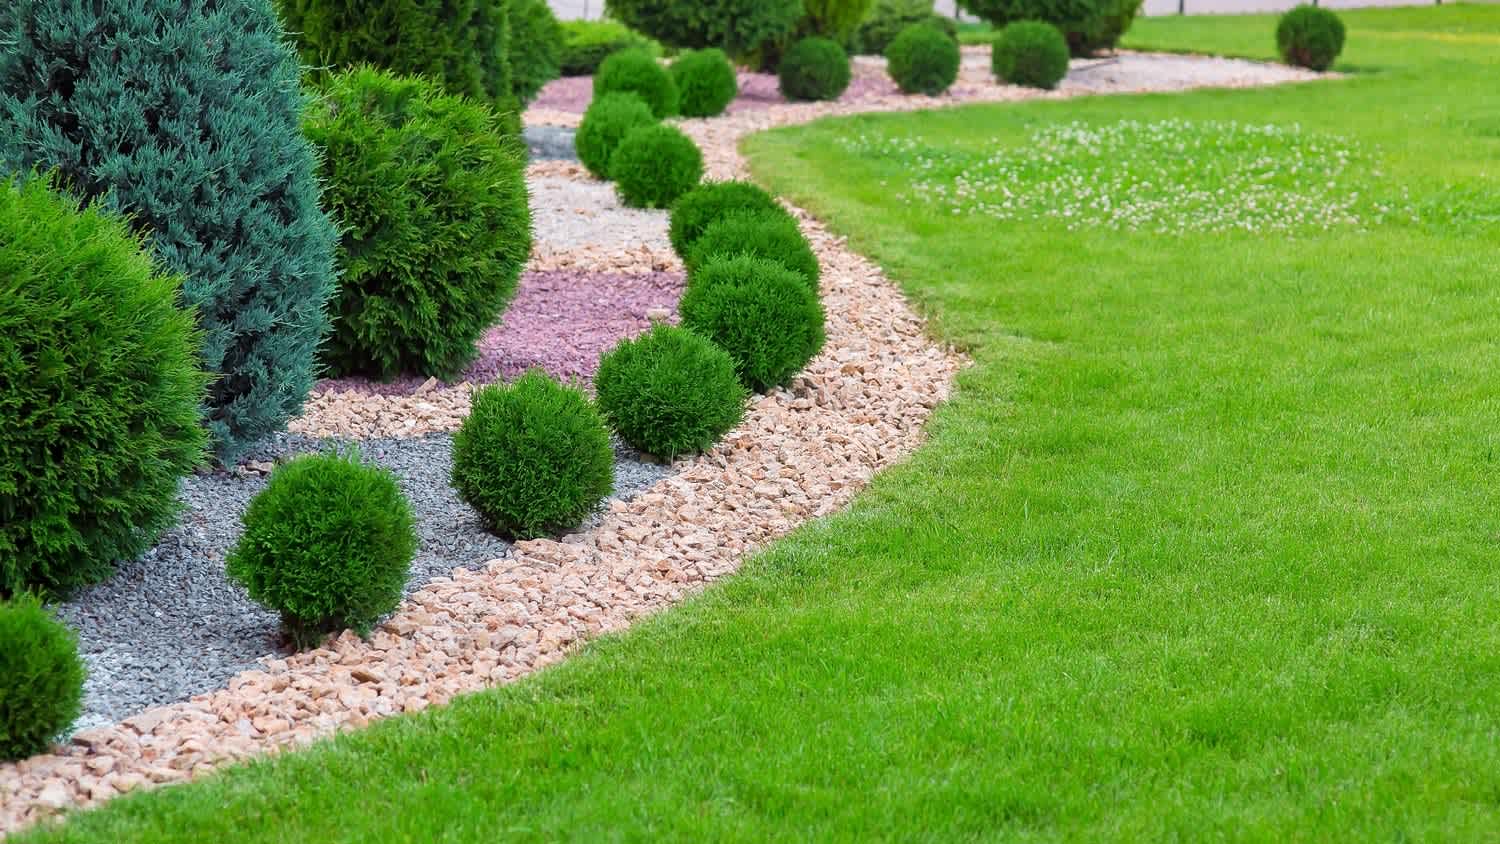
Edging can make your lawn and gardens look clean and defined. But which type is best? Here are eight types of landscape edging to consider for your yard.