
•
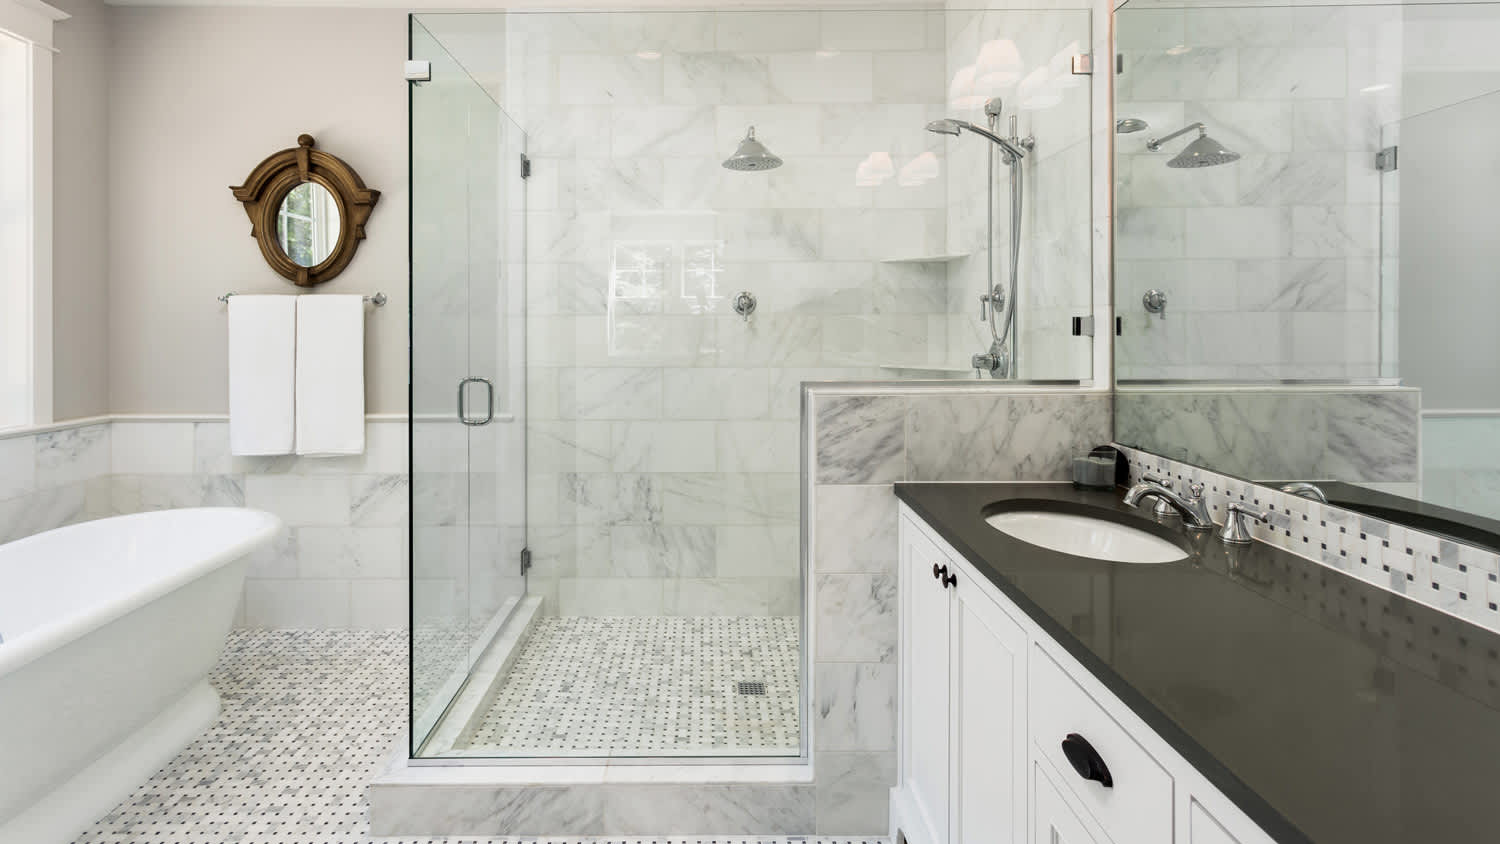
Discover the average shower door installation cost, including labor and materials, plus tips to save on your bathroom upgrade.
Time to get unhinged

Oh, the grime that the track of sliding shower doors can attract. It can leave you pondering how to remove a shower door so you can give the tracks a good clean or replace it with a new one. Luckily, it only takes a screwdriver, a plastic scraper, a little elbow grease, and part of a day to swap a shower frame and door for a shower curtain or a new door. One person might be able to handle this project, but you’re less likely to damage the door, walls, and floors if you have a helper.
For this type of shower door, slide the doors to one side. Use a screwdriver or electric drill to remove the screws holding the center guide in place, and remove the guide.
Lift out the doors one at a time. While one person might be able to handle a door, you’re less likely to damage the door, walls, and floor if two people lift the doors out one at a time.
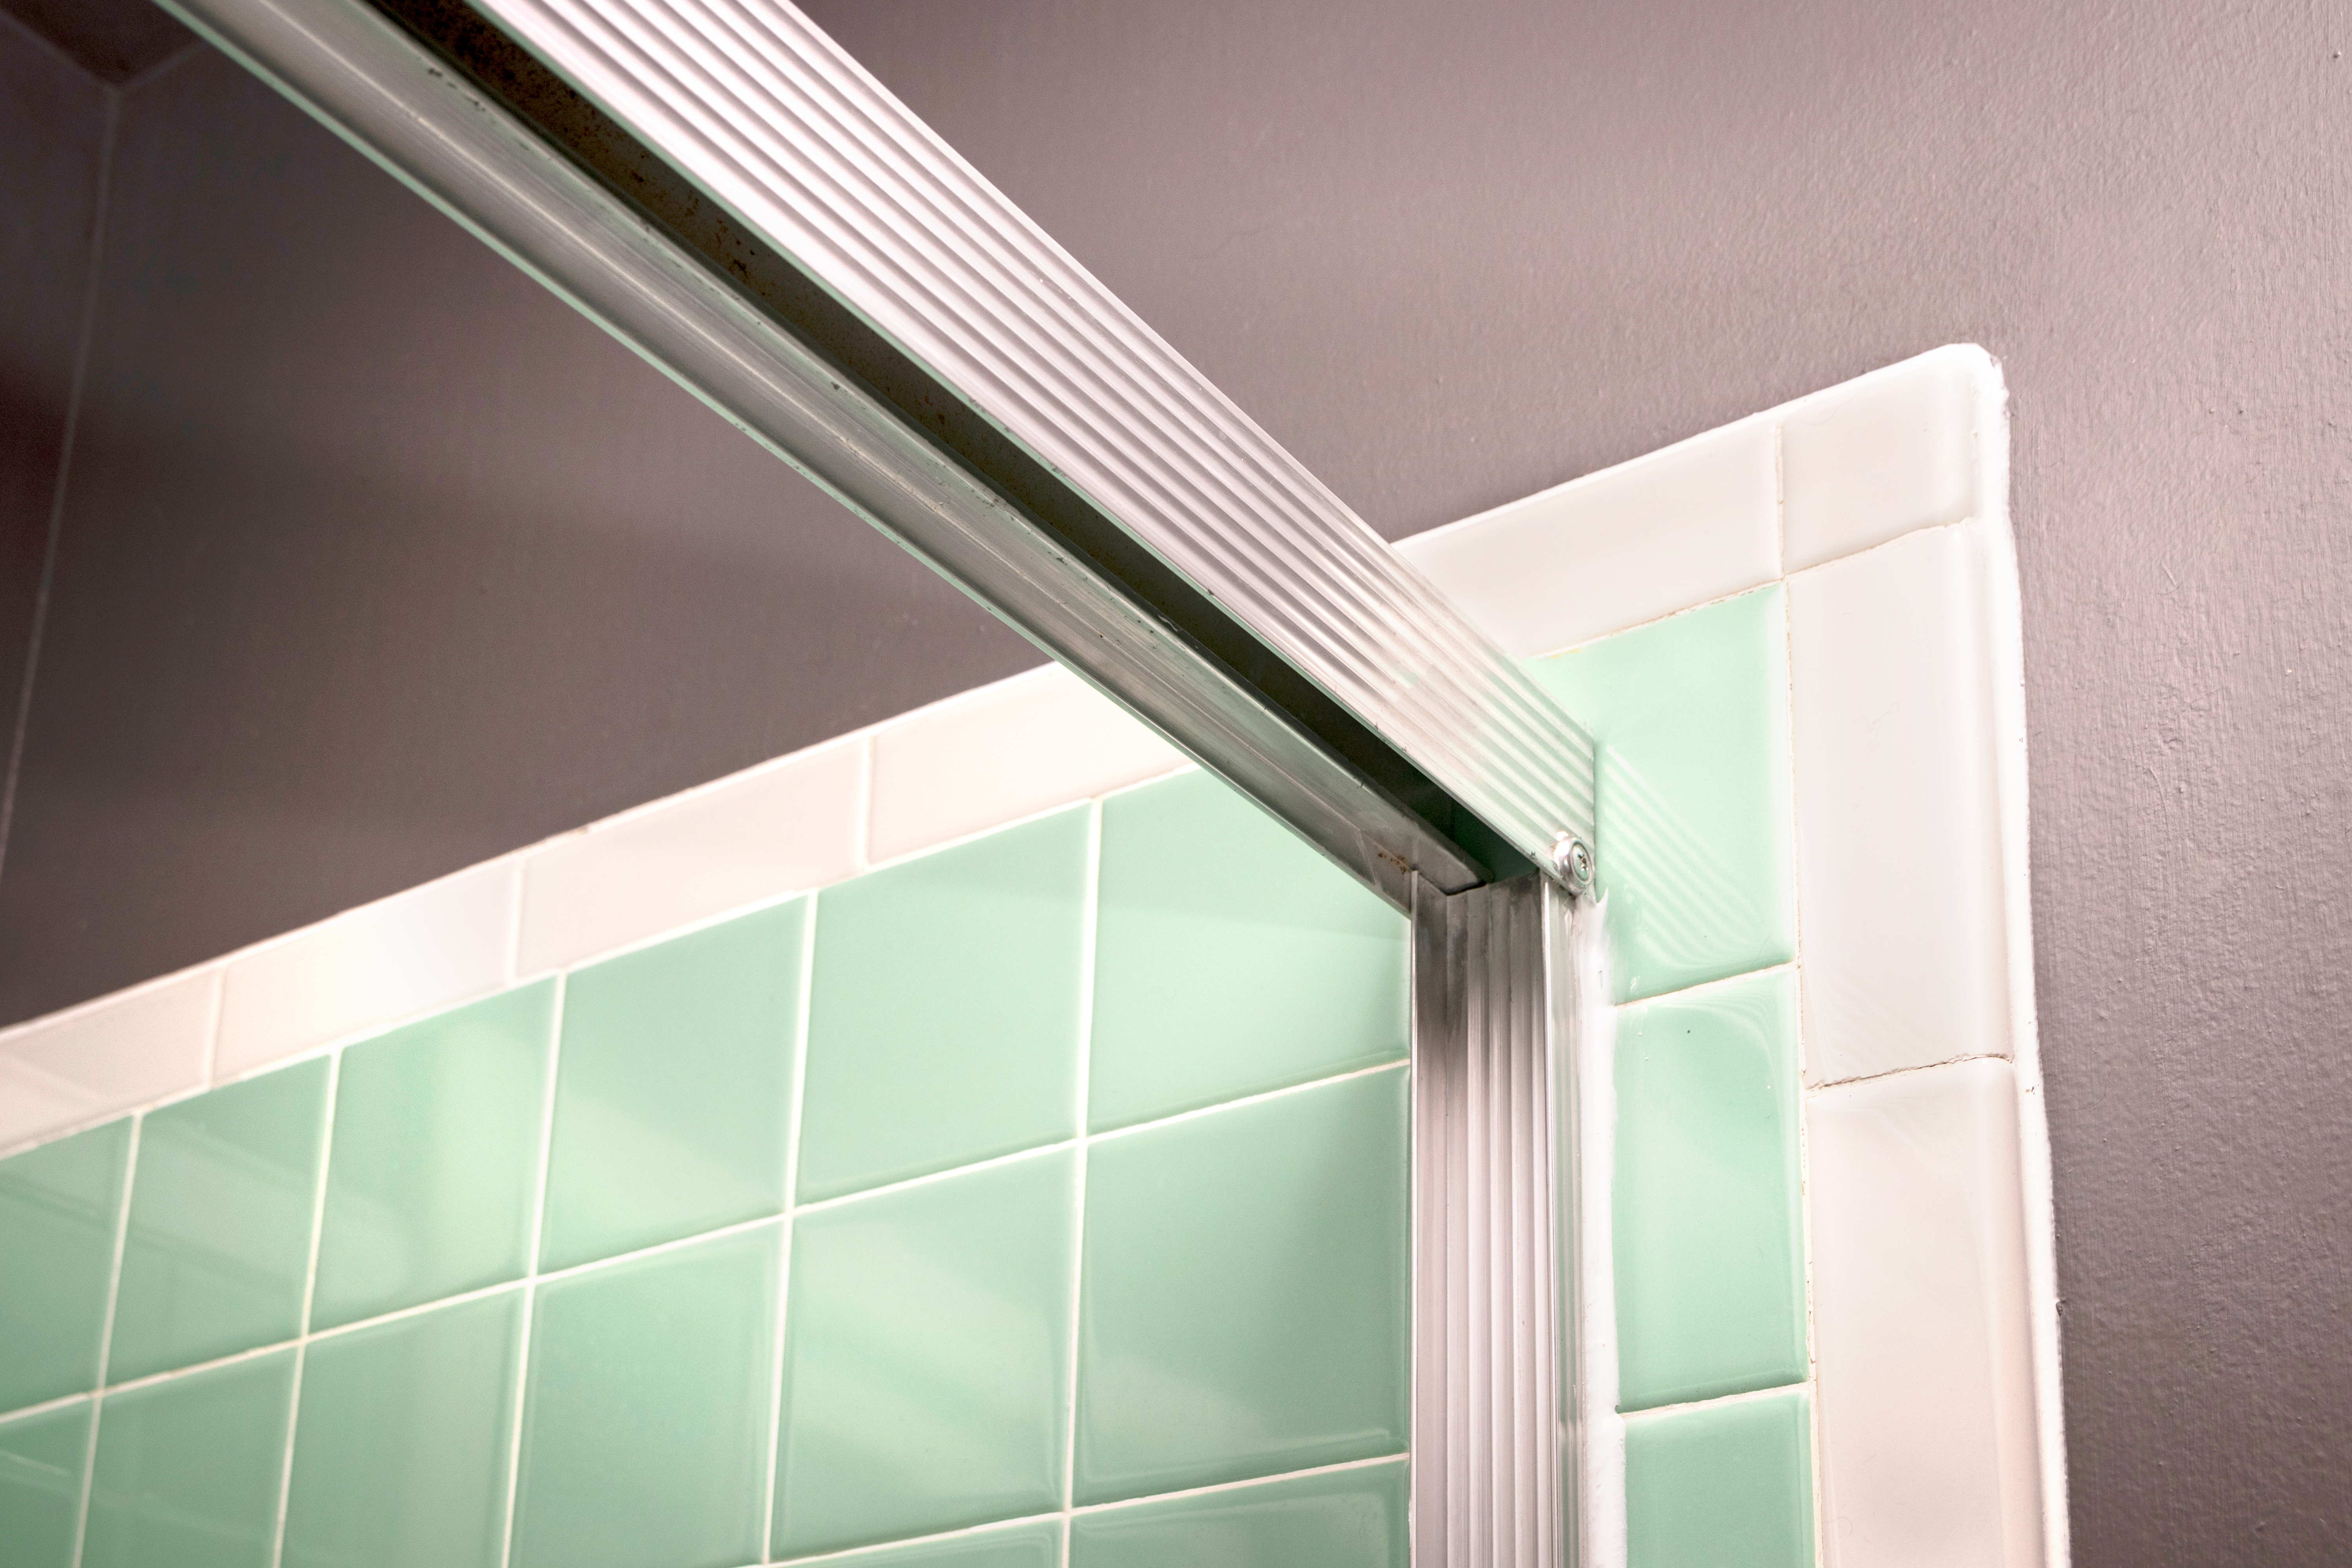
Use a screwdriver or electric drill to remove the remaining screws that attach the frame to the wall. Remove all screws, regardless of the type of track you have. Some models will have bottom, side, and top pieces with screws, while others may only have a top and bottom track.
Use a utility knife to gently cut and break the caulk seal around the frame. Be careful not to scratch the shower’s surface. You’ll use caulk remover and a plastic scraper later on, so it’s okay if a small amount remains.
Tap one side of the frame header (the top piece) from underneath until it starts to move. Then, tap the frame header from underneath on the other side. Continue to do this until the top piece comes off.
The wall jambs (side pieces) are next. Wiggle the wall jambs to see if they’re loose. Some may come away easily, while others may have adhesive or caulk still holding them in place. Continue to give them a good shake until they come loose.
If you’re having trouble with the side jambs, try warming the caulk or adhesive with a hairdryer to soften it and loosen its grip.
Hold the utility knife at a 90-degree angle to cut the caulk and break the seal along the bottom rail. Again, be careful not to cut the shower's surface. You’re going to see some grubby grime underneath the rail, but it won’t be there for long.
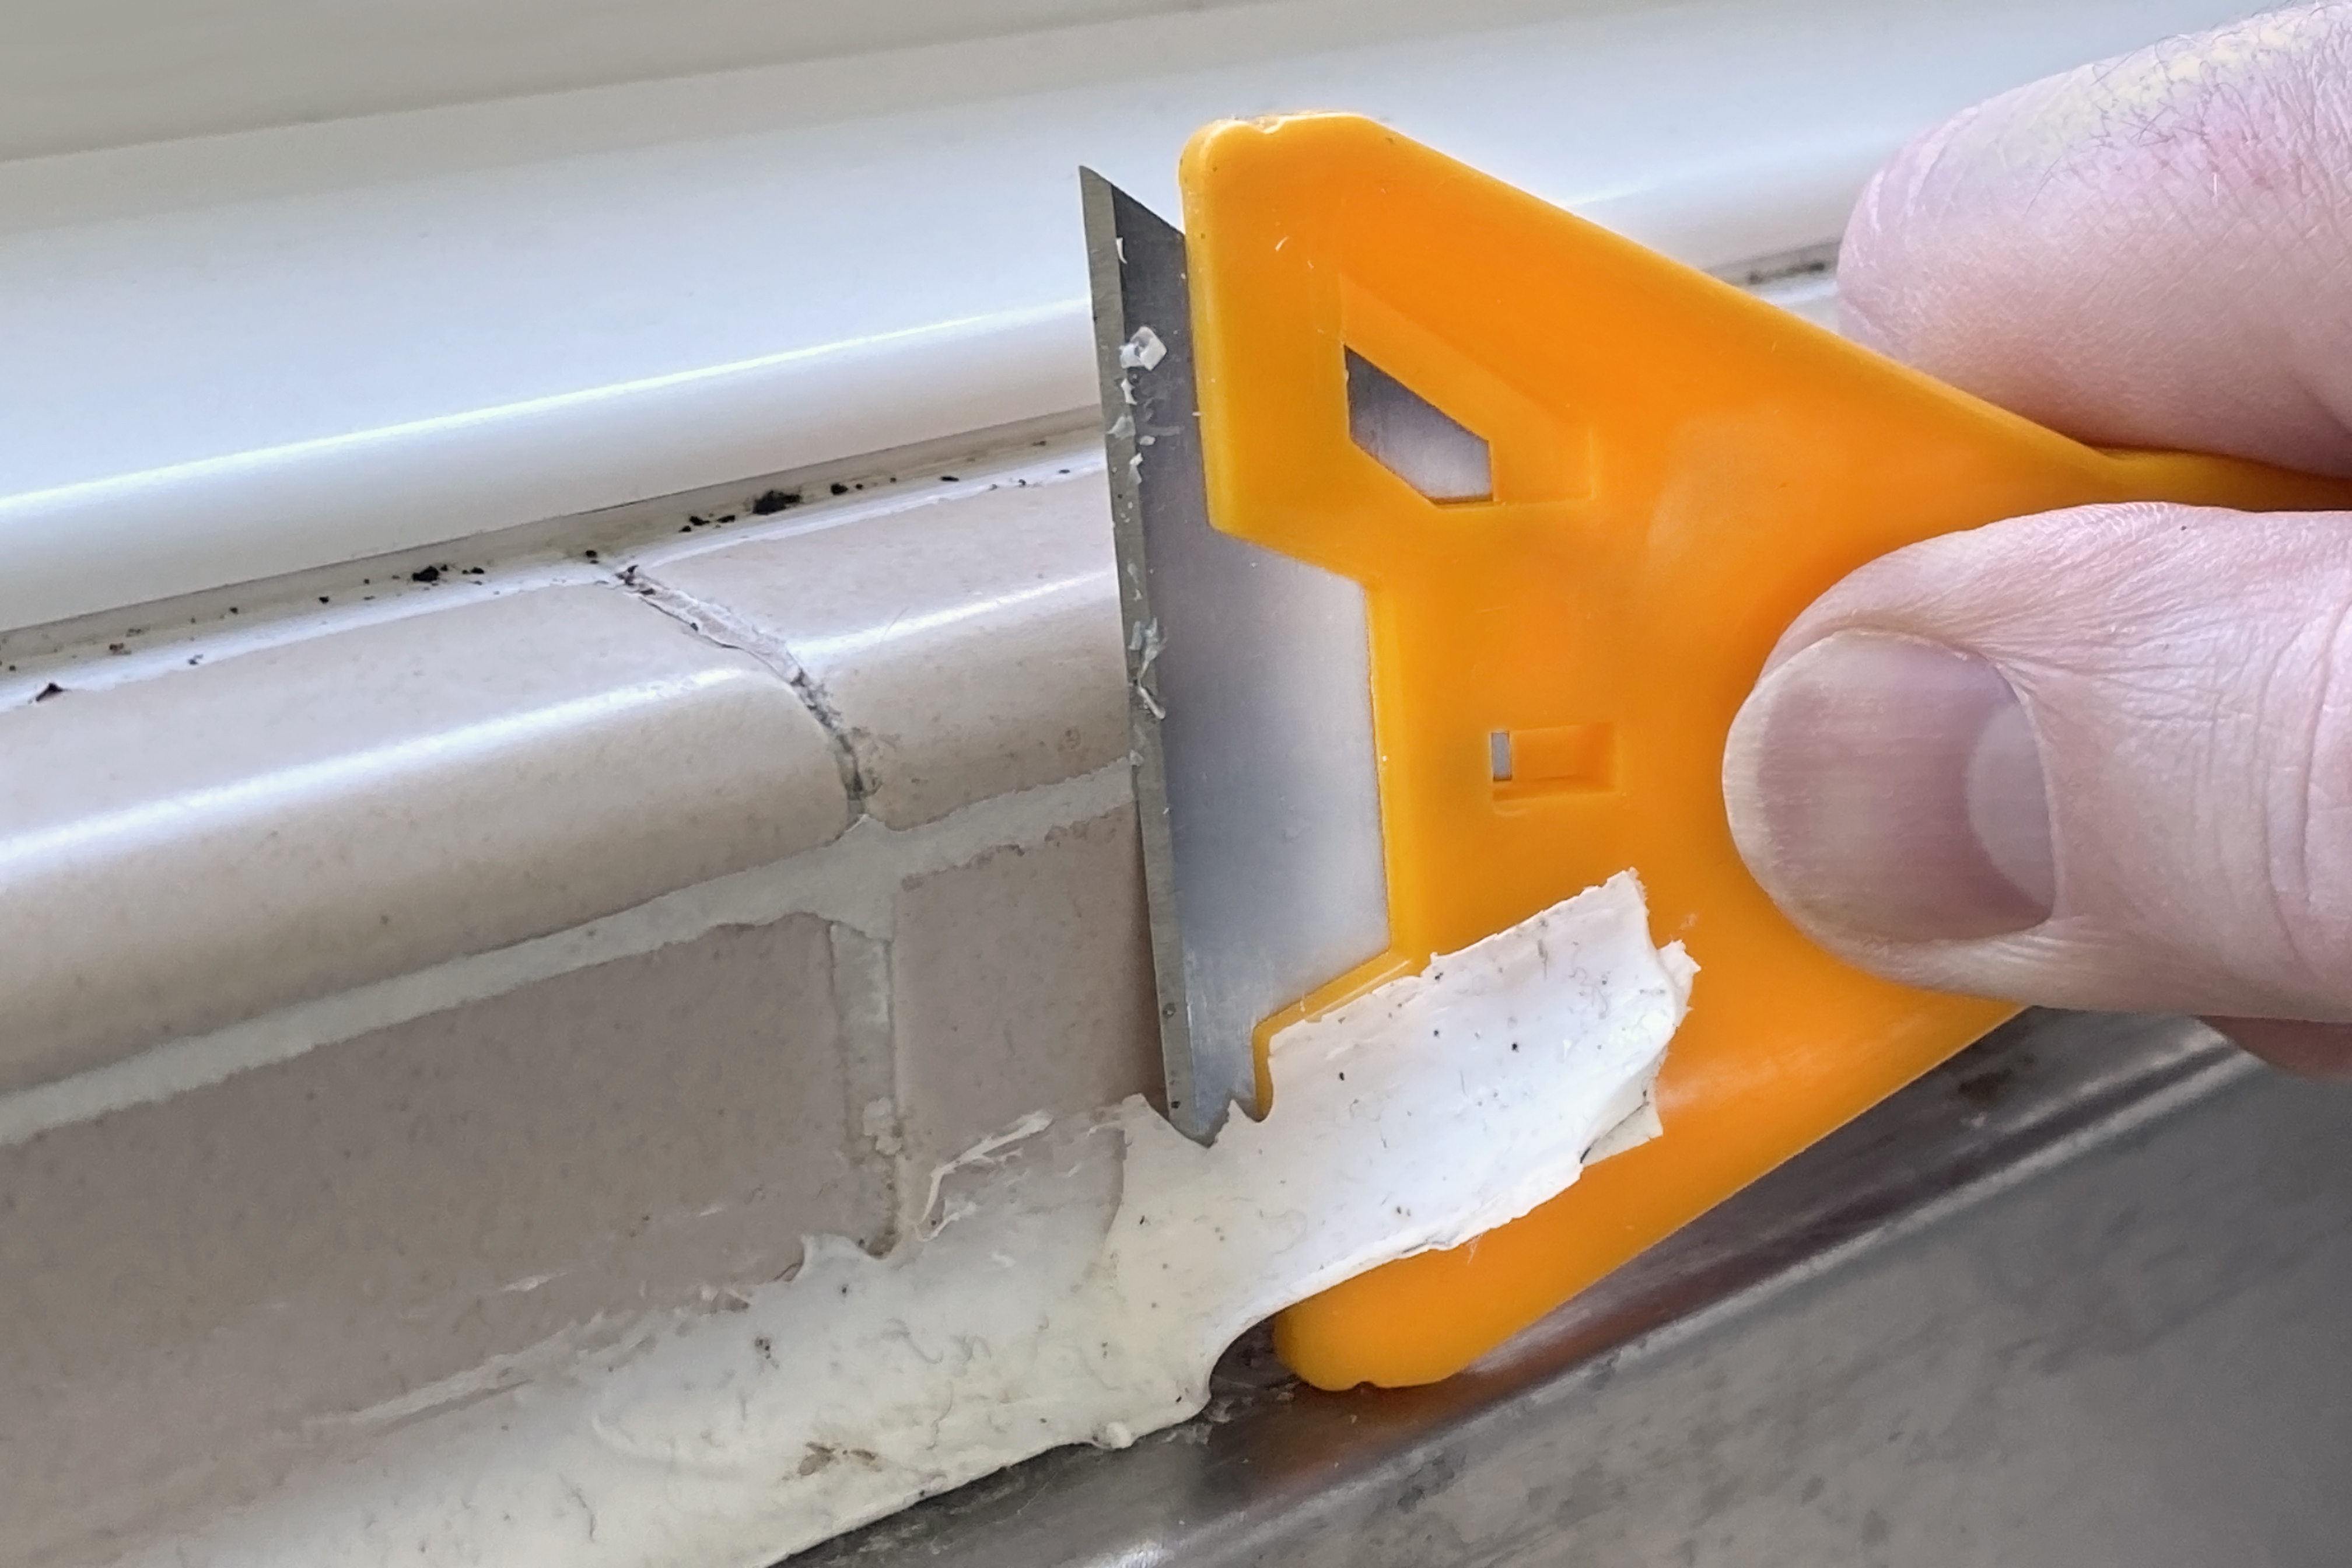
Use a plastic scraper or an old credit card to scrape off the remaining caulk. If it’s not coming off, you can use the hairdryer again to heat and soften it as you’re scraping it off.
Some caulk may be very difficult to remove. Use commercial caulk remover according to the manufacturer’s instructions to remove the caulk from the wall and shower base.
Use silicone caulk and a caulk gun to fill in the screw holes in the shower sides and base.
After the caulk has set, wash the area covered by the door frame with a clean rag and a shower cleaner.
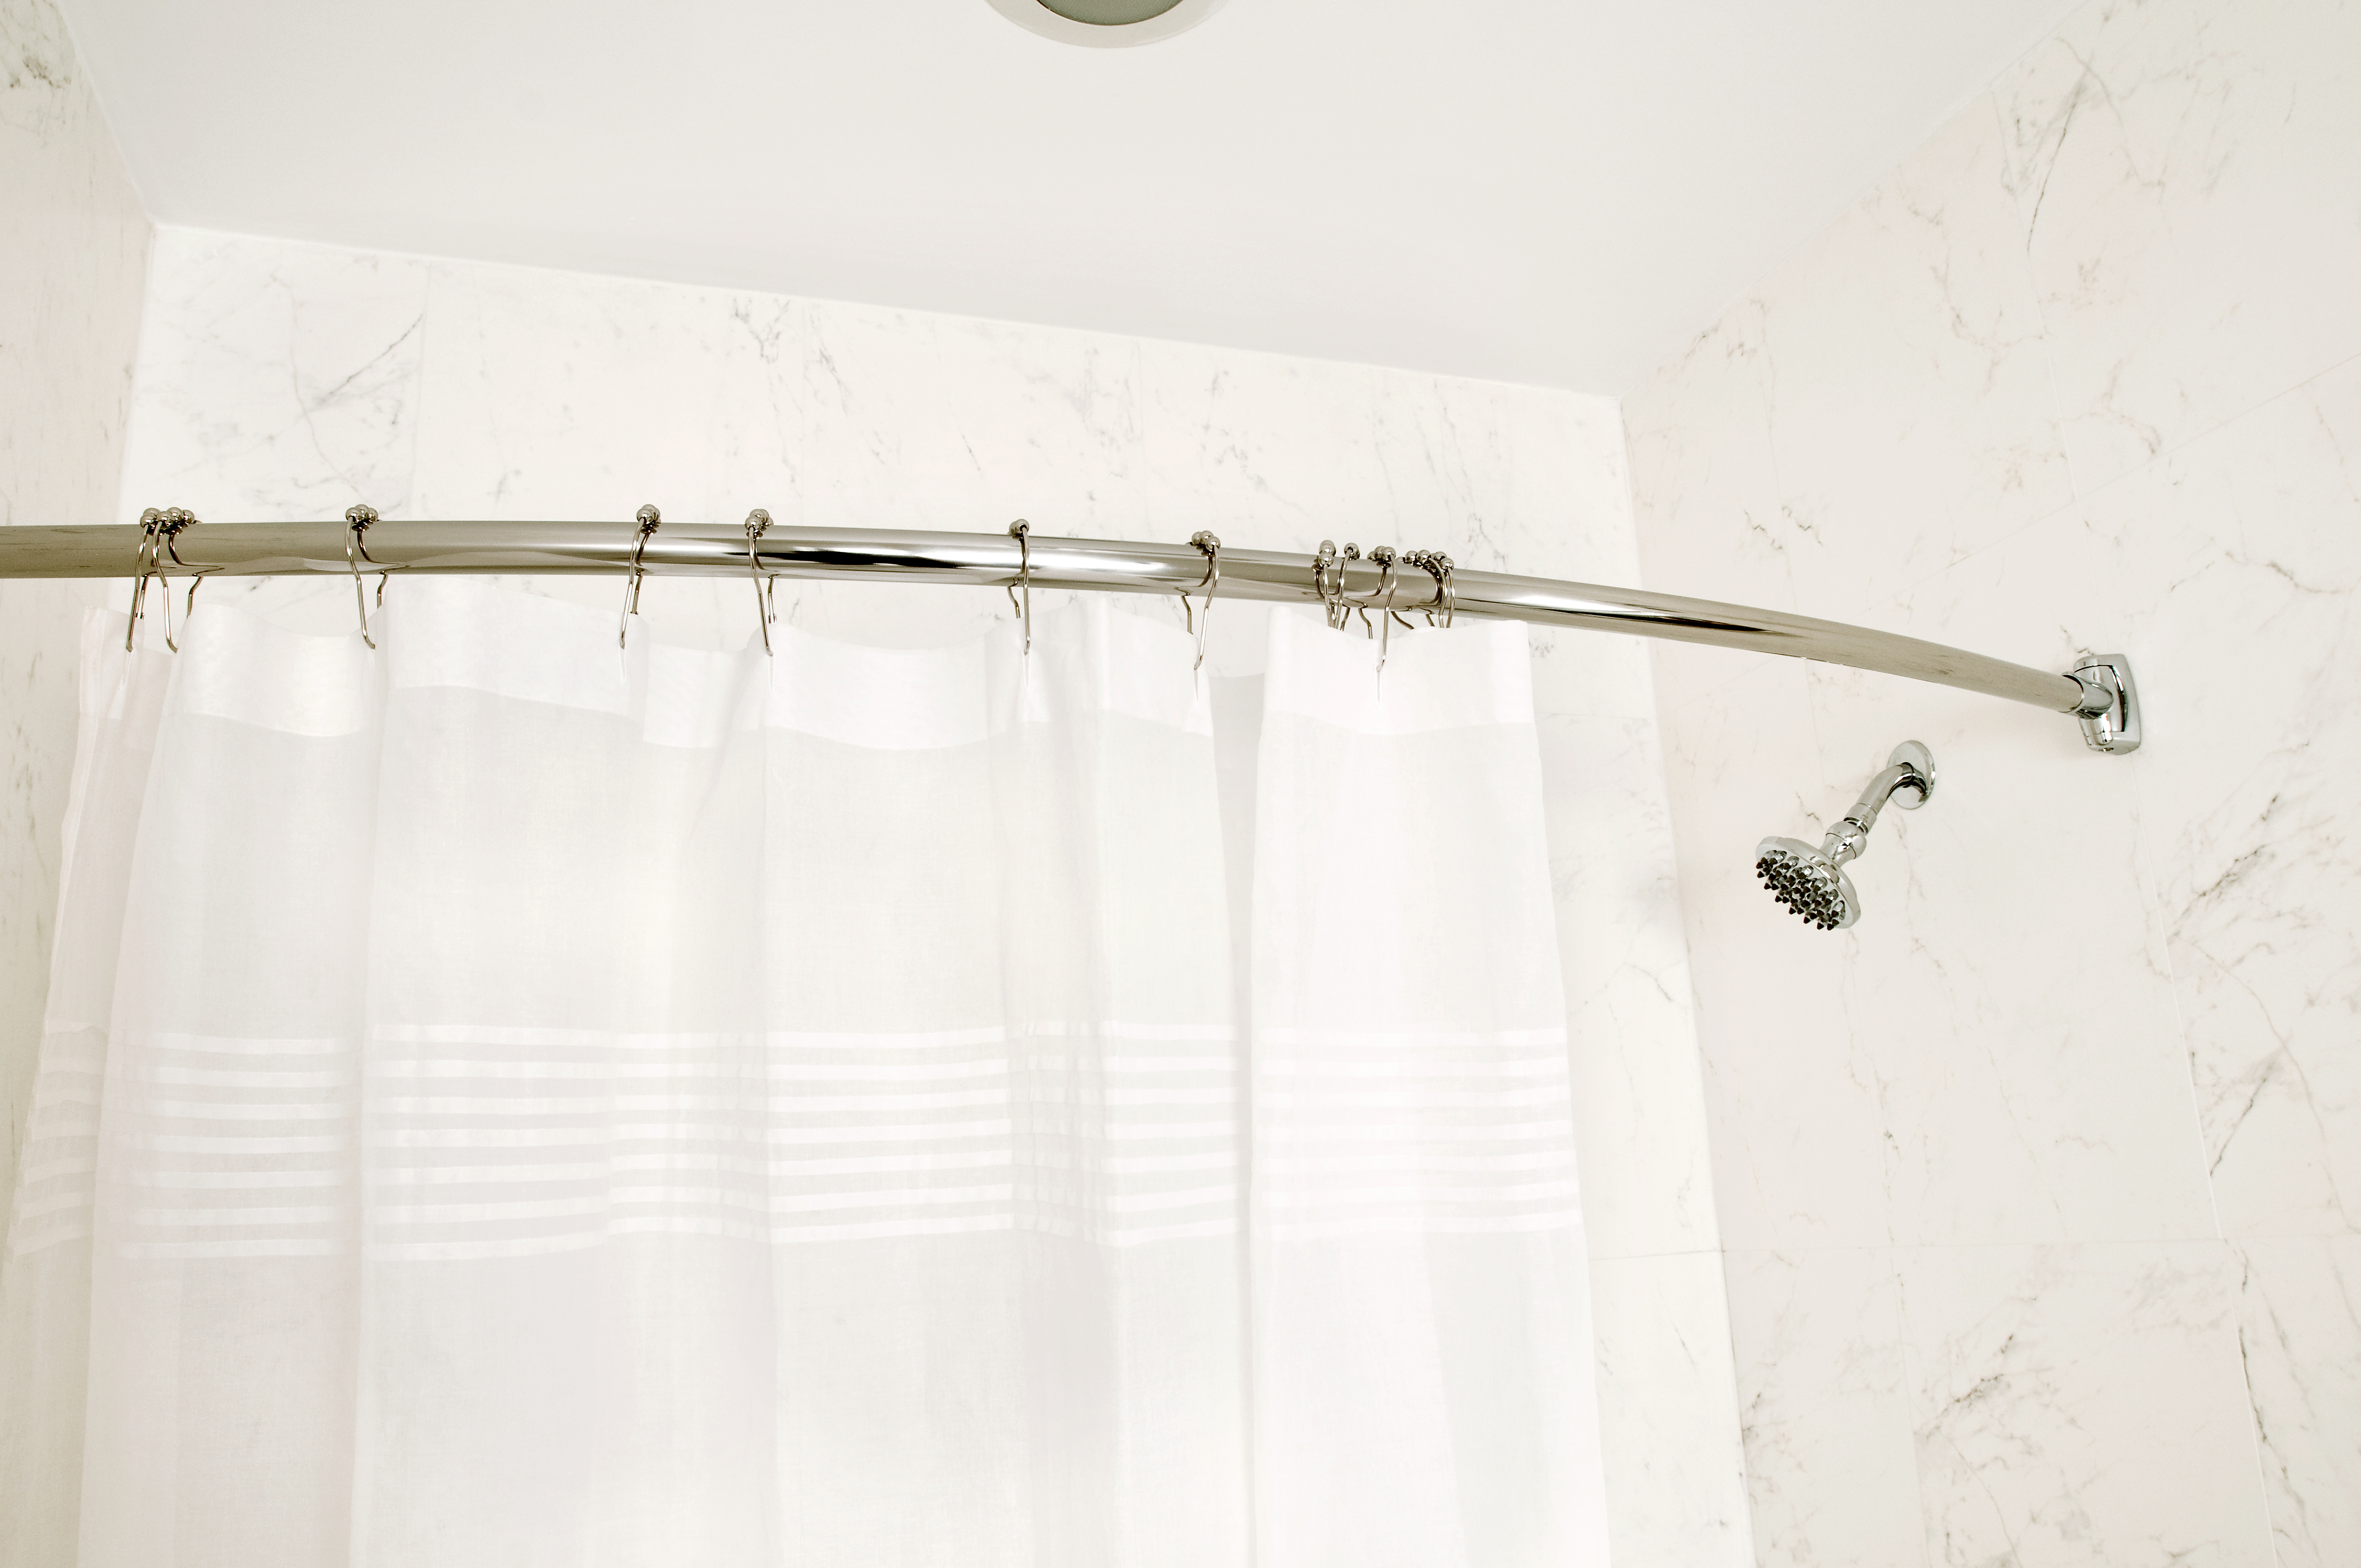
Hang a tension rod, curtain rod hooks, a shower liner, and a shower curtain. You don’t necessarily need a curtain if you use a liner. You can also install a new shower door if you’re looking for an upgrade.
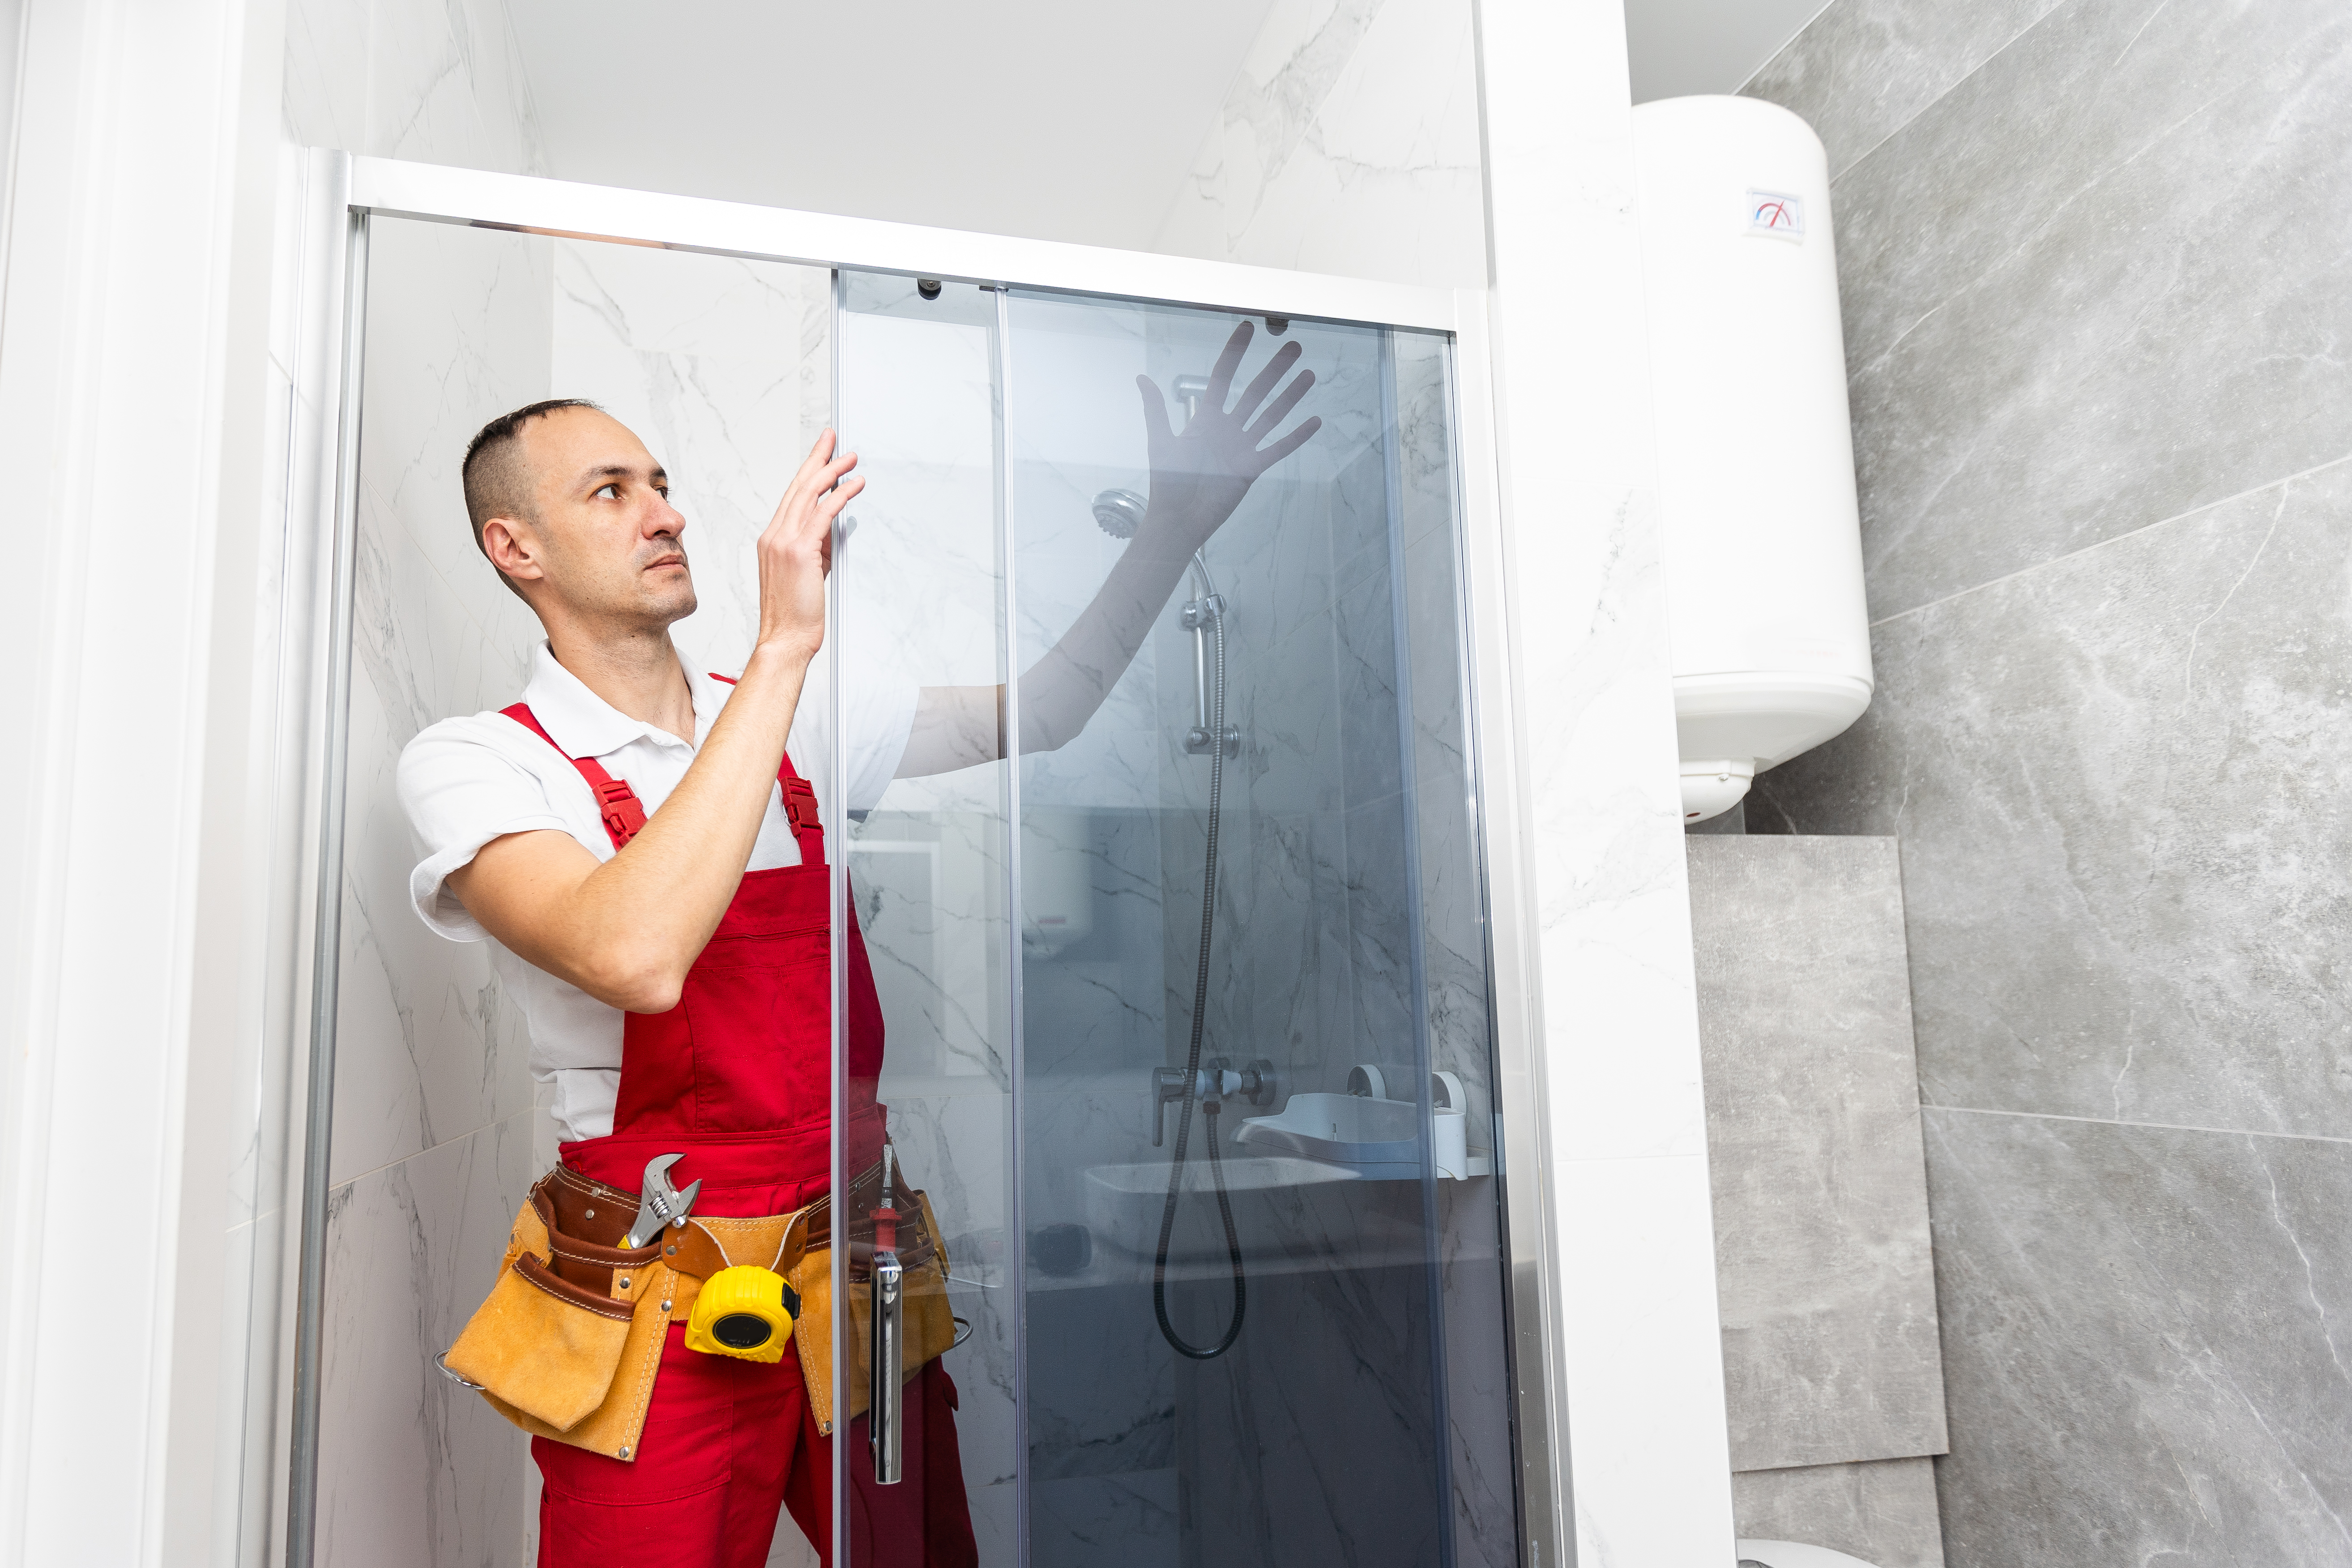
One of the biggest concerns with removing a shower door is the potential for damage during the removal process. We highly encourage you to do this project with a second person when removing the shower doors. The doors can be heavy, awkward, and slippery if the shower has been recently used. Two people can lessen the chances of dropping the door on the way to dispose of it. You can also apply painter’s tape to the edge of the doors to help prevent cracks and chips as you’re moving the door.
Shower doors with frames and tracks are notoriously hard to keep clean. If you’ve got mold growing on or around the door that you can’t reach or the door is tough to clean, remove the door and opt for a shower curtain. Those who live in areas with high humidity may have trouble keeping the track dry between uses, which increases the chances of mold and mildew growth. Another reason would be if the doors are dated and you’re looking for an inexpensive way to give your bathroom a glow-up.
This is a project most beginners can DIY. It doesn’t take many supplies and uses basic tools and skills. You can do it yourself for between $50 and $75.
A local shower installation professional would make short work of this project and could have it done in a couple of hours. Shower installers charge an average of $60 per hour, so labor costs would make up the majority of the price if you went this route. If you have the inclination to remove a shower door yourself, this is a DIY project that could save money and not be too time-intensive.
Jason has helped me with multiple household projects, with the most recent being new door installation. He has always showed up on time and organized and has done an incredible job! Jason is very professional and he's now my go-to for anything around my house that needs to be fixed or...
Cole has been handling plumbing and general contracting for our four properties over the past three years, and he’s always done a great job. Most recently, he installed a sink and countertop in our retail store where none existed before, and it turned out exactly how we needed. He’s...
 ANB Renovations LLC
1st Choice Renew is simply the best! We hired them for a complete home renovation, and they transformed our space into something truly amazing. The team attention to detail and commitment to quality were evident throughout the project. They were easy to work with, very responsive, and always...
This company went above and beyond with their work, chimney sweeps are usually pretty messy, but the clean up was spot on.!! Josh explained every thing that he was doing, and the things that he was checking to make sure the chimney was safe for me and my family. He was very professional,...
 Supreme brick & chimney
Custom Paint Jobs LLC turned our outdated bathroom into a modern masterpiece.
Excellent customer service and knowledge. I was recommend to him from my neighbour. My front door and window came in great and were installed beautifully perfectly, I m very satisfied with their excellent work, so decided to order one more big bow window for my living room. I cant wait for...
If I could give 10 stars for Kitchen Tune Up, I would. I cannot say enough good things about my experience with Kitchen Tune Up and the entire team involved in the process of my kitchen project. They went above and beyond as far as service and quality with my cabinets, paint, countertops, and...
It was wonderful working with Yordy and his team. They were very professional and are experts in what they do. They have completed the work on time, with better quality and with in fairly reasonable price. We just started with backsplash work , but liking his work, we went on to provide...
We were having 2”x 2” tile installed . There was a small installation error and the new additional replacement tile was from a different lot and the colors didn’t match. Joe assured us that he would rectify everything , which he did without hesitation. We decided to go with the 18” x 36” tile...
 CarifaTile
They work that 360 did on my kitchen cabinets is nothing short of amazing. I still cannot believe the difference from before and after. Jon and Jeff were both so incredibly professional throughout the whole process and their communications with me were constant and consistent. These guys...
 360 Painting Columbus
From average costs to expert advice, get all the answers you need to get your job done.
Discover the average shower door installation cost, including labor and materials, plus tips to save on your bathroom upgrade.

Discover frameless shower door costs, including average prices, installation factors, and ways to save on your bathroom upgrade.
Find out the average shower door repair cost, key price factors, and ways to save. Get estimates to plan your shower door repair project confidently.
If your shower door has been acting up, it’s time to get it back in working order. You can adjust a shower door with some common adjustments.
Shower doors add durability to a bathroom renovation. This guide explores ten types of shower doors and offers tips to choose the best fit for your home.

Are you shopping for a shower door that fits best in your bathroom? Before you get your heart set on a high-end frameless bathroom door, you need to know a few details. Read on to learn about the differences in cost, function, and appearance.