

Top-rated drywall pros.

Get matched with top drywall pros in Richmond, KY

Enter your zip and get matched with up to 5 pros

Need a pro for your drywall service project in Richmond, KY?

Select your specific project to find the pro for you.

TRUSTED BY RICHMOND, KY HOMEOWNERS

  • Average homeowner rating star icon4.6
    Average homeowner rating
  • Verified reviews icon139
    Verified drywall services reviews

Find Drywall pros in Richmond

Avatar for Perfect Edge Painting
Perfect Edge Painting
4.6(
111
)
Drywall - Repair

Serving Richmond, KY and surrounding areas

Approved

In business since 2011

Free estimates

Emergency services offered

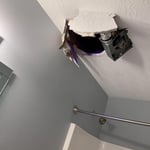
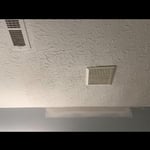
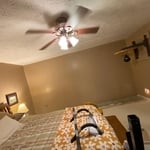
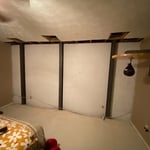
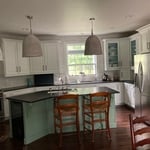
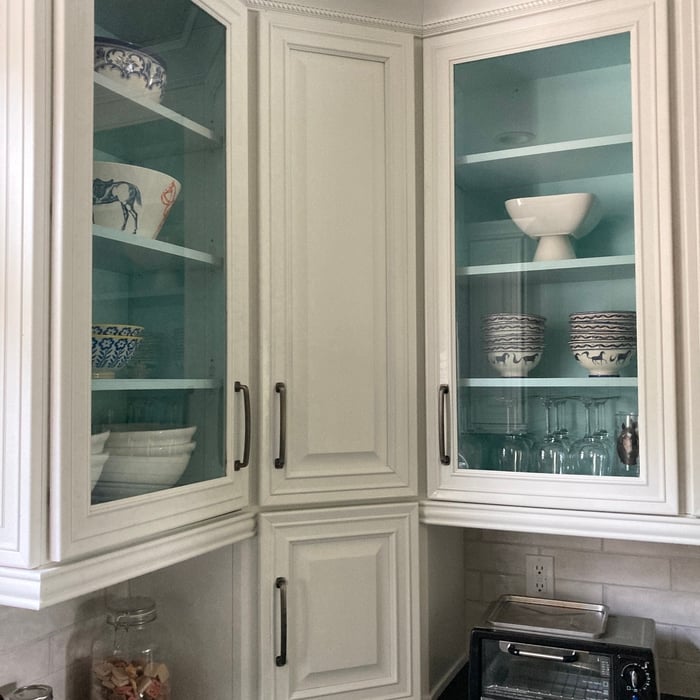
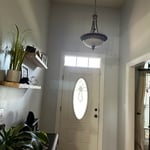
"The Perfect Edge Painting crew was punctual. C.W, Donna and Dana were polite but professional. They explained they would cover furniture with light plastic sheeting and move it out of the immediate work area. Heavy drop cloths were taped down on the floor. Cracks and drywall imperfections were filled, smoothed and sanded. Once the trio started painting , they stopped to ask if my wife and I were happy with the color and look of the new paint. They painted our entry hall, dining room, family room and kitchen. When they were done they cleaned and swept up. Apparently this crew has worked together for many years . They have high standards, their attention to details is impressive and their finished product is first rate. I was impressed. I would use them again and recommend them without hesitation."
Additional Photos
Additional Photos
Additional Photos
Additional Photos
Additional Photos

+7

Response time2 days
Response rate90%
Recommended by95%of homeowners
...
Showing 1-10 of 217
Drywall questions, answered by experts

There are six levels of drywall finish, from 0 to 5, that refer to the amount of work performed during the finishing process.

Level 0: Drywall is hung with no finishing work.

Level 1: Tape is placed over the seams between drywall sheets.

Level 2: A thin layer of mud is applied over the tape and screw holes. This level is common for utility rooms or walls that will be covered.

Level 3: A full coat of mud covers the screw holes and tape, but the surface is not sanded. This is often used in garages.

Level 4: This is the most common finish for visible interior walls. It involves applying two coats of mud over seams and screw holes, with sanding between each coat, creating a smooth surface ready for flat paint.

Level 5: This is a high-end finish for luxury homes. It includes full taping, mudding, and sanding, plus a final skim coat over the entire surface before painting.

Drying alone can take 1 to 4 hours to dry to the touch per plaster layer, but some types of plaster take several hours longer to dry. However, this doesn’t mean the job is done because plaster doesn’t fully harden until it cures, which can take a few days to a couple of weeks. It may take even longer if you’re building a new, pretty thick plaster wall. Allow the plaster to cure before painting it.

Plaster ceilings can sag for several reasons. In some cases, the plaster and other building materials shift and come apart over time, which is why you’ll commonly find drooping plaster ceilings in older homes. Improper installation, foot traffic, and water damage—often from a leaky roof or a broken pipe—can also cause plaster ceilings to sag.

Through expert matching of texture and paint for an invisible repair.

Whether you apply the drywall mesh before or after drywall mud depends on the type of patch it is. For self-adhesive patches, you’ll put the patch down first and then coat it with mud. Mesh patches that are not self-adhesive will require you to put mud down first and then press the mesh into it, followed by additional coats of mud.

The Richmond, KY homeowners’ guide to drywall services

From average costs to expert advice, get all the answers you need to get your job done.