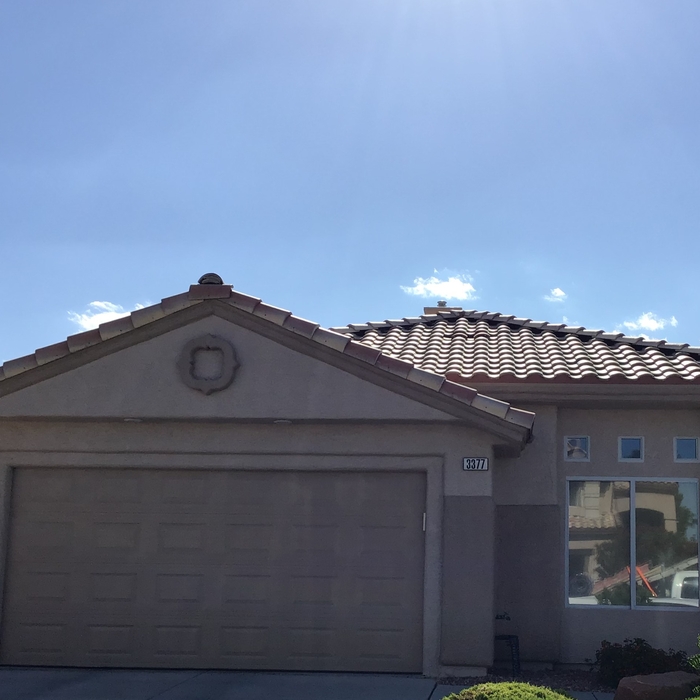
Innovation Painting LLC is committed to delivering exceptional painting services to our valued clients, including family, friends, neighbors, investors, and new customers. We pride ourselves on quality craftsmanship and building strong relationships within our community. Our team is dedicated to providing employees with opportunities for growth and advancement. We look forward to enhancing the beauty of your home with the outstanding painting services it deserves.\n \nFor more information or to schedule a consultation, please visit our website at innovationp208.com or contact us at (208) 293-7066.
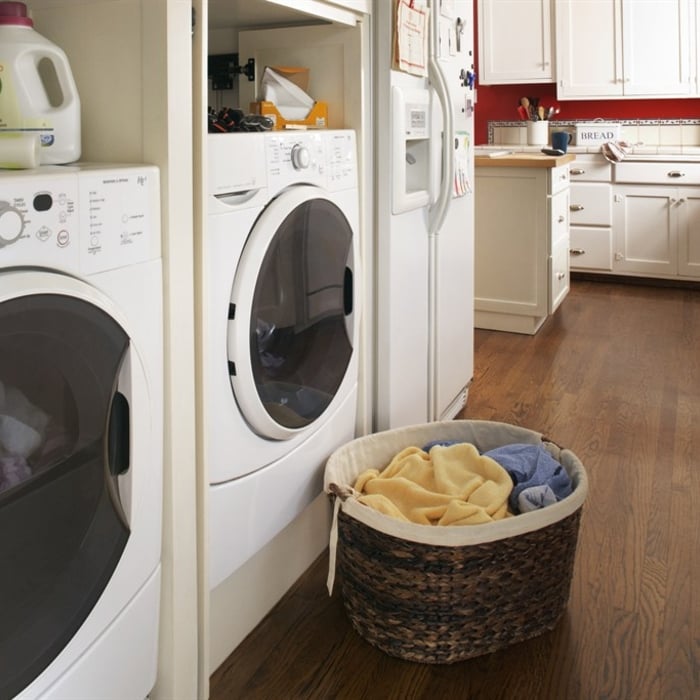
"Jeremy was fantastic. Extremely professional, knowledgeable. He installed our Schlage keyless door locks, hung our tv's and also hooks for coats in laundry room. He came prepared with all tools and everything he did was top notch perfect. We will ask Jeremy again for his services. I would recommend him to anyone as he has a wide range of experience for any home tasks or needs. Thanks again Jeremy!!!!! You were great."
I started Daniels Construction LLC because I believe customers deserve a contractor who communicates honestly, shows up when promised, and takes pride in doing the job right. Whether it’s a small repair, a remodel, or a larger construction project, I treat every job with the same attention to detail and commitment to quality.\nFor me, this business is about more than building and remodeling—it’s about building relationships and a reputation in the community I’ve called home and served for many years.
the leak was a drip at an elbow on the softener cold water feed. it had dripped a long time as it didn't show until the sheetrock was
saturated and mold started. I opened the ceiling and the wall and located how for it had run giving me a good look at the zigzag
placement of the water line when the softener was installed. The provider readily agreed to clean that up with the cost of a foot or two of pipe. I am completely happy "
"It went pretty smoothly. One of the best contractors I have had from Choice Home Warranty. Century Restoration Maintenance, LLC and owner PeAyre Gardner were awesome. I have had CHW several years and I wanted to cancel because every thing we called about they denied the claim. My husband decided to keep them. I was pleasantly surprised that they fixed both the leak and drywall in the ceiling from the leak. I did have to provide extra pics from the leak before it was approved as initially the claim was denied."
We pride our company on reliability, great communication, integrity, and quality work. We are experts in our trade and will do our best to reach or exceed your expectations as we can on your particular task or project. We look forward to earning your business.\n
"Well, the first time the replacement was ordered it was the wrong one, which of course, delayed the installation a week. When it was finally installed I had to pay an additional $850 for code upgrades. This I was not informed of by Home Shield. Then we noticed that there was water on the garage floor and found that the pipe coming in from the wall was leaking at the wall so had to call the plumbing company back out to fix it. They first tried to say it was not their fault but since there wasn't a leak before they installed they did fix it. I have used Home Shield a few times before and never had a problem. Some of the companies they use are not the best so you have to research them before you commit. I have found HS service to be good if you do your homework. At the end of the day I was without hot water for almost 3 weeks but it was do to the plumbing company they sent out."
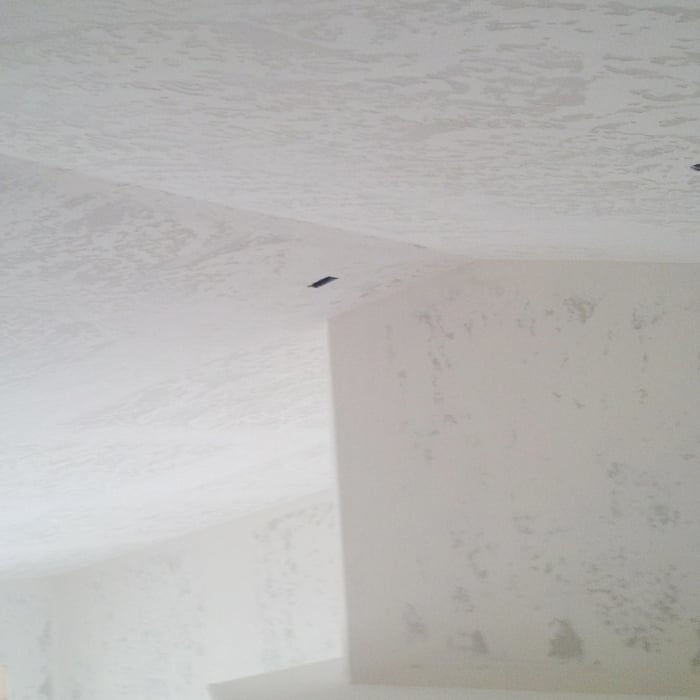
"They came out quickly and gave me a competitive quote. Although it was a small job they scheduled me in quickly. I told them I wanted a turnkey job meaning I didn't want to hire someone else to paint the new drywall. They did a great job and matched the drywall texture perfectly. I would hire them again ."
New plaster must be fully dry and cured before painting. The drying time for plaster ranges from 1 to 4 hours, but the curing process can take more than five days, depending on various factors, including humidity levels, temperature, the amount of plaster used, and airflow in the area. You should always apply primer before painting plaster.
If you want to reduce sound transmission throughout your home, soundproofing drywall is a better choice than standard drywall. However, simply installing soundproofing drywall may not completely block out noise. You’ll get the best results from incorporating it into a larger soundproofing plan that includes proper insulation and framing studs.
When choosing materials for finishing basement walls, consider factors such as moisture resistance, durability, and fire resistance. Opt for materials specifically designed for basement environments, like moisture-resistant drywall or cement board. Insulation with vapor barriers can help regulate temperature and prevent condensation. Consider using mold-resistant paints or coatings.
Research and consult with experts to select materials that are suitable for your specific basement conditions and intended use. Prioritize quality and compatibility to achieve long-lasting and aesthetically pleasing results.
You can repair plaster ceilings yourself after the cause of the ceiling damage has been addressed. However, the repair can easily take 5 hours and can be slightly challenging for those without previous experience. If you do decide to flex your DIY muscle, have a helper to help hold the ladder and pass you the tools for safety purposes.
Costs depend on damage size, labor rates, and whether additional services like painting are required.
The Fairfield, ID homeowners’ guide to drywall services
From average costs to expert advice, get all the answers you need to get your job done.
Drywall texture can create an attractive finish and add dimension to your home’s walls. This guide breaks down the factors that influence the cost to texture drywall.
Installing drywall is the most common way to finish your home’s interior. Use this drywall installation cost guide to see what your project is likely to cost.
Whether you want to spruce up a few dents and dings or fix a large surface area, investing in drywall repair costs can return your walls to a smooth, flush look.
Understanding the plaster vs. drywall debate is key to giving your home’s walls the perfect finish. Learn more about the pros, cons, and costs with our advice.
The terms drywall and Sheetrock are often used interchangeably, but one is a brand and one is a specific product. Find out which one you need in this guide.
Thick gaps and extra joint compound can alter the look of drywall. So, should drywall be butt up against a wall? Review this guide for seamless installation.