
Moving your favorite tree isn’t exactly a small task, so we’ll break down some common tree transplanting costs so you can be prepared.
Learn how to transplant a tree so you can move it instead of removing it

Transplanting a tree works best when you prune the roots first, creating a root ball that's one foot wide per trunk inch diameter.
Expect to pay $300 to $700 for small tree transplanting and $1,000 to $5,000 for larger trees, with costs reaching $10,000 for long-distance moves.
Relocating your tree to a new spot before digging helps minimize damage, especially when you prepare the hole in advance for quick replanting.
Hiring a local tree planting professional keeps the process safe and efficient, handling heavy root balls and specialized equipment for successful transplanting.
If you need to move a tree, figuring out how to transplant it can be daunting. Learning how to transplant a tree can be a good solution if it’s growing in an unwanted place or it’s a danger to surrounding structures.
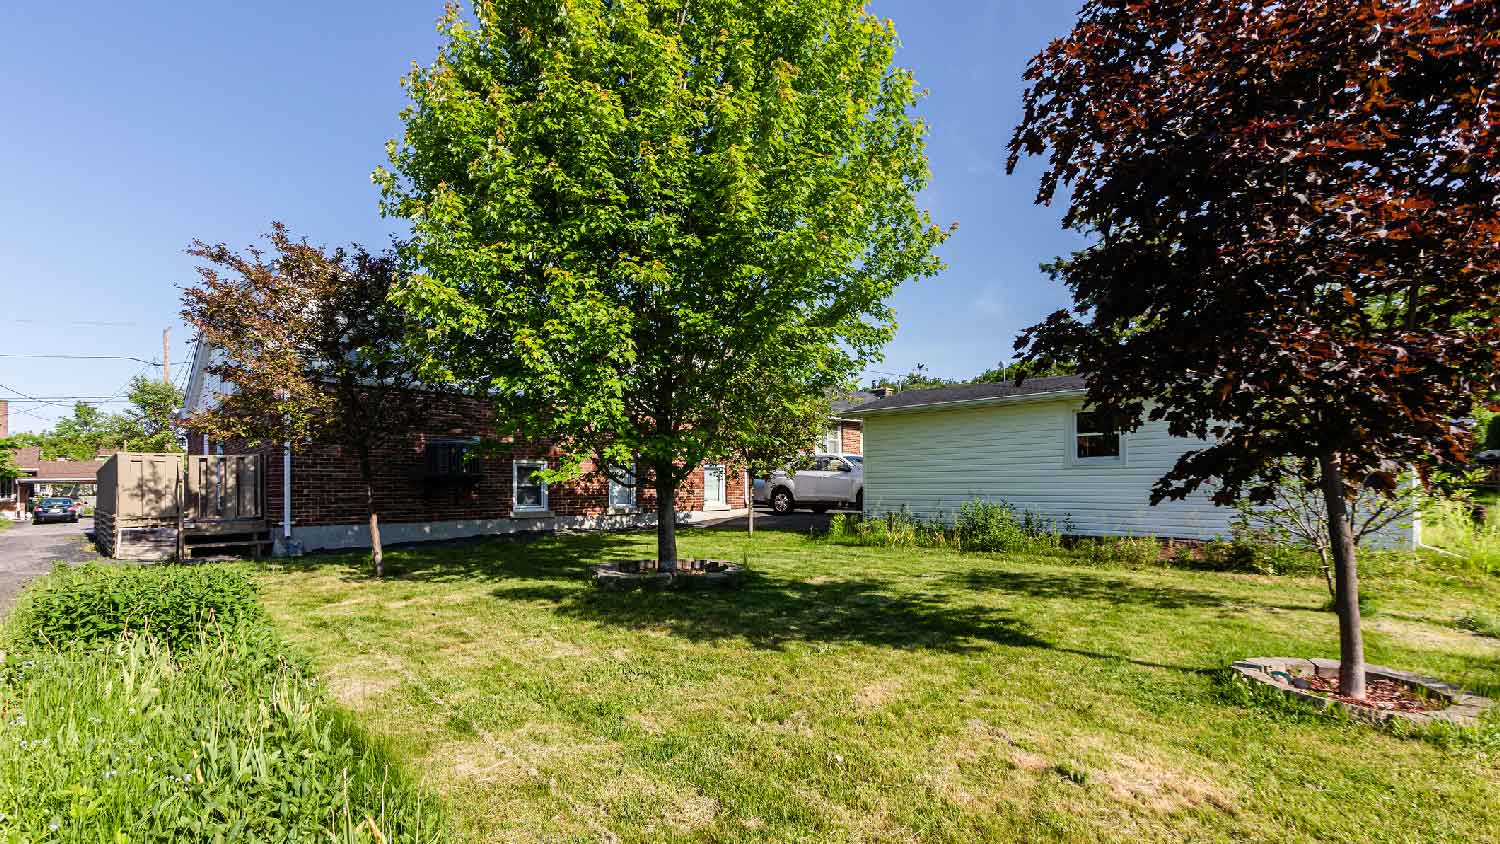
Luckily, most young trees are candidates for transplantation. For smaller trees, you can likely even transplant them yourself with the right tools. For larger trees, or trees with obstacles near them like power lines or other utilities, you should enlist the help of a local tree planting pro for the move.
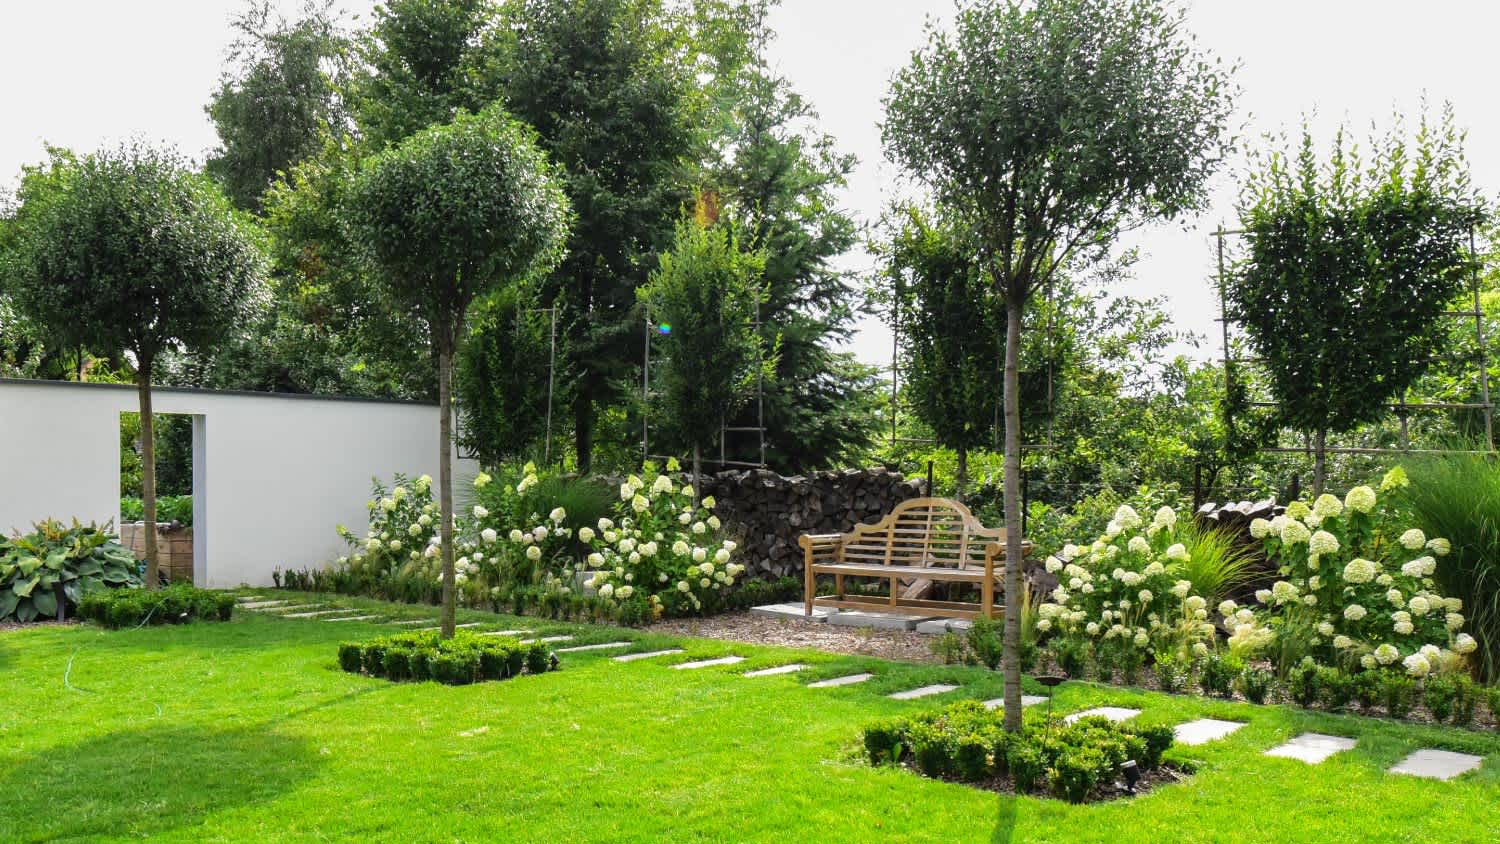
Sometimes, a young tree grows in less-than-optimal conditions. For example, if a tree is too close to a structure, in the way of a planned renovation, or not in the best soil to flourish, you might want to transplant a tree to a better location. Additionally, a tree planted underneath power lines or with its roots in the path of a sewer line might be a good candidate for transplantation. Other reasons might just be aesthetic, like if you want to have more space on your lawn. Rather than removing the tree altogether, you can save it by transplanting it to a new spot instead, similar to transplanting plants.
The average cost to transplant a tree is between $300 and $700 for small trees and $1,000 to $5,000 for a larger tree. Factors that can affect the cost of transplantation are the distance the tree needs to travel, the size of the tree, and any obstacles on the transplant site, like large boulders, structures, or hills. In some situations, long-distance transplants of large trees can cost up to $10,000 or more.
For deciduous trees, the best plan is to move them in early spring before they begin to produce buds or leaves or in fall, after they have dropped their leaves. It’s ideal to move evergreens in early spring or late summer. This timing will allow the tree to move while it’s still dormant, giving it the best chance to bounce back from the transplantation shock. Within this timeline, transplanting a tree while it’s as young and small as possible will yield the best results.

Transplanting a tree involves isolating the root ball, digging up the tree, and replacing it in a new hole. Here’s how to execute this process to keep the tree healthy during transplant.
Before cutting or digging into the tree roots, you should water the tree well. This step will help the tree withstand the shock of transplant and will loosen up the soil around it, making it easier to dig. Watering several hours or even a day before pruning to give the tree a good drink before pruning the roots will help keep the tree healthy.
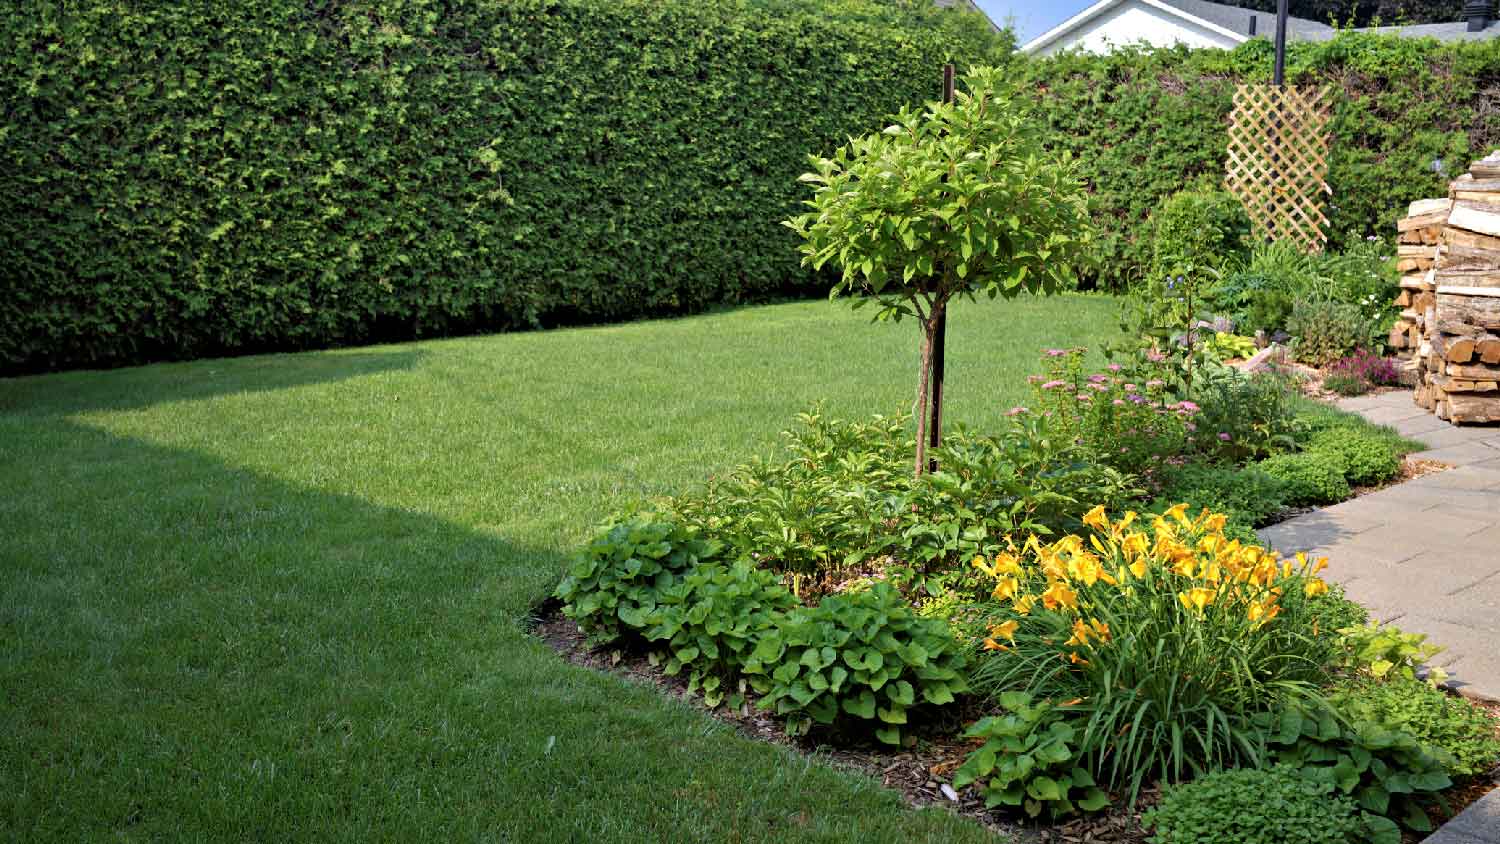
To relocate your tree with the least amount of damage, choose a new spot for the tree before you dig it up. Find a spot that’s clear of utility lines, away from structures, and has the right soil and sunlight conditions for your tree. Then, dig a hole large enough for your root ball before you do the final excavation in its current location.
Adhering to the rule of thumb of one foot of root ball to one inch of trunk, dig a trench about one foot thick and two feet deep around your tree. This step will fully disconnect the tree roots and allow for a root ball to form. Make sure to water your tree about a day before transplanting it to keep it well-fed for the move.
Since you won’t be able to take the whole root system with the tree, you’ll need to create a root ball to transplant your tree. To determine how much to prune, measure the diameter of the trunk of your tree. You should include one foot of root diameter for each inch of diameter. For a trunk that’s three inches in diameter, you should leave a three foot root ball. Trim away roots beyond the three-foot mark, leaving some soil with the roots. You can use a flat spade to cut through the roots you need to trim or dig down and use a larger pair of loppers to cut the roots.
Fill your trench with the removed soil and then top it off with mulch. This step will help your tree regrow feeder roots that will expand once transplanted. Make sure to water the tree once the soil is replaced so that it can take in nutrients as soon as possible after trimming the roots. Give the tree several months to re-establish its root system so it will go into its new location healthy and ready to take root.
Once you have dug the trench and separated the tree from the surrounding area for a day, you can dig out about six inches of topsoil around the trunk. Make sure not to dig too far down until you get past the root ball to avoid injuring the new feeder roots growing in to feed the tree.
If your tree has a three-inch trunk, begin digging down past the root ball about two feet past the trunk in a circle around the tree, taking care to preserve any new root growth. Dig down about three feet to your tree with a three inch trunk to get your shovel underneath the root ball while preserving the bundle of roots you’ve made with your trench.
Natural burlap is helpful to use at this stage to protect the roots and keep everything together while moving the tree. Carefully pull some burlap under the tree roots once they’re free of the surrounding soil, and then wrap the roots. Use garden twine to secure the burlap to the trunk.
Now, you can move the tree to its new home and place it in the hole. Carefully lower the tree into the hole you dug for it, then carefully remove the burlap from underneath the roots. Then, replace the soil you dug from the hole around the root ball and top it off with a few inches of mulch. Make sure to water in your tree in its new spot to keep it healthy after transplant.

A transplanted tree will need extra water for a season or two after moving it. Water your recently transplanted tree well every two weeks after relocating it, keeping the soil around the roots moist but not spongy. Maintaining soil moisture will be easier with a two- or three-inch layer of mulch over top of the surrounding soil. Avoid fertilizing your tree in its new location for at least one year to allow it to recover from its move before stimulating too much new growth.
For larger transplanted trees, staking will help them stay upright and keep from leaning as they regrows their broader root structure. Using three stakes placed at least two or three feet from the trunk, create a triangular support for the tree trunk by attaching the tree trunk to the stakes with some rope. You can use a rubber garden hose or a similar wrap between the rope on the trunk to protect the trunk from damage from the staking.
Transplanting a tree with a trunk that’s three inches in diameter or less can be a DIY project. However, transplanting any tree that’s larger than that will have a very large, heavy root ball, necessitating specialized equipment to move it. For larger trees, it’s a good idea to hire a local tree planting service to avoid damaging the tree in transport or getting stuck with a tree that’s too heavy to mauve yourself. Tree planting pros will have the skills, tools, and experience necessary to prep the current and future tree location for a successful transplant.
One of my old tall evergreen trees was suddenly leaning toward the busy street in front of my house. I submitted a request for an emergency tree inspection, and Alejandro, owner of Cajete Tree Service, contacted me immediately and arrived to look at it just 20 minutes later. We agreed the...
1 tree was cut down and 5 others including a large willow tree were trimmed. The Grant Tree Service men were professional and cleaned up afterwards. The cost of the 6 trees were affordable. I am very happy with the results. I would hire them again.
Promptly arrived for quoting! Demonstrated superb customer service, affordable pricing, and completed service swiftly! Looking forward to the spring for our service!
 All Star Paving and Sealing
Seth was very professional, prompt in responding to queries about the work required , gave sincere advice as to what would be best for tree trimming and did the job timely.
Ace Fireplace Services' chimney sweep service is truly exceptional. They used advanced technology to ensure a thorough cleaning process, and my chimney has never looked better. I highly recommend their services.
 Ace Fireplace Services
Binion and Alex did such a good job. Fast, fair, efficient. Would def use them again. Best experience Iâ ve had in moving - someone should give them a raise. Will undoubtedly recommend this service.
I definitely recommend Ramonaâ s cleaning service! I have booked services with her many times and she arrives on time, ready to work and provides a great service.
Webb â s was priced well, flexible on scheduling, great with communication, and detailed in their work. Iâ ll definitely use their services again.
Great tree company, very professional and honest. Glad we found them, they had the best pricing
The service was great. Overall experience amazing. From initial call to completion, it was under 2 hours.
 Precision Overhead Garage Door Service
From average costs to expert advice, get all the answers you need to get your job done.
Moving your favorite tree isn’t exactly a small task, so we’ll break down some common tree transplanting costs so you can be prepared.

Discover what the current average tree removal cost is based on different factors to know how much it will cost to take care of a dead or troublesome tree on your property.

How much does an arborist cost? This guide explains the cost of different services, ongoing expenses, and other factors to consider when hiring an arborist.
Knowing when to transplant trees will help ensure they survive and thrive. Our guide breaks down what you need to know.
Transplanting large trees is typically the work of professional tree movers and arborists. However, you can move small existing trees as a DIY project.

Learn how to move a palm tree while avoiding irreparable damage. Using these steps to transfer a palm tree to a new spot.