

A ceiling repair averages about $1,000, but multiple factors affect this number. Learn more about creating an accurate ceiling repair cost estimate with our tips.
Don’t let a sagging ceiling drag you down

Water damage is often to blame for sagging plaster ceilings, but it isn’t the only cause. In other cases, sections of your ceiling might slump after years (or decades) of natural deterioration, structural movement, or improper installation. If that happens, you can grab a few tools and supplies and repair the damage yourself. Get started by reading this step-by-step guide on how to fix a sagging plaster ceiling.
As a heads up, this guide doesn’t explain how to fix a water-damaged plaster ceiling. Instead, it describes how to deal with plaster that’s pulling away from the lath for other reasons, including:
Age-related wear and tear
Foot traffic or vibration
Structural movement
Poor installation
If your ceiling is sagging because of a roof or plumbing leak, you’ll need to take a different approach—and that starts with identifying the source of the ceiling leak. After you deal with that, you can follow the rest of the steps in this guide.
Lay down your drop cloth under the sagging section of your ceiling. Then, set up your ladder nearby, but don’t place it directly on top of the cloth (otherwise, it might slide while you’re on it). Make sure to follow other ladder safety guidelines, too.
Put on your safety glasses and mask, then climb the ladder and use your hand to gently push the sagging part of the plaster upward. If it feels loose or gives easily, the plaster has likely separated from the laths, causing the ceiling to slump.
Gently knock along the damaged part of the ceiling to locate the laths behind the plaster.
Attach a plaster washer to a drywall screw and drive it through one of the laths with your drill. Repeat this process several times to stabilize the sagging plaster in multiple areas.
If you can’t find the laths or feel uneasy about drilling into your ceiling, consider hiring a professional who can fix a sagging ceiling rather than tackling this one yourself.
Once the screws are secure, scrape away any loose or crumbling plaster with a putty knife.
When you finish, use your vacuum hose to suck up any broken bits of plaster from the damaged section of your ceiling. Then, wipe down the area with a damp cloth to remove leftover dust and debris.

Spray any exposed lath and existing plaster with water. Keeping your work area damp will help the plaster patching compound adhere properly and prevent moisture from being drawn out of the fresh compound.
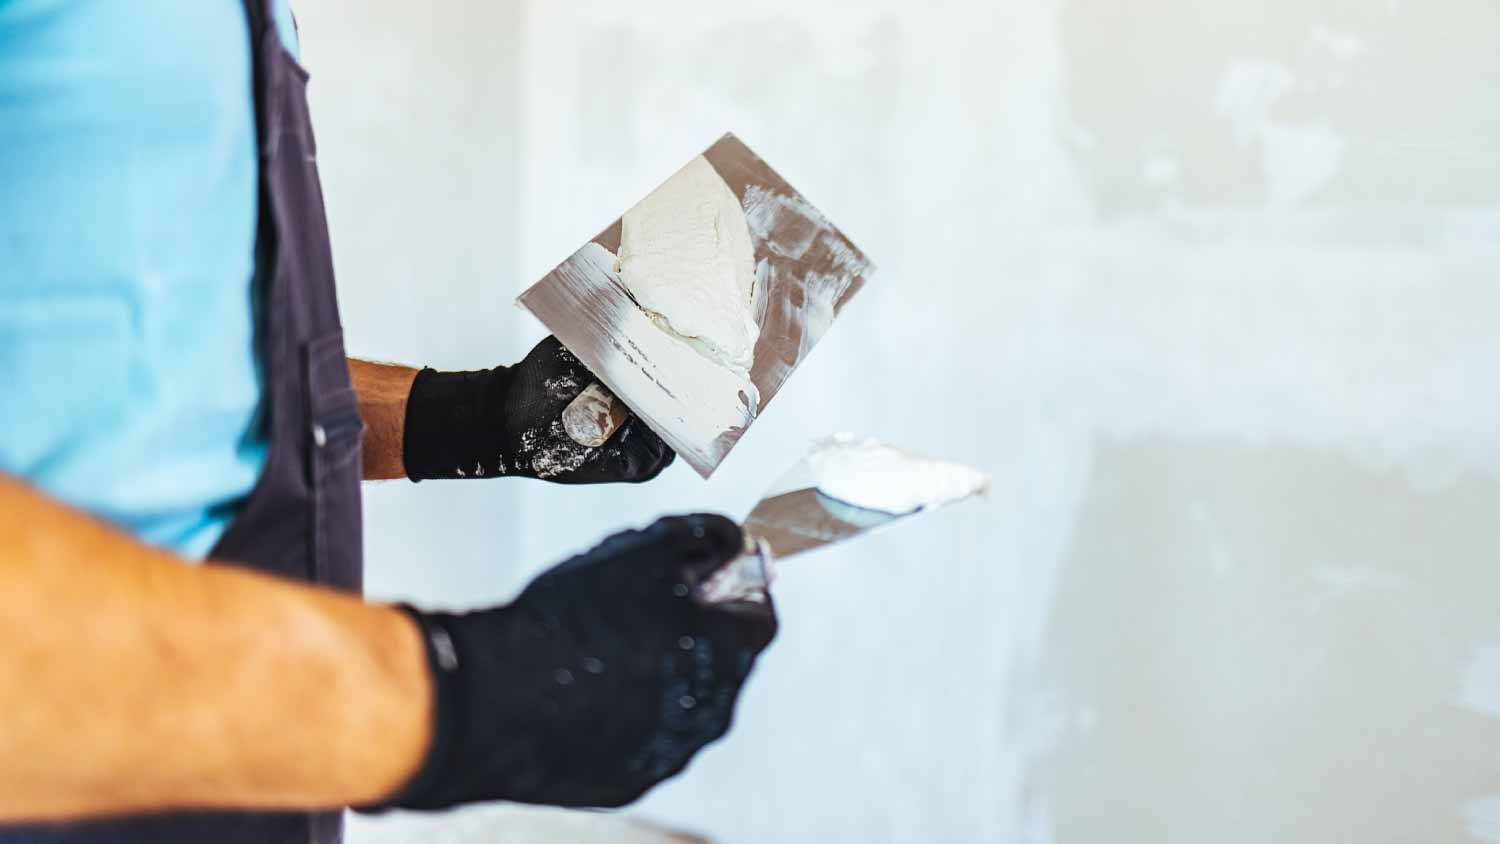
Next, apply a layer of plaster patching compound to patch the plaster on your ceiling. When you’re done, score it with the toothed edge of a trowel or a plaster scarifier. Check the suggested drying time on the product’s packaging and leave it to dry for that amount of time.
Add a layer of drywall tape over the washers and the repaired section of plaster, then use a trowel to apply a layer of joint compound over the tape. This will help conceal the washers and the patched plaster.
Let the joint compound dry as outlined in the manufacturer’s instructions. To speed up the drying process, try to reduce the room’s humidity level and open a window or run a fan for better ventilation.
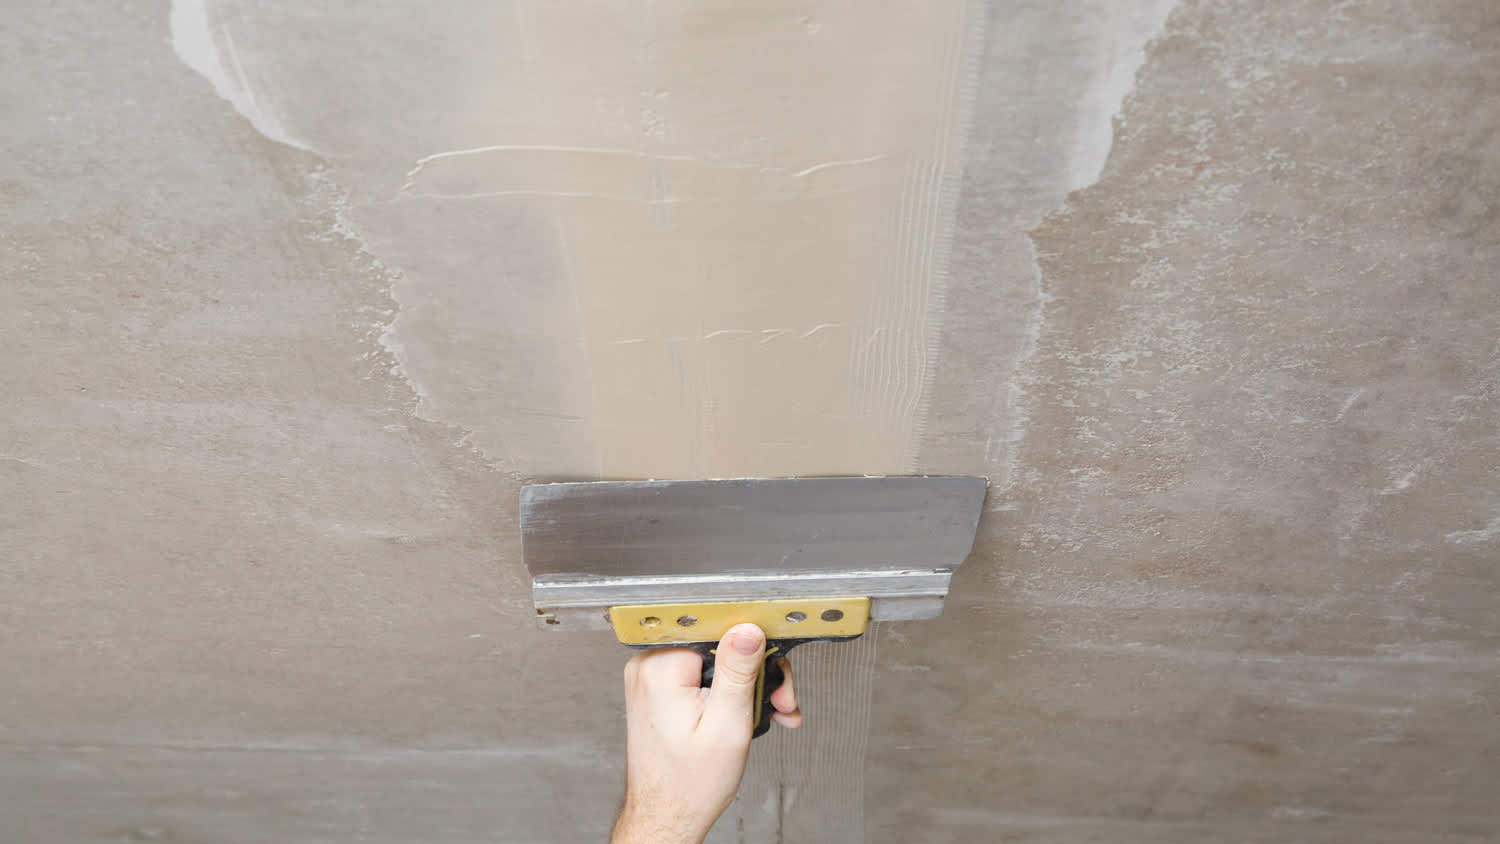
Apply another coat of joint compound, making sure it overlaps the previous coat by a few inches in each direction. Smooth it out with your trowel so that it blends in with the rest of your ceiling, and allow the joint compound to dry.

When everything is dry, sand the area with fine-grit sandpaper. If the surface is still uneven, you can apply more joint compound, let it dry, and sand the ceiling again.
After you finish, wipe it all down with a damp cloth to clear away any dust. Let it dry before moving onto the final step.

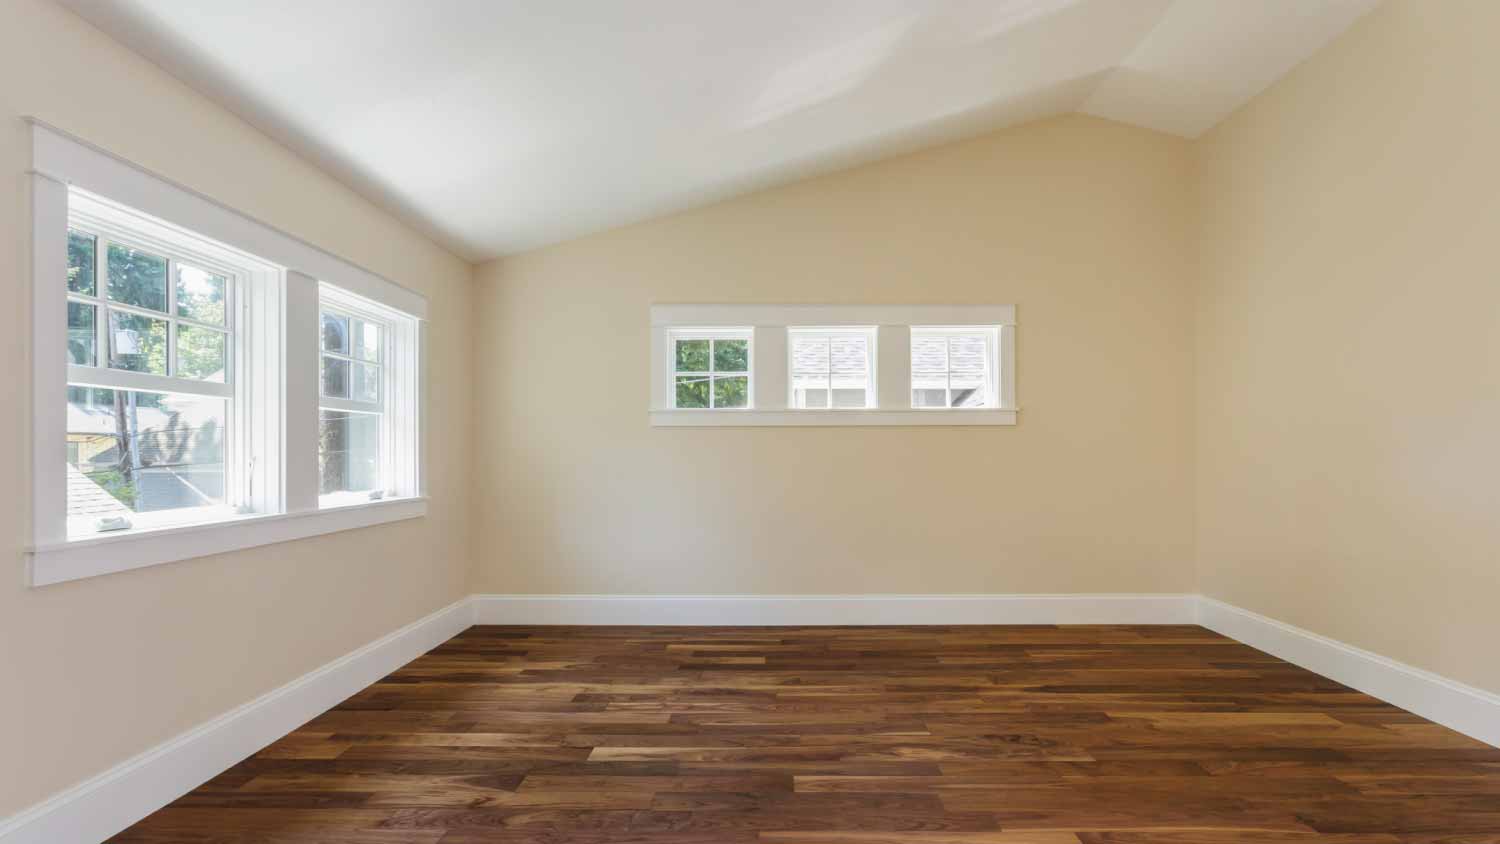
Prepare the area for painting by applying a coat of primer over the patched plaster. When it’s dry, paint it the same color as the rest of your ceiling. You’ll probably need at least two coats to help it blend in.
Alternatively, you can repaint your entire ceiling—including the patched area—a new color. However, it’s important to fix any cracks, holes, and other damage before painting over plaster.
Repairing part of a plaster ceiling isn’t overly difficult, but it isn’t the most beginner-friendly home improvement project, either. For starters, it involves working at heights and cutting away parts of your ceiling—both of which could be daunting for newer DIYers. Plus, applying joint compound can be tricky—and if you don’t do it correctly, you could end up with a patchy mess on your ceiling.
If you aren’t comfortable with that type of work, reach out to a professional. It’s also a good idea to skip this DIY and call a ceiling company near you if you have multiple sagging sections or any other significant ceiling damage. When you hire a pro, repairing a sagging plaster ceiling costs around $80 per square foot.
I cannot recommend Inspired Design Contracting highly enough! From start to finish, working with Jim Venetucci was an absolute pleasure. His vast knowledge and keen understanding of design were evident in every conversation. What truly set Jim apart was his incredible patience and genuine...
1st Choice Renew is simply the best! We hired them for a complete home renovation, and they transformed our space into something truly amazing. The team attention to detail and commitment to quality were evident throughout the project. They were easy to work with, very responsive, and always...
Supreme Brick & Chimney did an excellent job restoring the brick and mortar joints on my home. Their team was professional, knowledgeable, and completed the work on time. I highly recommend them and will hire them again in the future! Thanks!
 Supreme brick & chimney
Custom Paint Jobs LLC made our home feel like a piece of art. Thank you for your creativity!
I am really satisfied with Window Depot USA of central and especially Ilian, he made an amazing work! Ilian is a really courteous person. The work was done smoothly and quickly. I would definitely recommend them to anyone who are looking for new windows or door.
Look forward to them getting started in our basement here soon. Extremely professional, very detailed and was a pleasure to have around. Anything we needed to work on or change in the middle of the project, they were open and willing to work with me.
Mr. Presutti was recommended to me by my architect. He was professional and punctual as were his employees and subs. Work was completed to my specifications and in the rare instance that I wasn't happy with something, work was revised to my satisfaction. I will be using his services to...
4 Seasons was on the roof of my condo building with a man from the architect's office, checking heat pumps for common areas. They noticed the one for my unit was smoking! They offered to replace failed parts but recommended a complete replacement because the warranty had expired and the...
 4 Seasons Air
THERE WAS AN AREA THAT DID TURN OUT RIGHT BUT THE FIXED RIGHT AWAY. THERE WERE A COUPLE OF OTHER JOBS THAT CAME UP AND THEY GAVE US ESTIMATES ON THEM AND THEN DID THE WORK AND IT TURNED OUT THAT THEY CHARGE LESS THAN THE ESTIMATE. I WAS WORKING WITH A ARCHITECT AND HE FELT THAT THEY HAD...
From average costs to expert advice, get all the answers you need to get your job done.
A ceiling repair averages about $1,000, but multiple factors affect this number. Learn more about creating an accurate ceiling repair cost estimate with our tips.
Plaster repair costs are determined by the size and type of damage. Discover why some fixes you can DIY and why some require a pro’s help.

The cost of plastering walls and ceilings depends on the room size and ceiling height. Our tips can help you estimate an accurate cost.

Sagging ceiling could lead to more severe problems. Know these 7 causes for sagging ceilings and how to fix them before the issue becomes worse.
Are you wondering who to hire to fix a sagging ceiling? The best pros for the job and if you can DIY the project depend on the cause and extent of the damage.
Hairline cracks and spiderweb cracks are just two of many types of ceiling cracks. Read this guide to learn which ceiling cracks are serious and need repairs.