
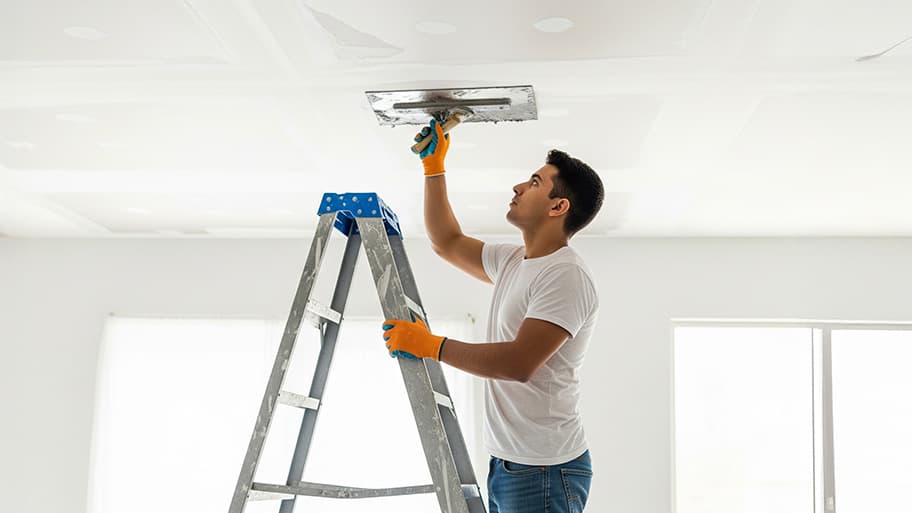
A ceiling repair averages about $1,000, but multiple factors affect this number. Learn more about creating an accurate ceiling repair cost estimate with our tips.
Seal up your ceiling

Finding a leak in your ceiling is never a pleasant surprise. Whether it's due to a leaky roof, a burst pipe, or an unexpected downpour, water-damaged ceiling plaster can become a stressful eyesore. In this guide, we'll walk you through the process of bidding farewell to any stubborn stains, unsightly cracks, and annoying bubbles—a DIY project that can be completed in just one weekend.
Before you begin to repair your water damaged ceiling plaster, confirm that you have fixed the ceiling leak or you’ll be repairing the damaged area again in a short while.
If you don’t know where the leak is, look around your home for other signs where water could be getting in—ceilings are often damaged due to water leaks from the roof, plumbing, or HVAC systems. Walk around the exterior and see if there are any discolored shingles, or use a moisture sensor to find areas with higher moisture and humidity.
With a plumbing leak, you’ll want to shut off the water supply to the pipe as soon as you can. In the case of an HVAC malfunction, shut off power to the HVAC system. After you are confident you have shut off the source of the water, give the plaster time to dry out before proceeding with the repairs.

Any damaged materials—paint, plaster coats, lath—need to be removed. Using a putty knife, lift away any flaking paint or damaged plaster. The material should be soft and easy to dig out and discard. Work your way outward from the innermost area of damage, removing all soft material until you reach hard plaster. At this point, give the area a quick cleaning using a stiff nylon brush, and sweep away any dust and debris.
Push on the ceiling area around the damaged section and see if it feels weak. Any area that moves or gives under your hands should be secured to the lathe with 1-5/8 inch drywall screws so it doesn’t buckle.

Coat the area with an oil-based or quick-dry primer-sealer. The primer will prevent any stains from bleeding through your paint, and help the patching compound bond better. Coat the entire affected area with the primer, and let it dry before moving on to the next step. Most primers require 24 hours to dry, but quick-dry primers dry in about one to two hours.
Using a 6- or 8-inch drywall knife, apply joint compound to any cracks or gaps present. If you are repairing a large area, you can use a long, thin board such as a piece of lattice molding to go over the area with the joint compound in one large sweep. This will also help you smooth our the application. Allow the joint compound to dry for 24 hours before proceeding.

With some coarse or medium sandpaper, smooth out any bumps or small imperfections in the joint compound. Use your nylon brush to sweep away any dust or debris and wipe the area clean with a damp rag or sponge.
Apply a second coat of joint compound in the same manner as before. Make sure to completely fill in the deeper parts of the damage. You should only apply a thin area on top of the unaffected spots surrounding the main source of the damage. Let the second coat dry.

Sand the area one more time, with 120-grit sandpaper. Wipe the area clean once again, and prime is once more using your primer-sealer. This last coat of primer-sealer is essential; it should prevent any residual water from preventing the fresh coat of paint to bond. Allow your primer-sealer to dry before applying your latex paint.
The most common signs of water damage are rotting, buckling, or peeling surfaces, which show up in 31% of cases. Damp or wet areas are also common indicators at 26.5%. Depending on the location, you may also notice stains, discoloration, and odors.
The cost for professional water damage restoration to your ceiling is $350 to $2,000, on average, and depending on how extensive the damage is. A small, isolated area of damage—one where you can quickly identity and shut off the water source—is an easy weekend DIY task, but for major fixes, it’s always better to call in a professional water restoration expert. Water damage can quickly grow from a small problem to a big one, so don’t hesitate to investigate getting expert help.
If you’re good people wanting to do business with good people, hire Matt. He is a consummate professional and utterly competent. He installed a water heater in my home at a price that beat competitors by hundreds of dollars with a promise to support the unit for its life (even after its 6 yr...
 Greene's Plumbing Services
Corey Carr was great. I had damage from a recent storm and needed to have my mast and other components replaced. The project entailed coordinating with AEP, and Corey helped make a stressful situation a lot less stressful. I really appreciated his dedication to service and the job very well done.
 Mr. Electric of Columbus
This service was great. My air conditioner went out during the heat spell that we had. My husband has health issues and they came out that night and at 9:30pm the air conditioner was fixed and running. We are sooo very thankful, this is the company I will be using from now on and would...
 Mr. Mechanical Ohio
Positive experience. As previously stated, the replacement/repair could not be completed (no fault of the plumbing tech) b/c misinformation was rec?d by property management maintenance. Thanks to the plumbing tech for your efforts. Appreciate you!
 The Waterworks
Carpet repair done well. Scheduling was easy. Showed up on time.
 BR Flooring Installation
As usual with ECO, tech Jordan was outstanding, very professional, very knowledgeable, and very thorough with repairs made to tankless water heaters. Very highly recommend ECO!!!
 Eco Plumbers, Electricians, and HVAC Technicians
I would recommend this company to anyone! He showed up on time, was friendly, completed a very difficult repair on our dryer vent cover, was responsive, and pricing was extremely fair and competitive. I would have him back to do any of our repairs or cleanings without hesitation!
 U.S.A. Dryer Vent, LLC
Everything from initial contact to completion was absolutely top notch. We contacted the business during off hours to leave a message, and the owner still reached out to feel out the issue within minutes. We were scheduled and repaired within 48 hours. I cannot say enough about the...
 Supreme brick & chimney
Ace Fireplace Services came to the rescue for my chimney repair. They were quick to pinpoint the issue and worked their magic to fix it. My chimney is now in excellent shape, and I'm a satisfied customer.
 Ace Fireplace Services
When we had the winter freeze, I called Quantum Waterworks Waterline & Drain Cleaning Services and within 1 hour I received an e-mail and he sent someone out the next day and he was on time, he was nice and did the job quickly and cleaned up after himself. We had a leak in our kitchen from...
 Quantum Waterworks Waterline & Drain Cleaning Services, LLC
From average costs to expert advice, get all the answers you need to get your job done.
A ceiling repair averages about $1,000, but multiple factors affect this number. Learn more about creating an accurate ceiling repair cost estimate with our tips.
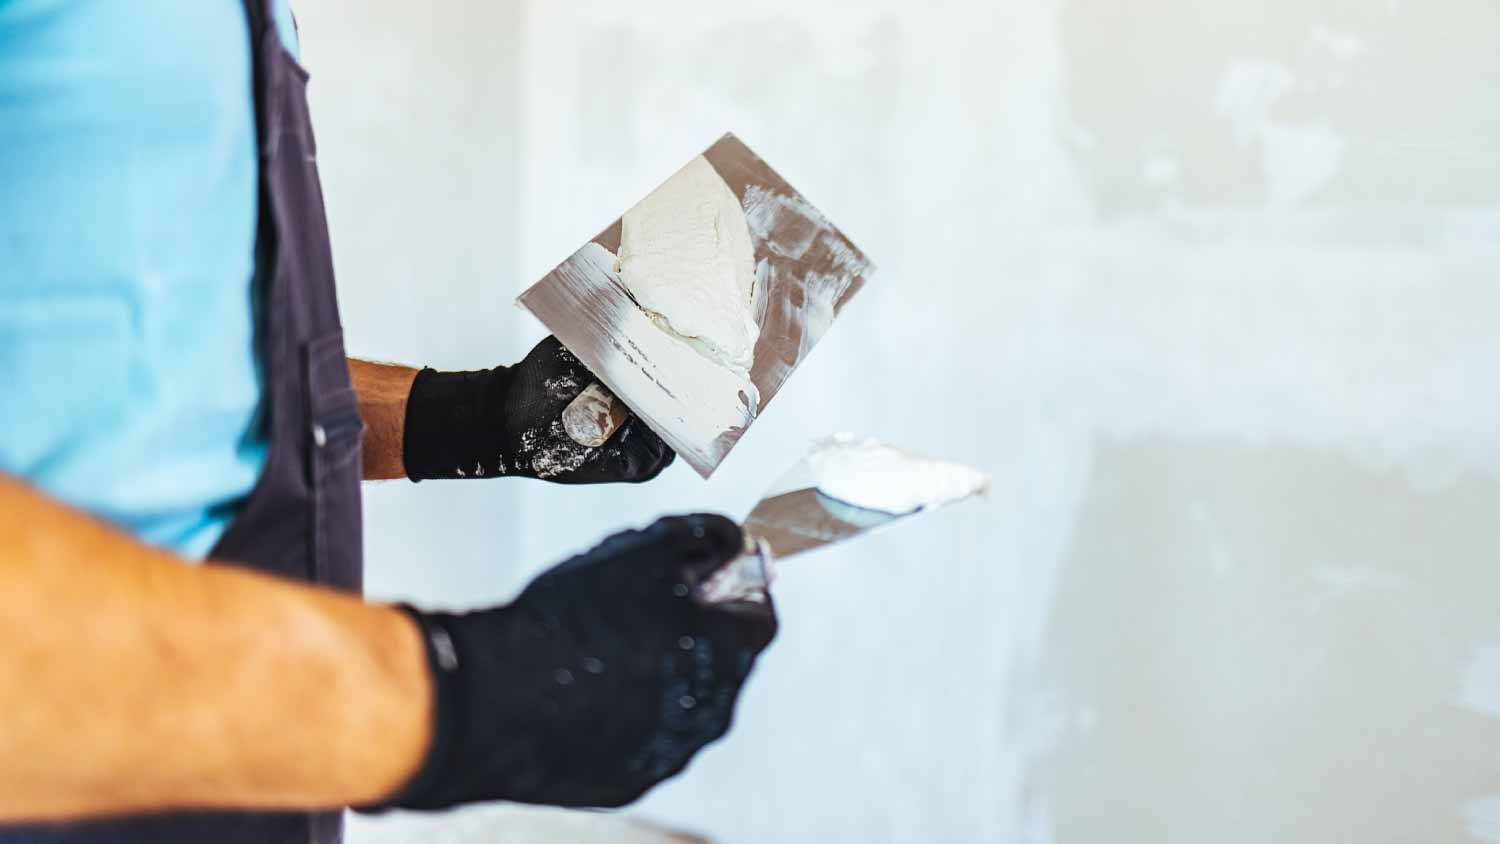
Plaster repair costs are determined by the size and type of damage. Discover why some fixes you can DIY and why some require a pro’s help.

The cost of plastering walls and ceilings depends on the room size and ceiling height. Our tips can help you estimate an accurate cost.

Repair water-damaged wall plaster at home by yourself following this easy step-by-step guide.

Sagging ceiling could lead to more severe problems. Know these 7 causes for sagging ceilings and how to fix them before the issue becomes worse.
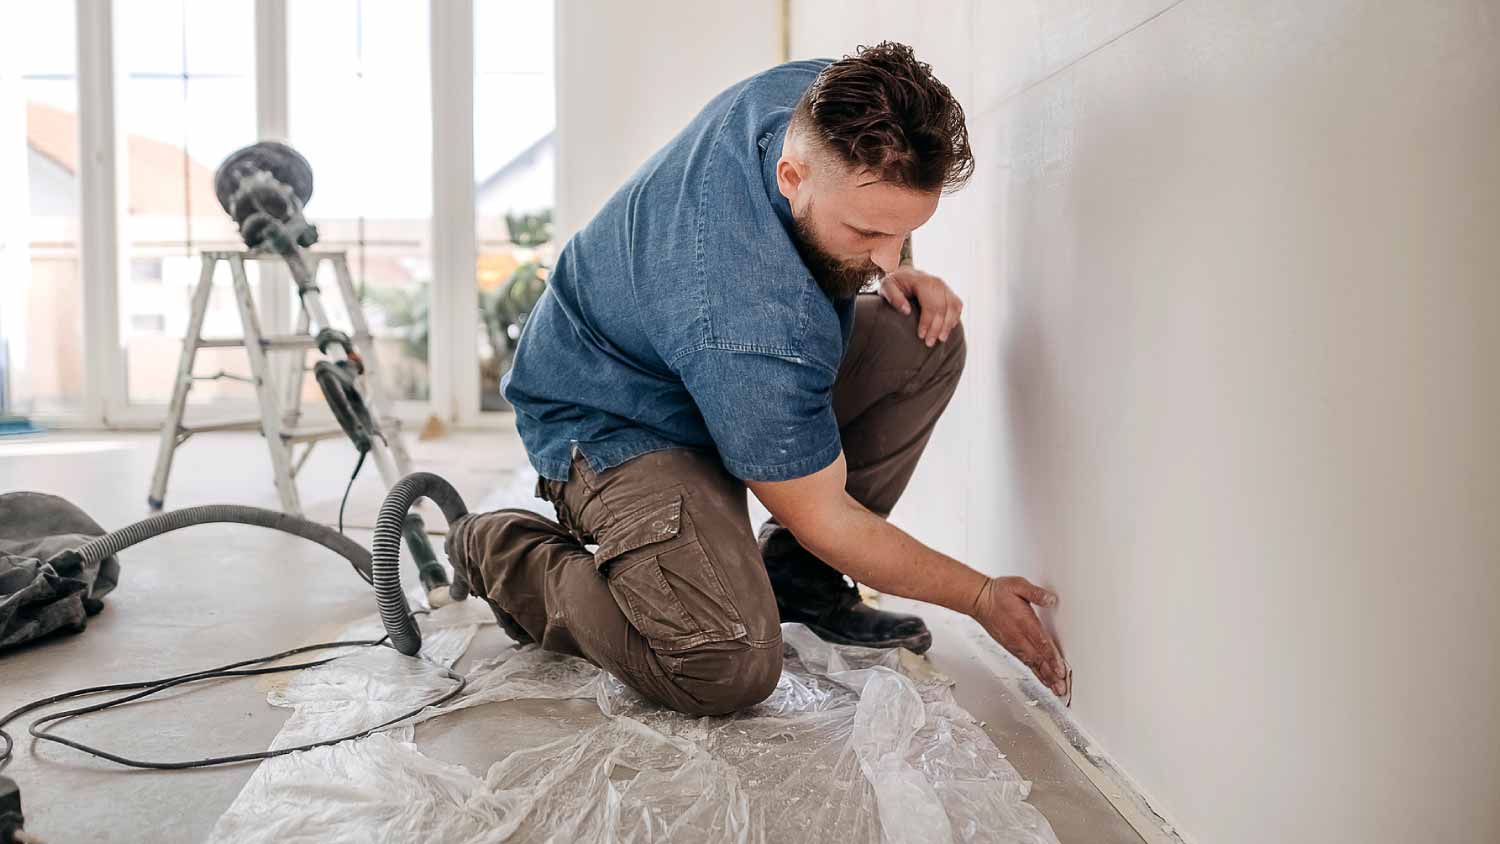
Peeling paint or brown spots on your walls? You probably have water damage. Get step-by-step instructions for how to repair water-damaged drywall in this guide.