
Drywall texture can create an attractive finish and add dimension to your home’s walls. This guide breaks down the factors that influence the cost to texture drywall.
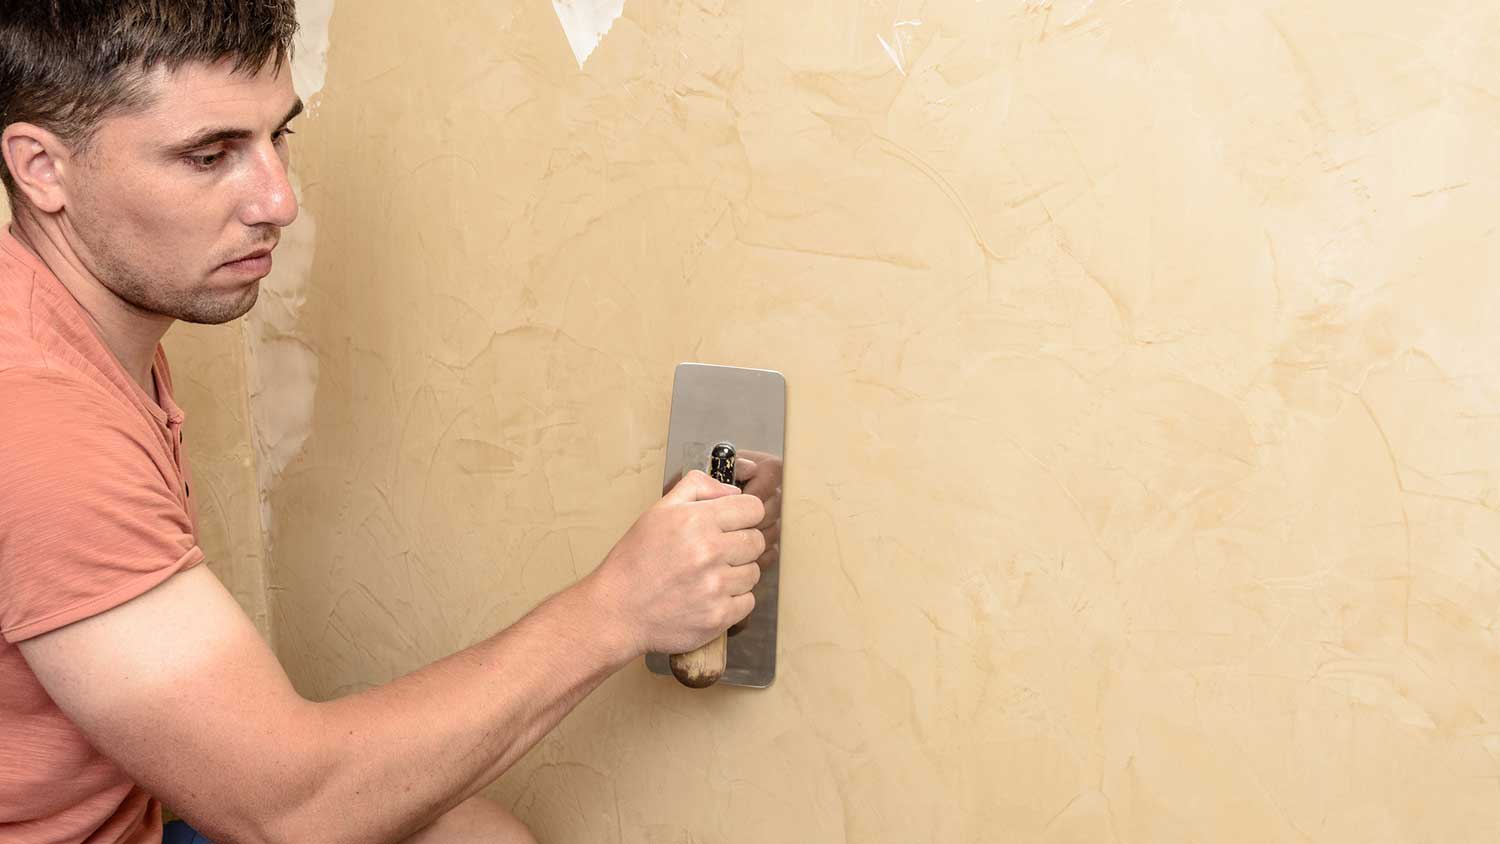
The type of drywall mud and a variety of other factors influence drying time

The drying time for drywall mud ranges from 20 minutes for setting-type compound to 24 hours for pre-mixed or lightweight joint compound per coat.
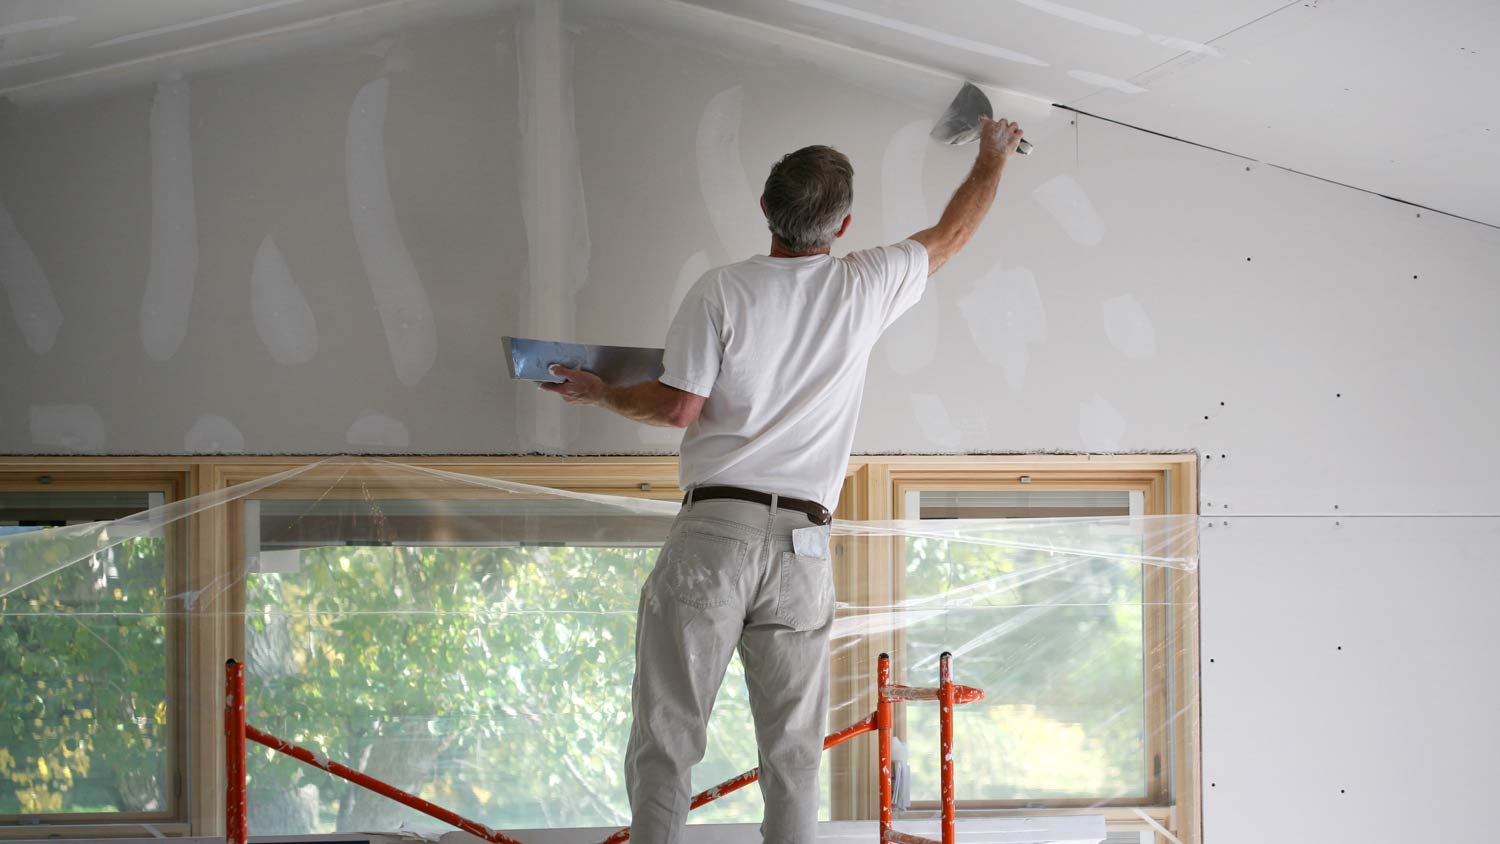
Room temperature between 60°F and 70°F speeds up drying, while higher humidity and thicker coats extend the time your drywall mud needs to set.
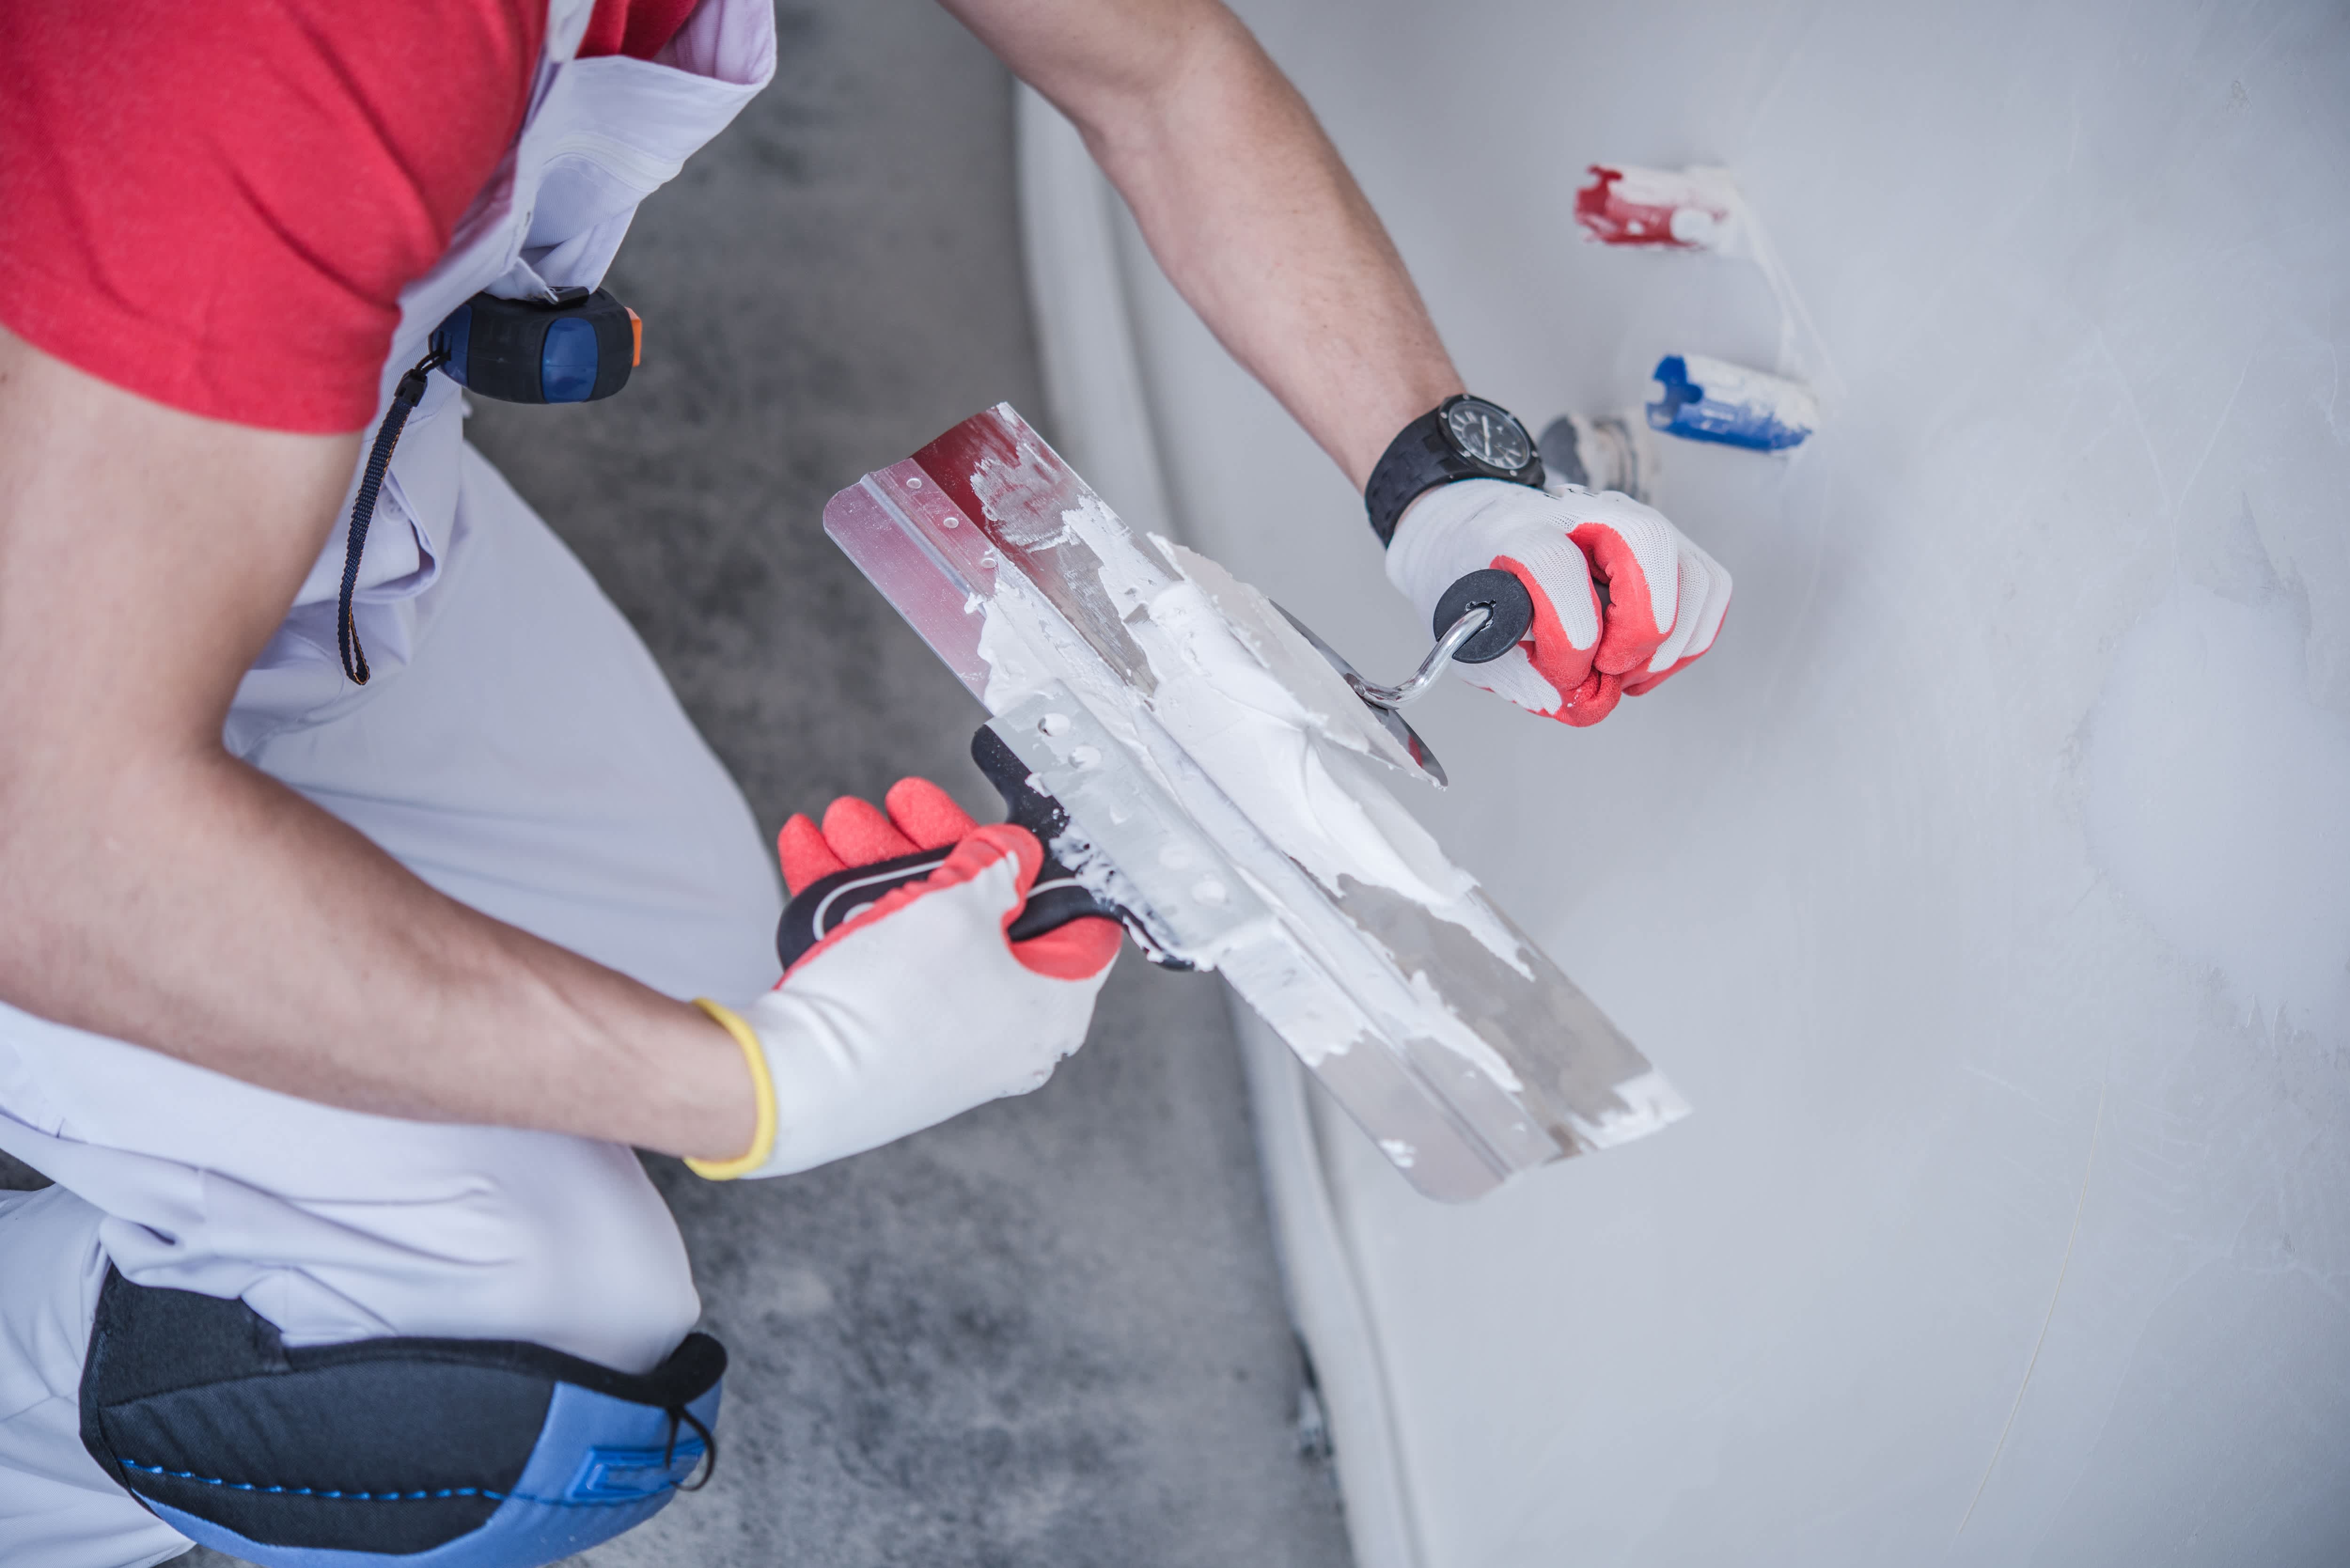
Apply thin coats of compound and improve ventilation with fans to help your drywall dry faster and more evenly before sanding or painting.
Hiring a local drywall professional keeps your project on schedule by managing application thickness, room conditions, and proper drying between coats.
Getting any type of home project done quickly always feels like a win, but sometimes you can’t jump ahead even if you’re in a rush. Drywall mud, also known as joint compound or simply "mud," plays a crucial role in the process of finishing and repairing drywall surfaces. How long does drywall mud take to dry? Whether you're a DIY enthusiast or choose to hire a professional drywall installer near you, understanding how long drywall mud takes to dry is essential for planning your project.
In this article, we'll explore the factors that influence drying times, the different types of drywall mud, and tips to expedite the drying process.
The time it takes for your drywall to dry will depend heavily on the type of mud you use. Here is a rough estimate of drying times for different types of drywall mud:
| Mud Type | Description | Average Drying Time |
|---|---|---|
| Pre-mixed joint compound | Convenient for beginners and small projects, but it may have a longer drying time than other types. | 24 hours per coat |
| Setting-Type Joint Compound | Hardens quickly, making it great for deep fills, patching, and working in high-humidity conditions. | 20 to 45 minutes |
| Lightweight Joint Compound | Not the quickest drying time, but it’s easier to sand and is best for final coats or high walls and ceilings. | 24 hours per coat |

Several factors can influence how long it takes for drywall mud to dry. Understanding these variables will help you estimate drying times more accurately:
Type of mud: As mentioned earlier, the type of drywall mud you use significantly affects drying times. Pre-mixed mud tends to dry more slowly than setting-type joint compound.
Humidity: Humidity levels in your environment play a crucial role. Higher humidity can slow down drying, while lower humidity speeds it up. Consider using a hygrometer to monitor humidity.
Temperature: Warmer temperatures generally promote faster drying. Colder environments can extend the drying process. Aim for a room temperature between 60°F and 70°F for optimal results.
Application thickness: The thickness of the mud layer applied to the drywall matters. Thicker layers take longer to dry, so use thinner coats for quicker results.
Ventilation: Proper ventilation can accelerate drying. Ensure that the room is well-ventilated with fans or open windows to circulate air.
Drywall type: The type of drywall you are working on can affect your drying time. Standard drywall and moisture-resistant drywall may have slightly different drying rates.
Hot drywall mud is designed specifically to dry quickly, making it ideal for when you're looking to get a project done fast. Because it's fast-drying, make sure to practice on a small area first to get the right thickness.


When it comes to expediting the drywall mud-drying process, a few strategic approaches can make a significant difference. These tips not only help to save time but also to ensure a smoother finish on your drywall:
Choose the right setting type: If your project's timeline is a critical factor, consider using a setting-type joint compound. This type of mud is designed to dry rapidly and is an excellent choice when you need to move quickly. It starts setting within 20 to 45 minutes, allowing you to apply subsequent coats on the same day. However, remember to work efficiently, as it doesn't provide the same extended working time as pre-mixed mud.
Optimize room conditions: The environment in which you're working plays a substantial role in drying times. To encourage faster drying, maintain ideal room temperature and humidity levels. Aim for a room temperature between 60°F and 70°F and humidity levels around 40% to 50%. Use dehumidifiers or heaters if necessary to regulate humidity and ensure a consistent temperature throughout the drying process.
Thin coats for speed and smoothness: When applying drywall mud, it's tempting to use thicker coats to save time, but this can actually slow down the drying process. Instead, opt for thin coats of mud. Multiple thin coats will dry faster and more evenly than a single thick one. Thin coats also reduce the risk of cracks and imperfections in the finish levels on your drywall.
Enhance ventilation: Proper ventilation is key to expediting drying times. Improve airflow in the room by strategically placing fans to circulate air over the drying mud. Additionally, consider opening windows or doors to create cross-ventilation. Improved ventilation not only speeds up the evaporation of moisture but also helps maintain a balanced room environment, reducing the risk of bubbles or blemishes in the mud.
Use heat lamps carefully: In certain situations, heat lamps can be used to expedite drying, especially in colder or high-humidity environments. However, use them cautiously to avoid overheating the mud, which can lead to cracking or other finish imperfections. Keep heat lamps at a safe distance from the drywall surface and monitor the temperature closely. It's advisable to consult manufacturer guidelines for the specific type of drywall mud you are using, as some products may not be suitable for heat exposure
Cancelled appointment two hours after they were supposed to come for drywall work.
I would recommend this company to anyone! He showed up on time, was friendly, completed a very difficult repair on our dryer vent cover, was responsive, and pricing was extremely fair and competitive. I would have him back to do any of our repairs or cleanings without hesitation!
I cant stop admiring my newly painted walls. Custom Paint Jobs LLC made my house feel brand new.
Excellent experience with hiring Tether House to Mount our 77’ Samsung TV in our bedroom. Fast, friendly, and knowledgeable. Highly recommend.
Excellent customer service and knowledge. I was recommend to him from my neighbour. My front door and window came in great and were installed beautifully perfectly, I m very satisfied with their excellent work, so decided to order one more big bow window for my living room. I cant wait for...
Manuel Calvillo is the best option in the area for roofing and you won't be disappointed.
Would hire again. Wall looks great. Happy with job.
 Central Paving
Involved an extensive bathroom remodel, including removing tub & installing walk in shower, new drywall, custome tile work to ceiling, plumbing, etc. Overall, job was done on time and on budget. Nick & his team were very professional and had high attention to detail. Quality was great. Highly...
 Stamos Flooring and Remodeling LLC
We have had a great experience with Rising Height for the past five years on a number of miscellaneous renovation projects. They laid flooring for us and had a very good sub do the finish. Installed drywall for a vaulted ceiling, finished an attic/loft with new subfloor, framing and drywall,...
 Rising Height Unlimited
Mr. Lopez was super nice and professional. He repaired our drywall just as he described during the estimate phase. Our dining room wall looks great again! Thanks Mr. Lopez!
From average costs to expert advice, get all the answers you need to get your job done.
Drywall texture can create an attractive finish and add dimension to your home’s walls. This guide breaks down the factors that influence the cost to texture drywall.
Can drywall mud go bad? It might not “expire,” but it can grow mold or dry out. Here’s what you need to know to extend its lifespan.
How long does it take to finish drywall? Get the rundown on the factors that affect the timeline of your drywall dilemma.
What is hot drywall mud and when do you use it in a home improvement project? Keep reading to find out when this material comes into play.
Hanging and finishing drywall can be hard work if you don’t have experience. These professional-level drywall mudding tips make the project easier.
Drywall mud bubbles are common, even when you’re experienced. Here are the main reasons why your drywall mud bubbles and how to fix it.