
Tiling a shower is an investment in the look and function of your home. This guide explains the factors behind the cost to tile a shower.
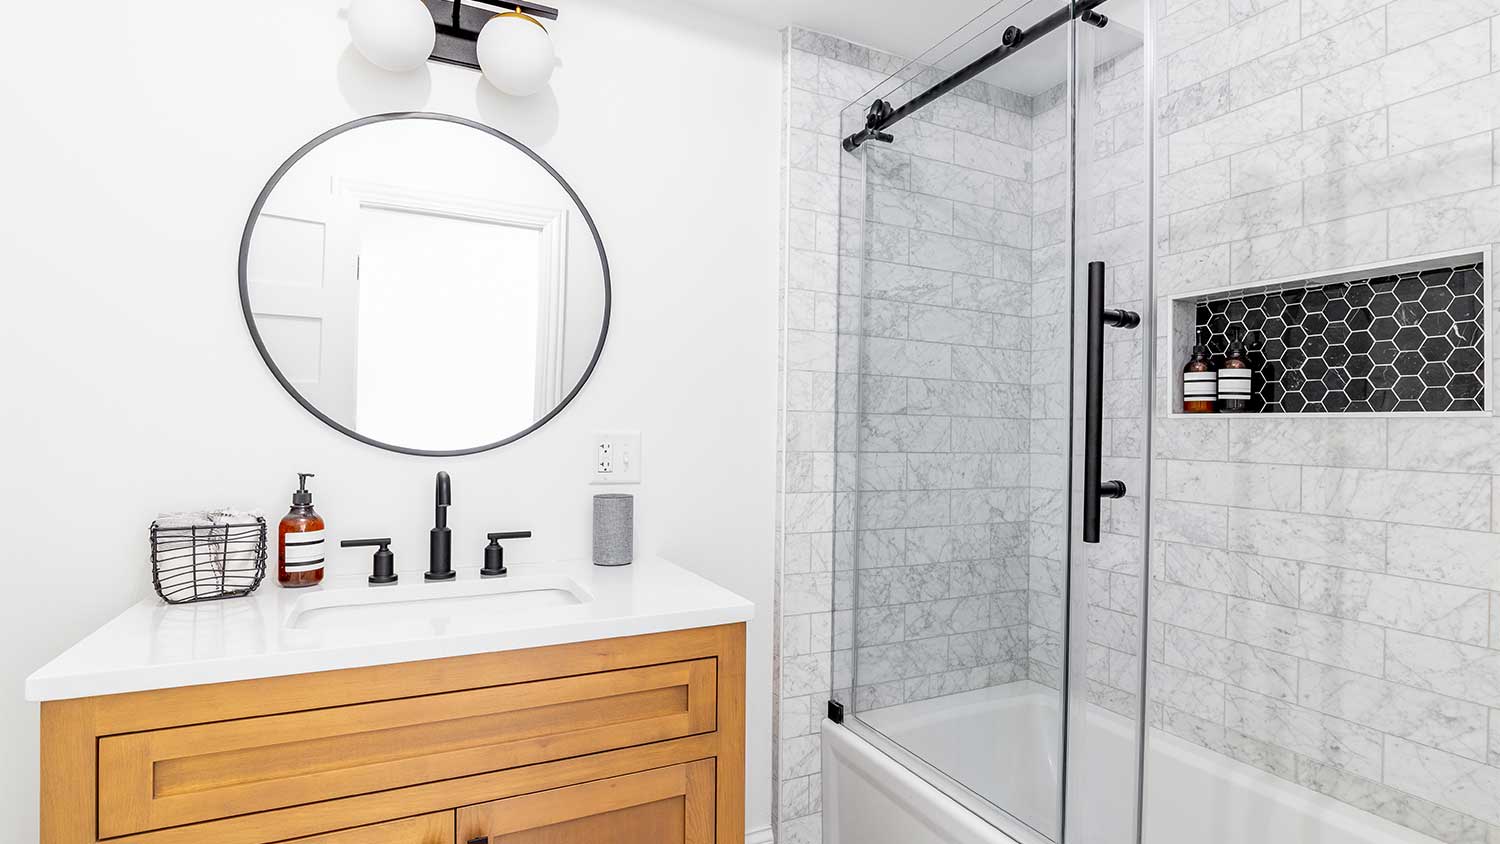
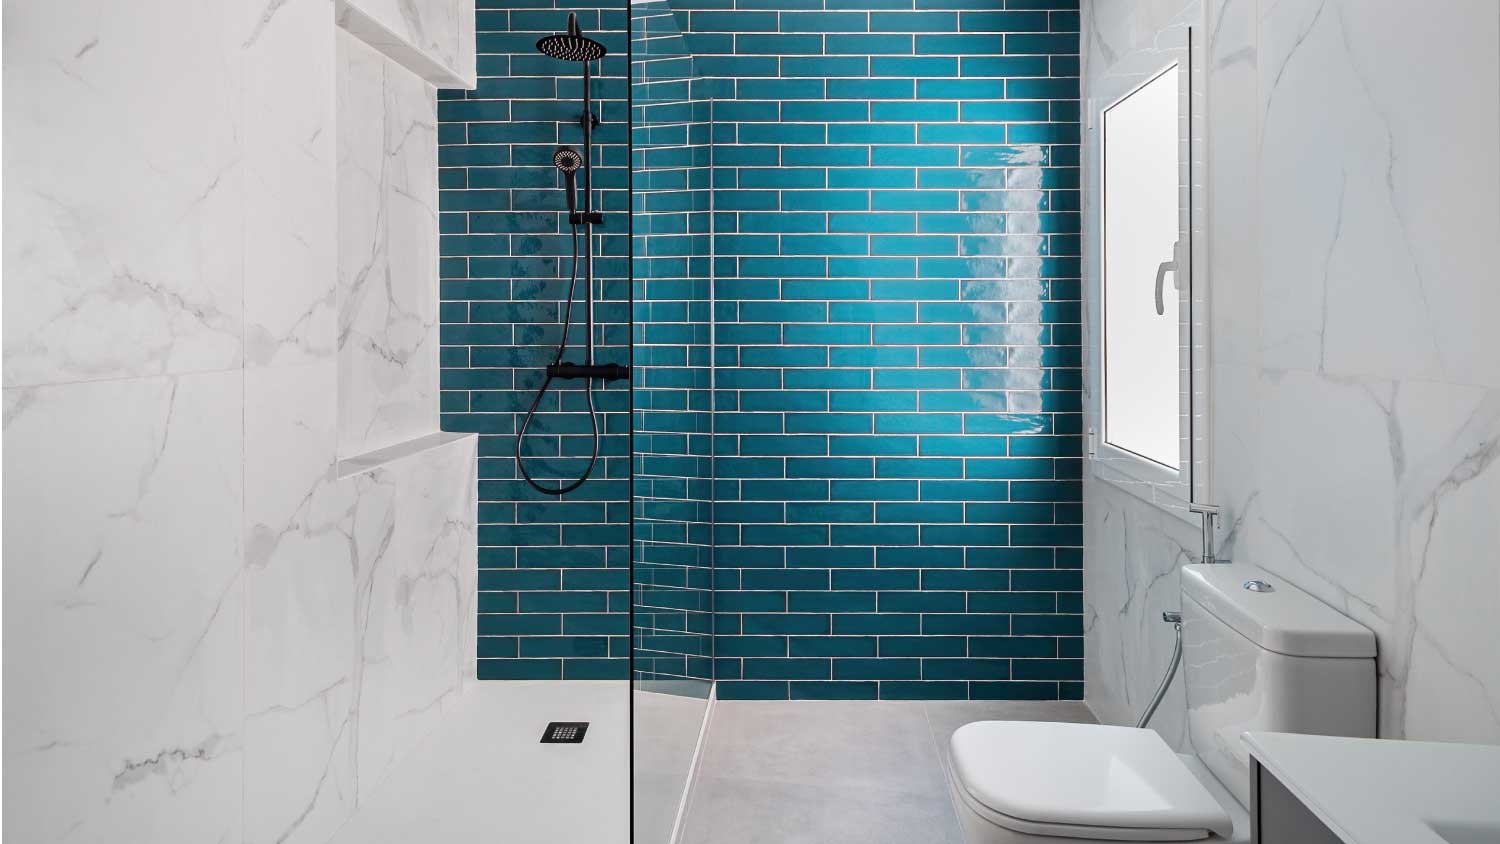
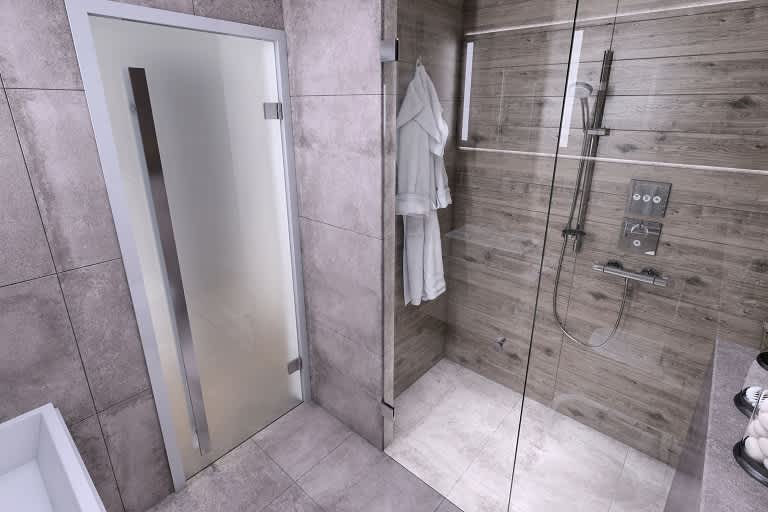
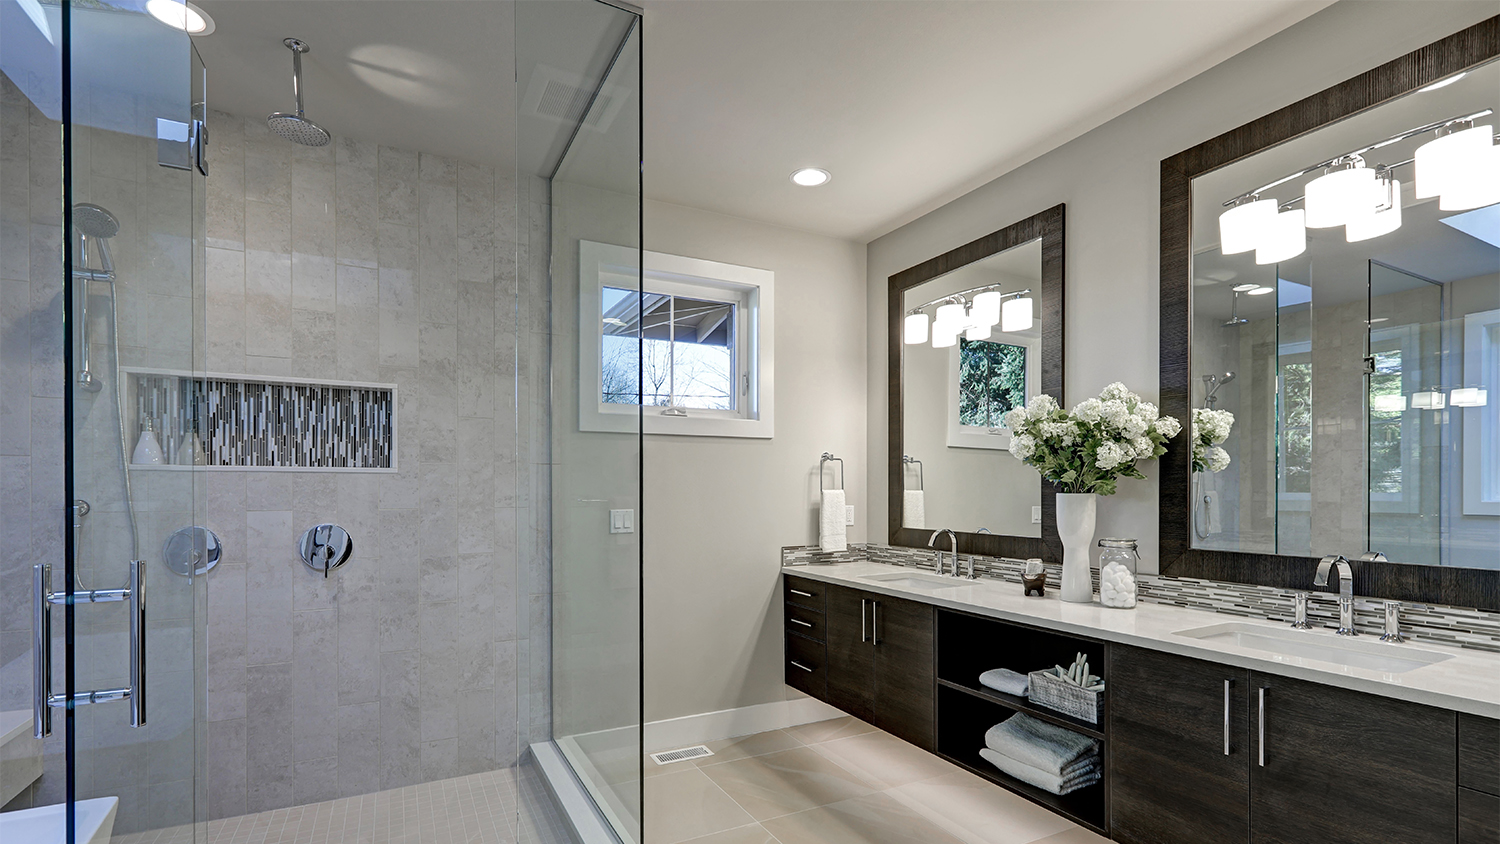
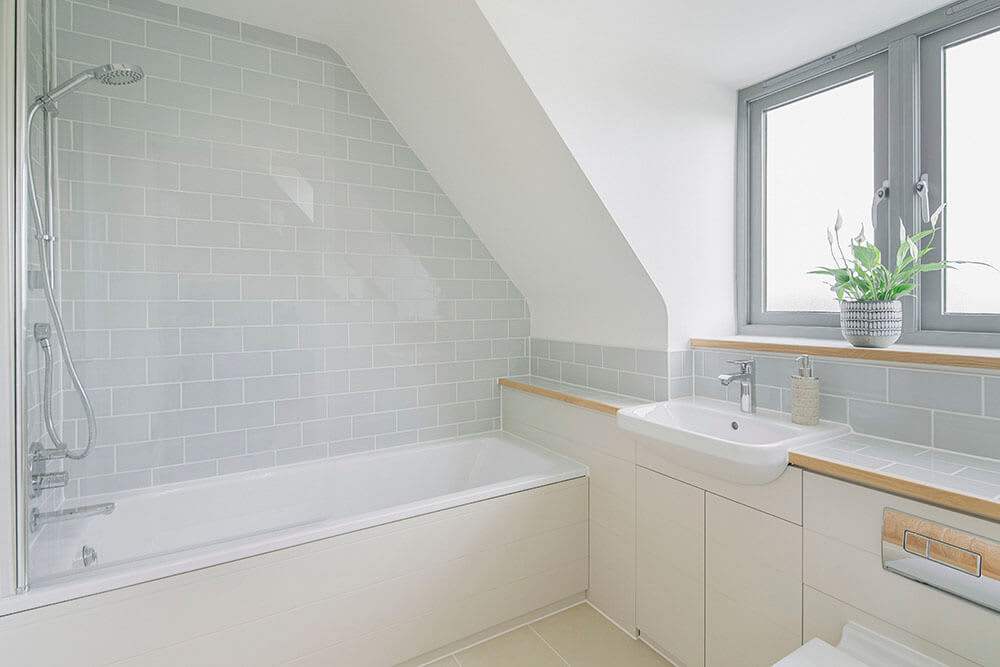
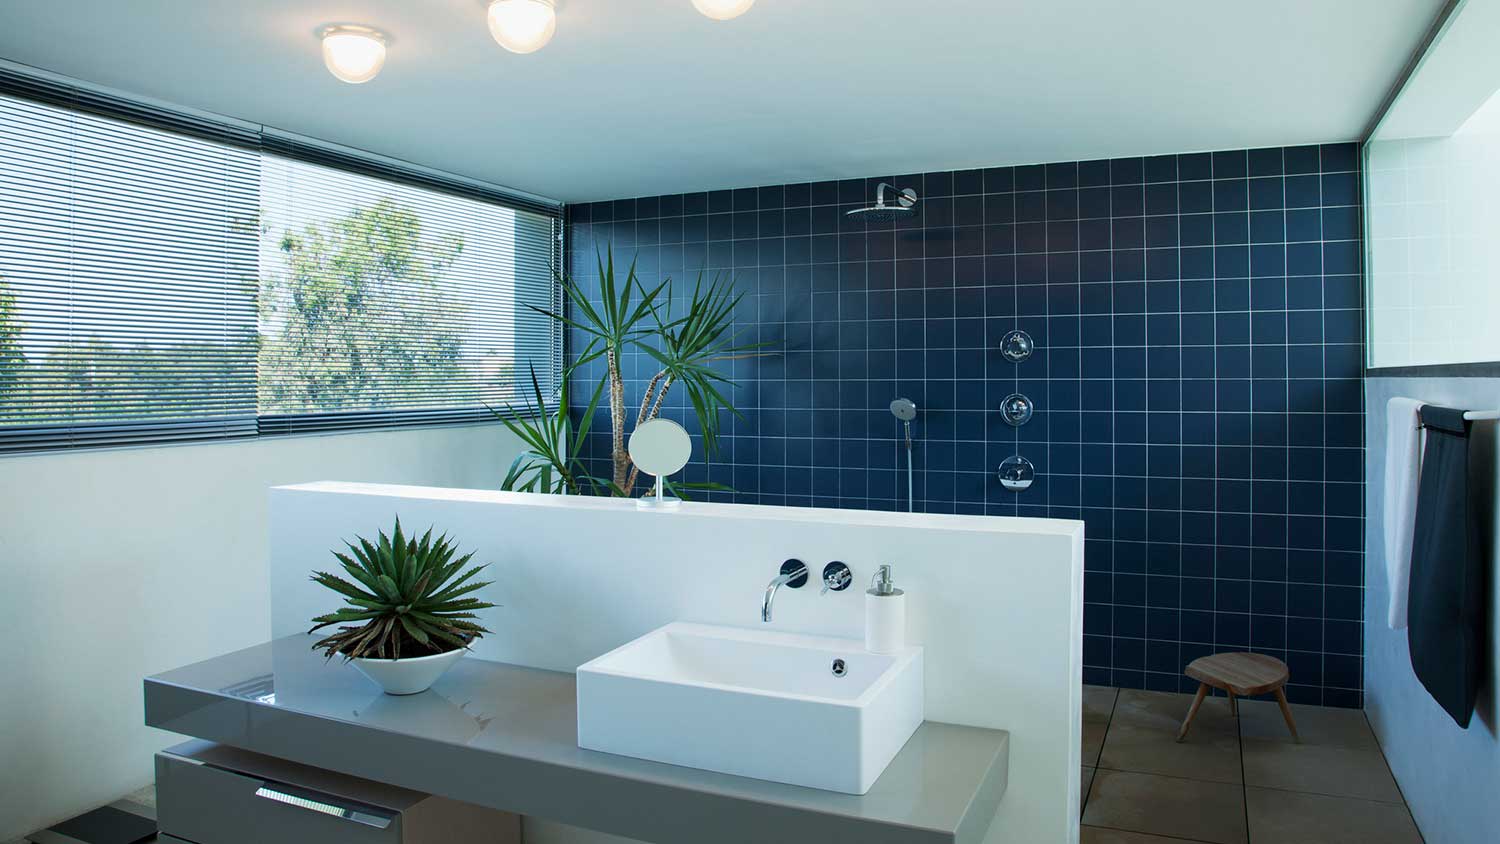
Make a splash with clean lines and a smooth finish

When it comes to home improvement projects, tiling a shower can be both a rewarding and challenging endeavor. Learning how to tile a shower will help you enhance the aesthetic appeal of your bathroom and add value to your home. Let’s walk through each step, ensuring you have the confidence and knowledge to tackle your bathroom renovation and save big on the cost of tiling your shower.
All successful tiling projects start with detailed prep work. Begin by removing any existing tile or shower materials and protect the surrounding area with painter's tape and plastic sheeting to prevent damage and stop debris from flying everywhere.
Then, ensure the surface where you'll be tiling is clean, dry, and free of any debris. This will help the tiles adhere properly. If your shower doesn't already have a liner, install one to prevent water damage. Then, grab your tiling tools and get ready to transform your shower.
Tiling a shower involves many detailed steps. Follow this guide to ensure a professional, smooth, and waterproof shower finish.
Begin by measuring the area where the cement board will be installed. Accurate measurements are essential to ensure a precise fit. If you’re not sure how to read a tape measure, you should probably hire a professional for this project.
Using your measurements and a utility knife, cut the cement board to size. Secure it to the shower studs using cement board screws, ensuring it is flush and level.
Apply a bead of silicone caulk to any gaps between the cement boards. This step is crucial to prevent water from seeping through.
Brush or roll a waterproofing membrane over the cement board. This additional layer of protection will prevent moisture from penetrating the walls and causing mold growth or other water damage.
Mix the thin-set mortar according to the manufacturer's instructions. Apply it to the shower pan with a notched trowel, then lay the tiles in place, pressing firmly to ensure a good bond.

Mark the center points on each shower wall to guide your tile placement. This will help you evenly distribute and align the tiles.

Spread a layer of mortar on the wall using a notched trowel, starting at the center point and working outwards.

Begin by installing the first row of tiles along the bottom of the wall, starting at the center and working your way out to each corner. Use tile spacers to maintain even spacing, and wipe away any excess mortar with a damp sponge.
Continue tiling above the first row, ensuring each tile is level and evenly spaced.

Use a tile cutter or wet saw to cut tiles to fit around the edges of the shower as well as the shower fixtures. Be mindful of any shower features you plan to add, such as a shower seat or a tile shower niche. Measure carefully to ensure a precise fit.
After the mortar has cured for 24 hours, remove the tile spacers and clean any remaining mortar from the tile surfaces with a damp sponge.

Mix the epoxy grout according to the manufacturer's instructions and apply it to the gaps between the tiles using a rubber grout float. Wipe away as much excess grout as possible with a damp sponge when you’re done, and allow it to cure for 24 hours.

Once the grout has cured, use a clean, dry cloth and a grout haze remover product to get rid of any grout haze on the surface of your new tile shower.
To protect your shower, apply a tile and grout sealer going from left to right. Wipe any excess sealer with a dry cloth, and then let the sealer settle. Sealing will help prevent stains and moisture damage.
Tiling a shower is a labor-intensive project that requires precision and patience. You can save money and gain a sense of accomplishment by DIYing, but this job demands a certain level of skill and attention to detail for magazine-worthy results. If you're not confident in your abilities or lack the necessary tools, hiring a local tile contractor is the best option. Professionals have the expertise to ensure the job is done correctly and efficiently, saving you time and potential frustration.
Terrible experience. Walls/trim/floors/cabinets/doors all have drip marks, overspray, etc. Tiling at the fireplace had to be redone by another vendor due to incorrect and shoddy install by Profect. Contractor had his children in our house while he was on site without prior authorization or...
 Profect painting & exteriors
It was wonderful working with Yordy and his team. They were very professional and are experts in what they do. They have completed the work on time, with better quality and with in fairly reasonable price. We just started with backsplash work , but liking his work, we went on to provide...
We were having 2”x 2” tile installed . There was a small installation error and the new additional replacement tile was from a different lot and the colors didn’t match. Joe assured us that he would rectify everything , which he did without hesitation. We decided to go with the 18” x 36” tile...
 CarifaTile
For several months I was looking for somebody to tile a wall in my master bath and move lighting fixtures, and could not find anybody who was responsive. I contacted Rowe through Home Advisor and within days they came by to assess the job and provide an estimate. The cost was very...
It went very well! The end product was amazing and we keep getting a lot of compliments from friends! M&E were very professional and they made sure we were happy with the product before leaving. They met with us in our home and at the tile shop to make sure we were okay with our tile and...
 M&E Remodeling
Involved an extensive bathroom remodel, including removing tub & installing walk in shower, new drywall, custome tile work to ceiling, plumbing, etc. Overall, job was done on time and on budget. Nick & his team were very professional and had high attention to detail. Quality was great. Highly...
 Stamos Flooring and Remodeling LLC
Very pleased with the service and level of professionalism. Courteous and very unobtrusive in performing service. Unlike several other companies, Bradford Xteriors was willing to perform work on a three story home with a clay tile roof. <br />
 Bradford Xteriors
This company did a very good job on the brick wall and it looks just amazing. The staff was always professional and was practically OCD on how the bricks were stacked and how they were laid. Although it took longer than expected, I am willing to sacrifice time over perfection anyday. The...
 My Handy Mate LLC Improvement & Remodeling
He did the tile work and he was good at it. He used other subcontractors for the rest of the work (like putting in the cabinetry) and they were okay but not great. He was a great guy! He was easy to work with and had a good eye for the detail of his work. There were a couple of things that I...
 Brian Miller Custom Remodeling
I was very impressed with Miller Cantrell! I live in an old home in which the sewage line that runs from my home to the sewage system is a line of clay tile. These eventually collapse and need to be replaced - an expensive problem and sure to happen at the worst time. I told them that my...
From average costs to expert advice, get all the answers you need to get your job done.
Tiling a shower is an investment in the look and function of your home. This guide explains the factors behind the cost to tile a shower.
Discover the cost to regrout shower, including average prices, key cost factors, and tips to help you budget for a fresh, watertight shower.
Various factors affect the total tub-to-shower conversion cost, including the size of the area, type of shower, materials, and labor fees.
Renovating your bathroom? From classic chic to contemporary cool, we’ve got the lowdown on the best tile for shower walls and the greatest shower floor tiles.
To avoid mold growth and tile damage, waterproofing is essential before tiling a shower. Learn four methods for tile shower waterproofing in this guide.
When tiling your shower, it’s important to do the job right. These 10 shower tile installation tips will make the process faster and easier.